What’s the Trick to Removing an Oil Pan?
i am about ready to pull the oil pan from my 212ci 6 cylinder & was wondering what others have done to not wear oil or spill a bunch of it from the splasher tray? I’ve already drained the oil pan, so it’s just what’s left in the dipper trays. I was thinking of just using a floor jack underneath it but I figure someone’s got a good idea already tried & true!
0
Comments
-
Remove all bolts except for the four corner ones. Then loosen these down so they have just a few threads left in, and get a knife in and separate the sump and trough assembly from the crankcase all round and let it rest on to the four bolts. Then it is easiest to have an assistant help you, or use a jack, and hold the sump up while you remove the last four bolts and gently lower it to the floor. Good luck.0
-
Perfect! Although while I missed your reply I did learn the hard way, making a mess on the floor.
In the beginning it was going just just like you described, 4 bolts remained & were loosened & the pan was coming down with the bolts being loosened. I had the jack hold the pan in place nicely & removed the rest of the bolts & slowly lowered the jack then slid it out from underneath the car.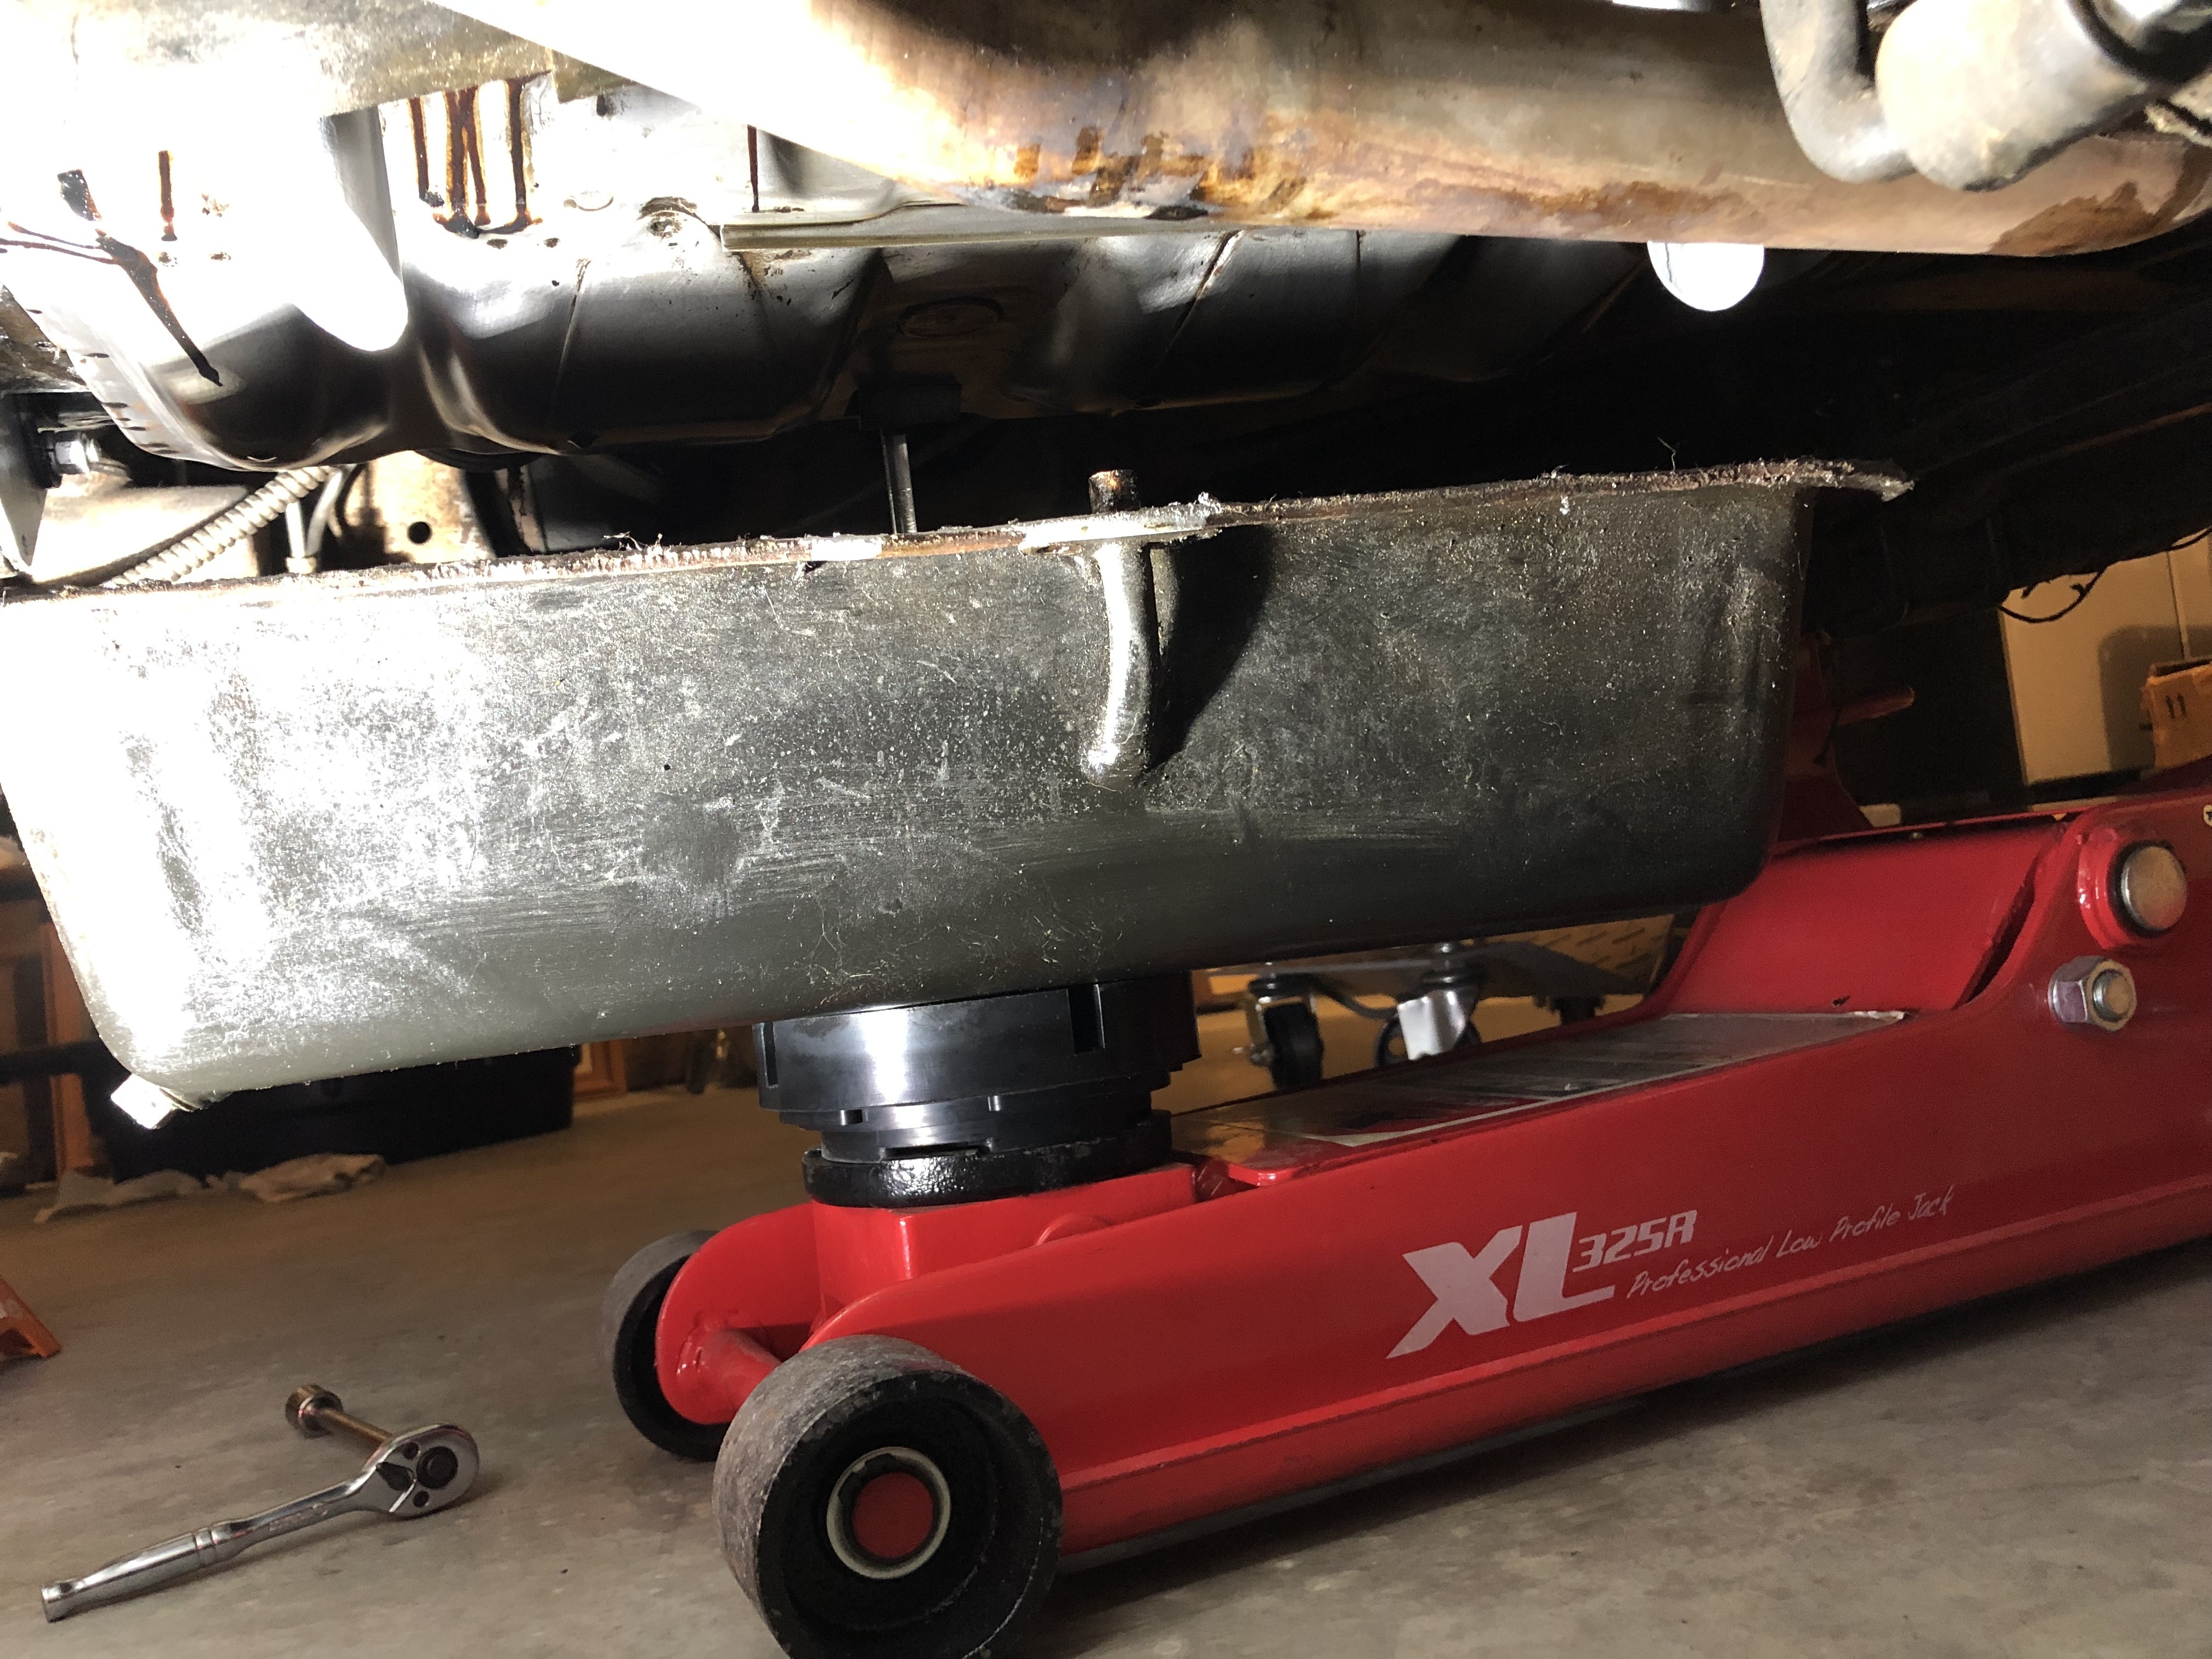
Although something was missing.... oh crap the dipper trough was still stuck to the block. I quickly cut a piece of cardboard, grabbed my scraper & then shoved the jack back underneath. Bang! I herd it fall down on the jack. I was about 20 seconds from not making a huge mess.
The good news: I won’t soon forget to make sure the upper trough comes down with the pan!0 -
0
-
Yep, I was successful in removal, and now have the pans cleaned and ready. I will install 4 studs at the corners to help align it all. Any other tips for reassembly? What gasket cement? Add oil for the trays via the valve area I assume. Hope you dont mind me butting in here,Big Sky!0
-
I am also interested in this procedure, what oil are you using?0
-
You could use very long bolts in the 4 corners to start off (taking off and putting on) to help with the weight and to align the tubes.0
-
Yes ^^^^^^0
-
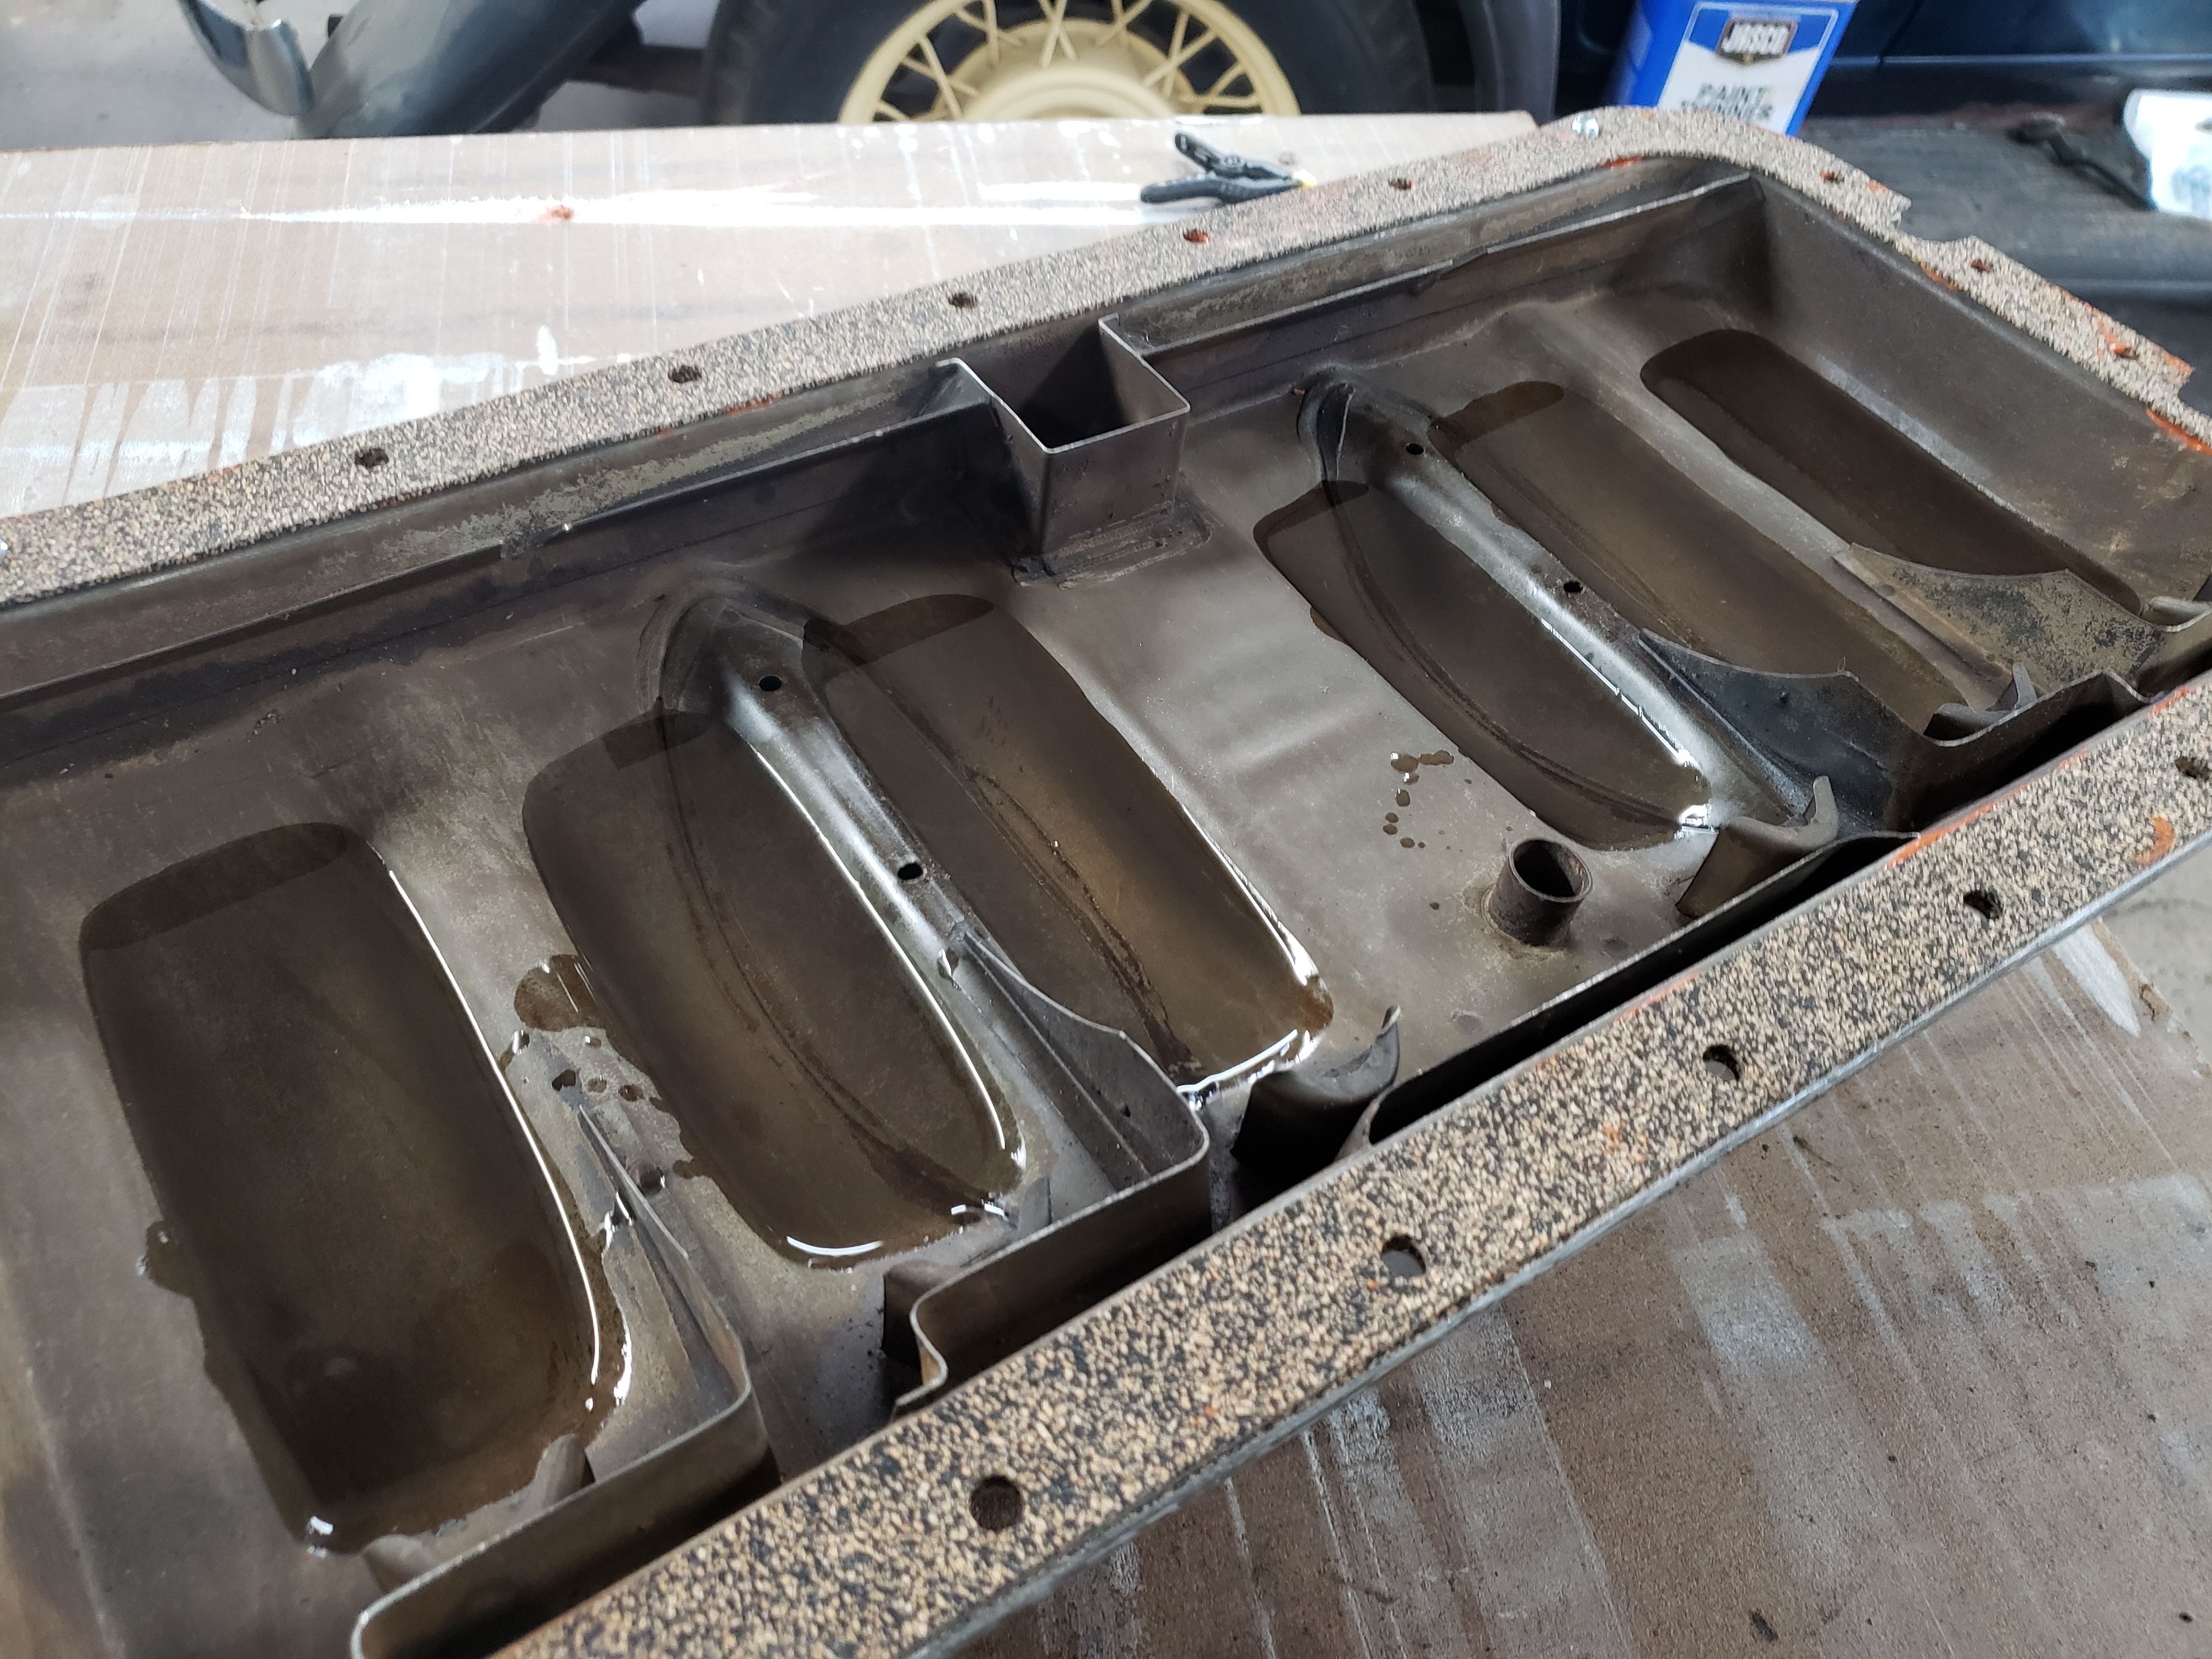
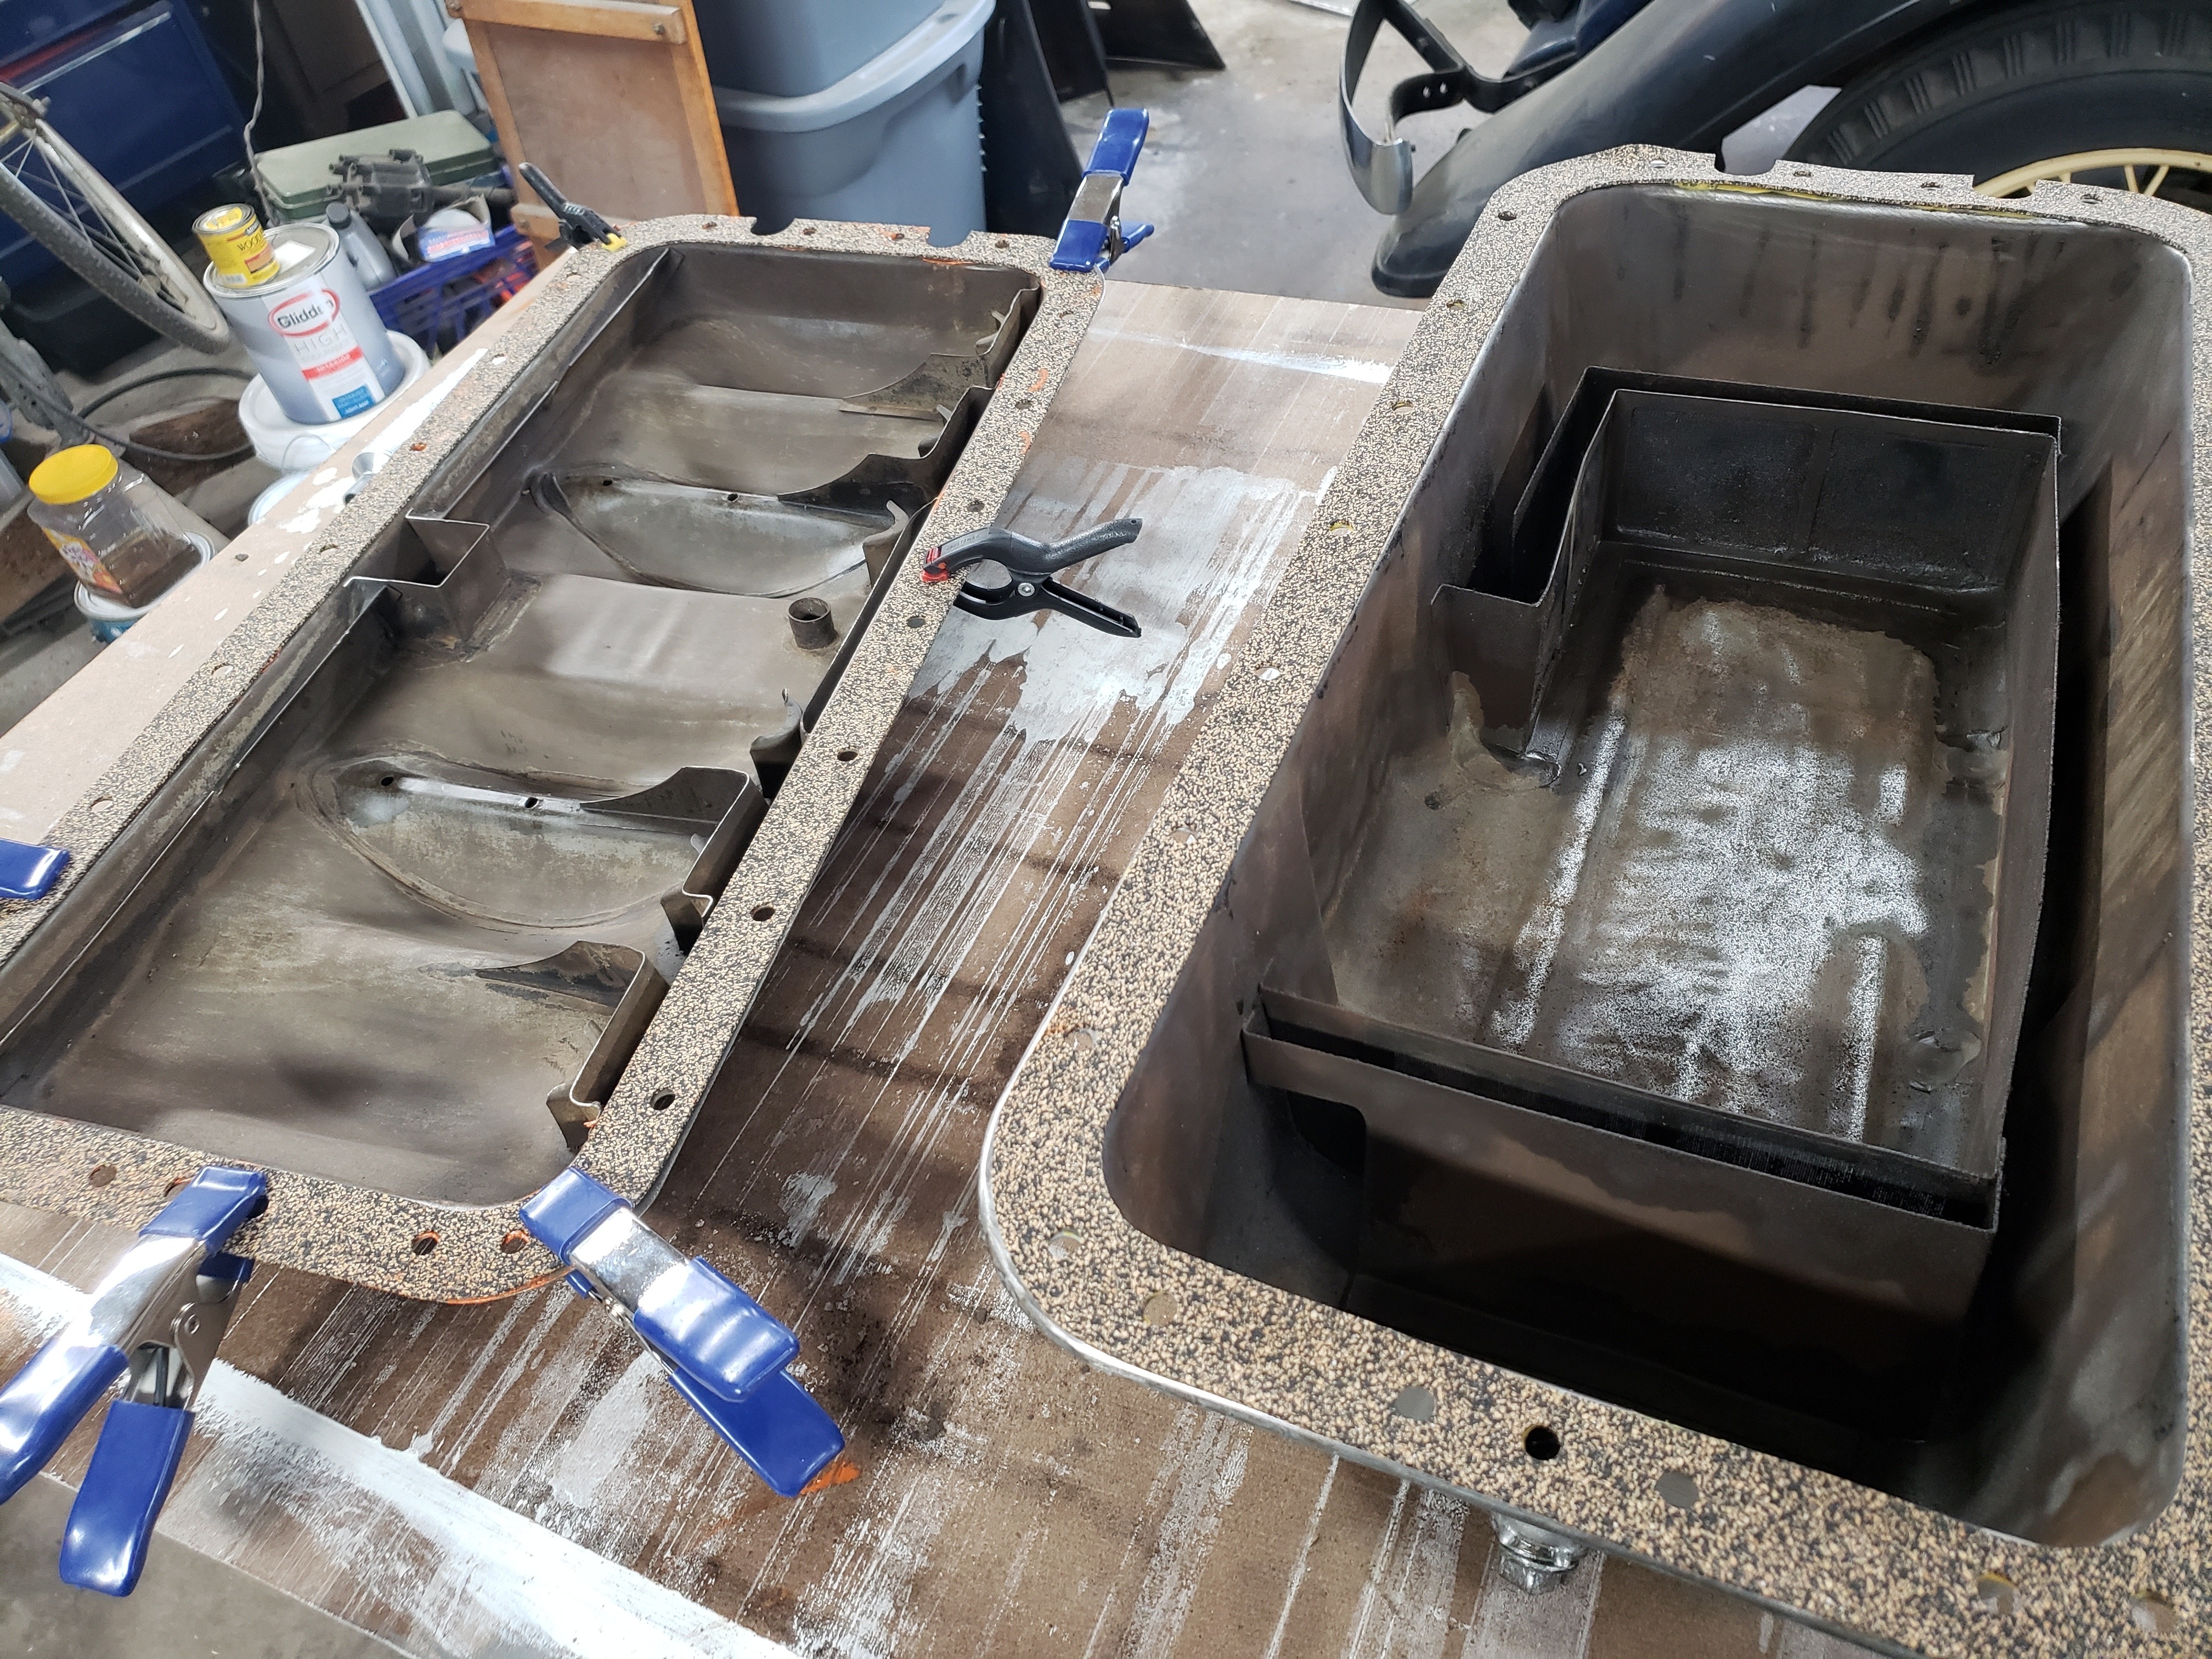
I successfully cleaned, checked, and replaced the pans on my '32, using the 4 stud method. Filled the upper trays and used a Jack to guide it all in place.
 0
0 -
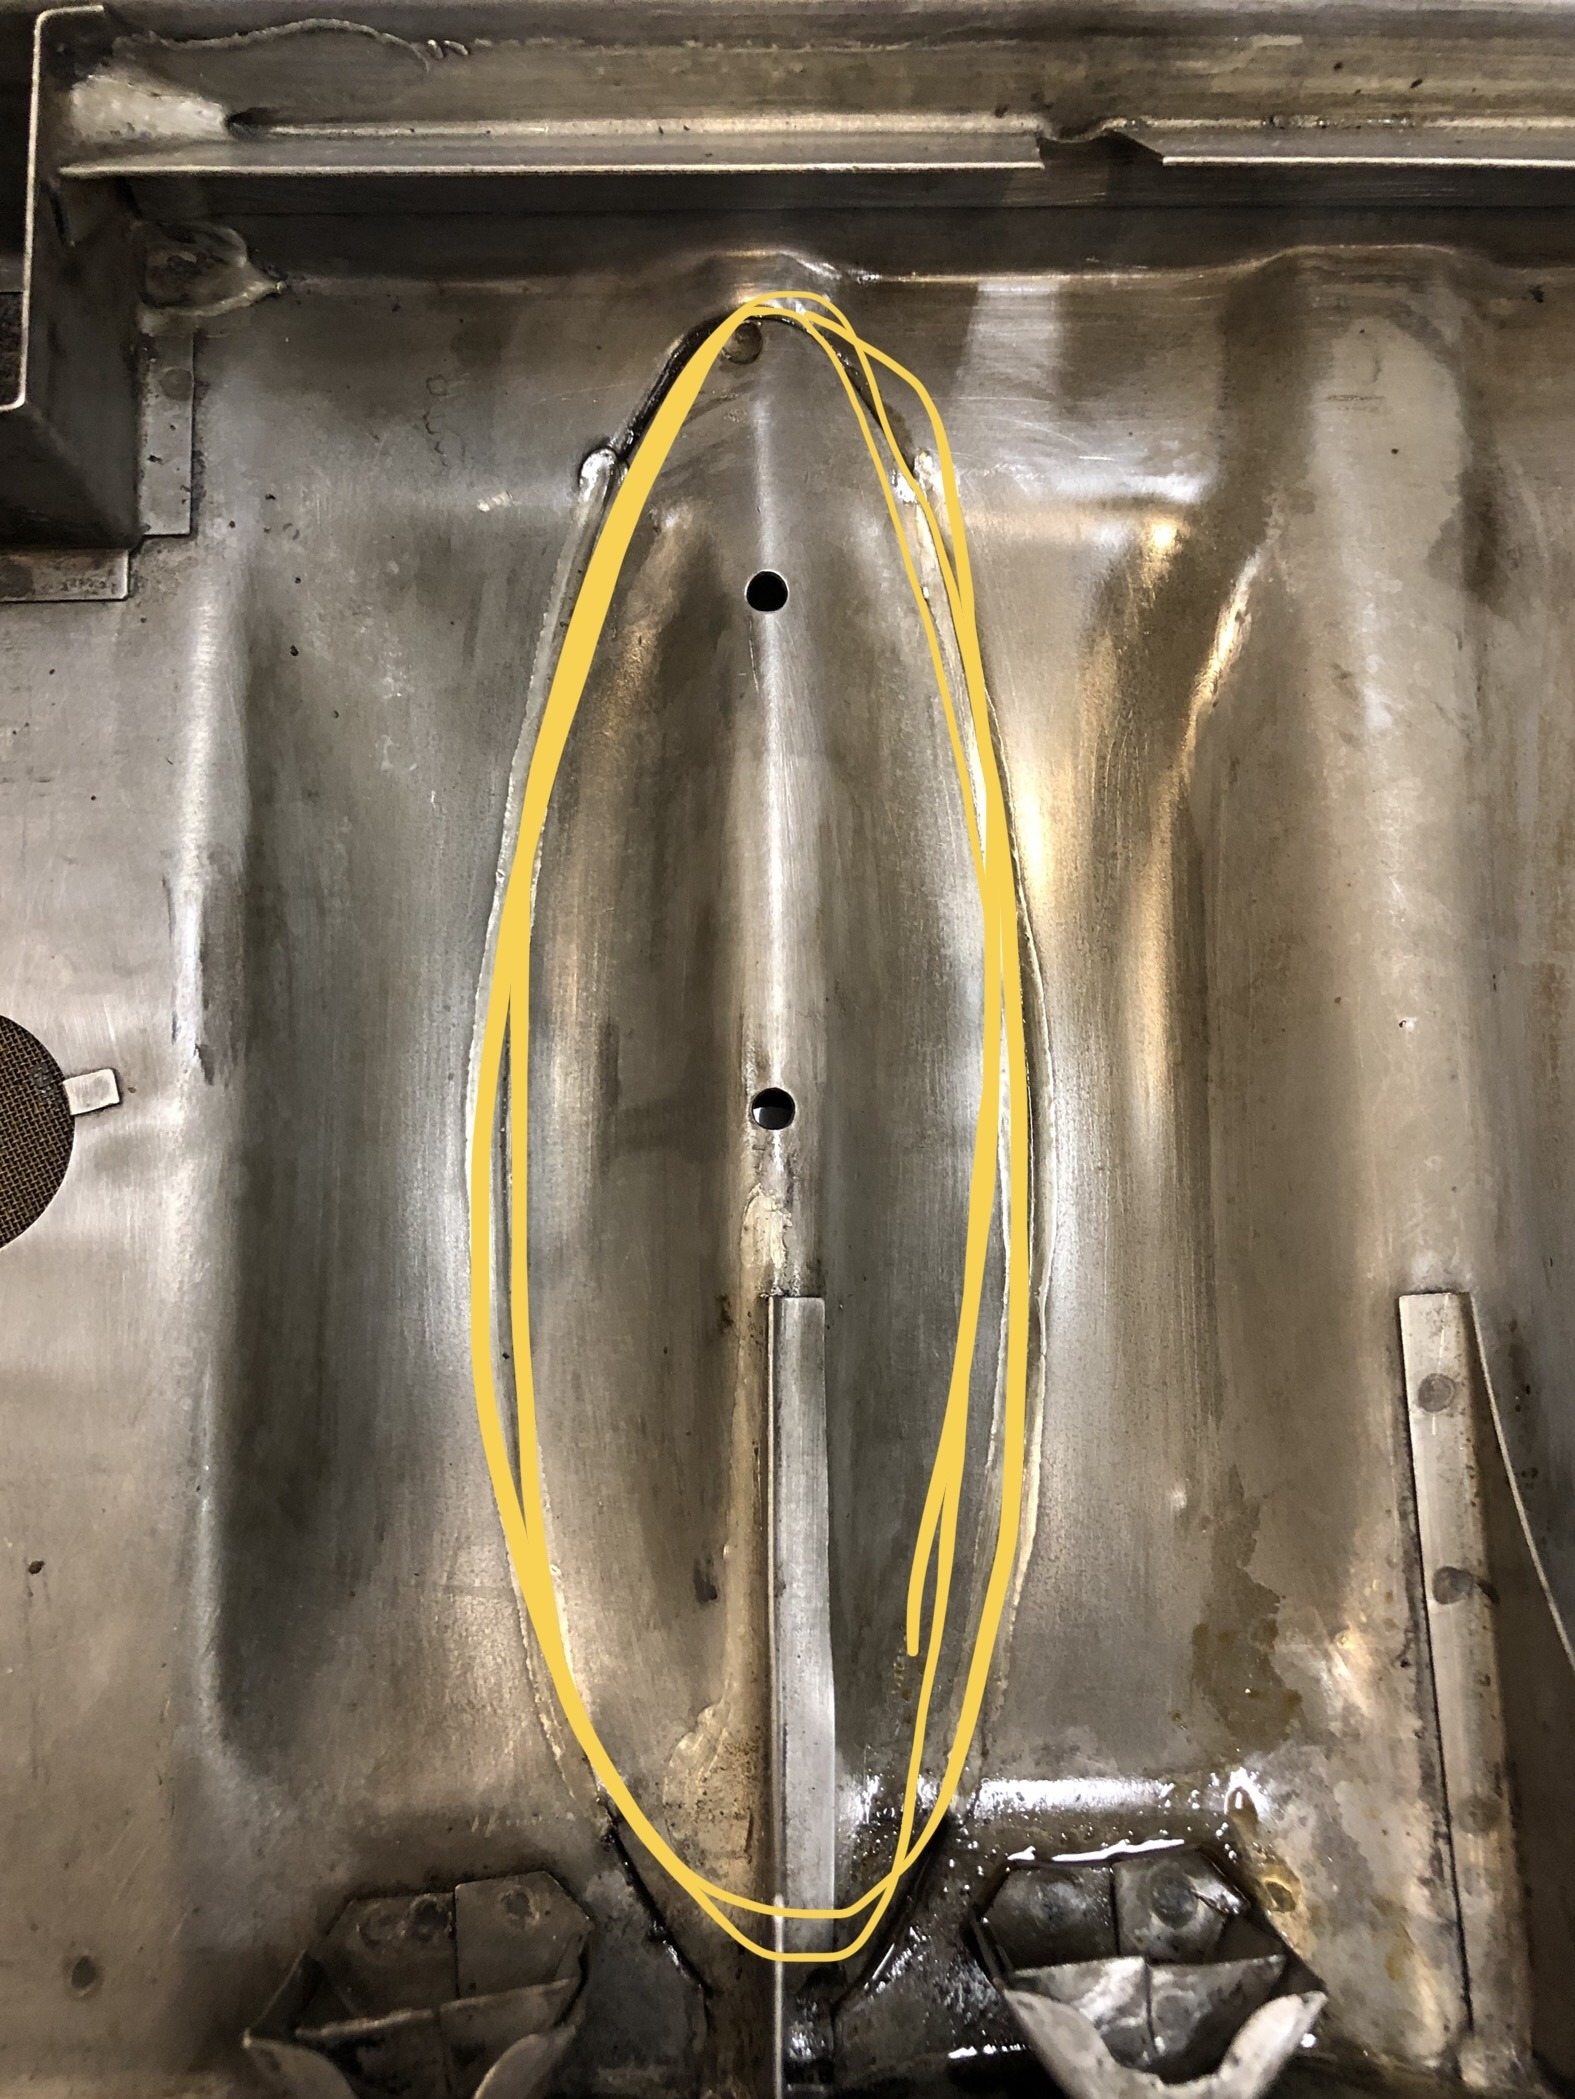 Has anyone been successful cleaning out the Sludge from inside this raised area? If so how? I hate to put it back together not having cleaned that area as well. It’s the circled in yellow raised area. 0
 -
I used an aerosol brakleen with the straw attachment, upside down,repeat. About as good as you're going to get without cutting it open.0
-
Holy Sludge Batman!
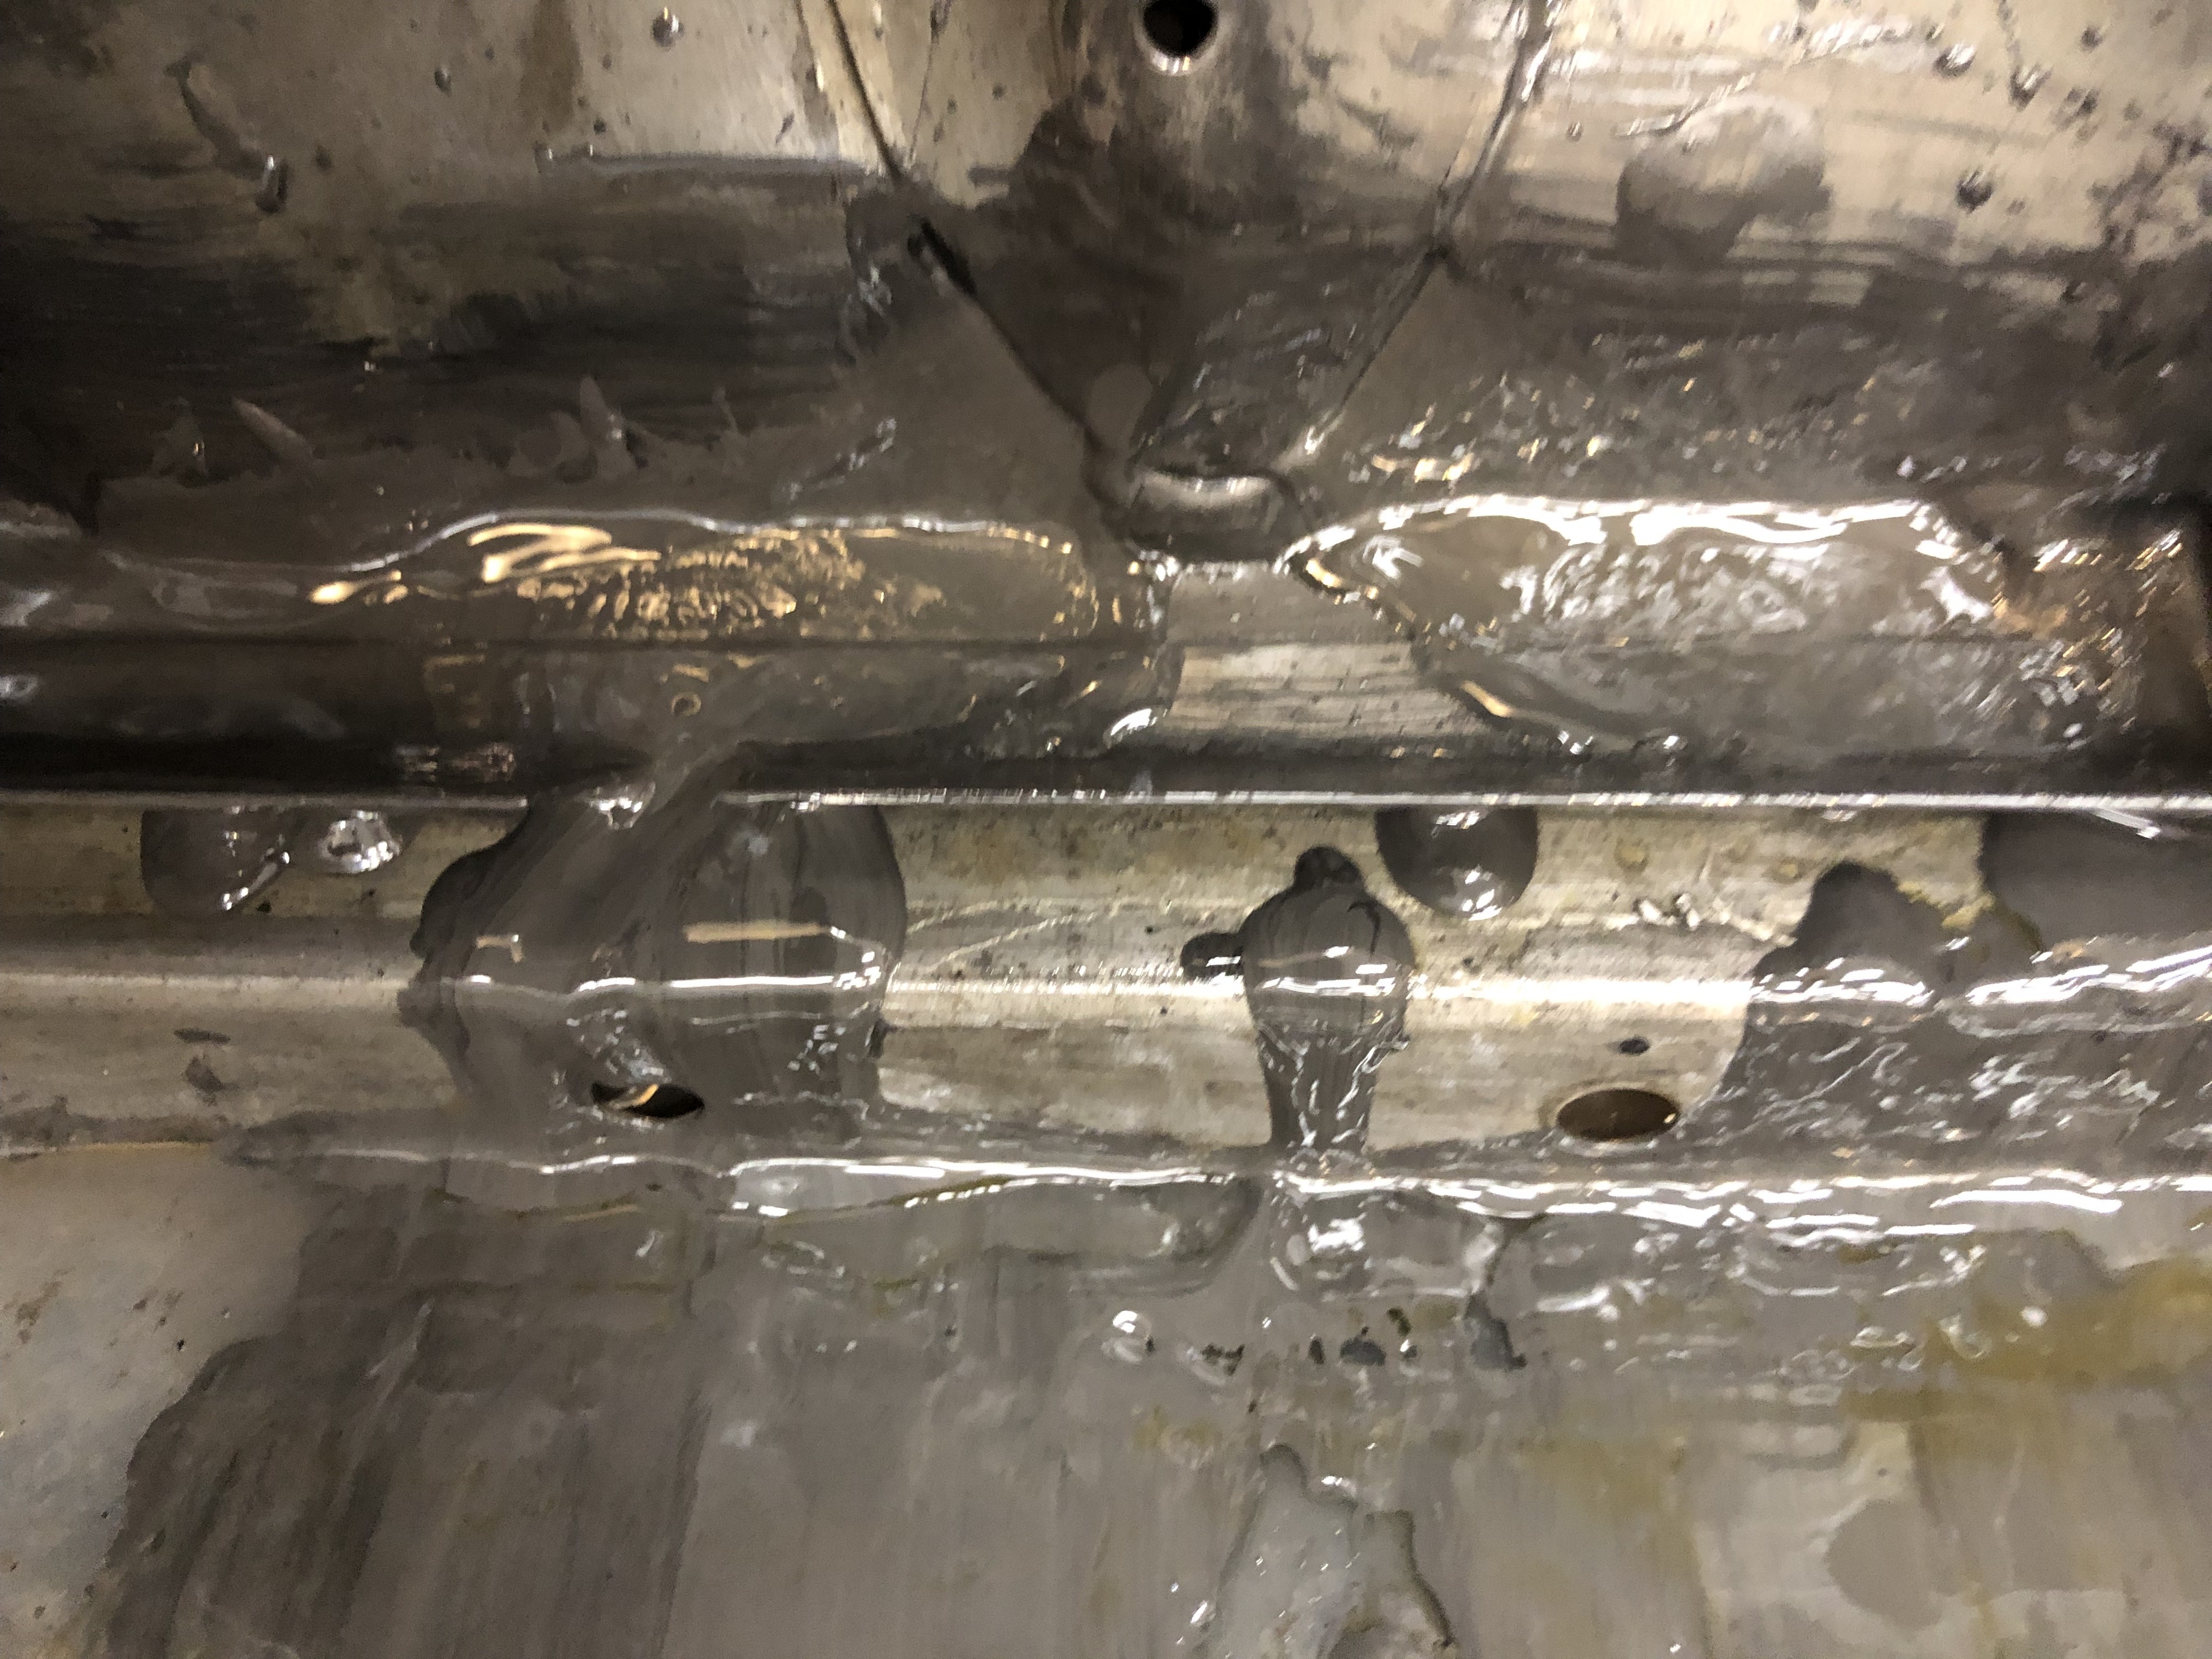
33ET8conv, I took your advice & started in on the area I described earlier with the brakleen as you’d done. It looked like a playdo mold as the sludge oozed out in the shape of the bottom hole. What nasty stuff that is & doesn’t come off the hands too readily.
After a pair of rubber gloves I went back to work on it but the brakleen was appearing to act more as a compressed air tool as the chemical had little if any effect on the sludge. Thus I next used compressed air with my air compressor air blow off tool. It was almost a perfect fit to the middle hole & leaving the bottom hole open I blew out a great deal more sludge. My plan is to leave the pan on its side & hope it will continue to flow out the gap at the very end over the next 10 days I’m away from this project.
Question: has anyone come up with any other ideas or chemicals to break down the sludge?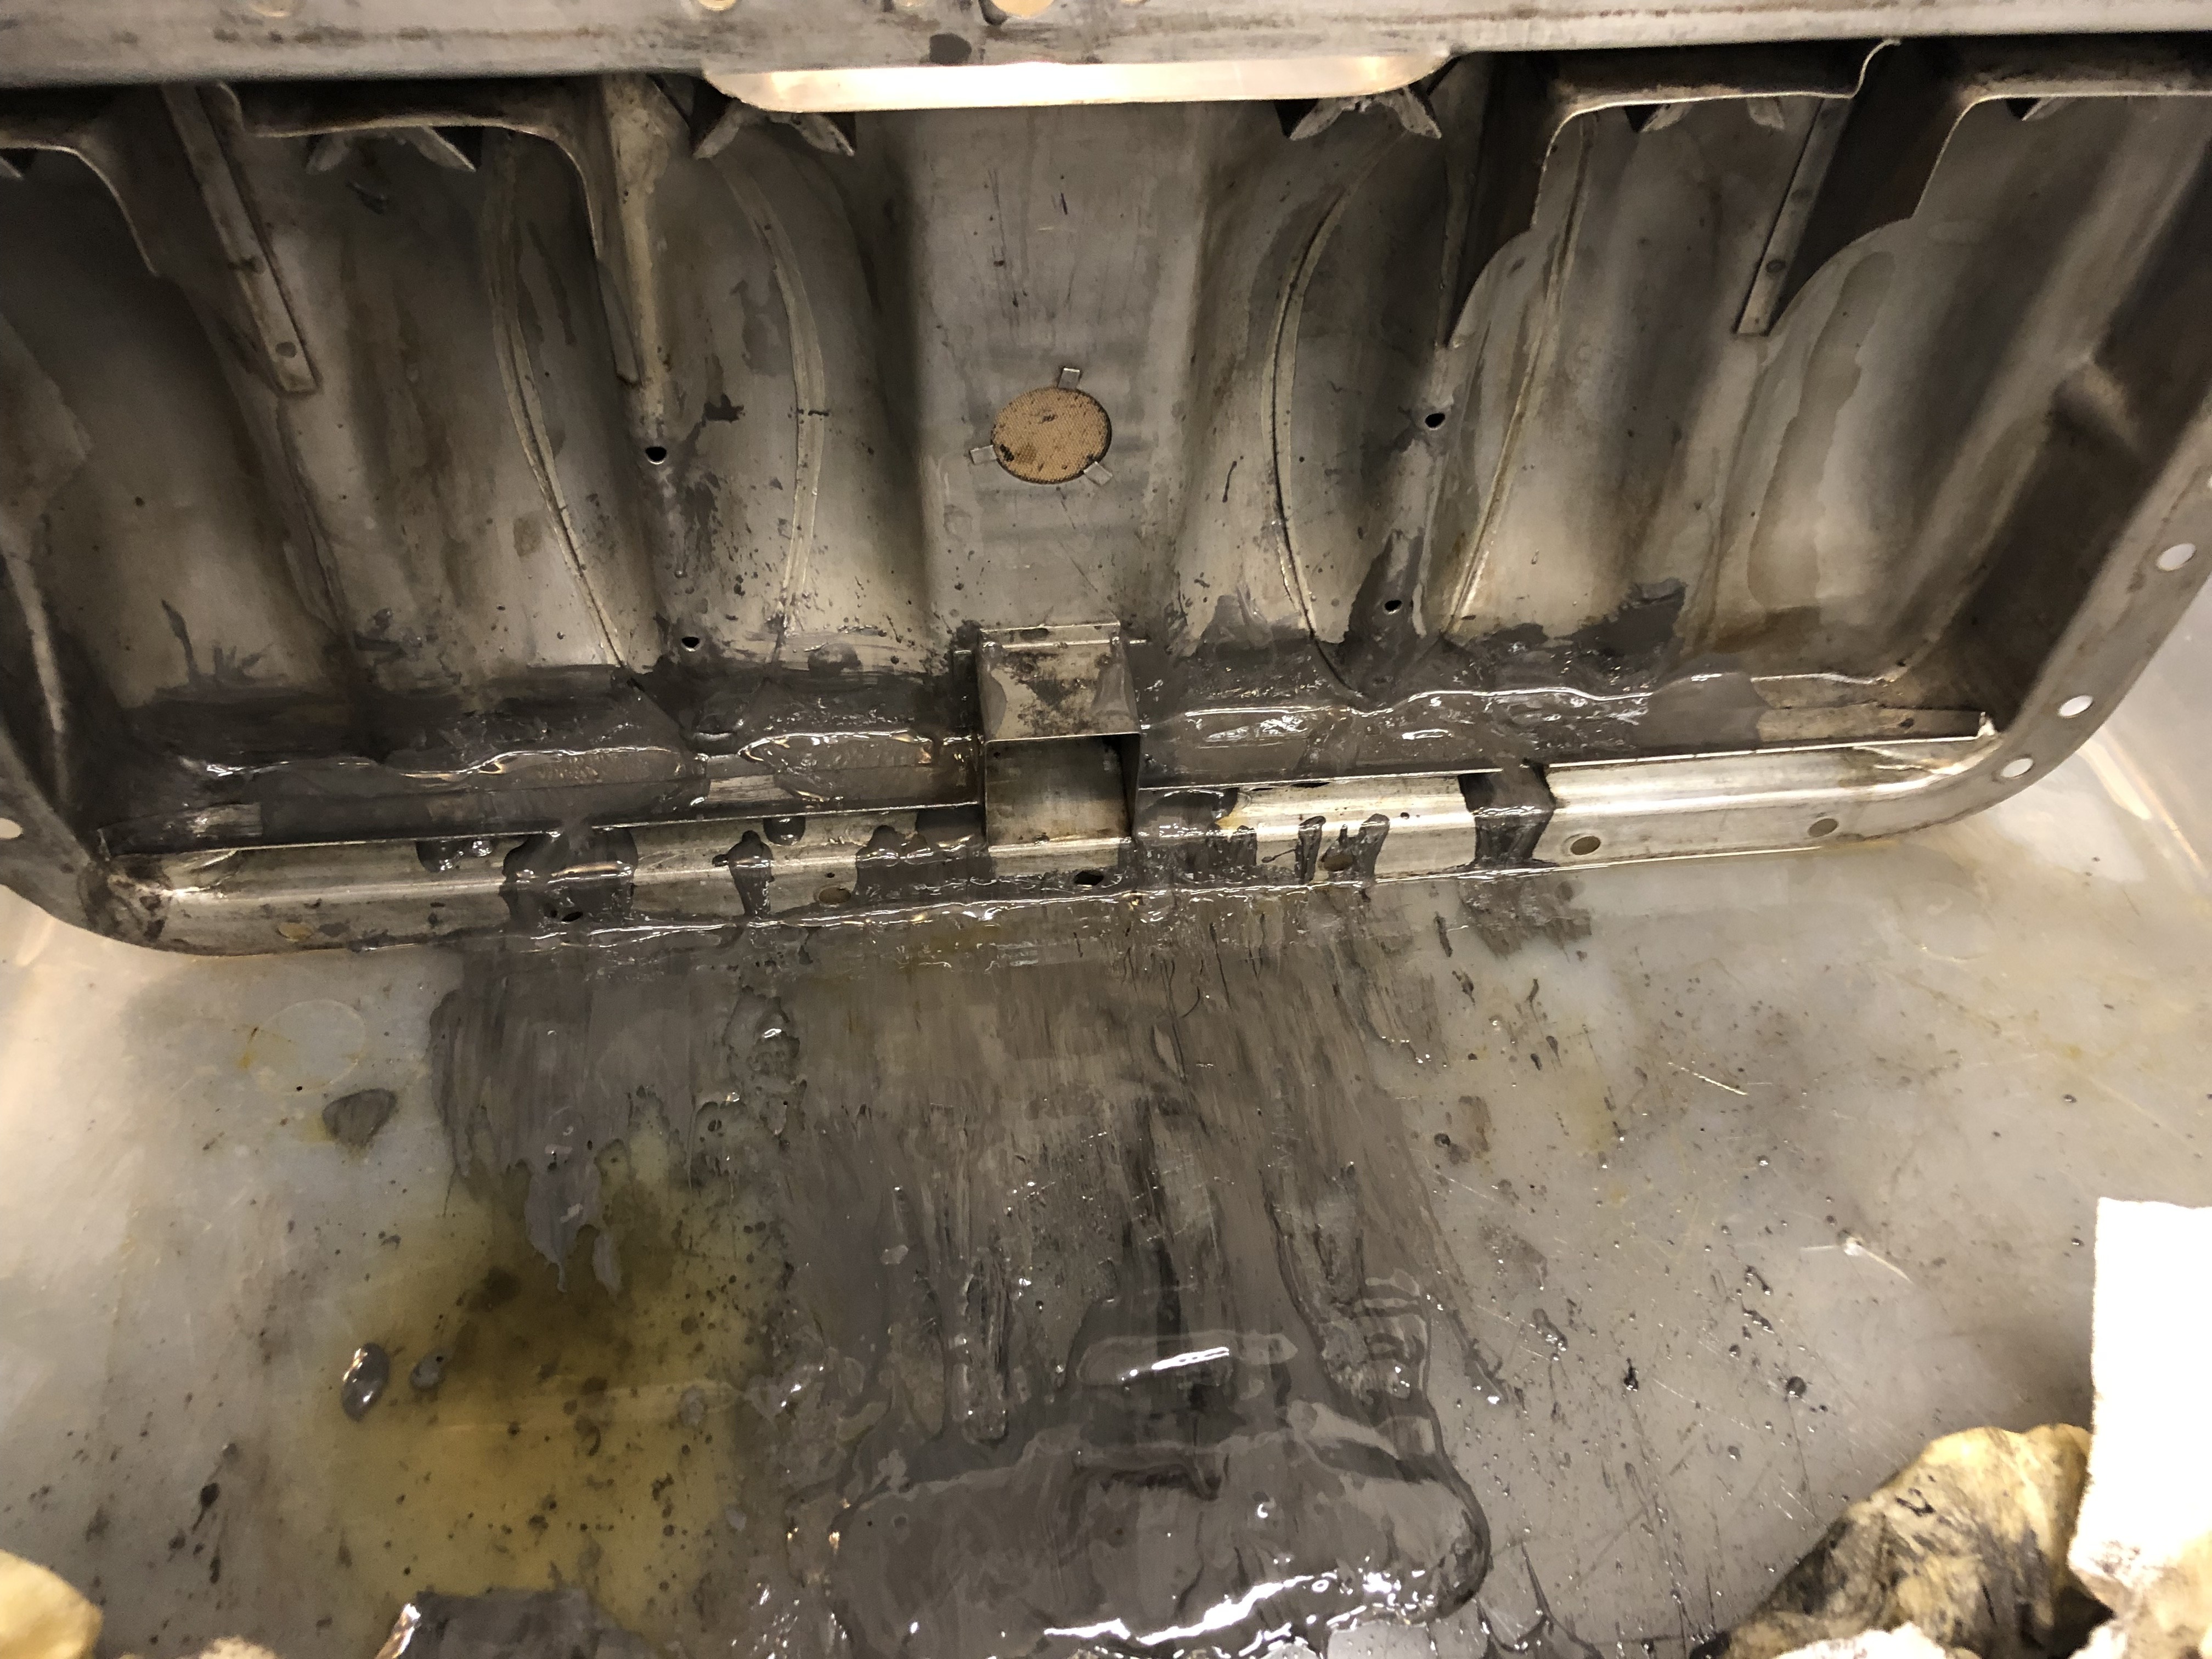
0 -
Holy cow batman!0
-
I wonder if a good soaking in diesel would break that down any. If only enough to wash it out easier, but maybe to the point of making it flow out. I've used it to soak quite a few things...but who knows with that slurry.0
-
Mine didn't appear to have much sludge at all in those pockets. Try soaking it upside down in citrus degreaser.
How are the trays replenished with oil?0 -
I wonder if this is bearing material from wear over the decades, looks a similar colour?0
-
A very good question. You could take it to a engine repair shop and get them to put it in their big tanks, depending on what solvents they use. Some solvents used are bad for the white metal bearings so possibly also bad for solder. Good there is a large hole in the middle. Consider making welding a long copper pipe on the end of your air comp kero gun or use a long plastic hose to reach the inside ends. You will have the cleanest sump in the USA.0
Categories
- 37K All Categories
- 117 Hudson 1916 - 1929
- 21 Upcoming Events
- 96 Essex Super 6
- 28.6K HUDSON
- 576 "How To" - Skills, mechanical and other wise
- 995 Street Rods
- 151 American Motors
- 181 The Flathead Forum
- 49 Manuals, etc,.
- 78 Hudson 8
- 44 FORUM - Instructions and Tips on using the forum
- 2.8K CLASSIFIEDS
- 609 Vehicles
- 2.2K Parts & Pieces
- 78 Literature & Memorabilia
- Hudson 1916 - 1929 Yahoo Groups Archived Photos
