1933 Terraplane front fenders and front sheet metal
bent metal
Senior Contributor
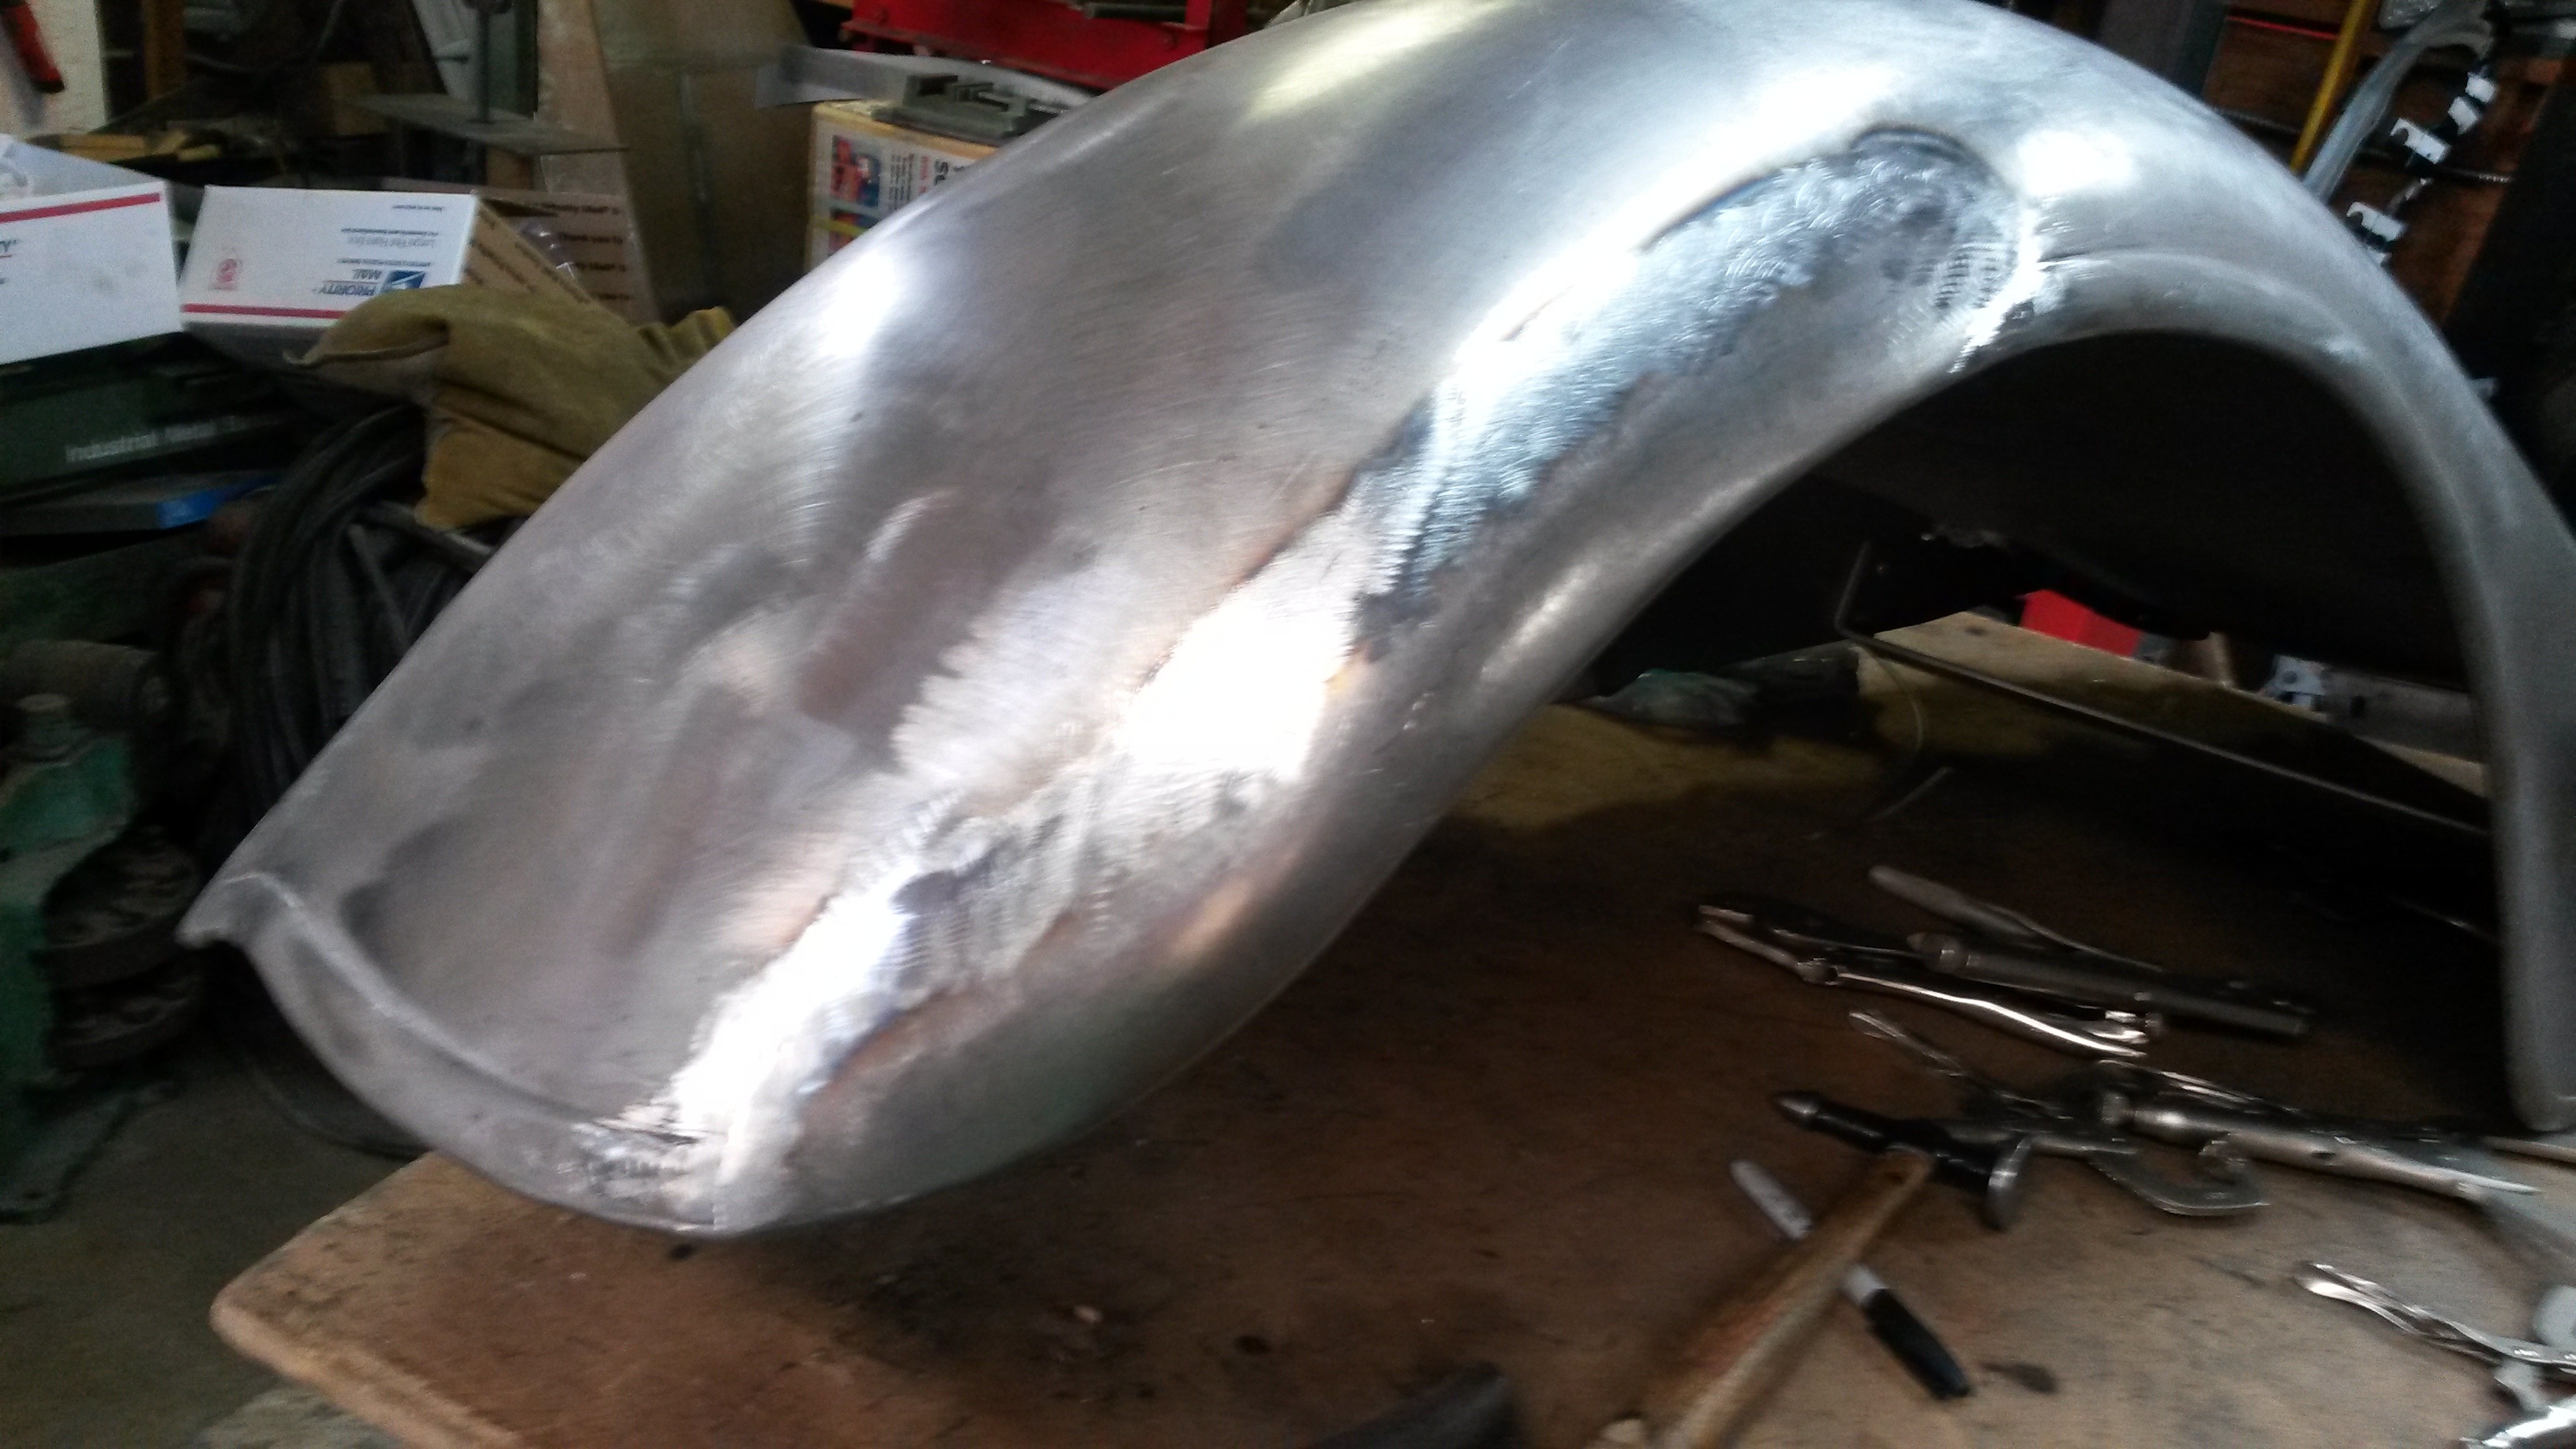
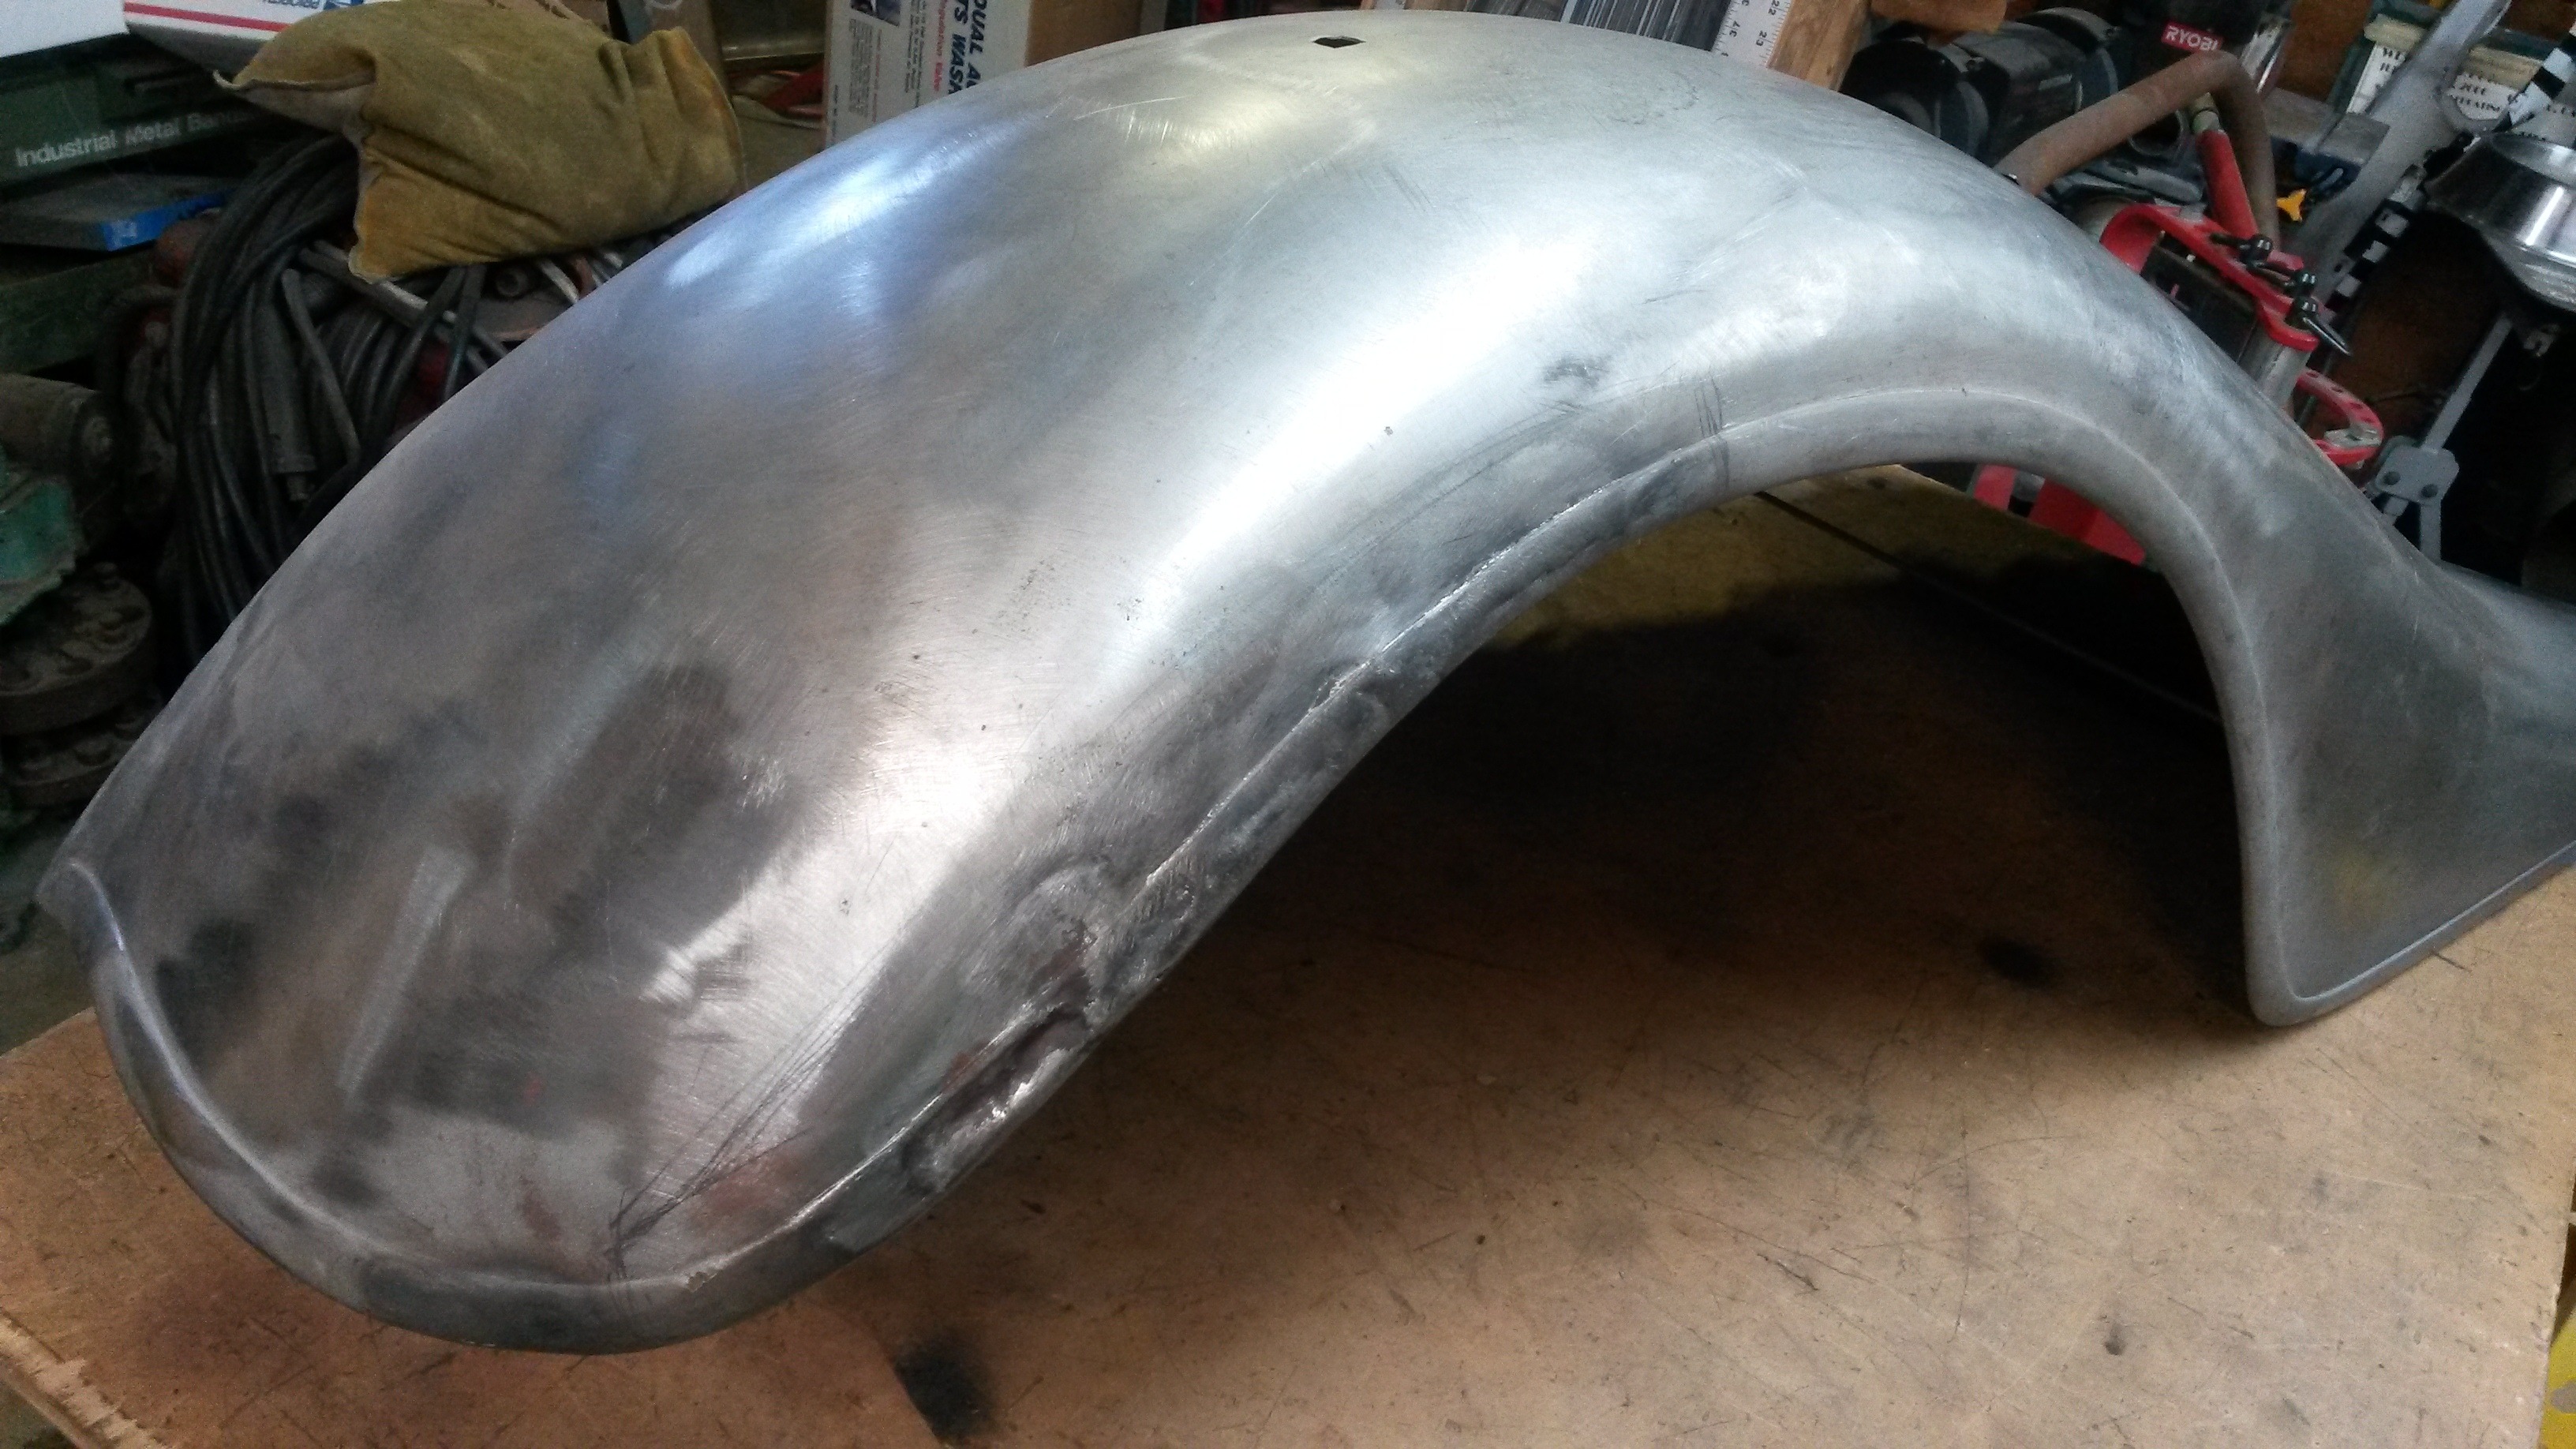
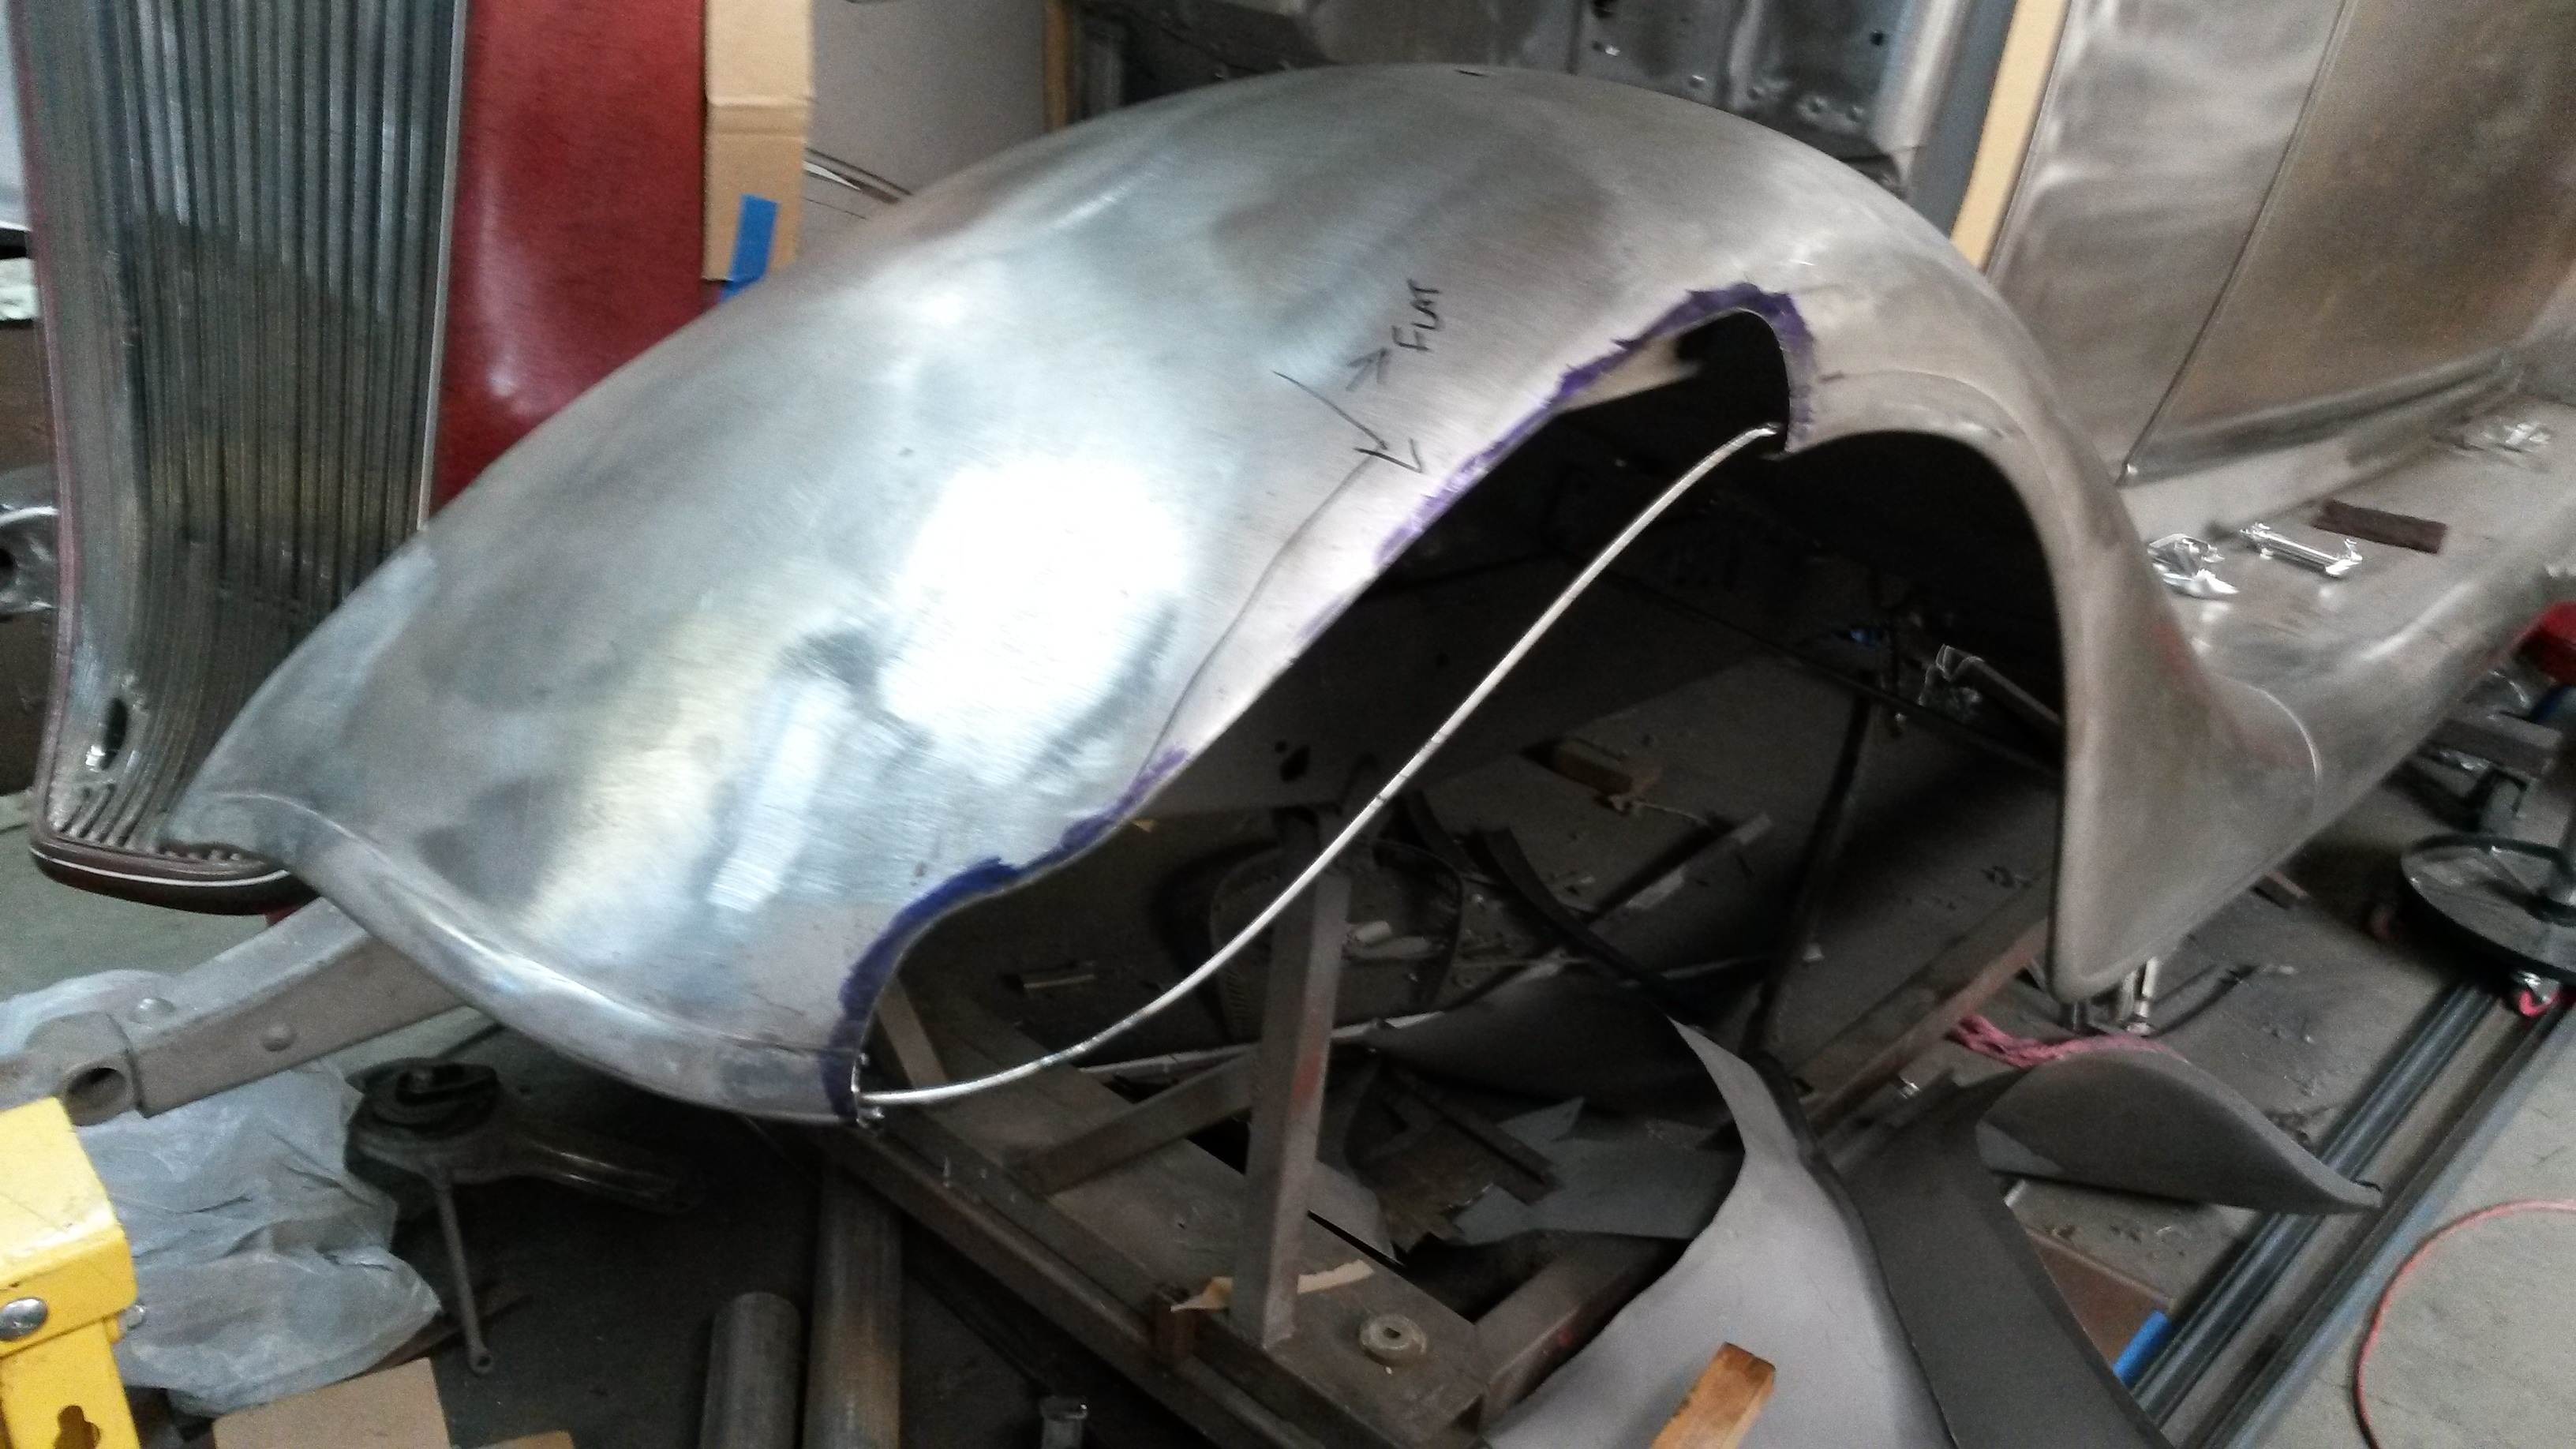
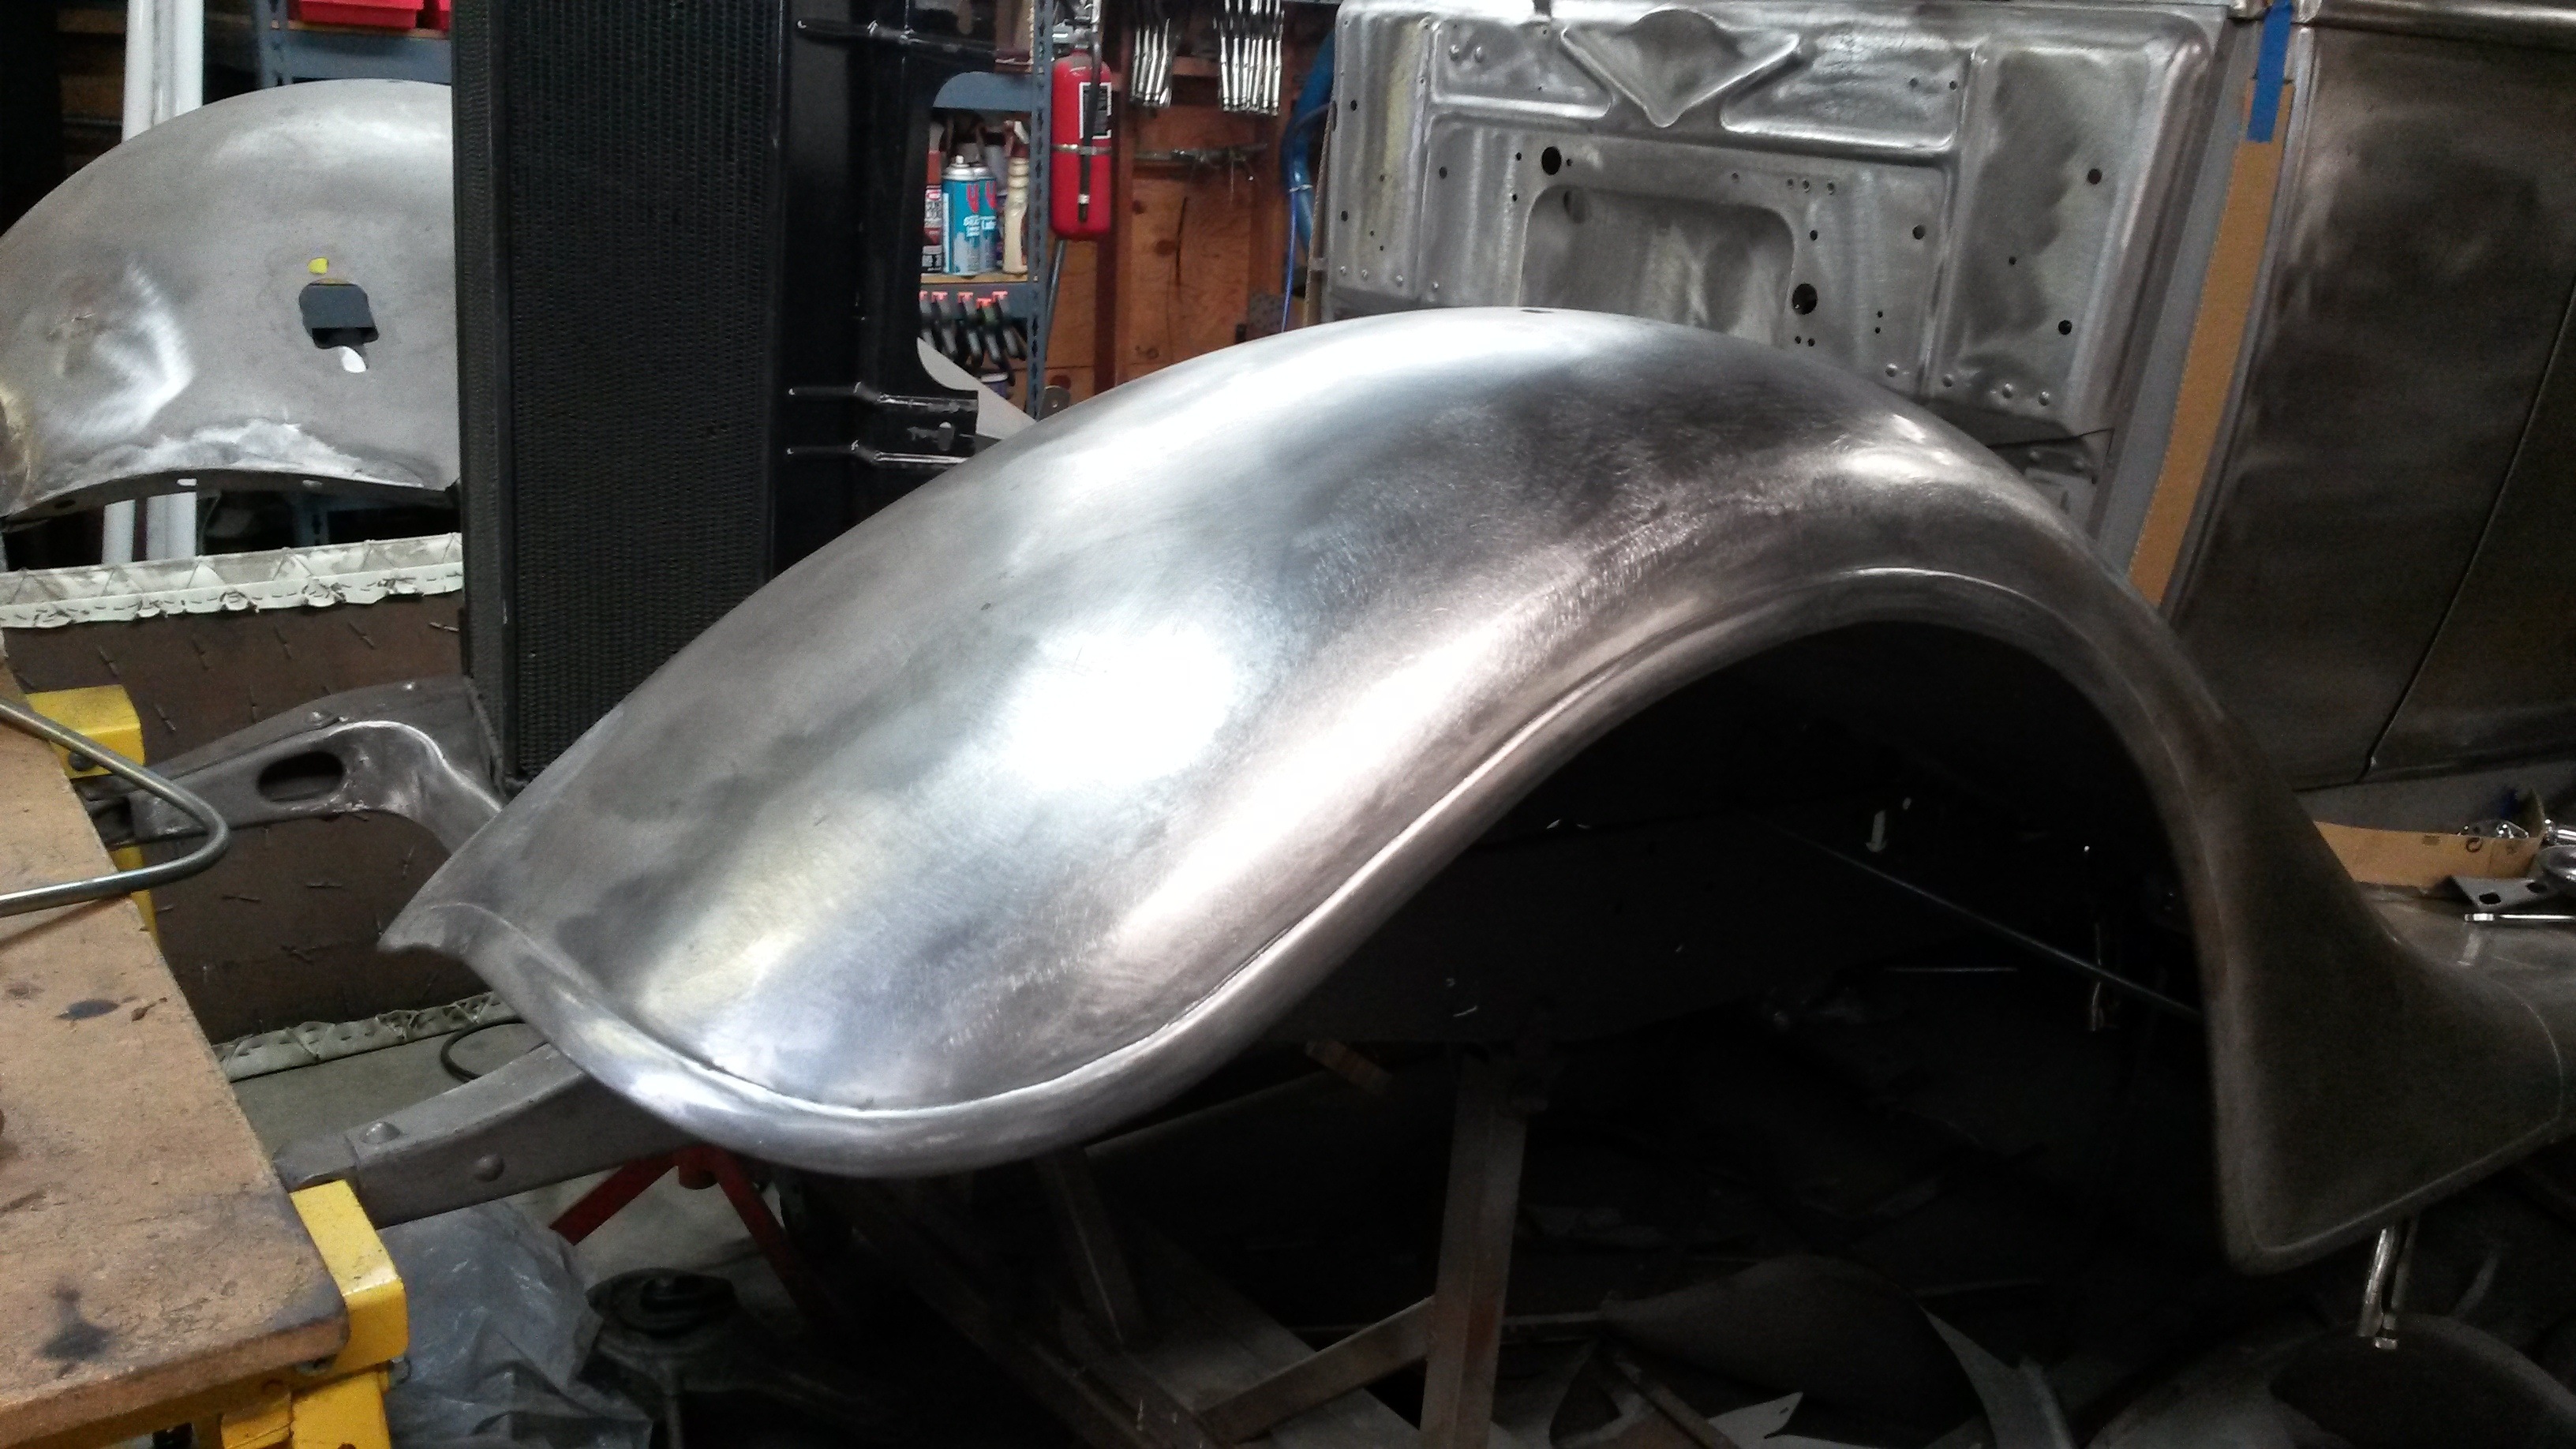 Often times I come across old lead work. I prefer to remove it to see what's underneath. Usually these old repairs are not so great and covered up with lead, then over filed in the surrounding area of the lead. If there are thin spots in the metal, I replace metal out far enough to get to good metal. These front fenders are a good example of that. With a fender bracket on the back side and in the way of the repair work. It's best to cut it all out and make new in this area, repair the fender support bracket and weld it back in. ...I can't seem to get the pictures in order, if anyone can help with that it would be appreciated. But, you get the idea. Remove the lead, see what's there, replace the bad, repair the wire, wire the edge, and re-stamp the edge detail.
0
Comments
-
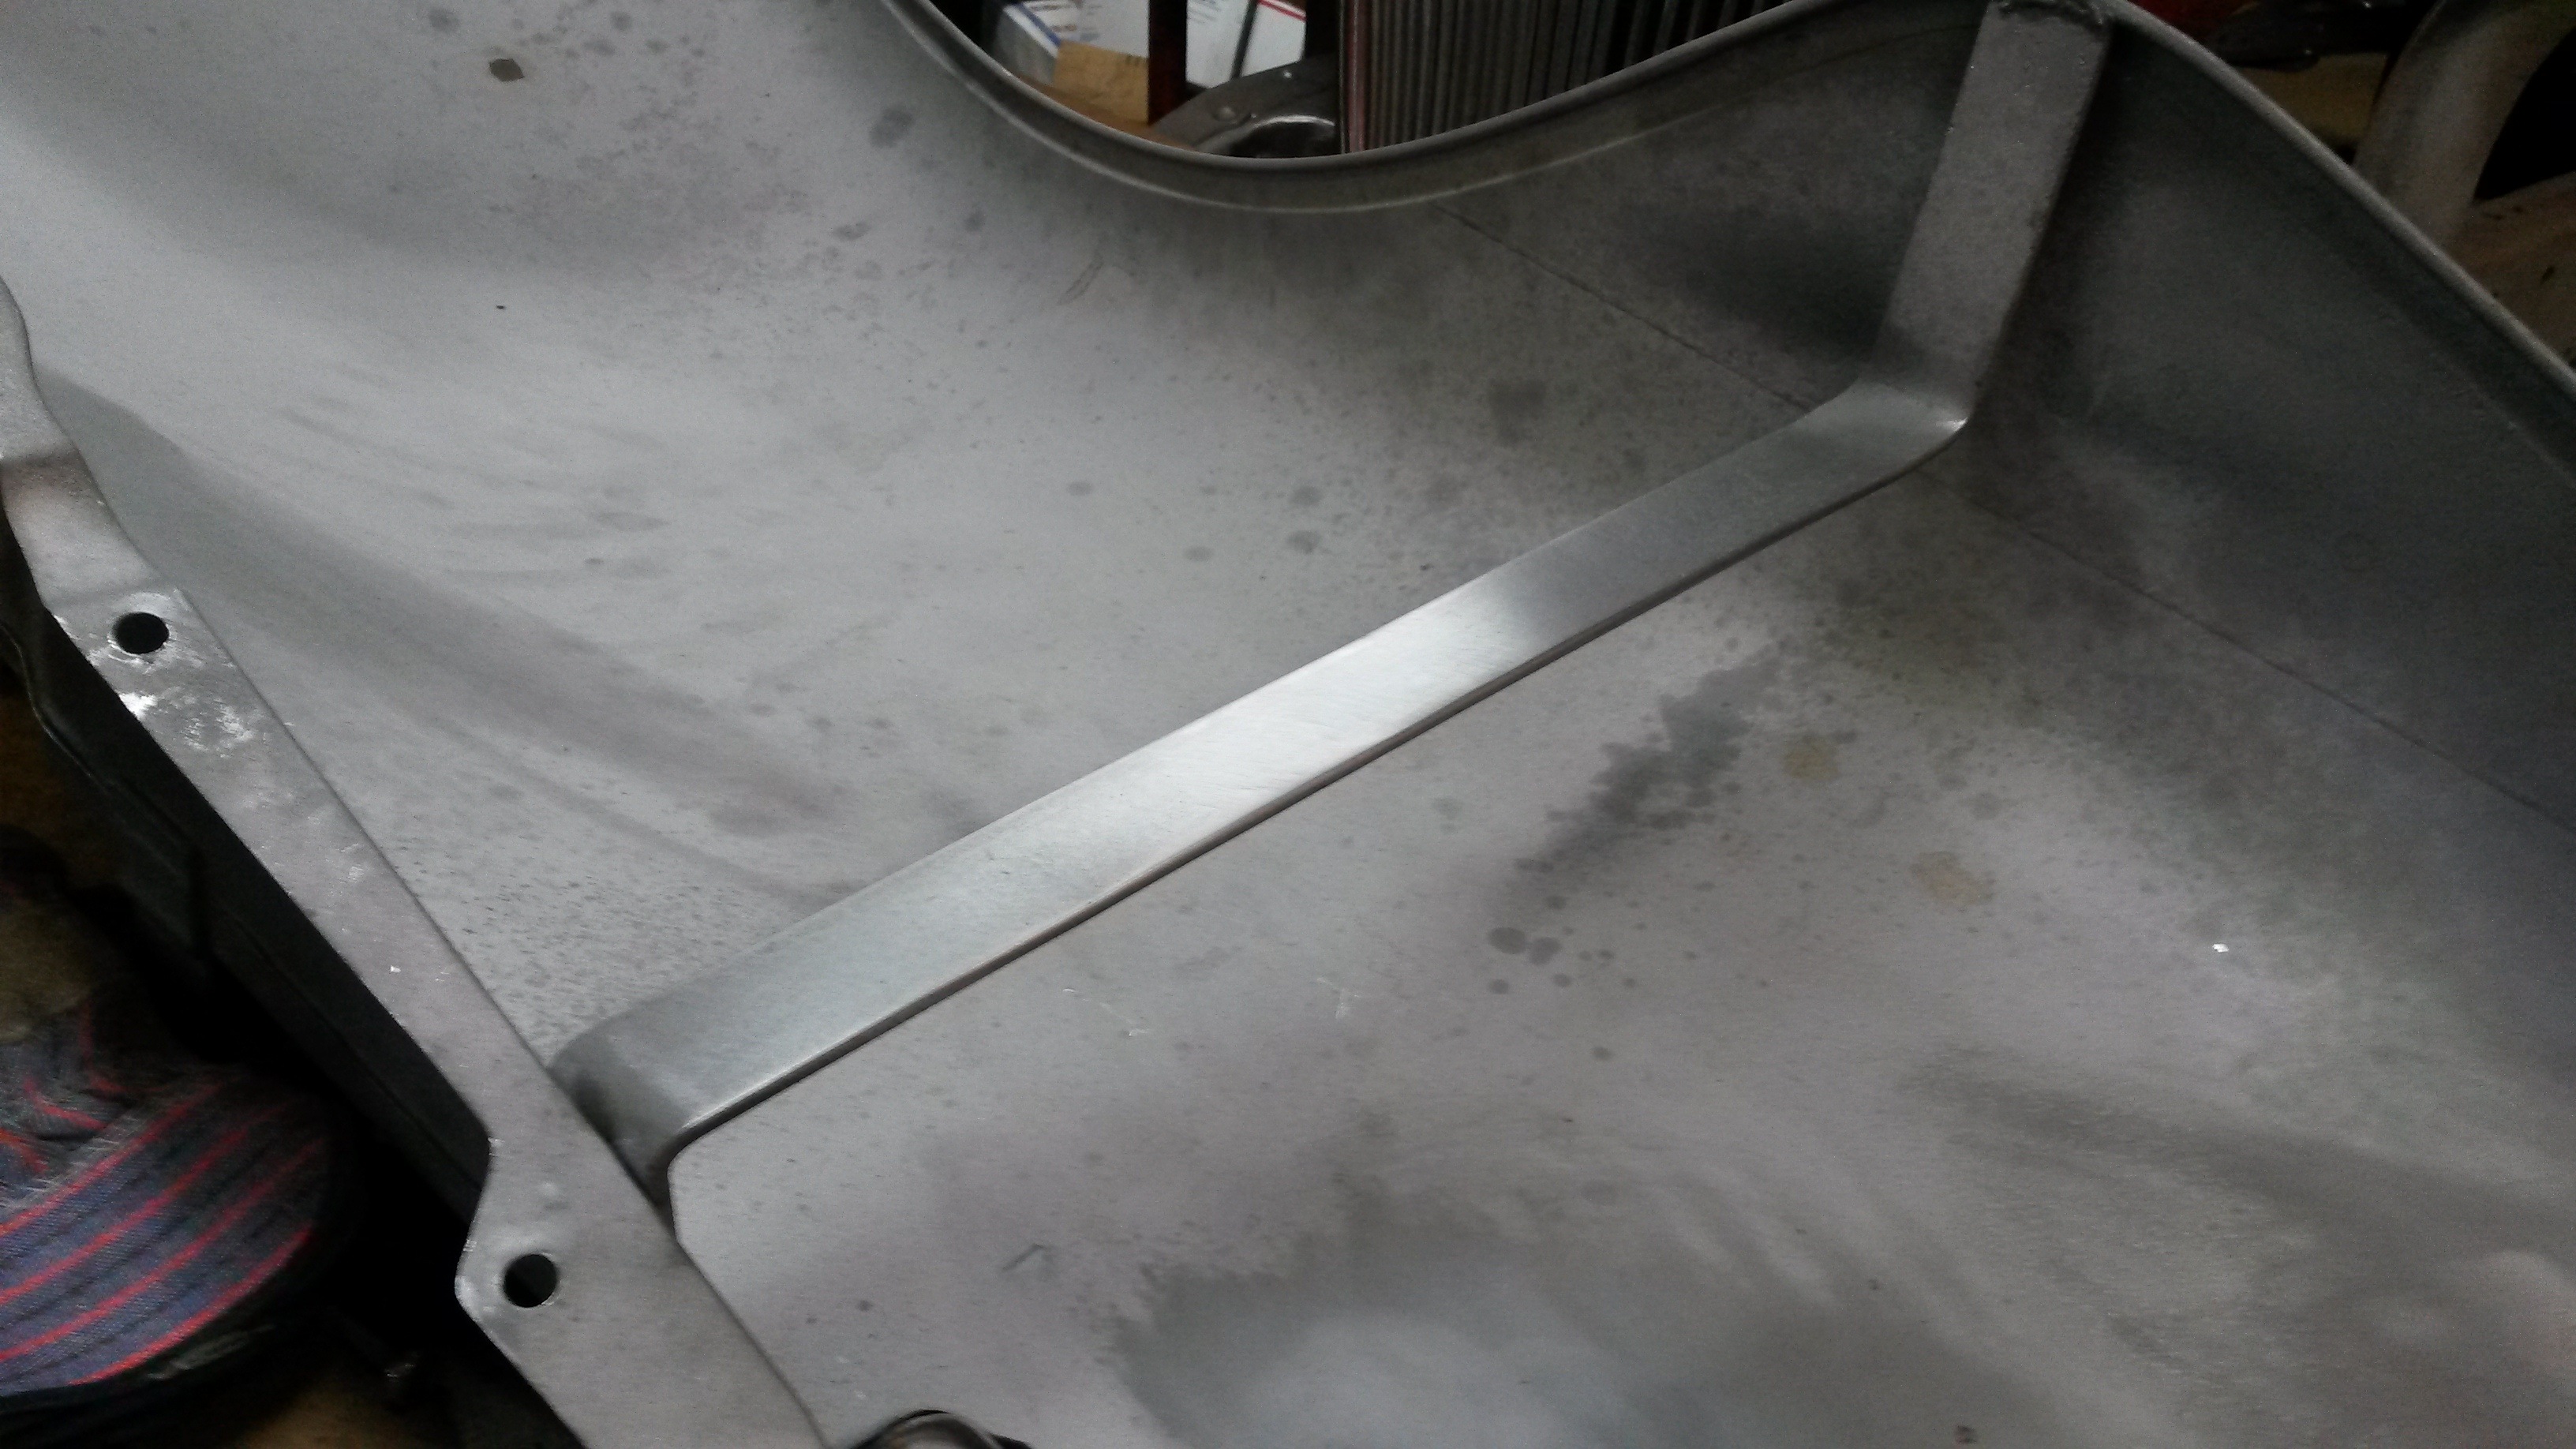
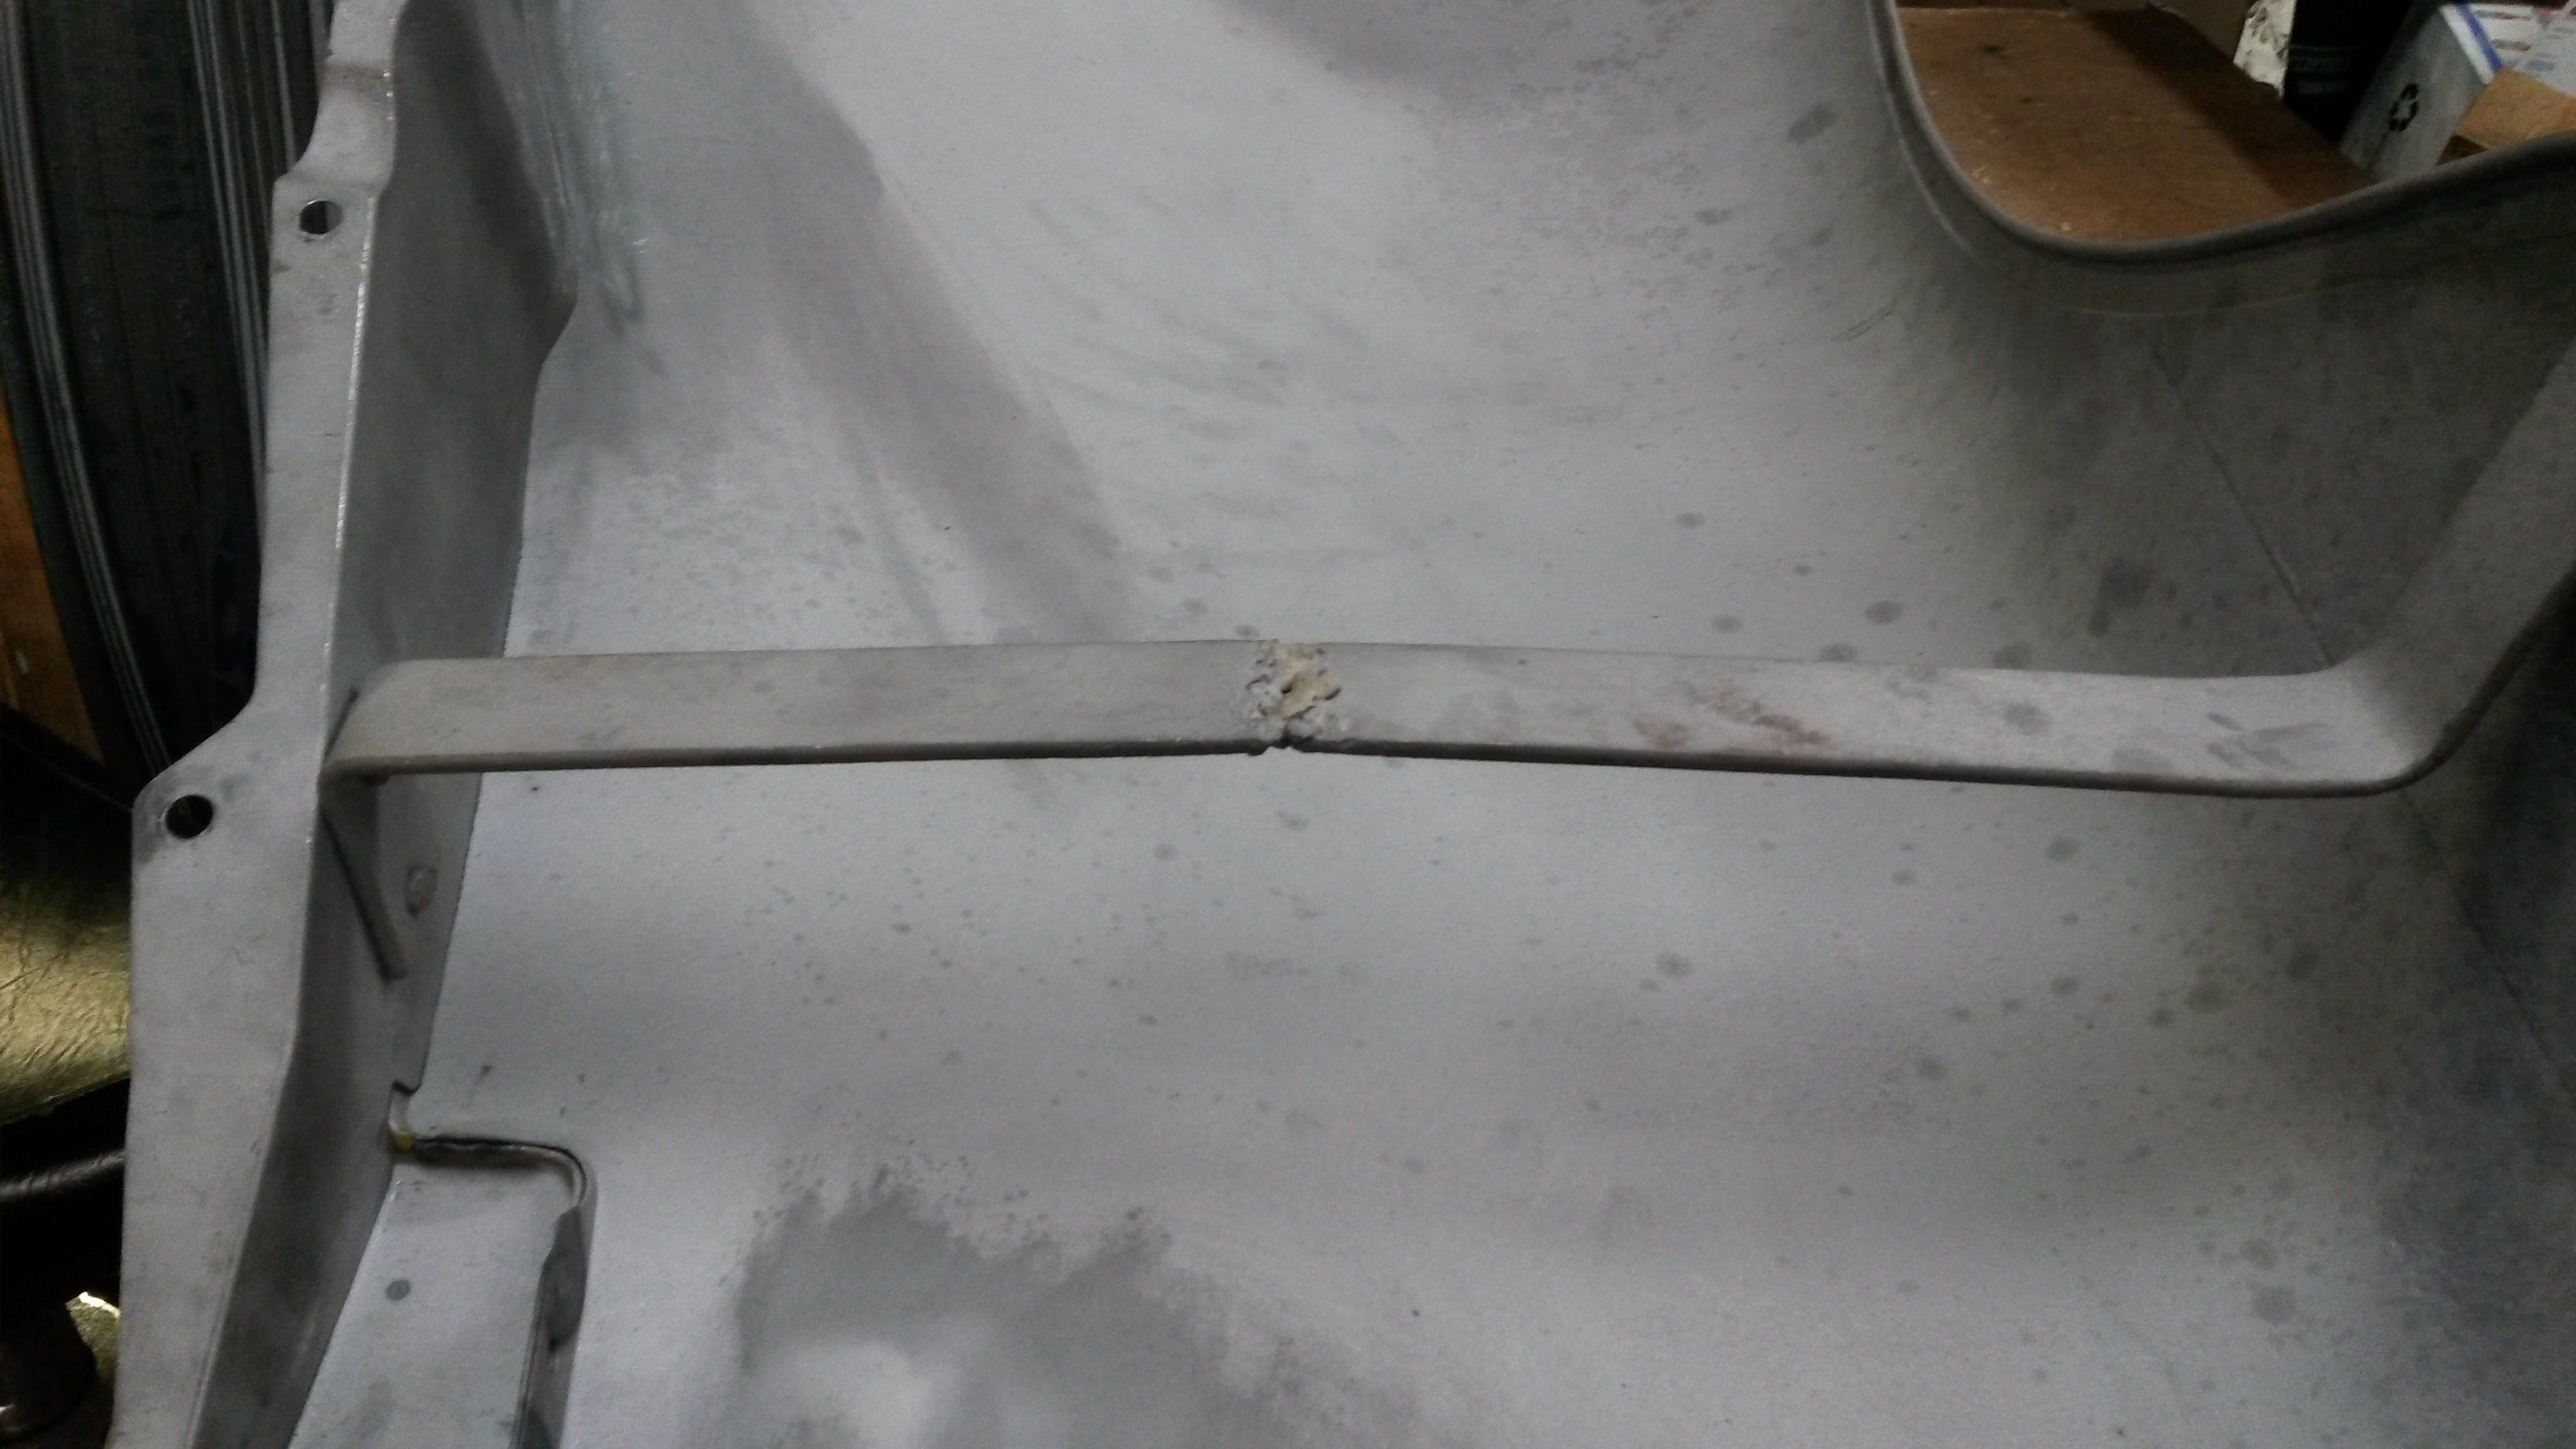
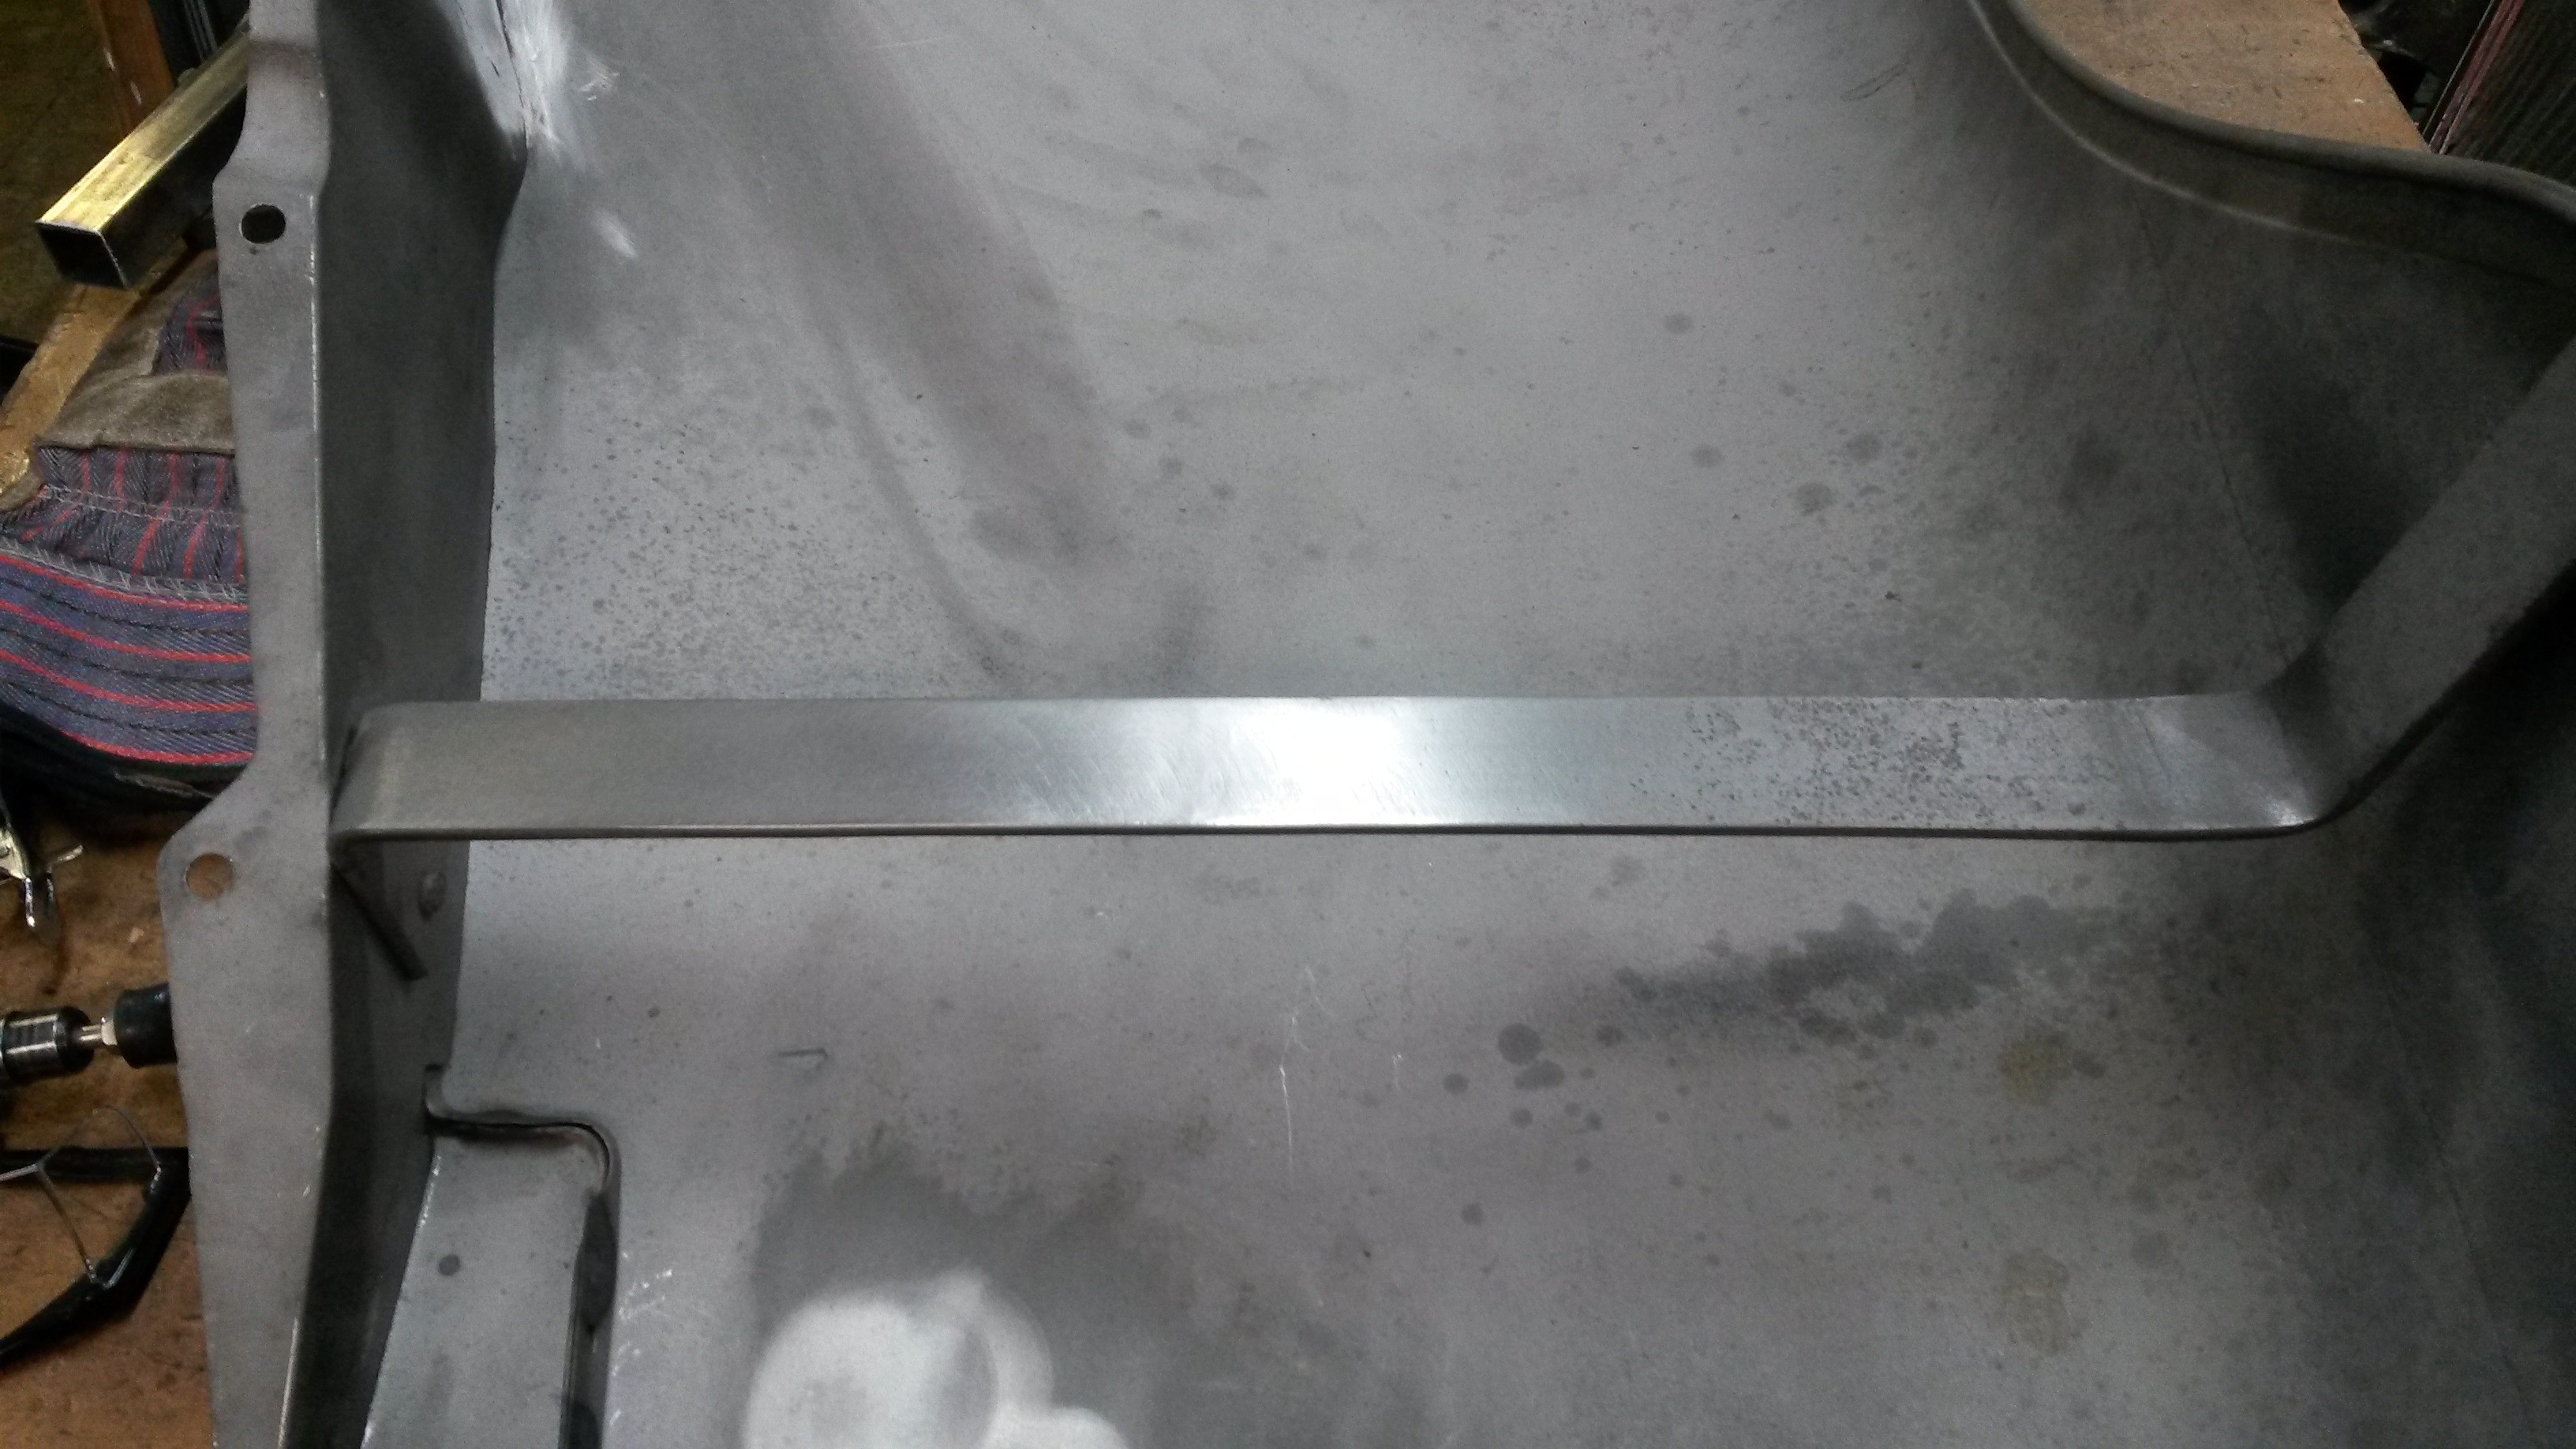
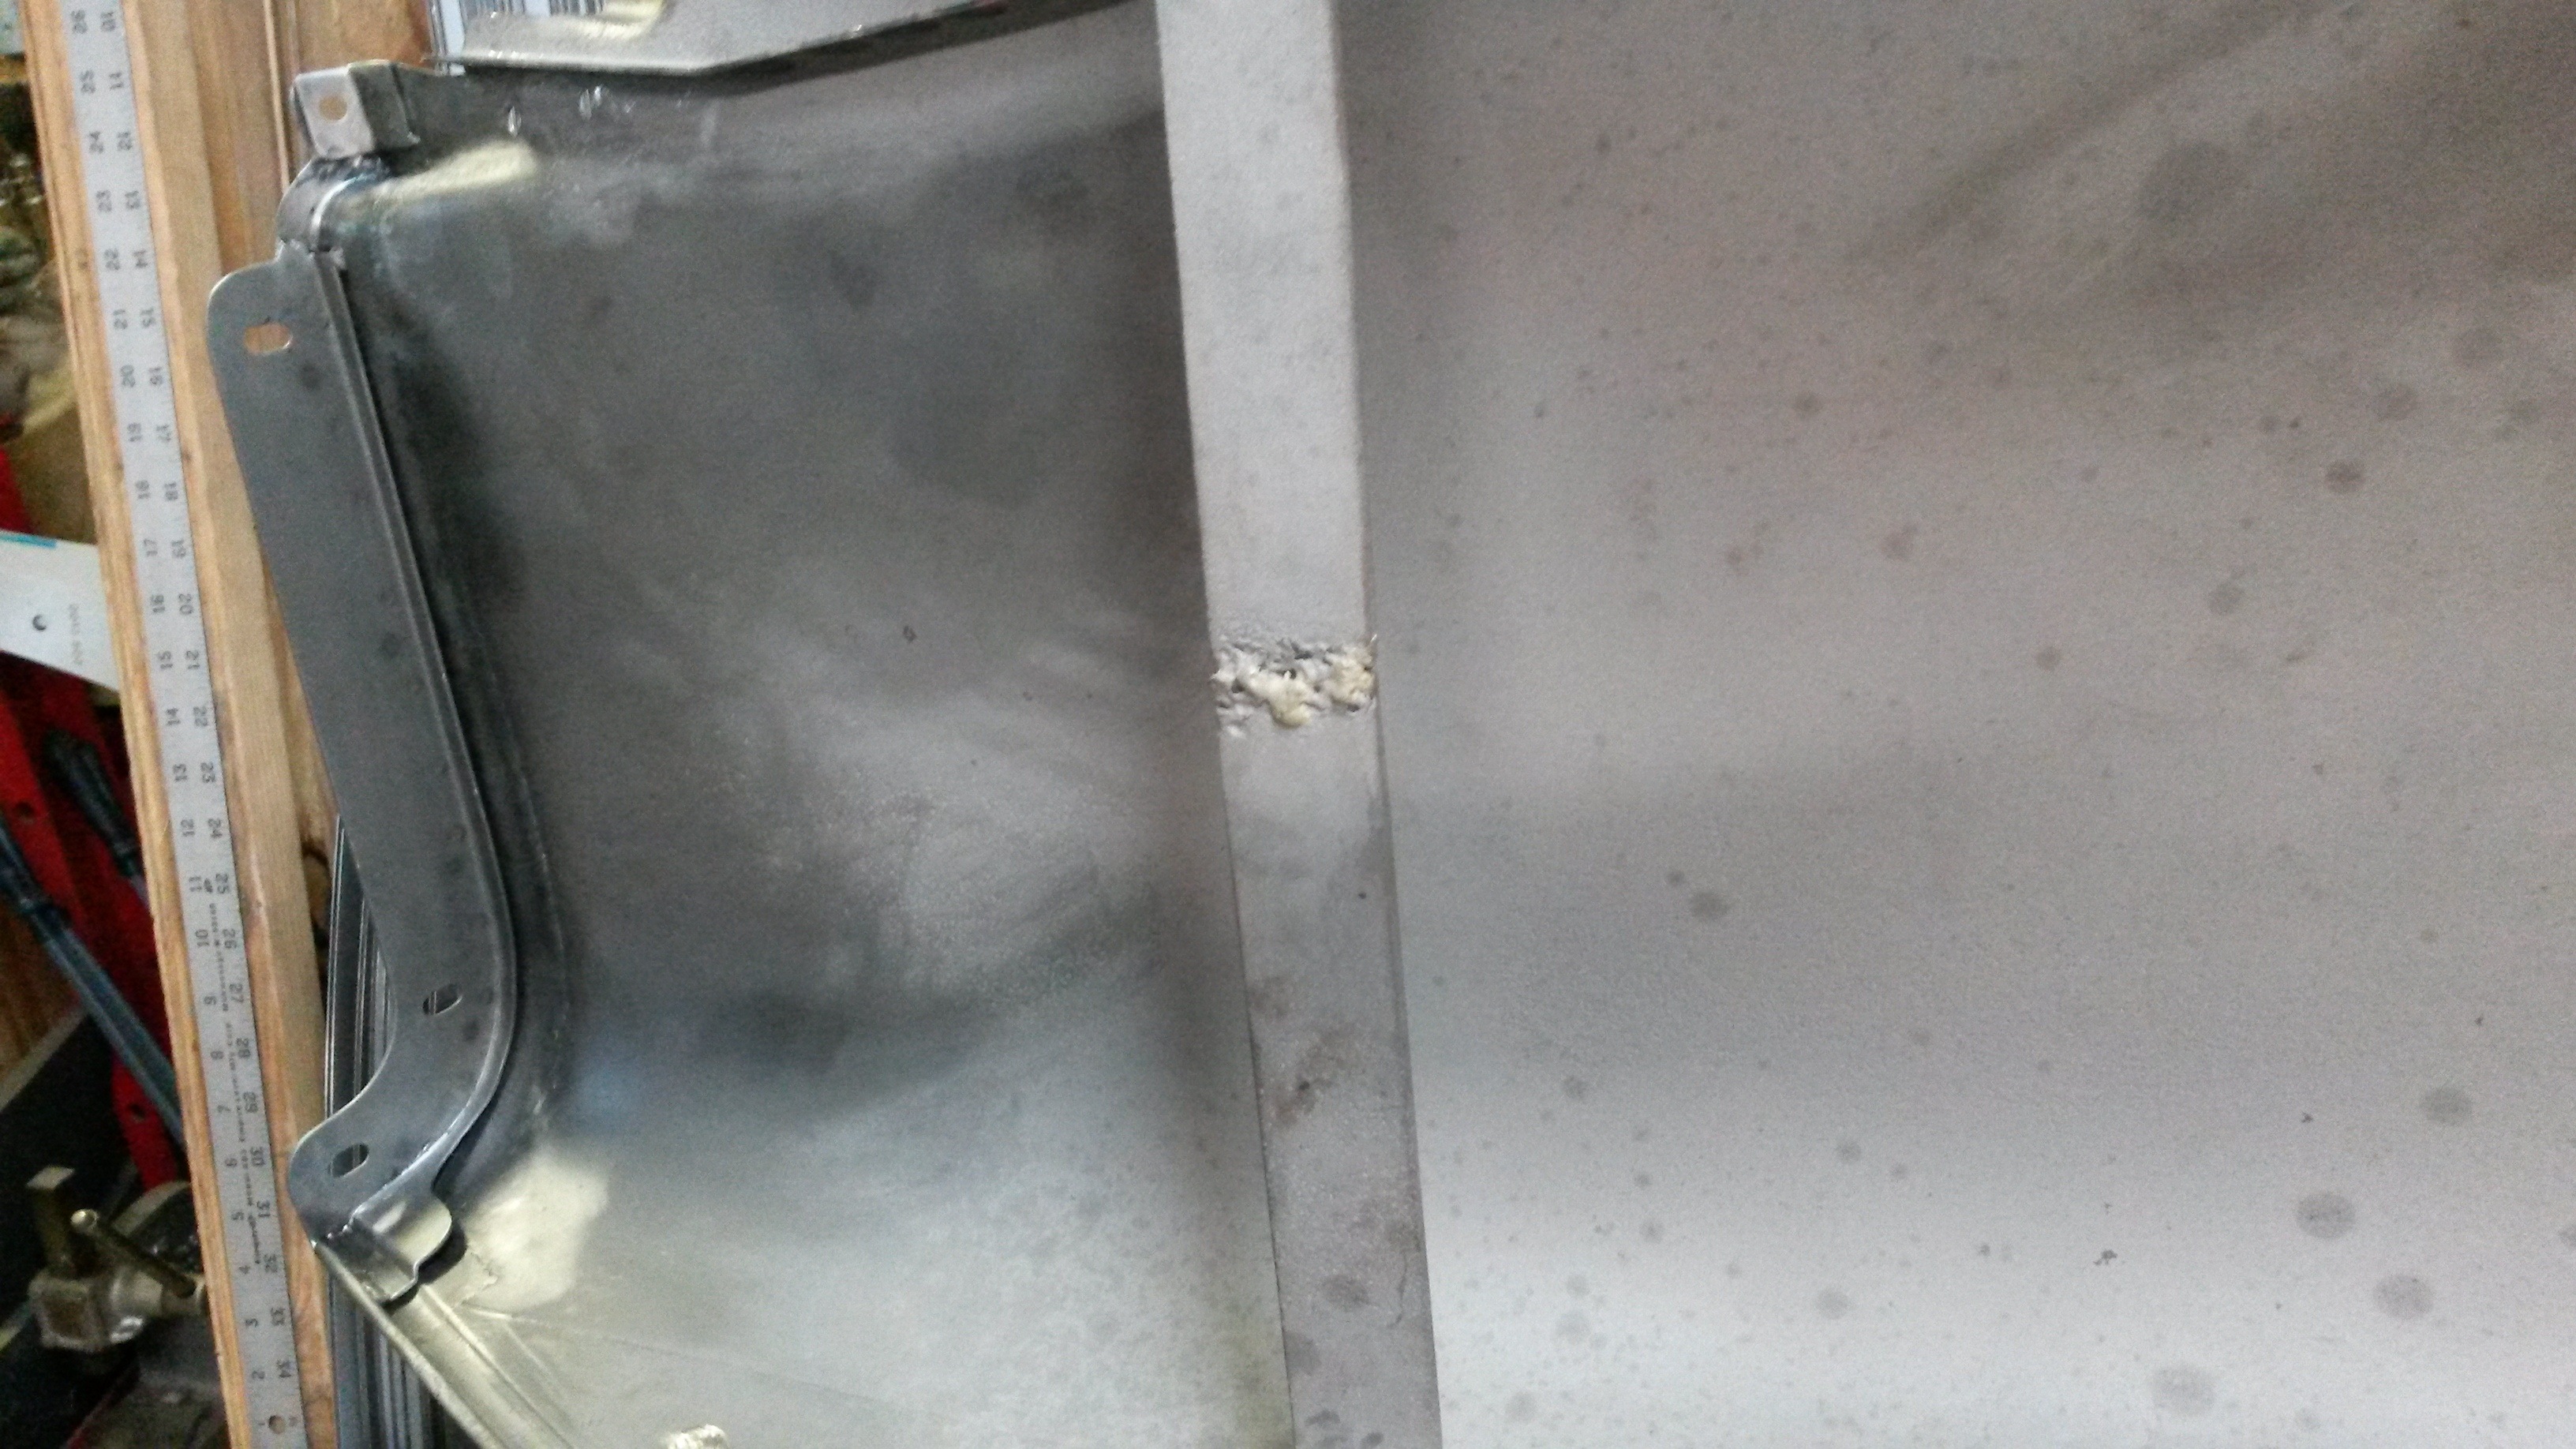
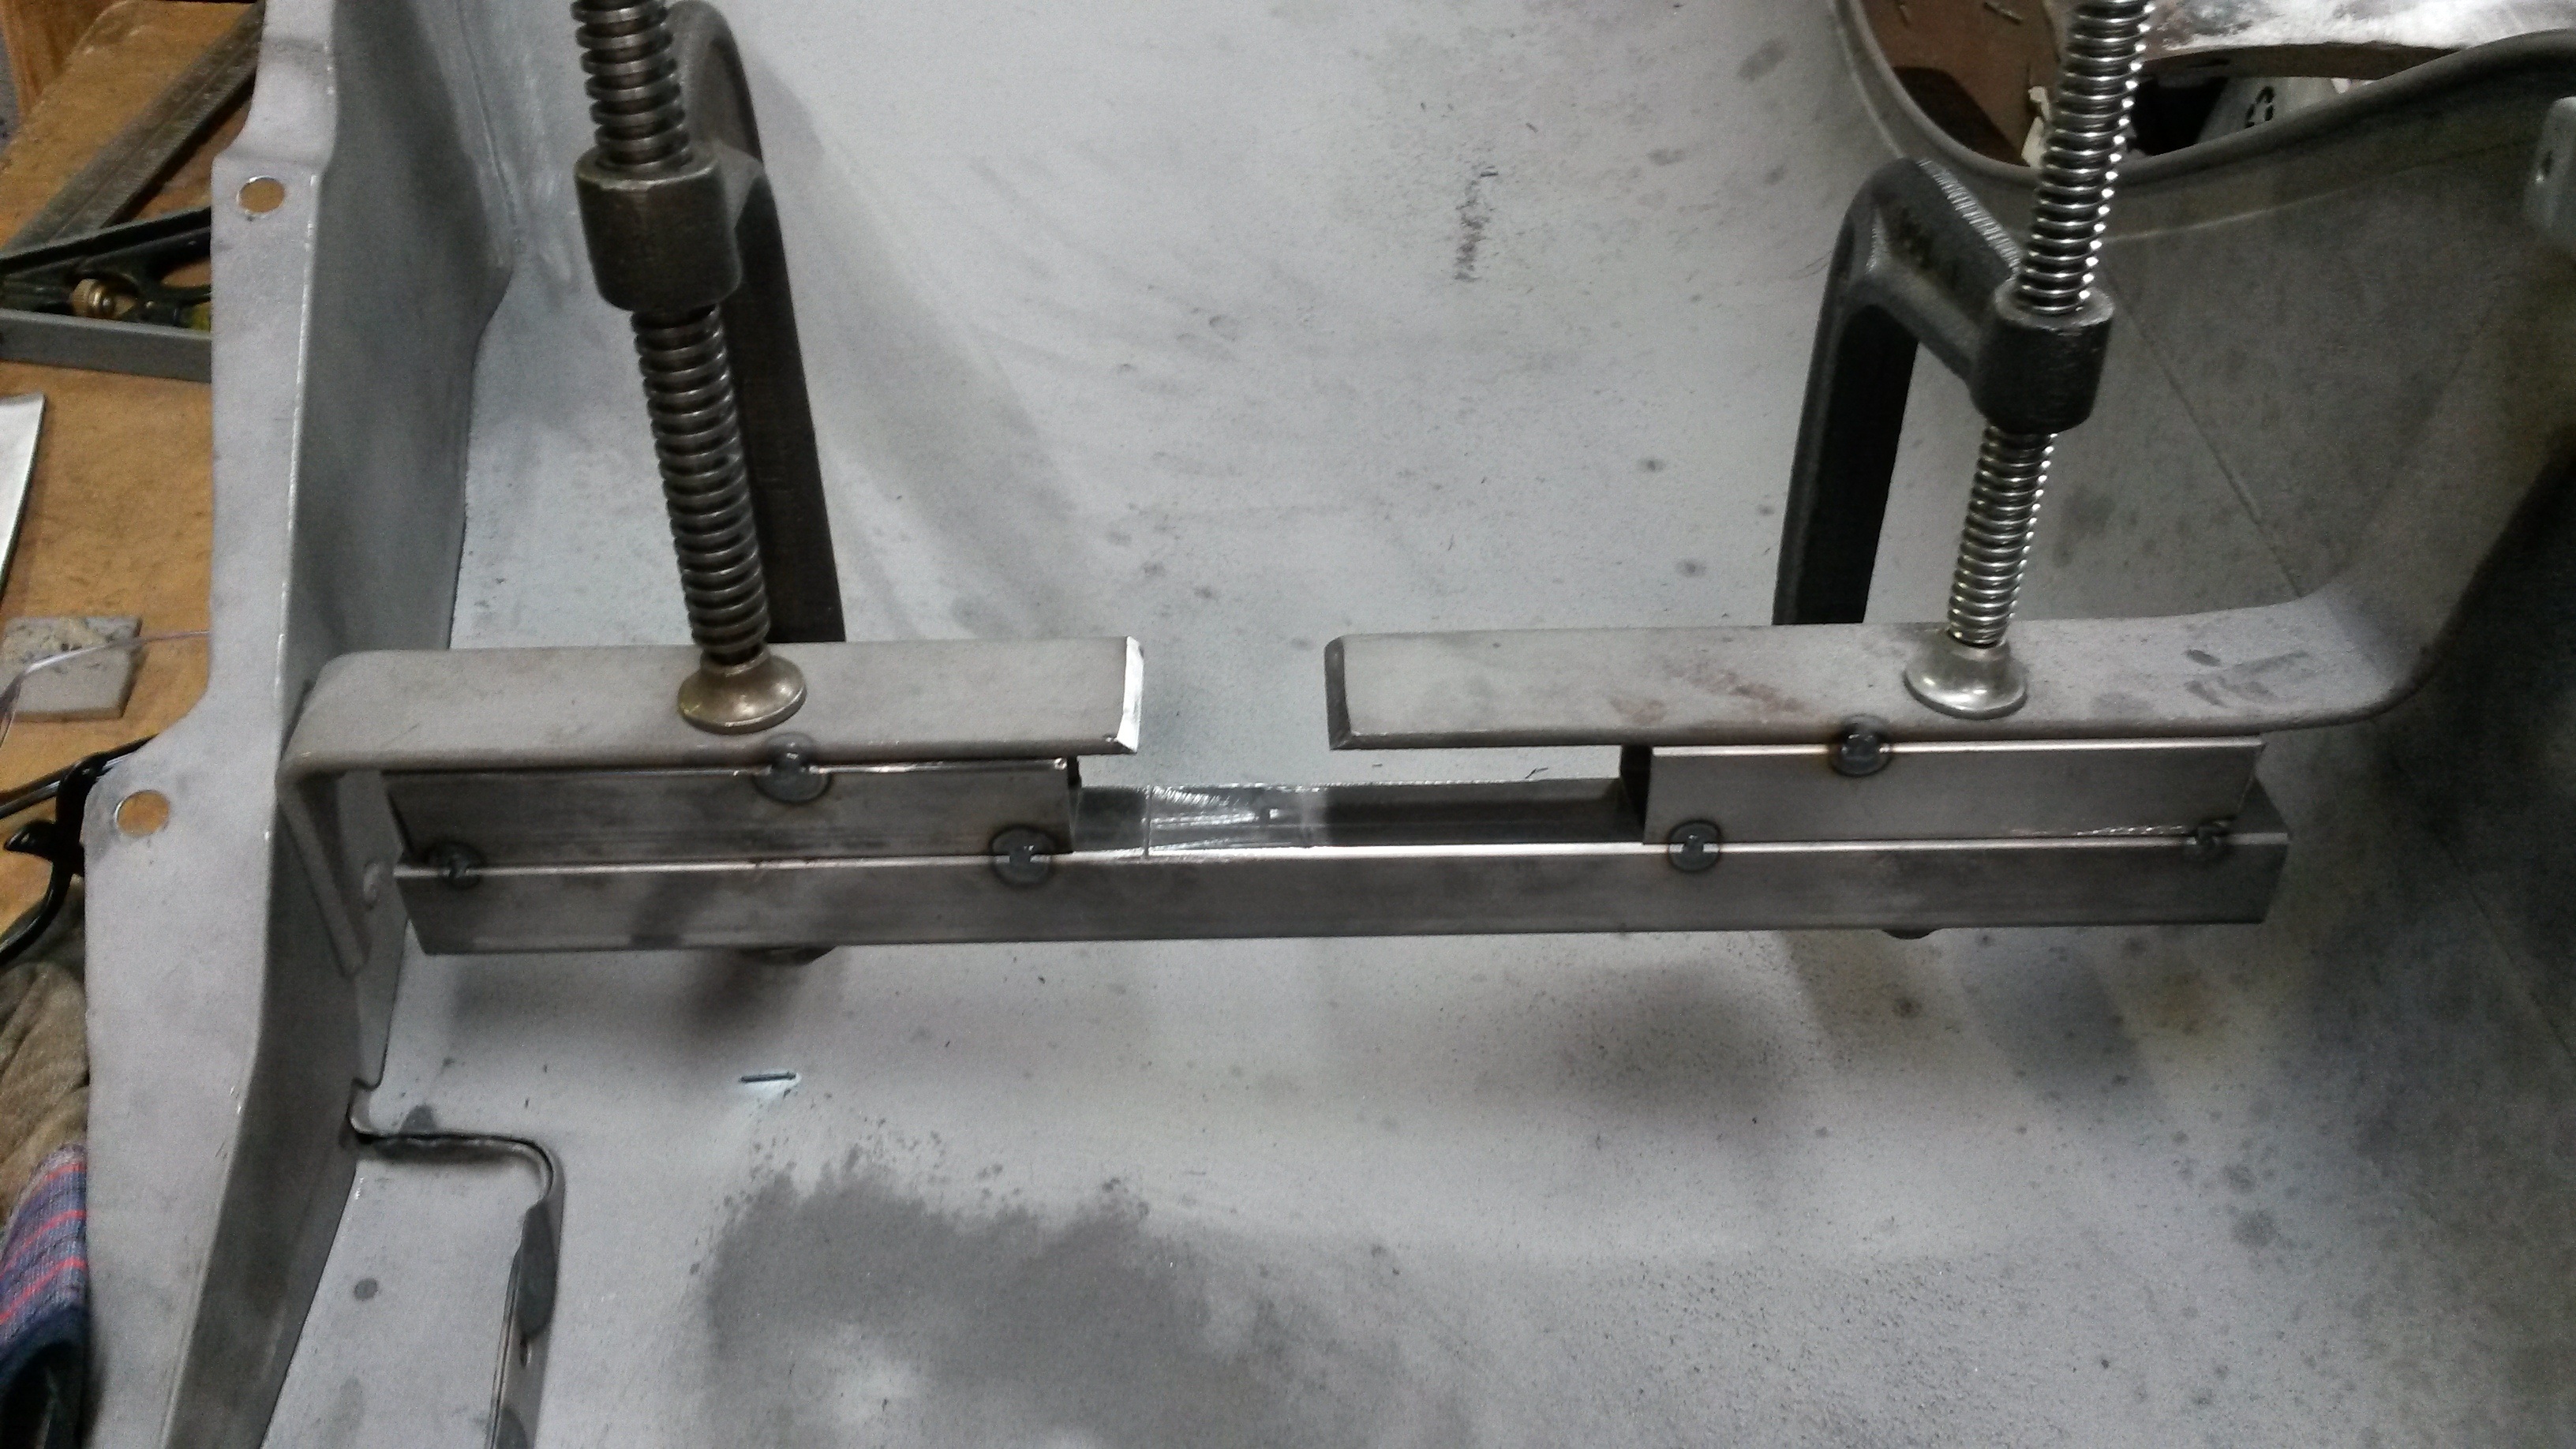 Under side brackets.
0 -
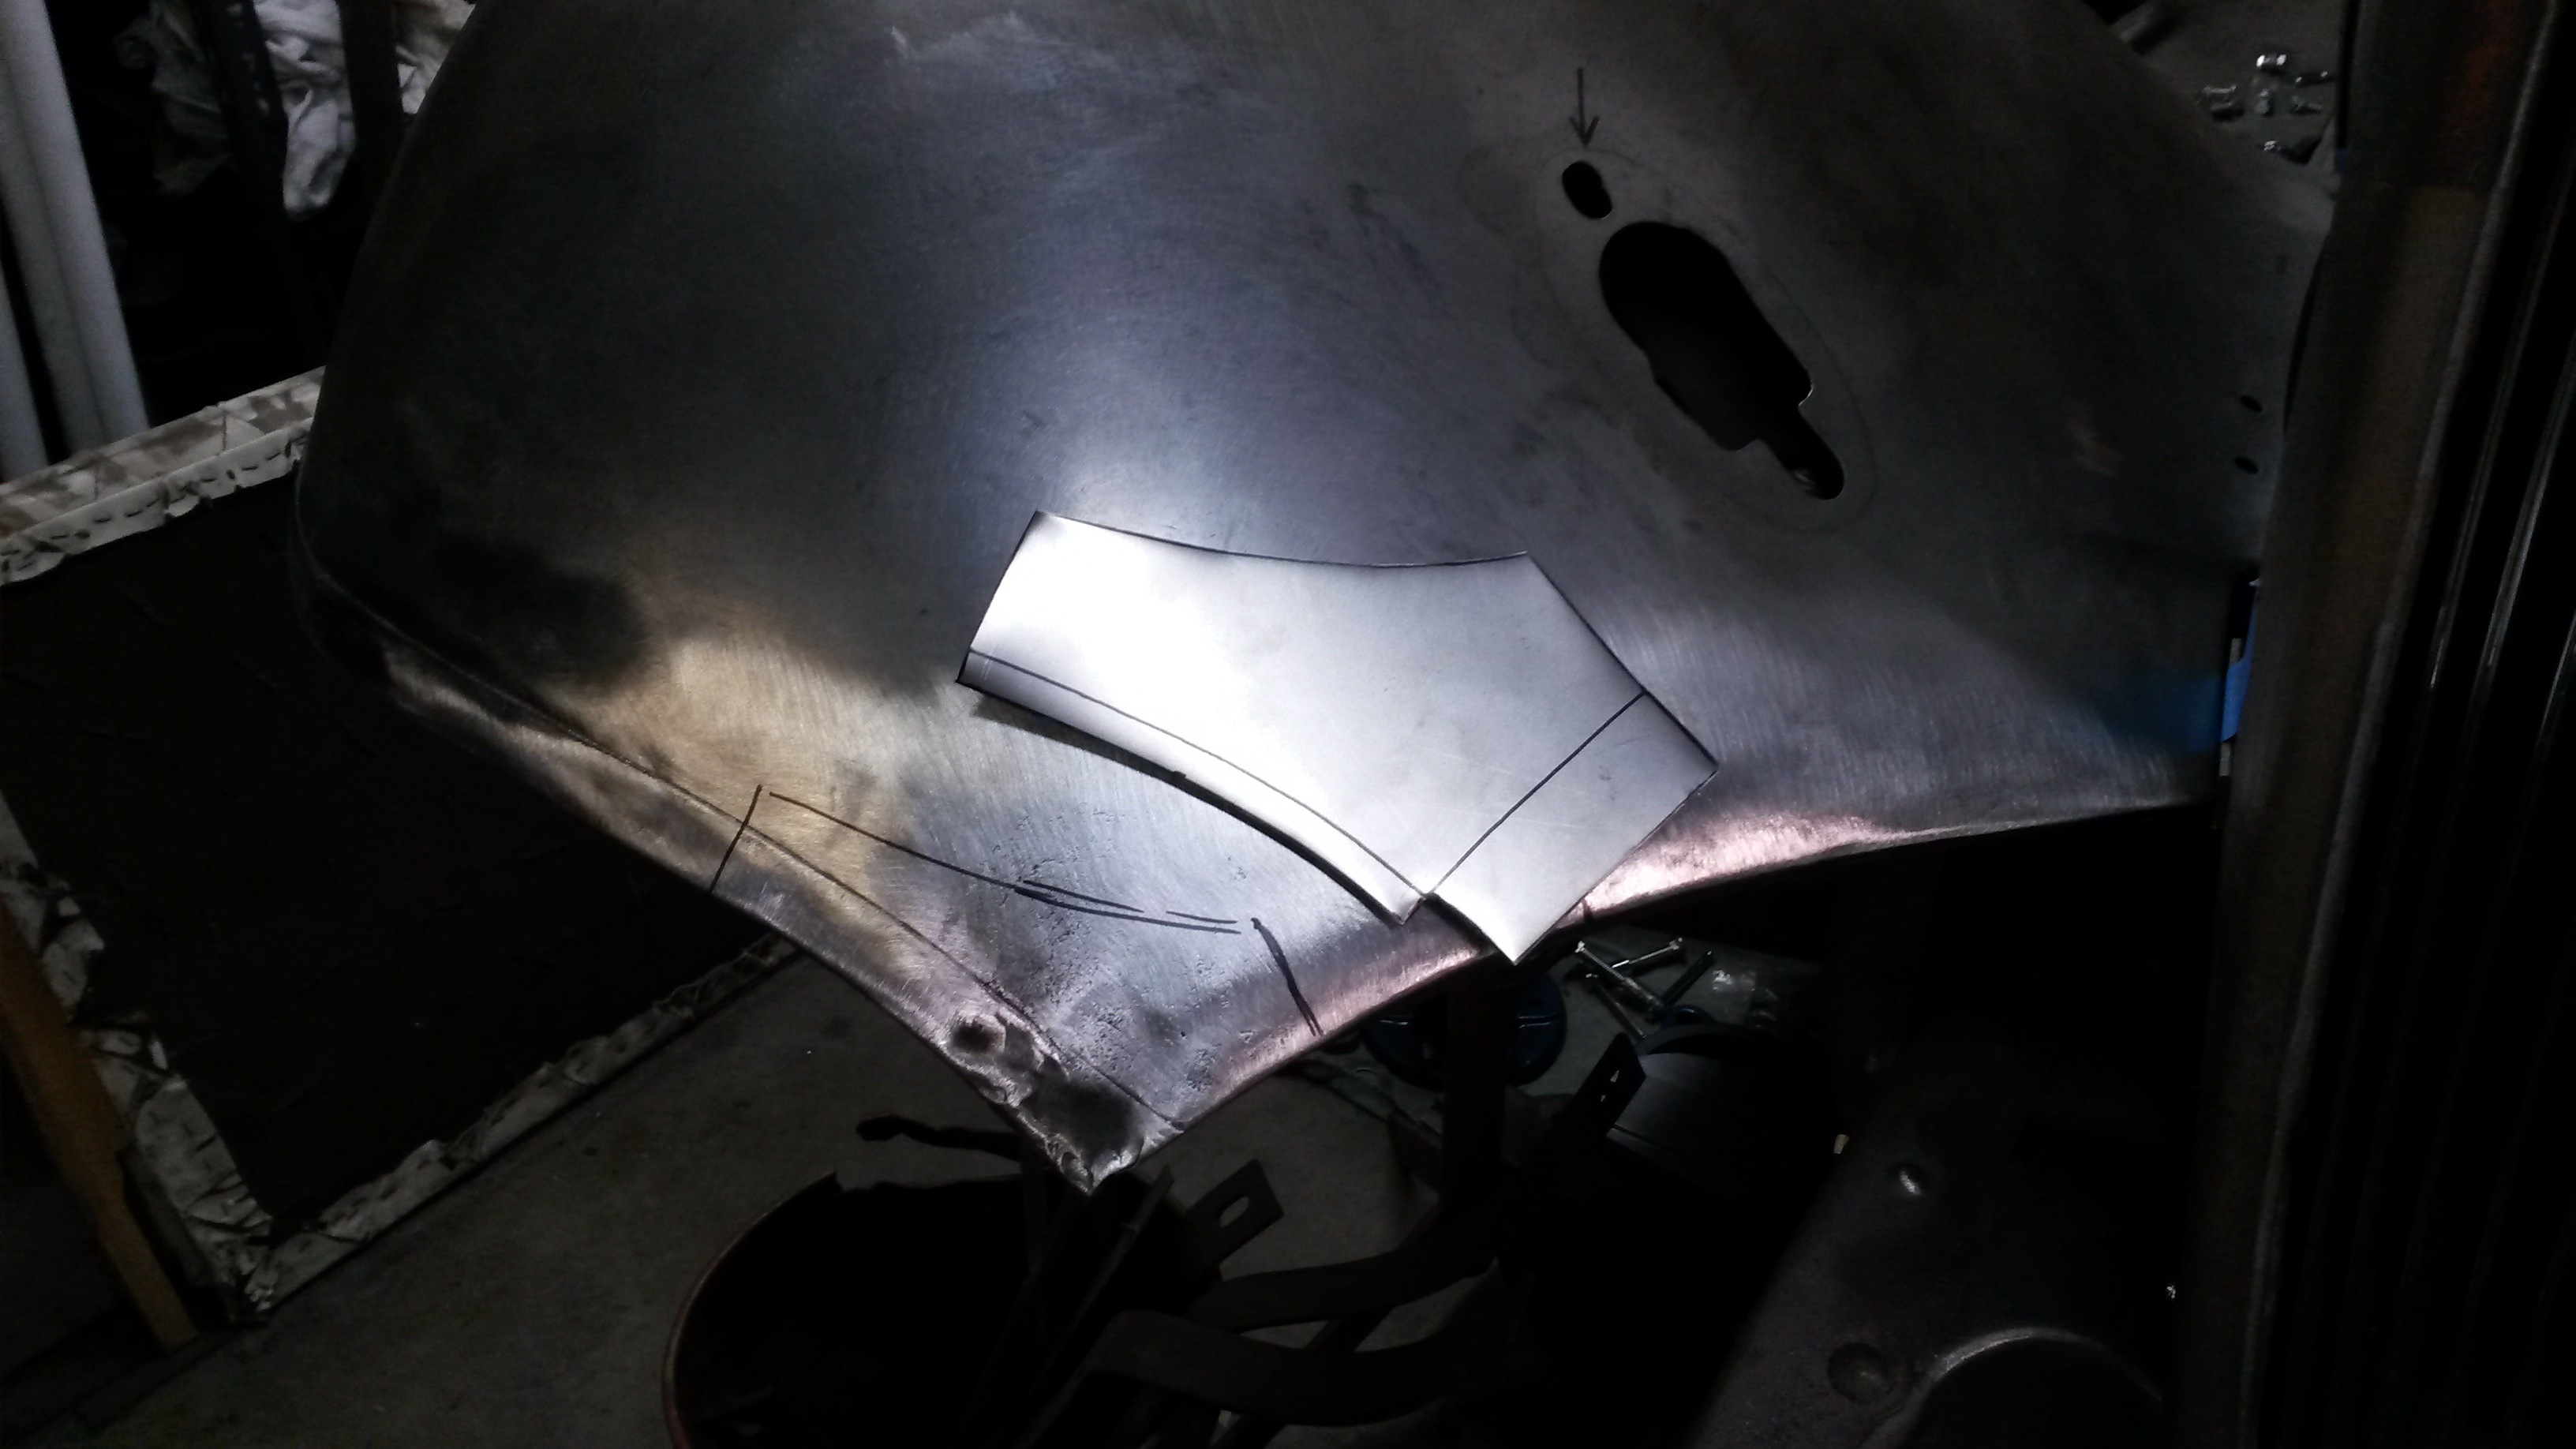
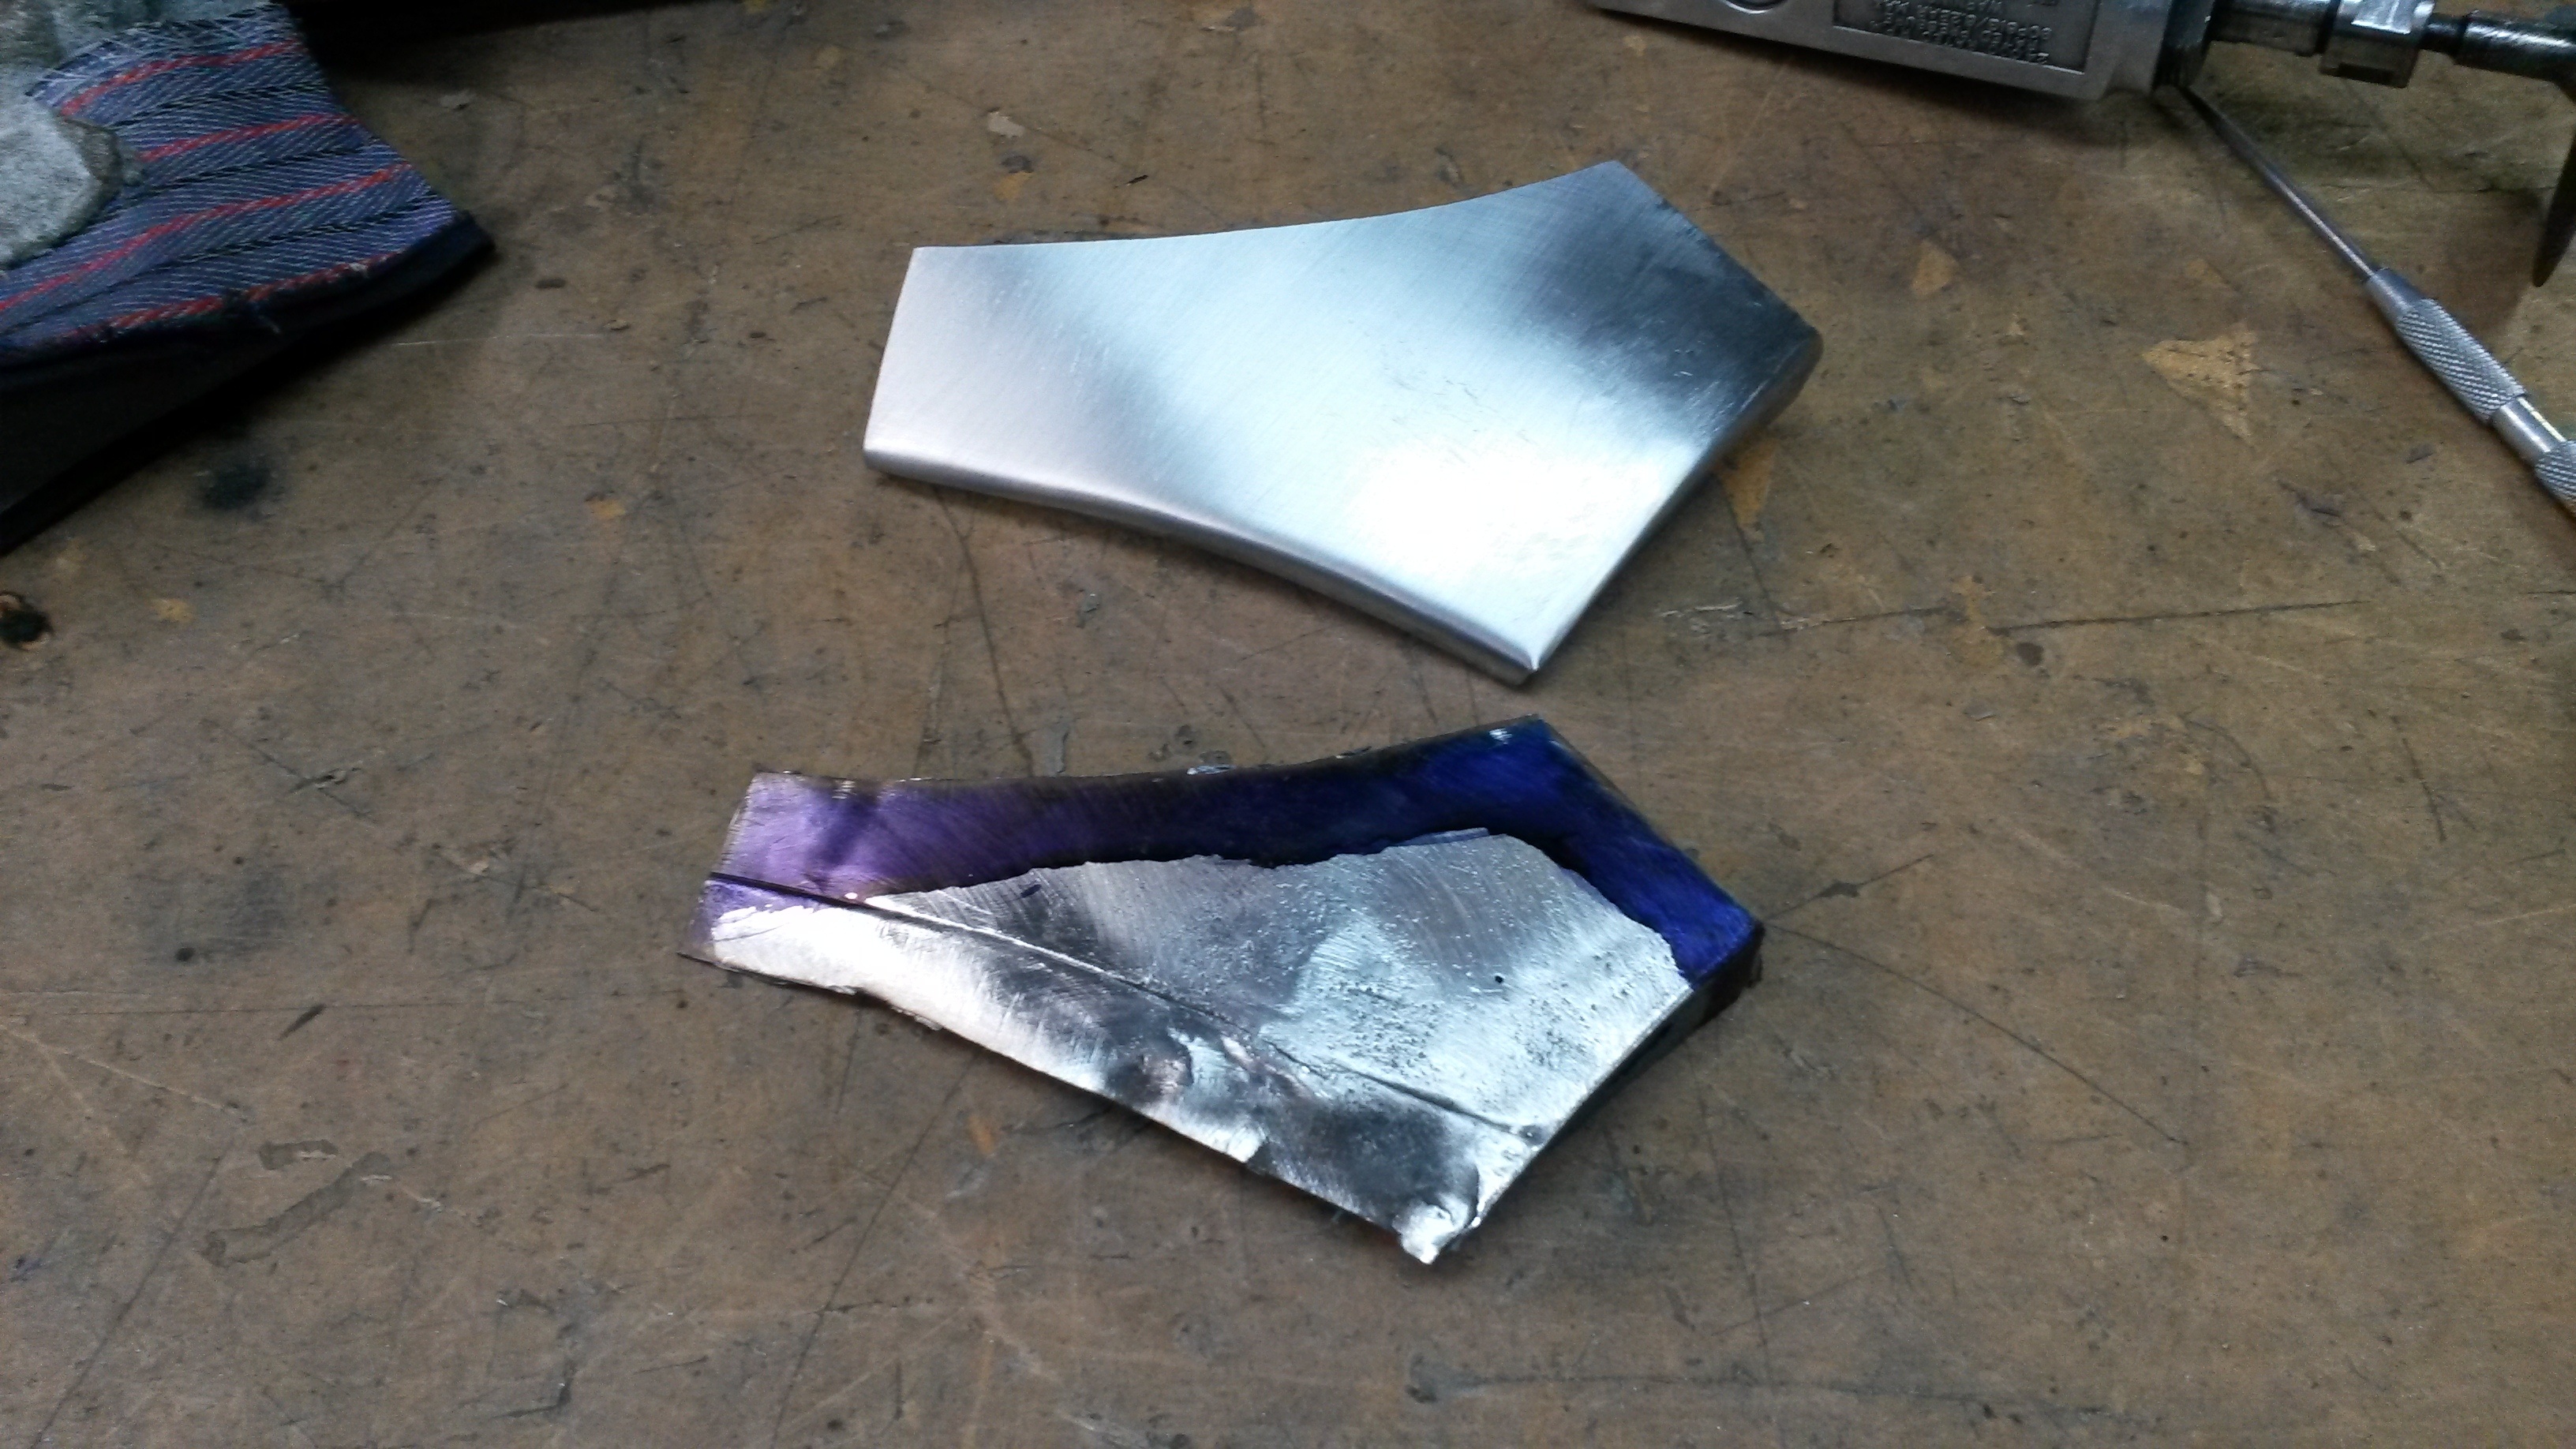
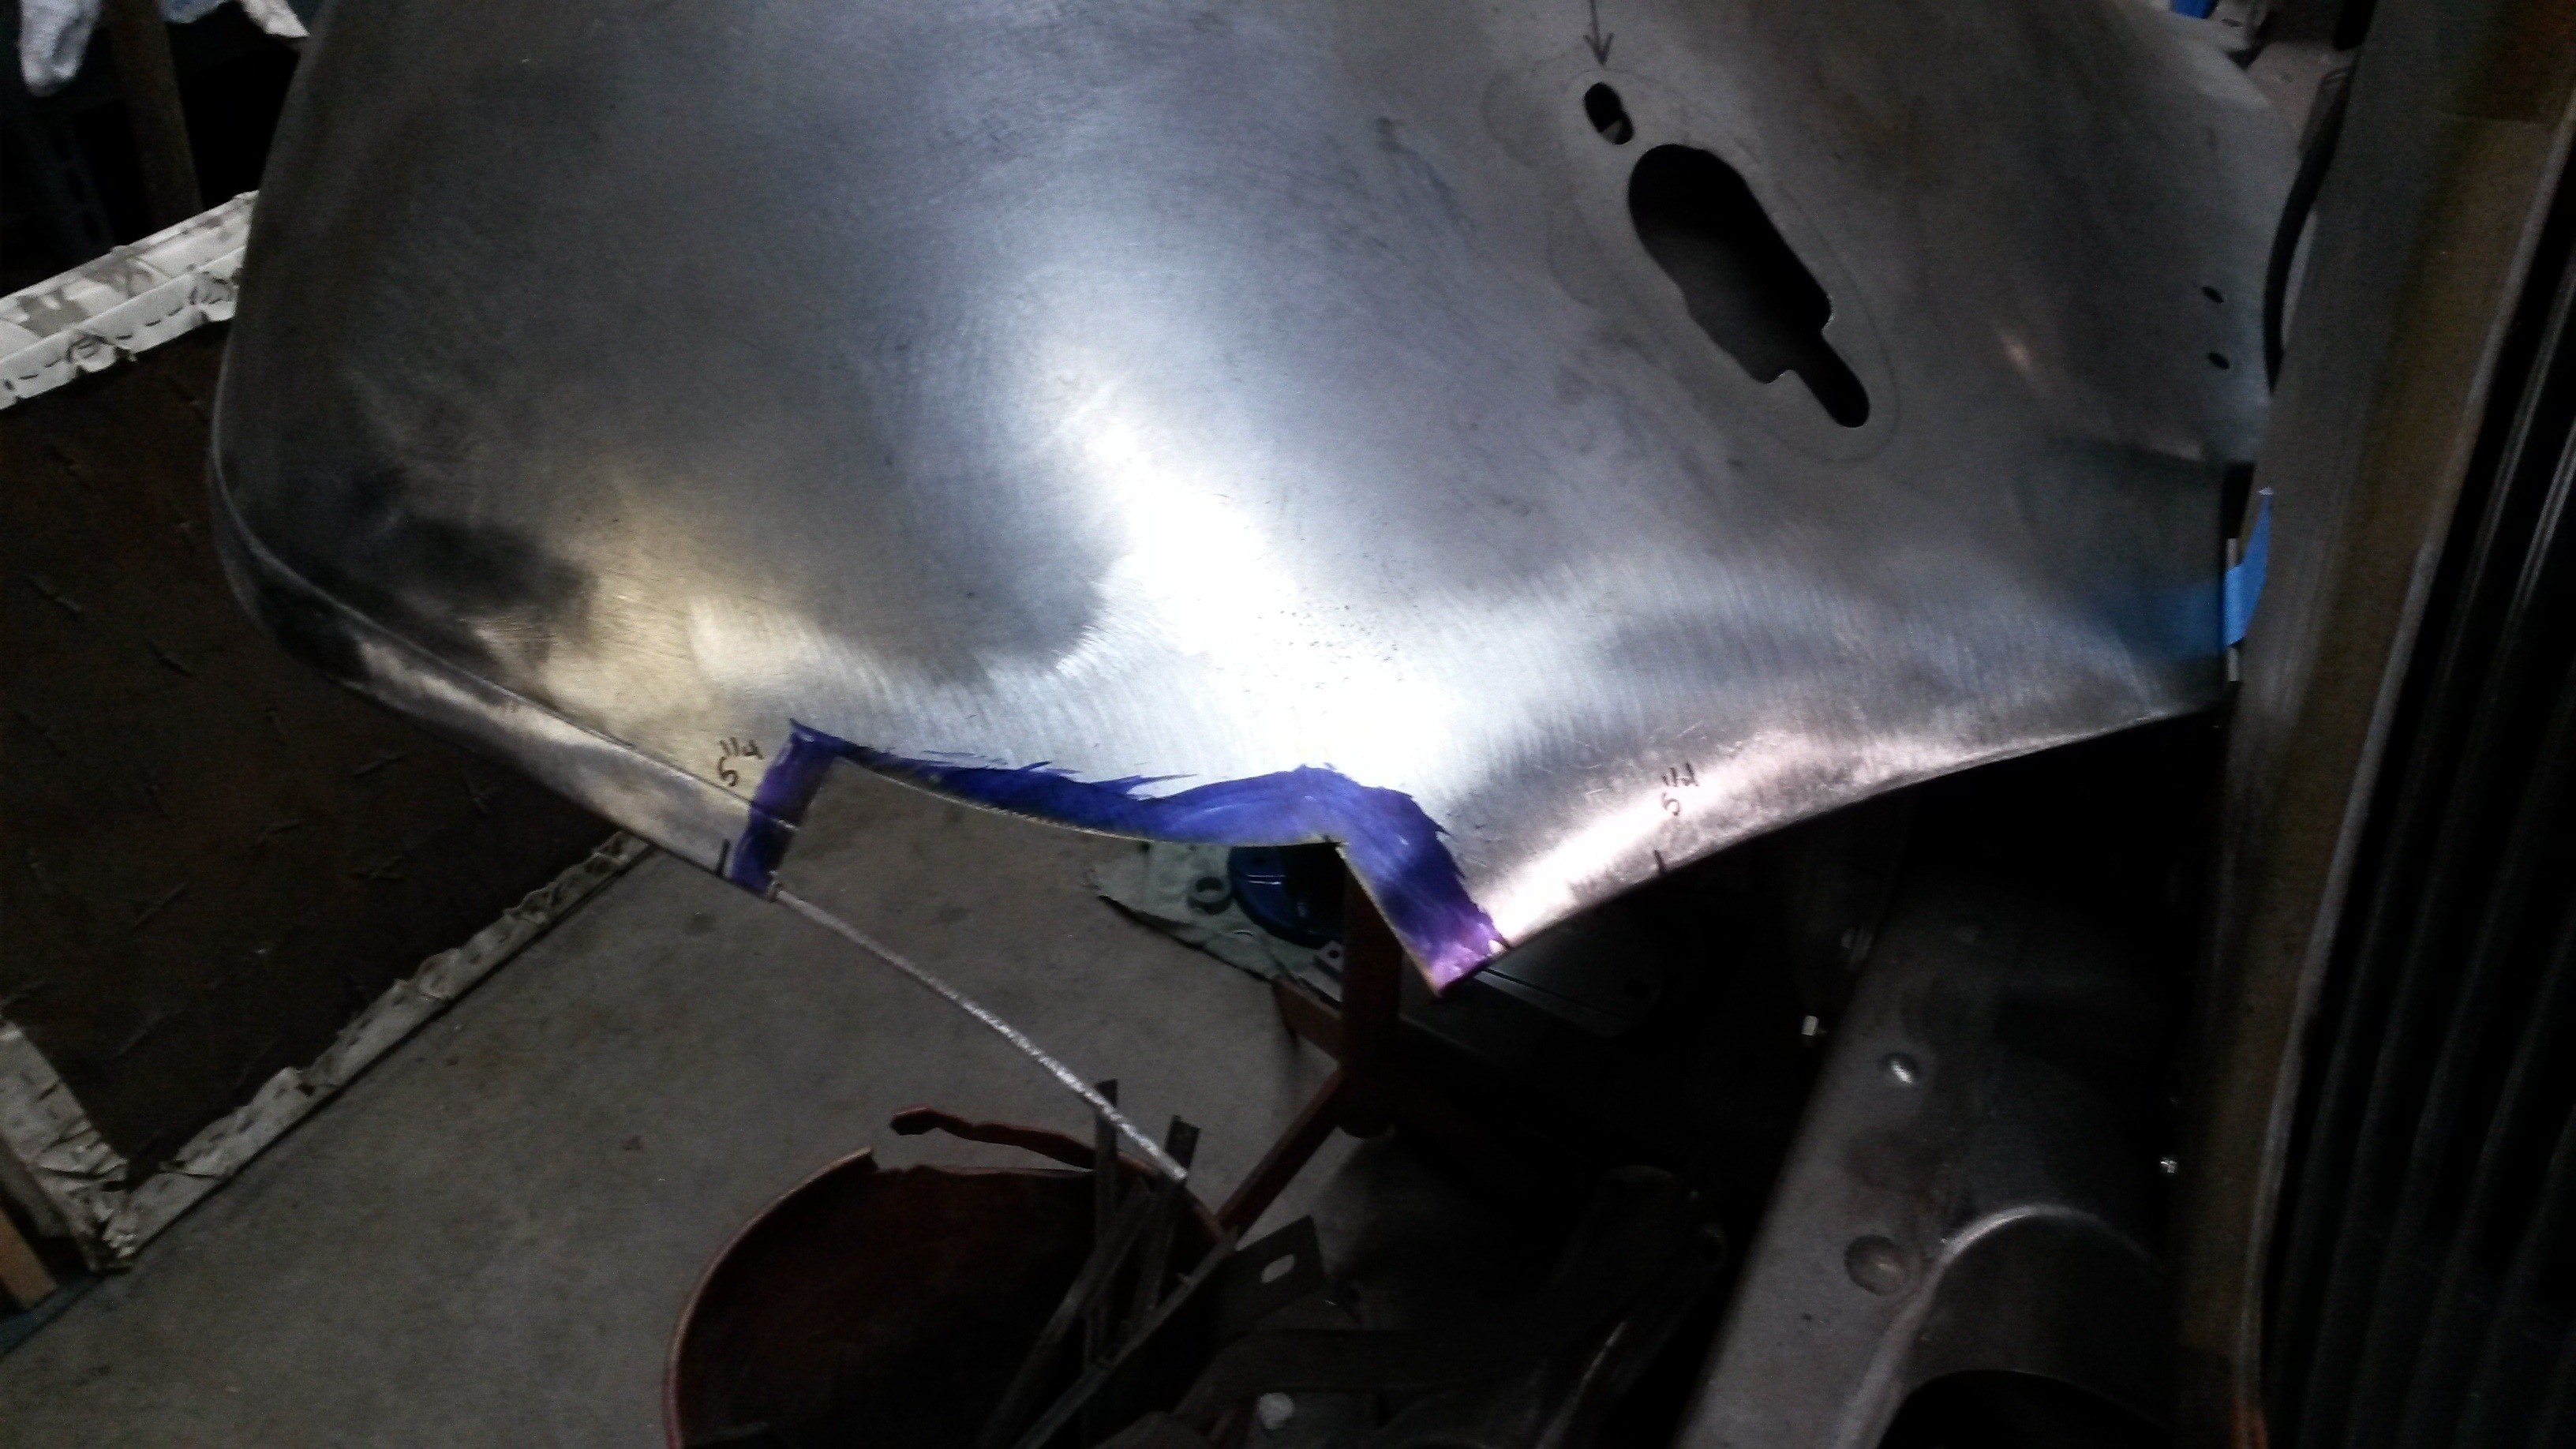
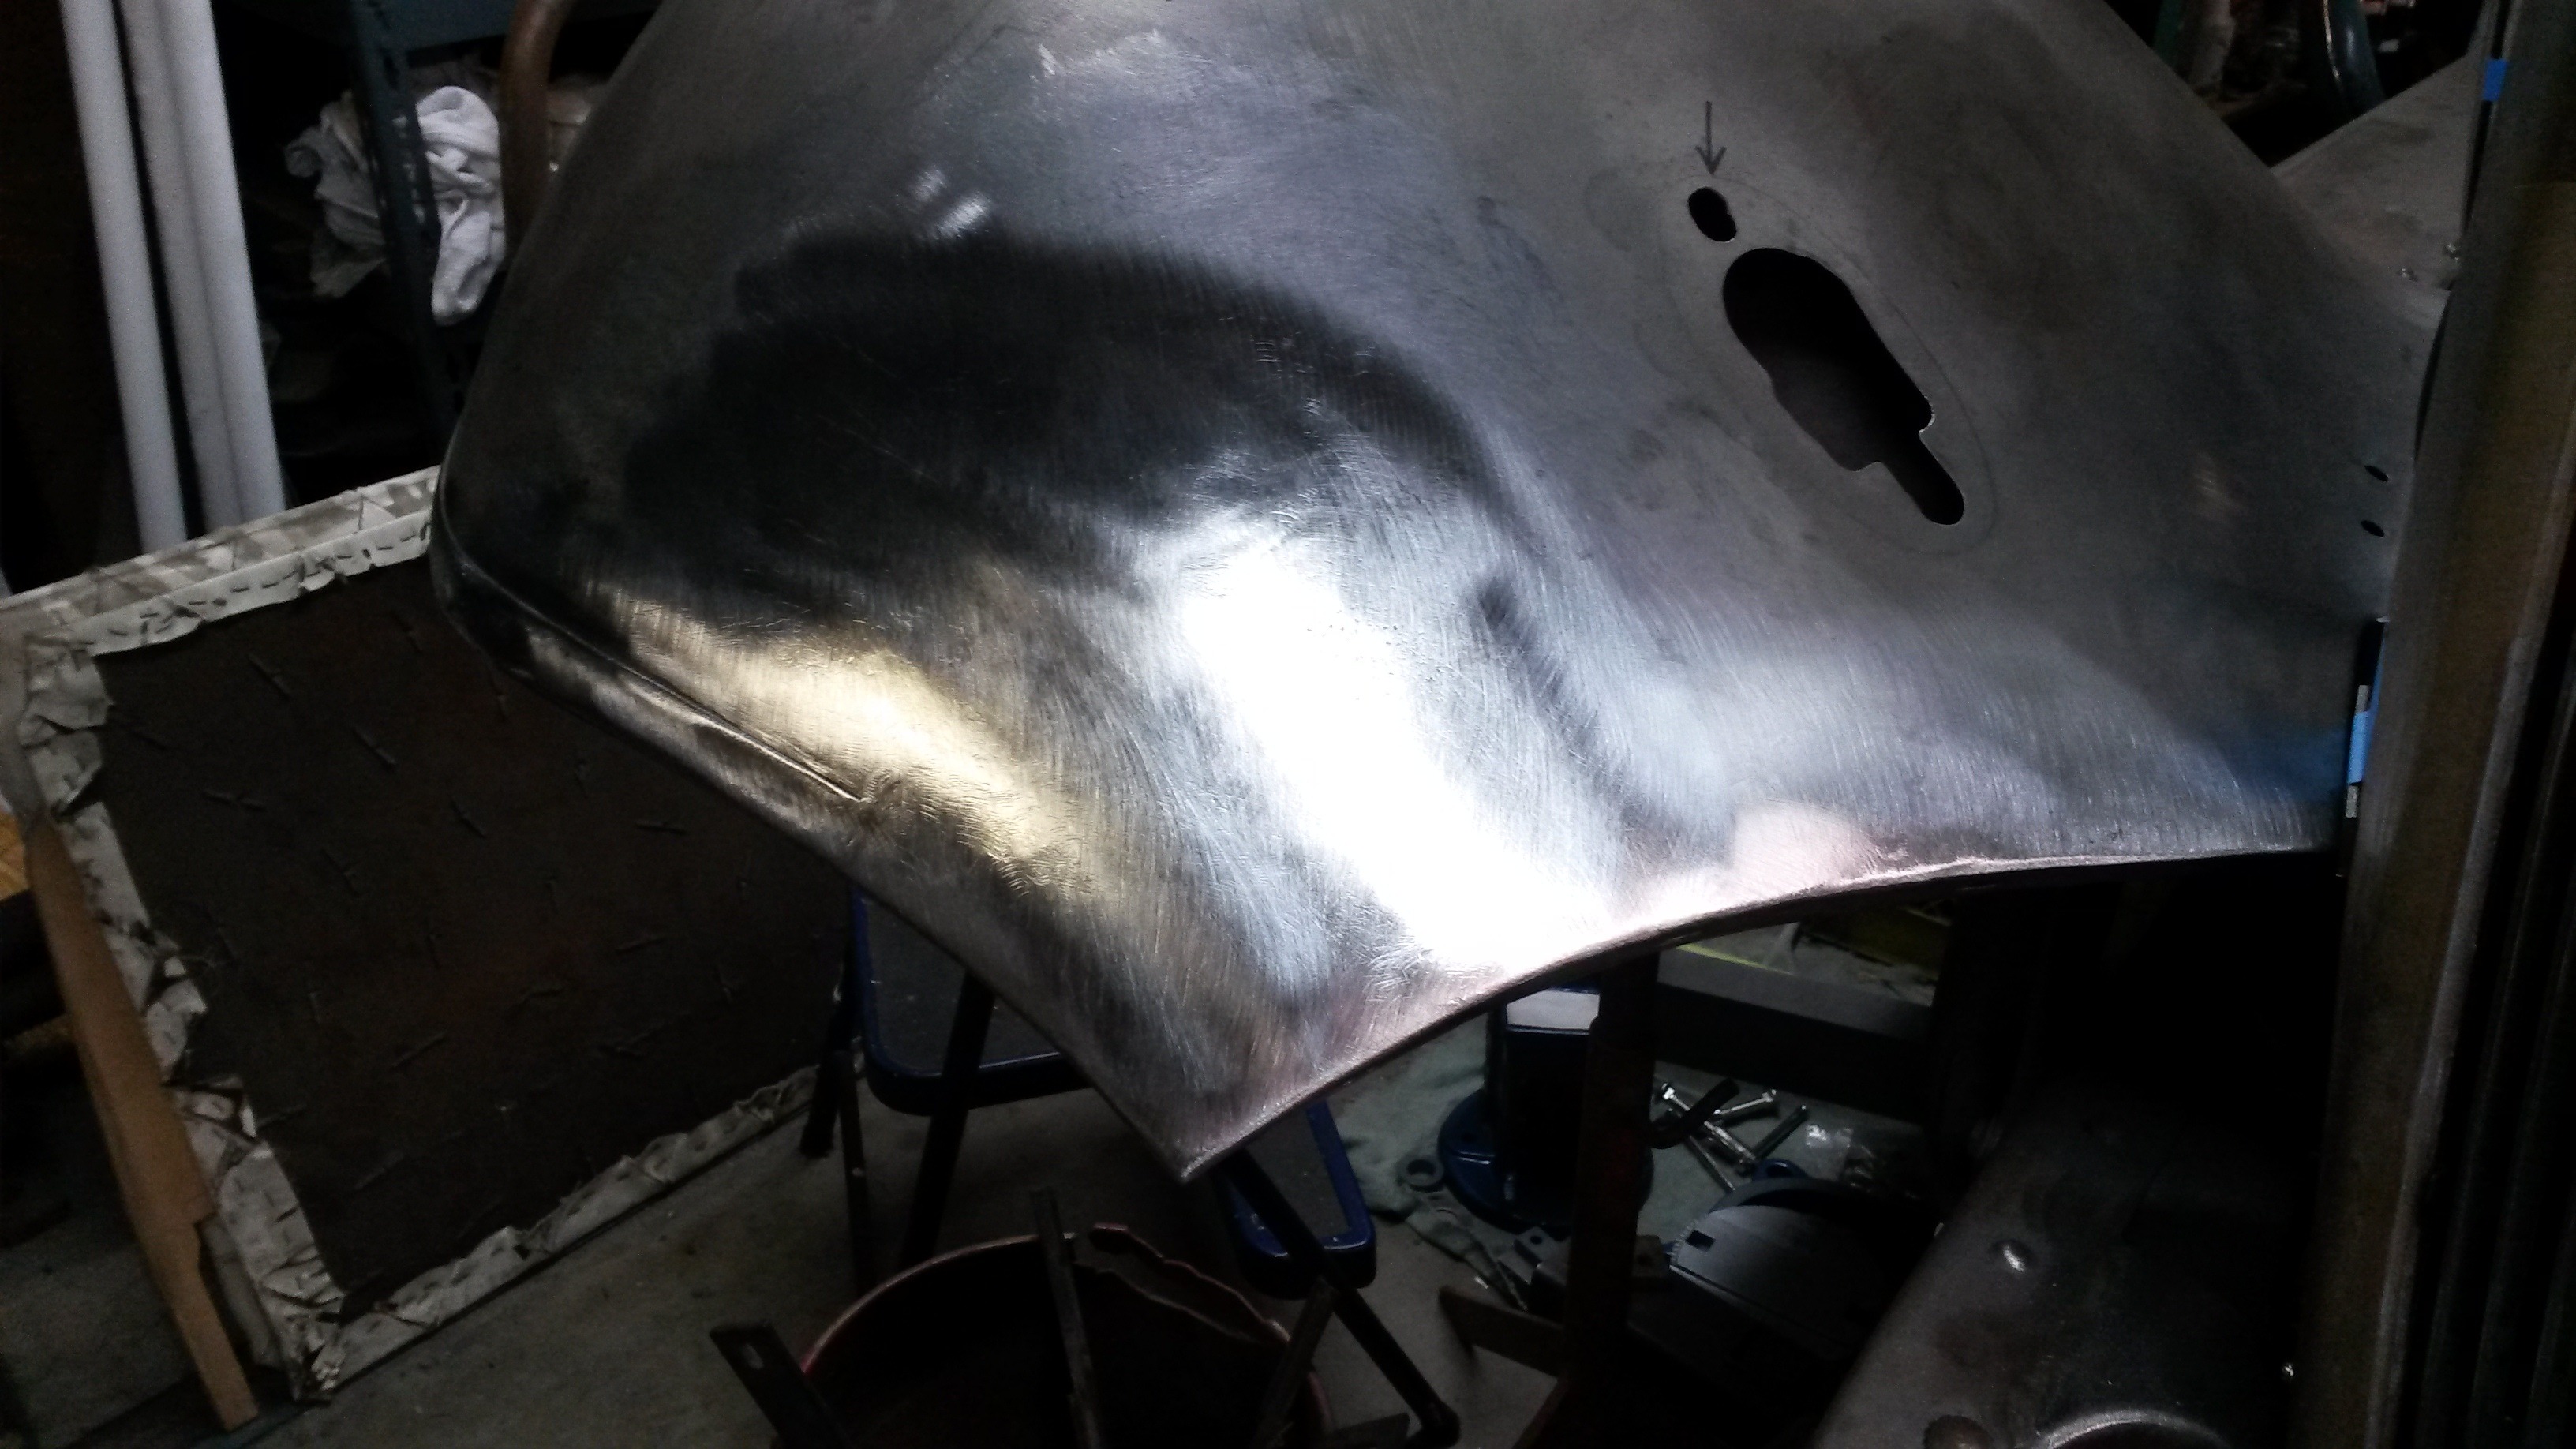
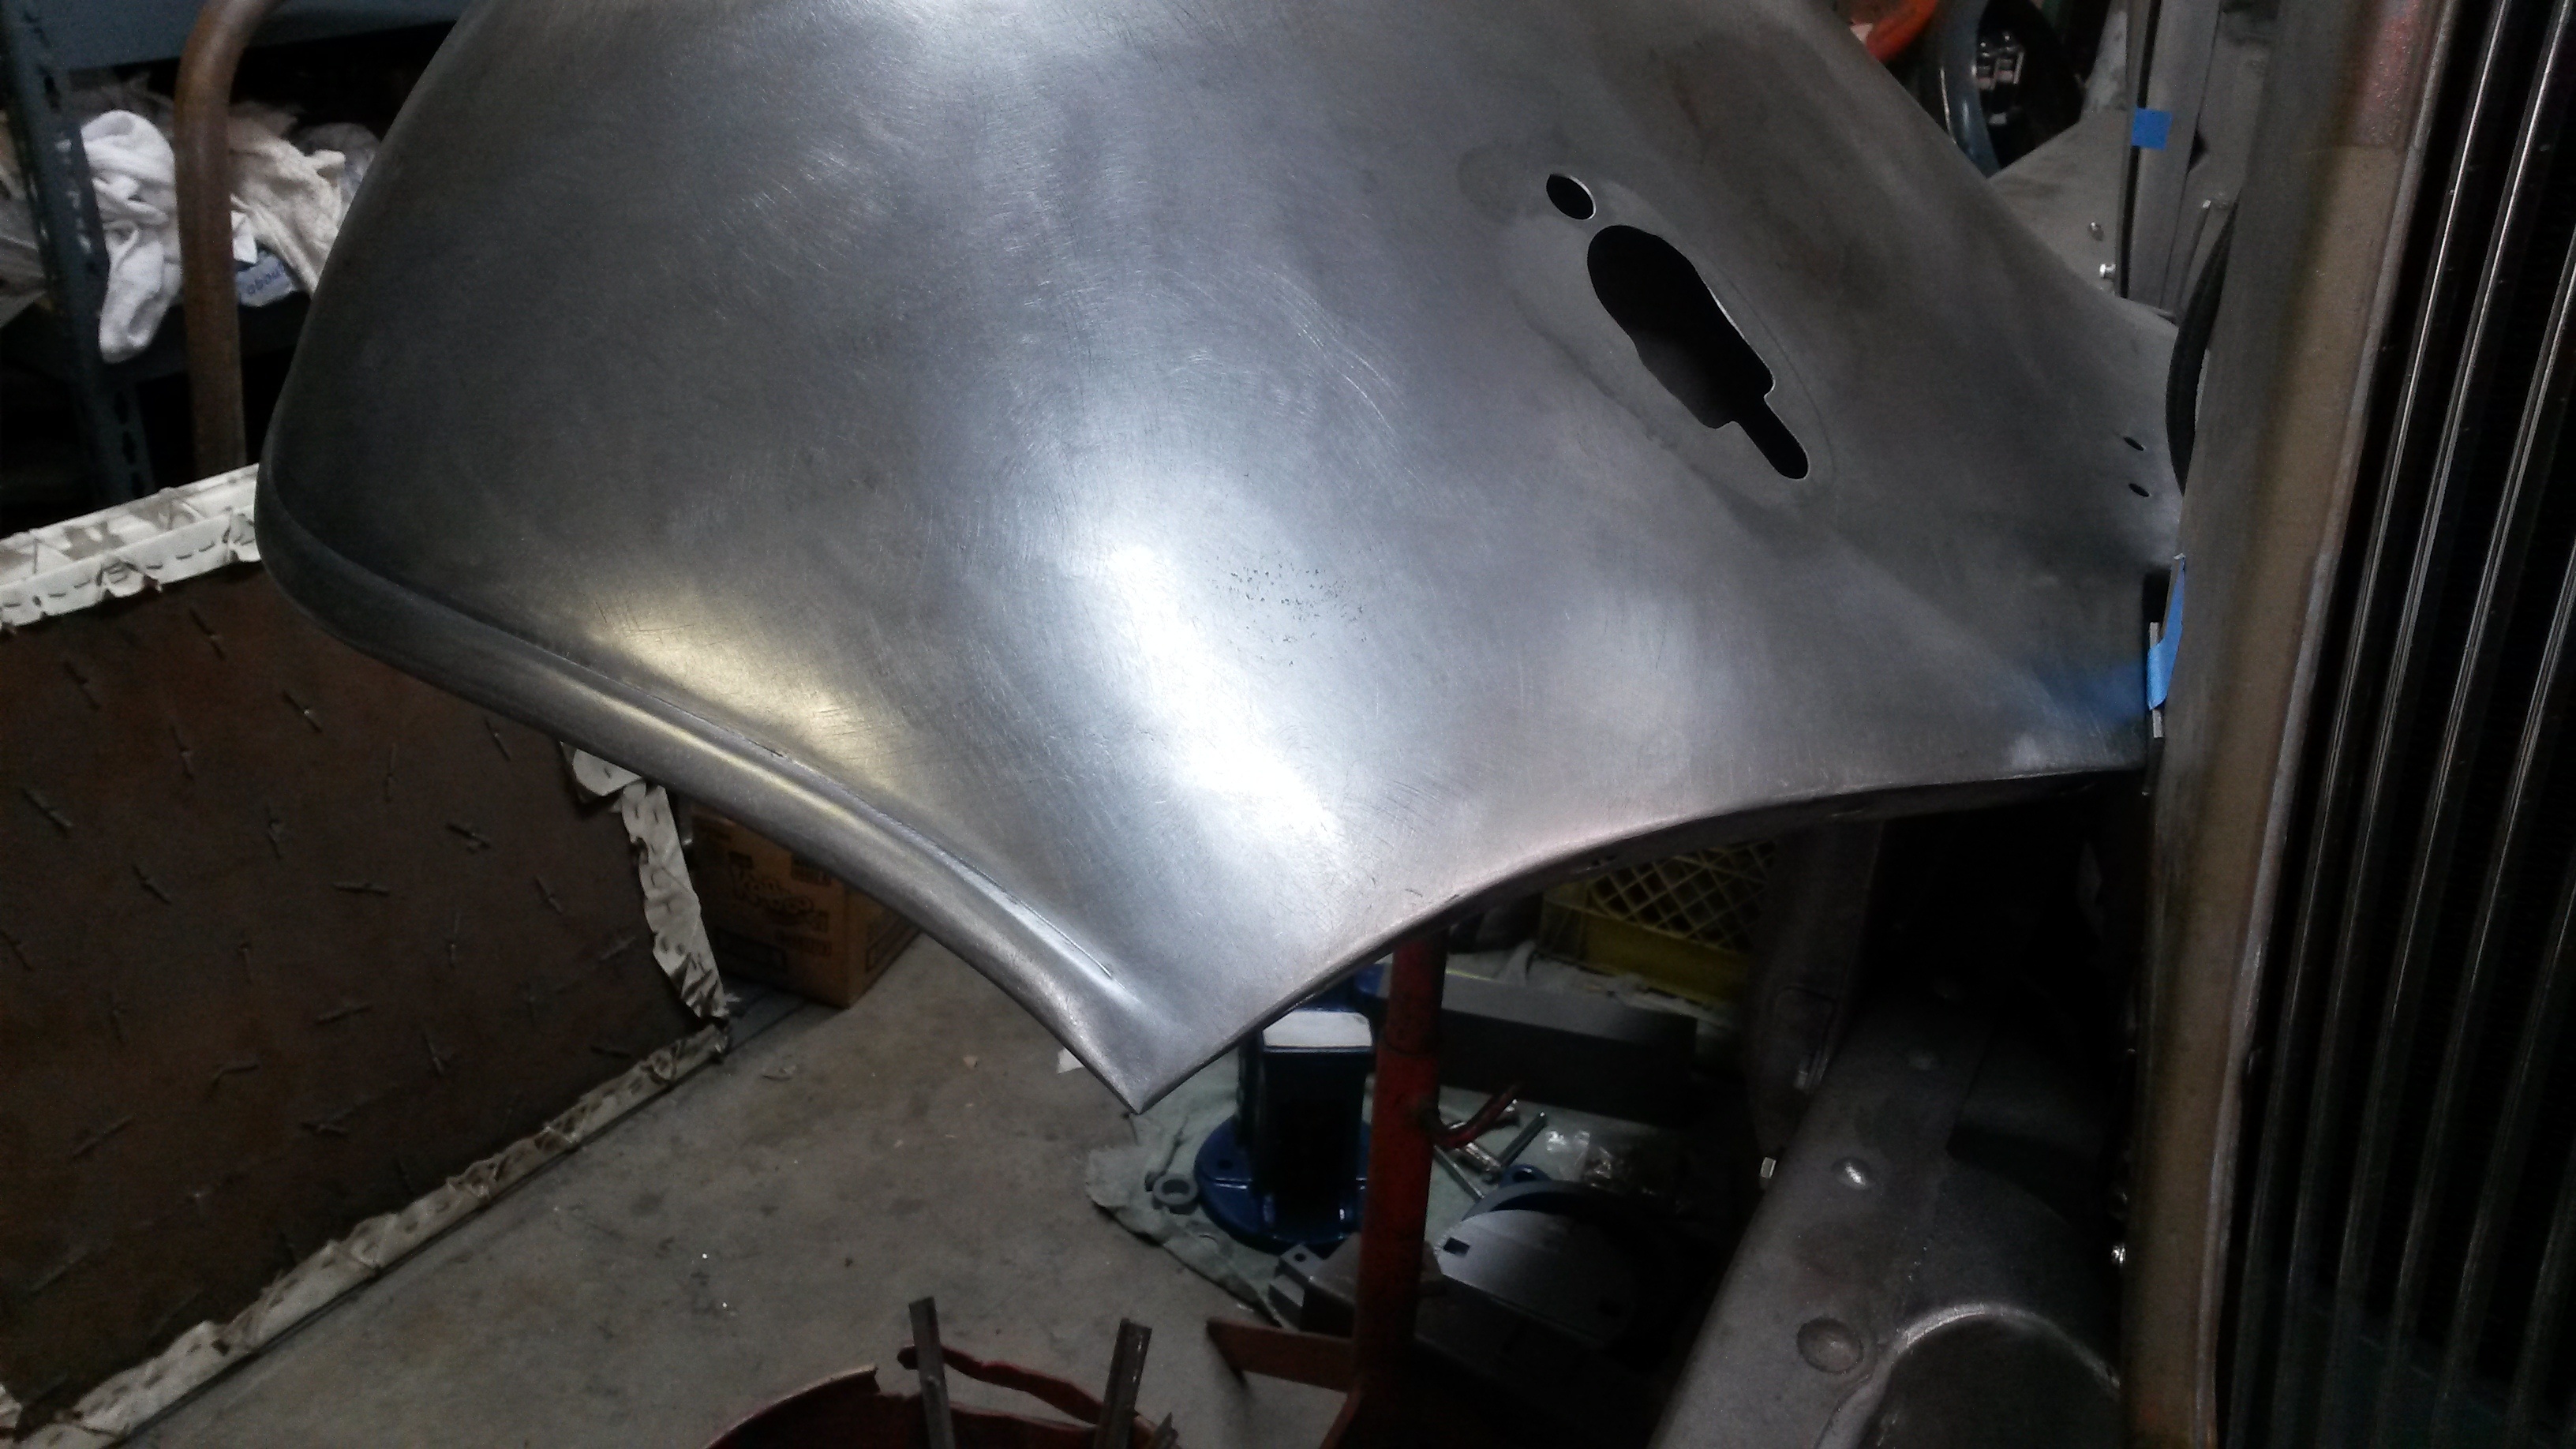 Some patch work of problem areas.
0 -
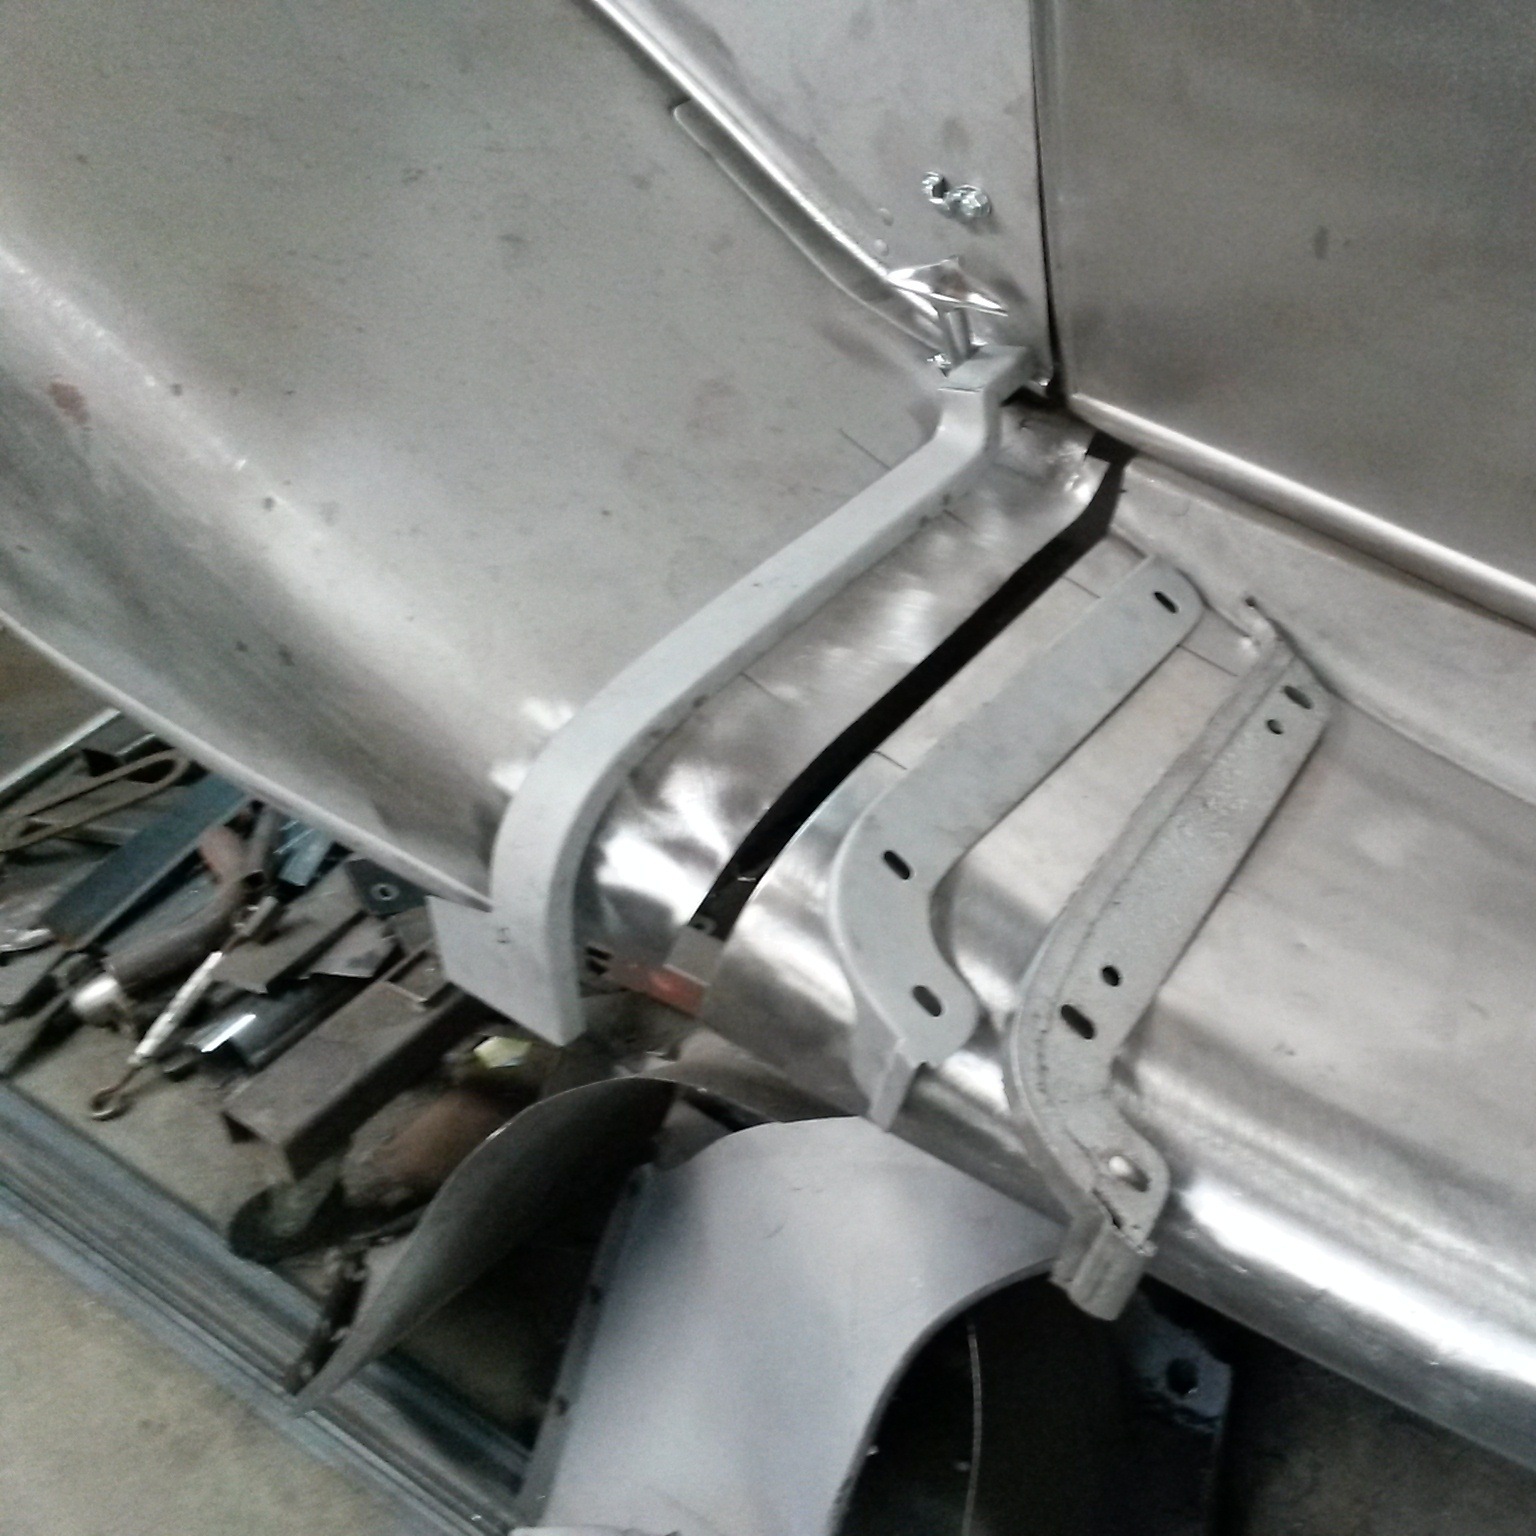
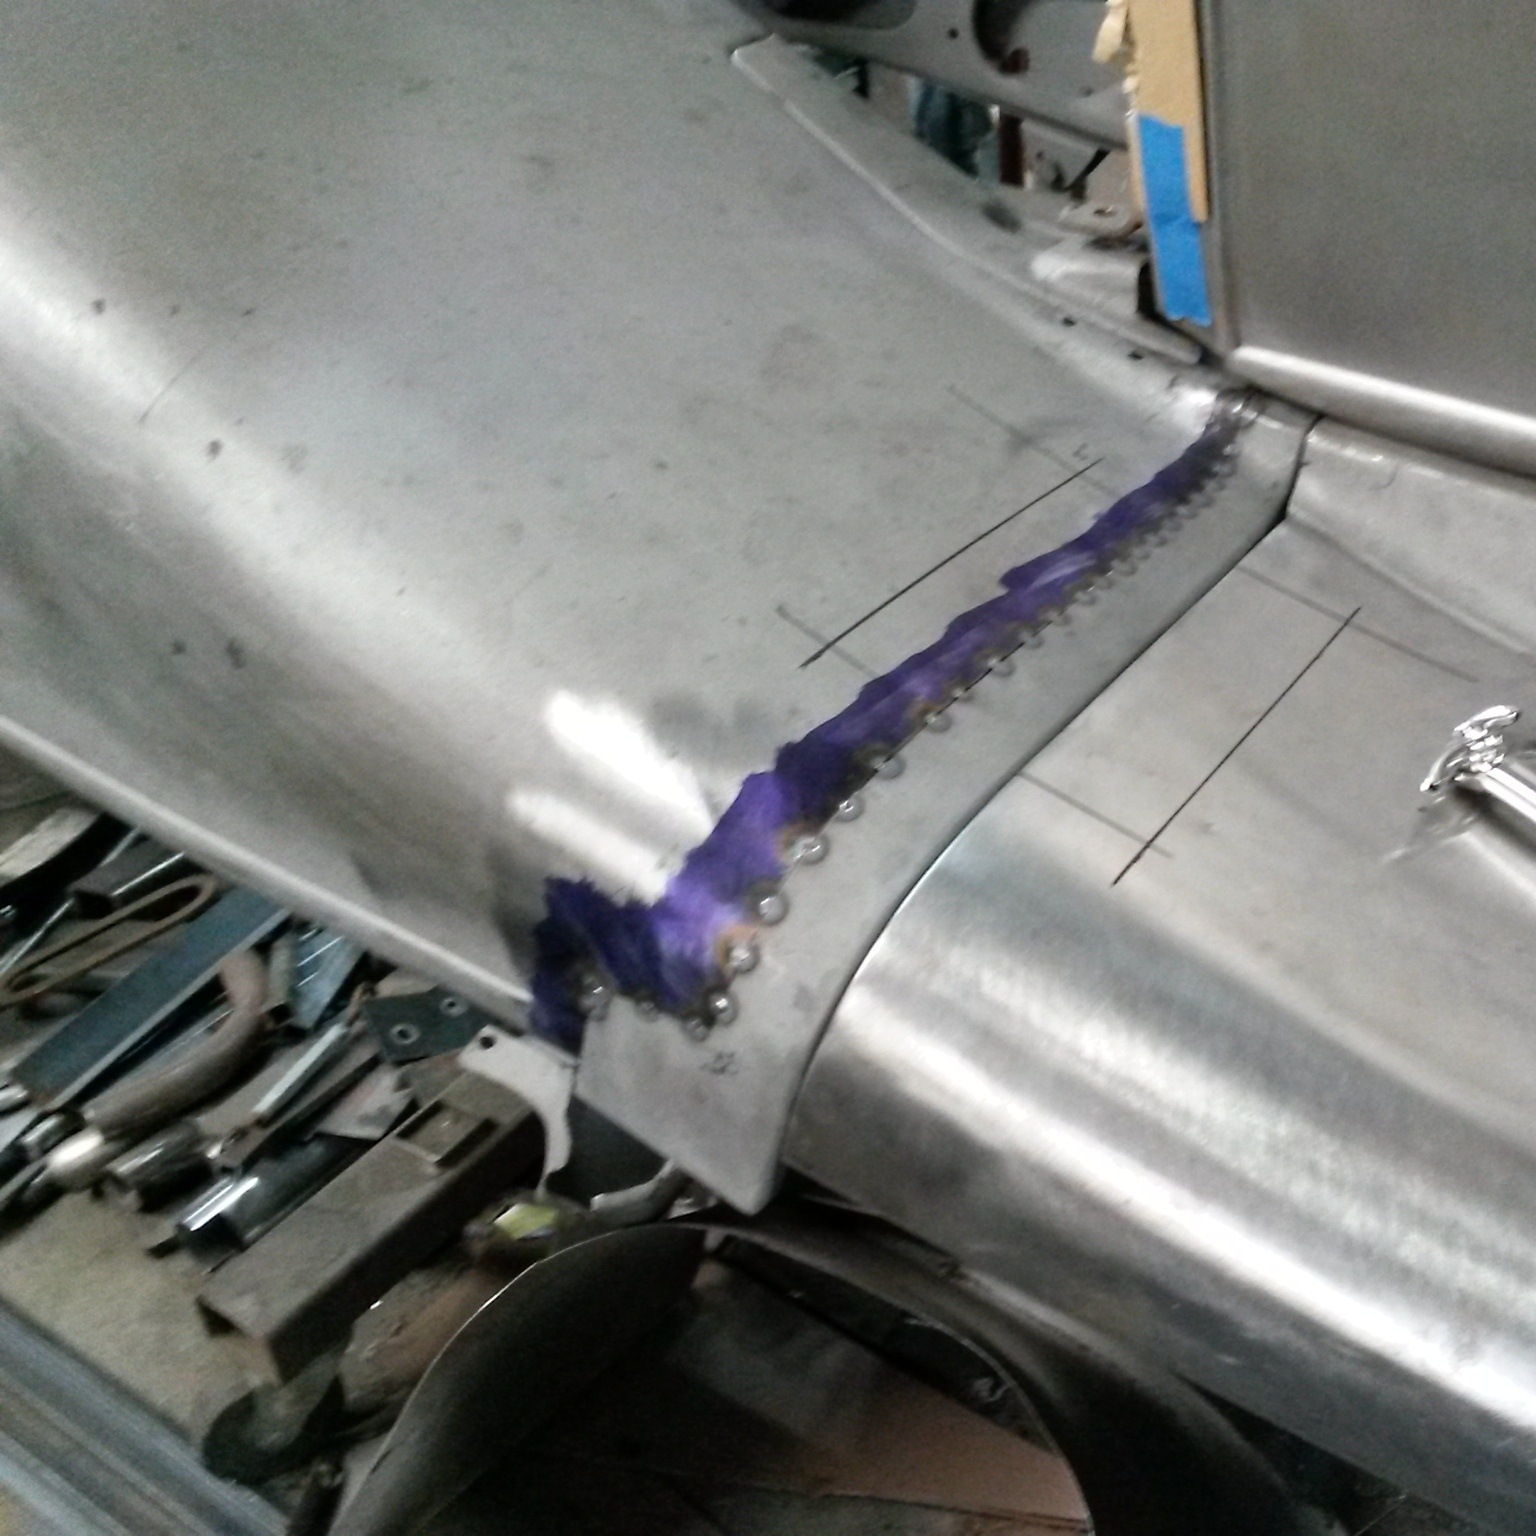
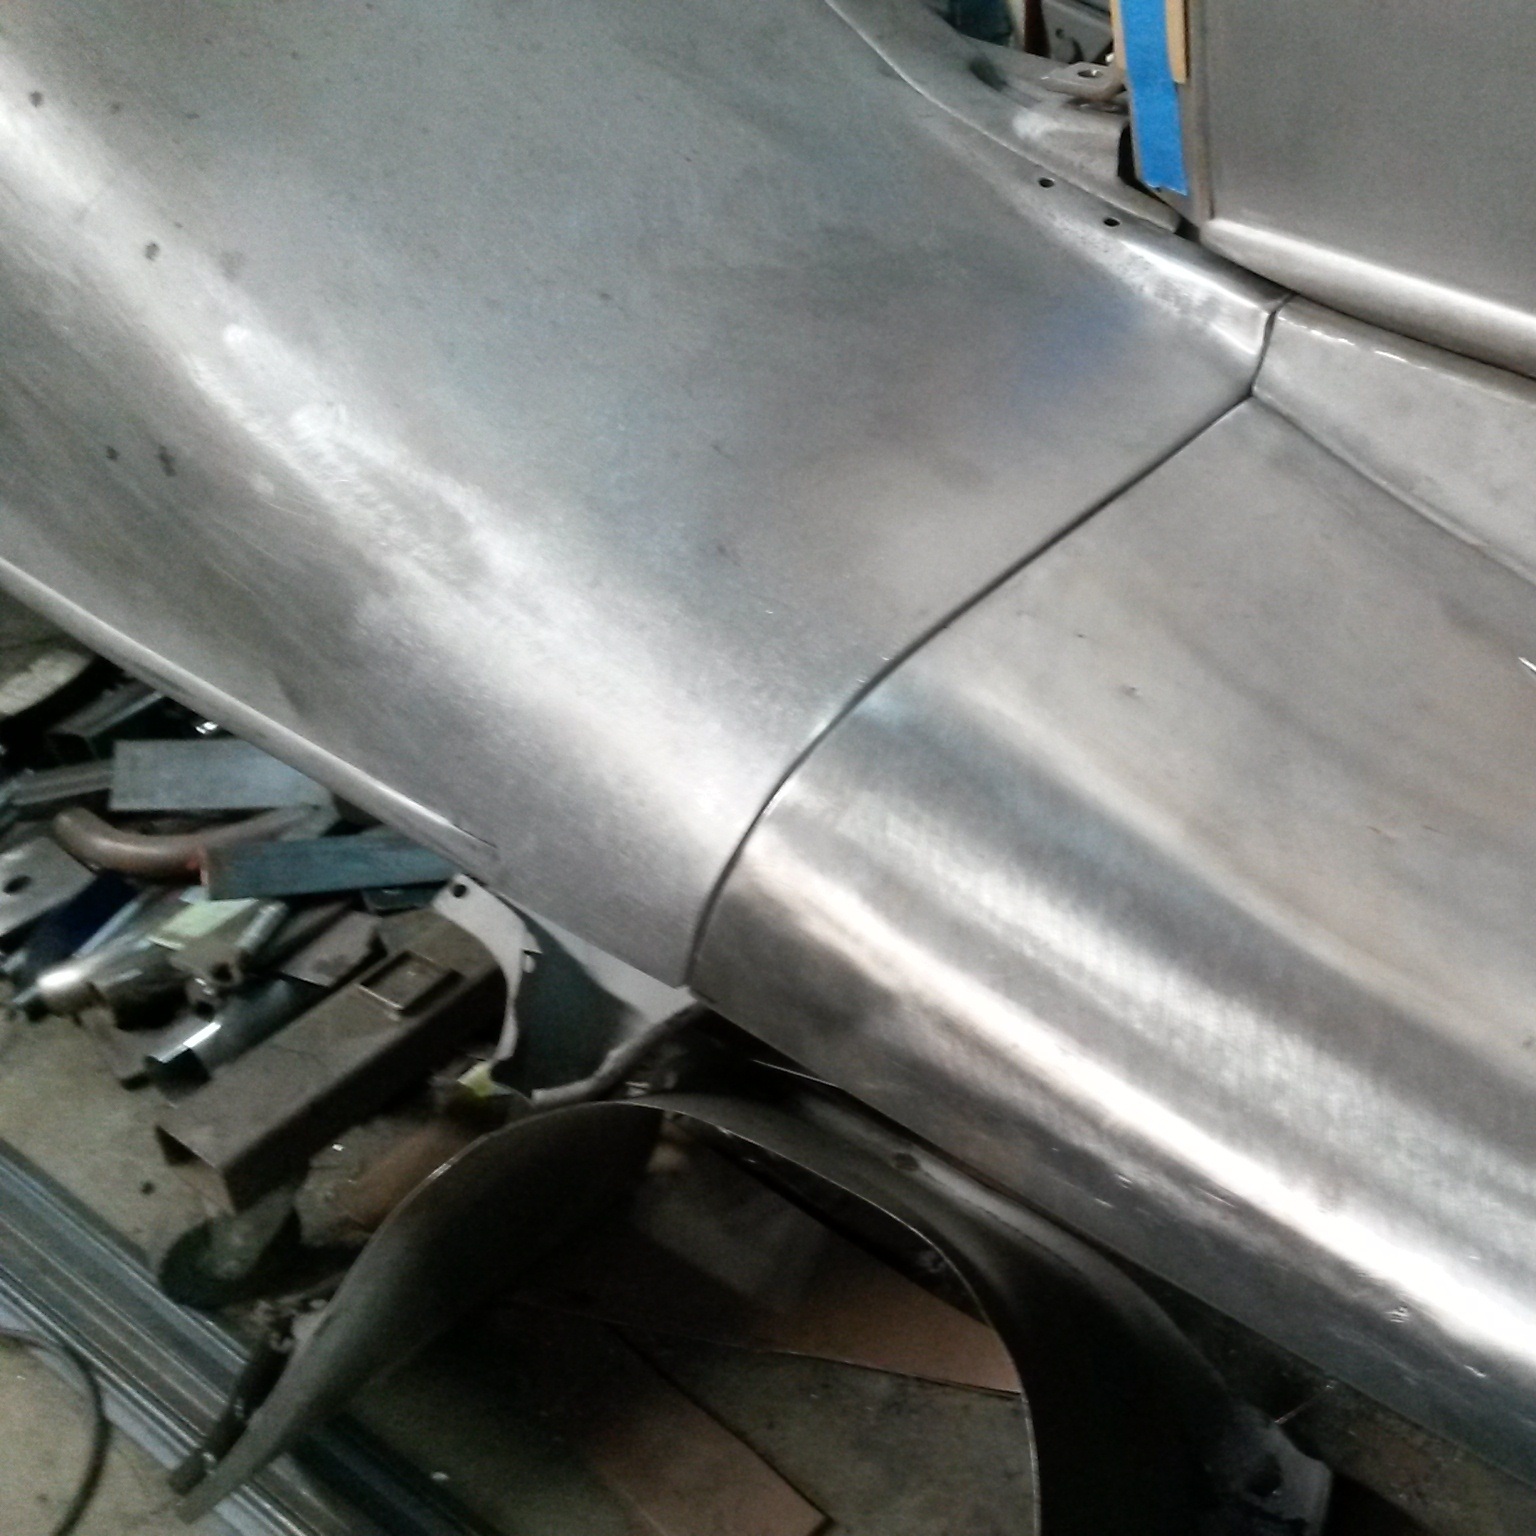
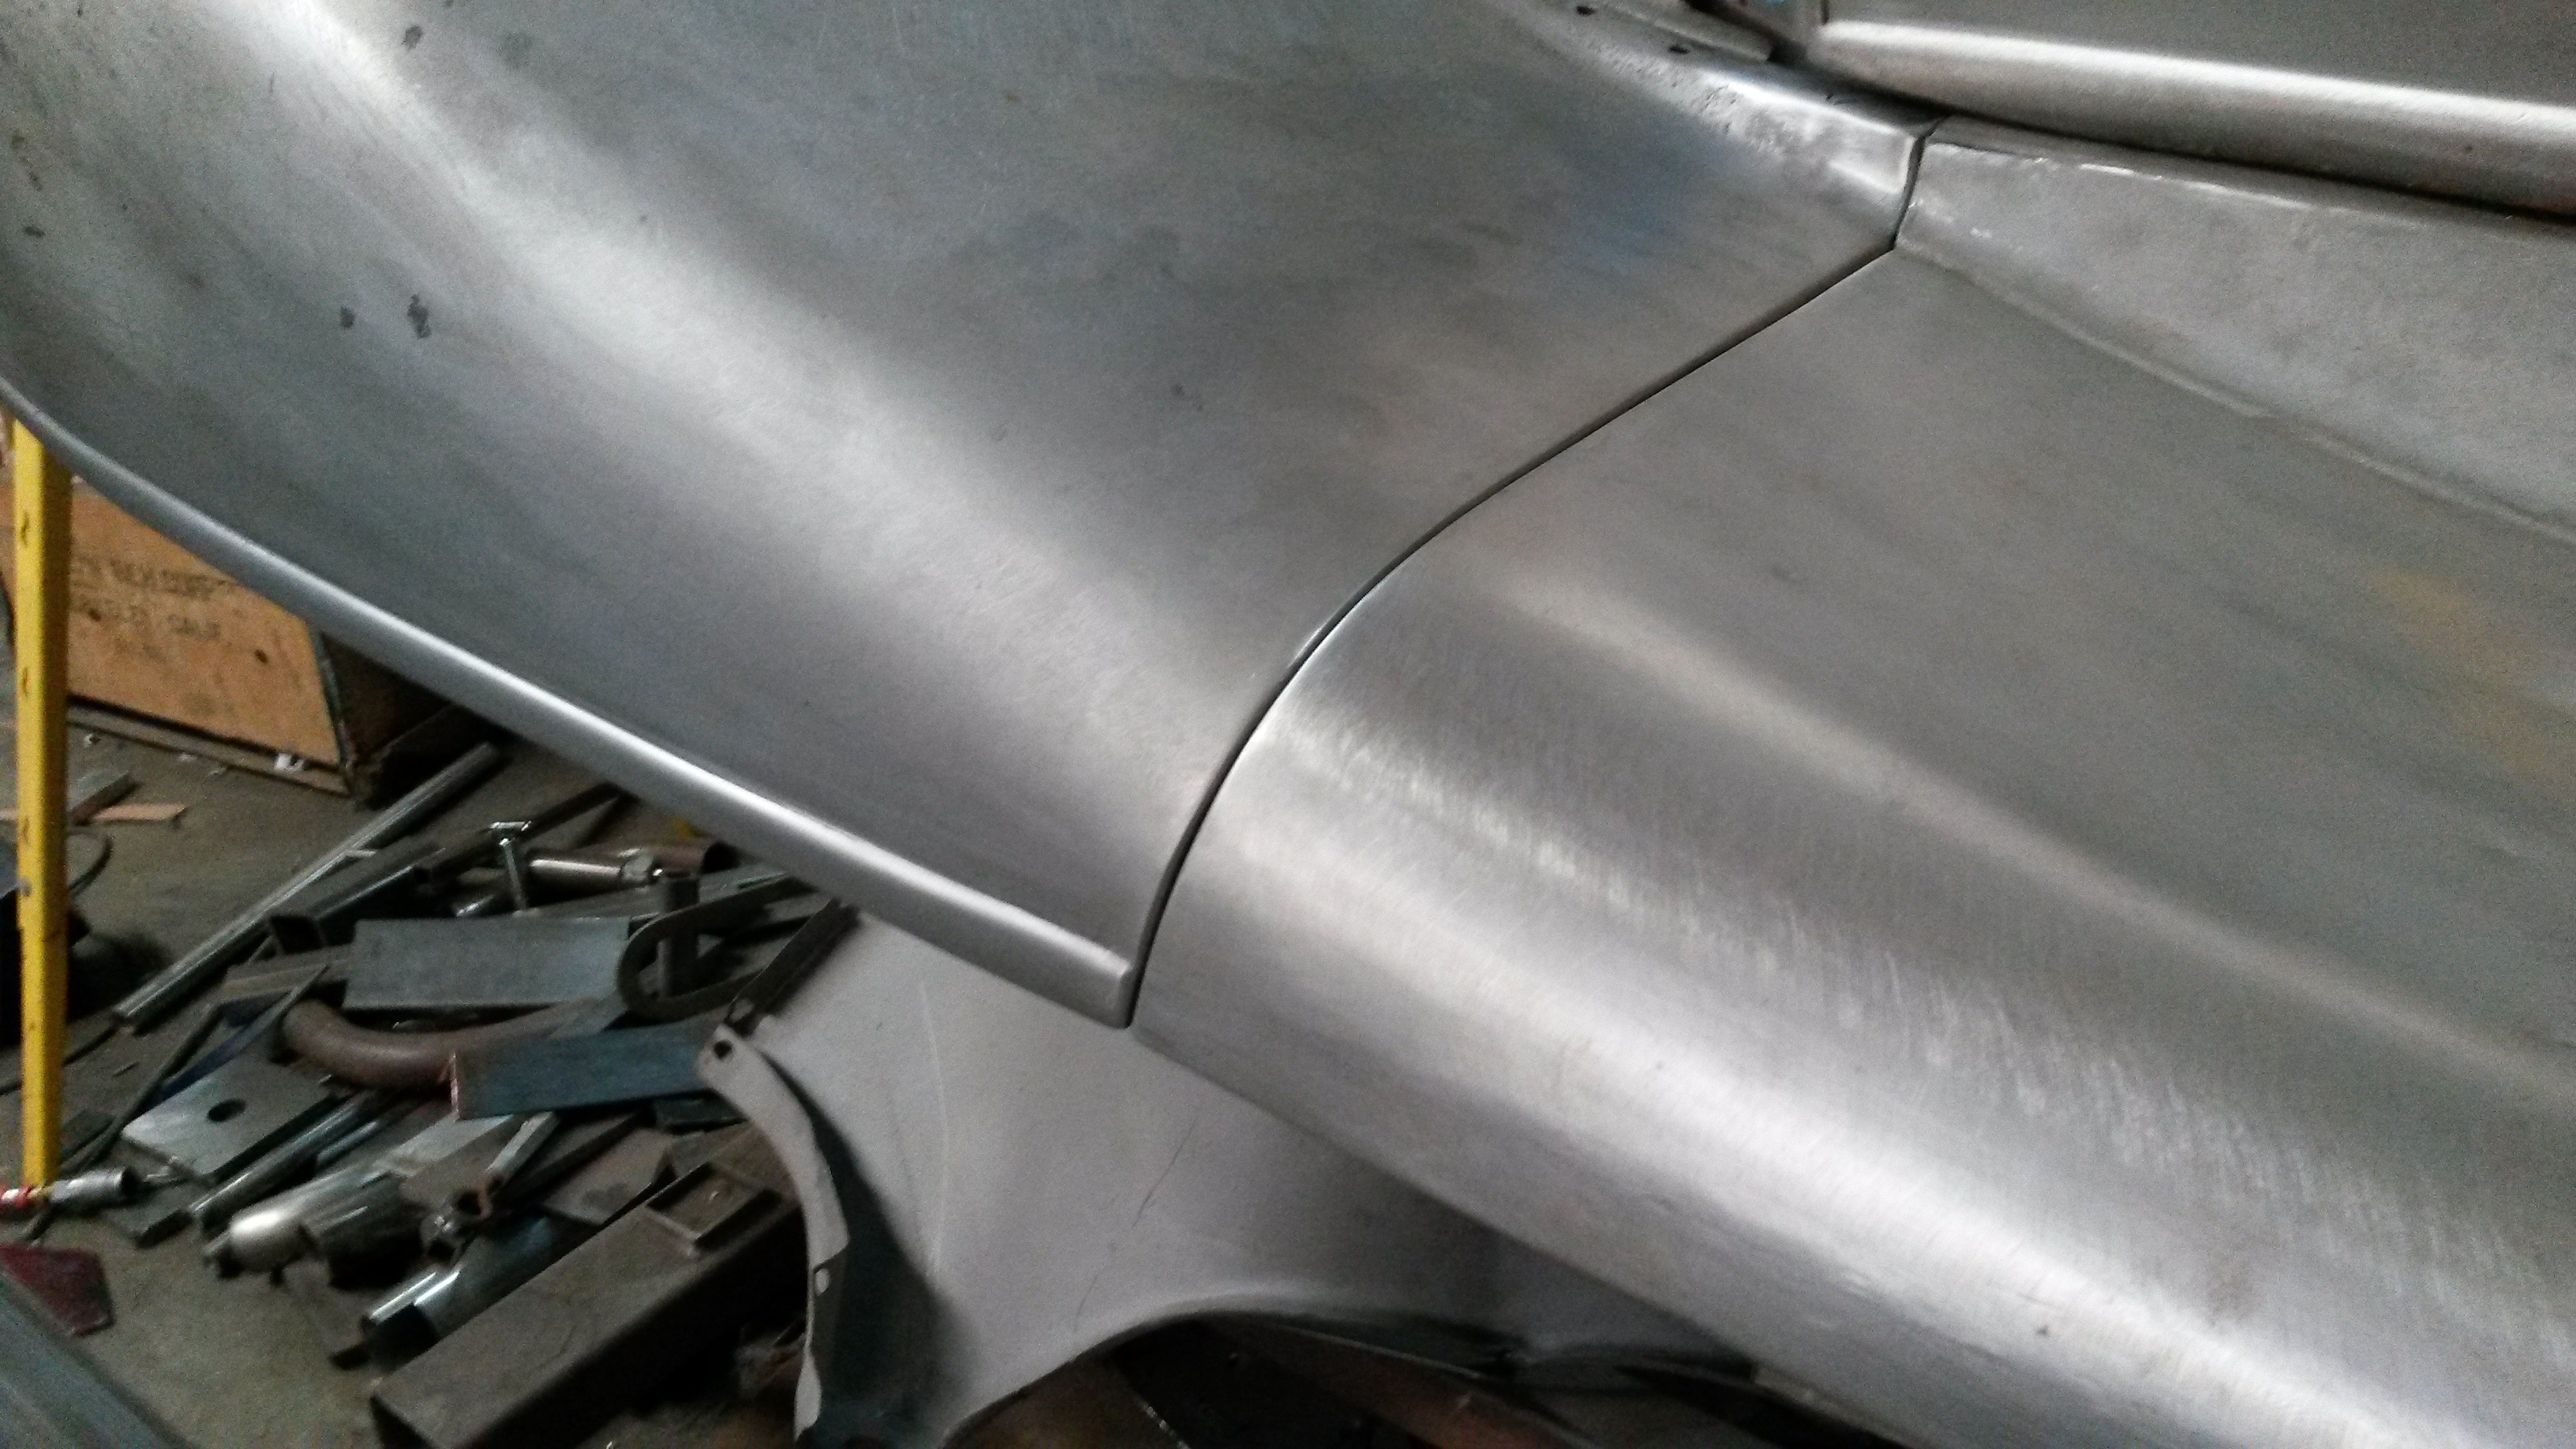
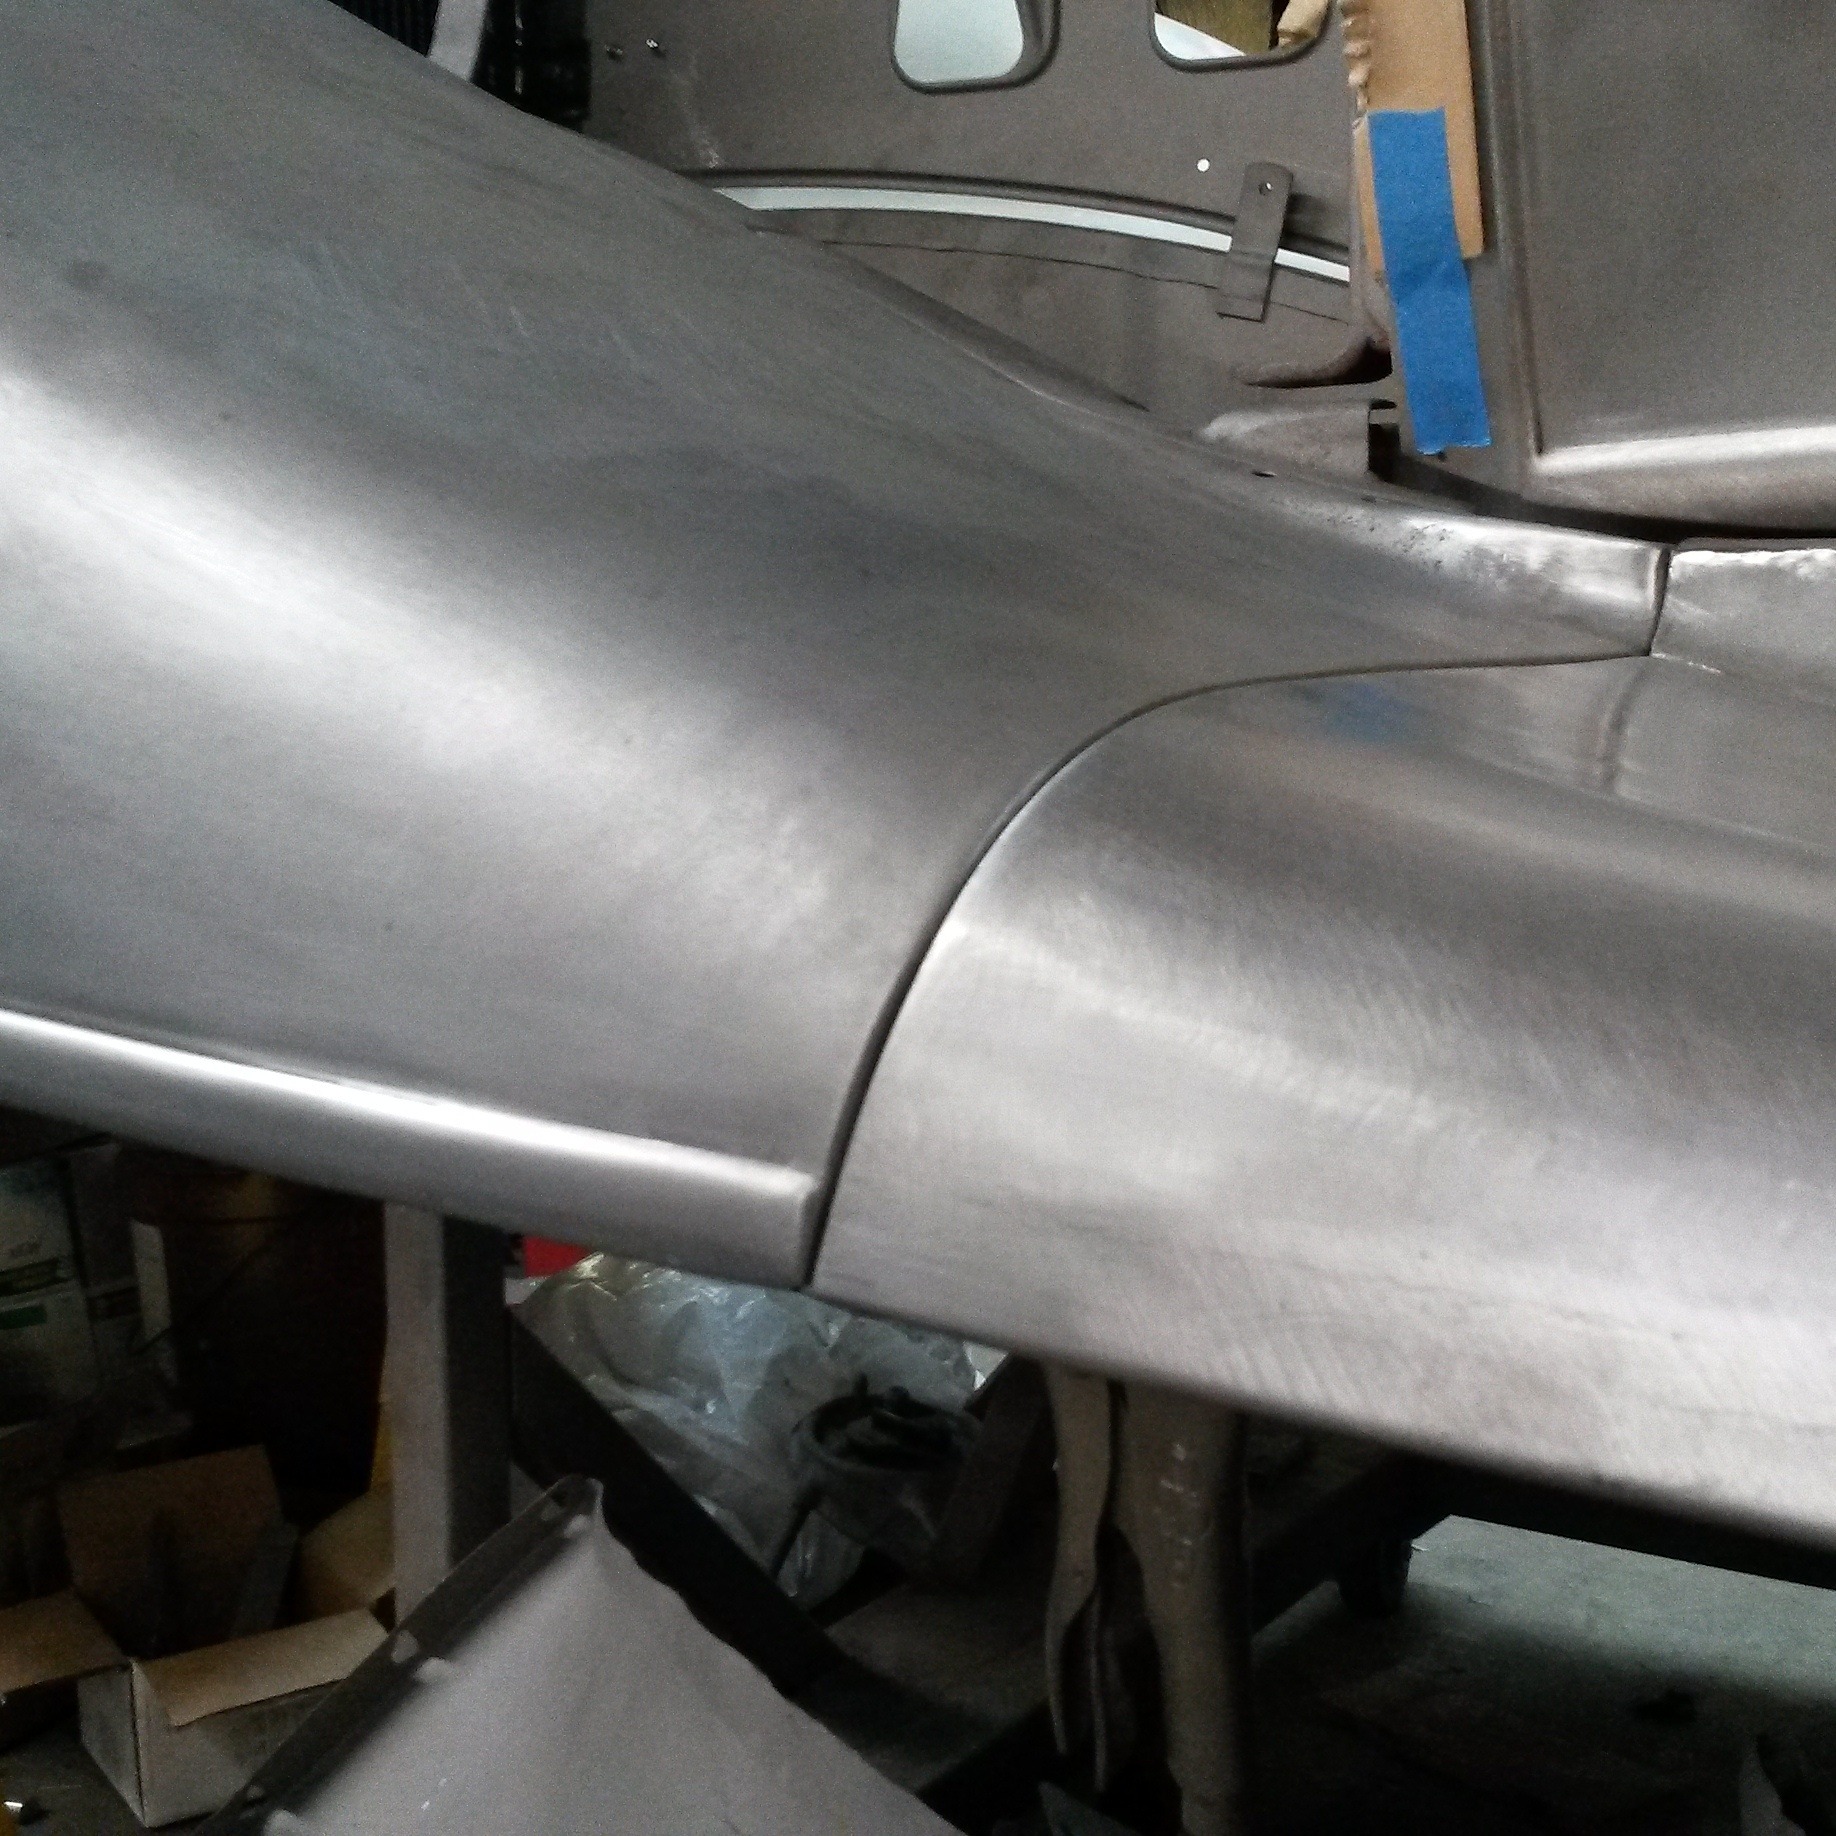 Where two body panels bolt up is often times rusted out. Not only because of moisture trapped between the panels but because the bolting surfaces are doubled up with reinforcement pieces underneath that tend to trap moisture and debris. Then add to that some poor repairs over the years, poor fit up or whatever. I will often times just re-make the joint where two panels meet, including the doubler underneath. Basically making the rust start over.
0 -
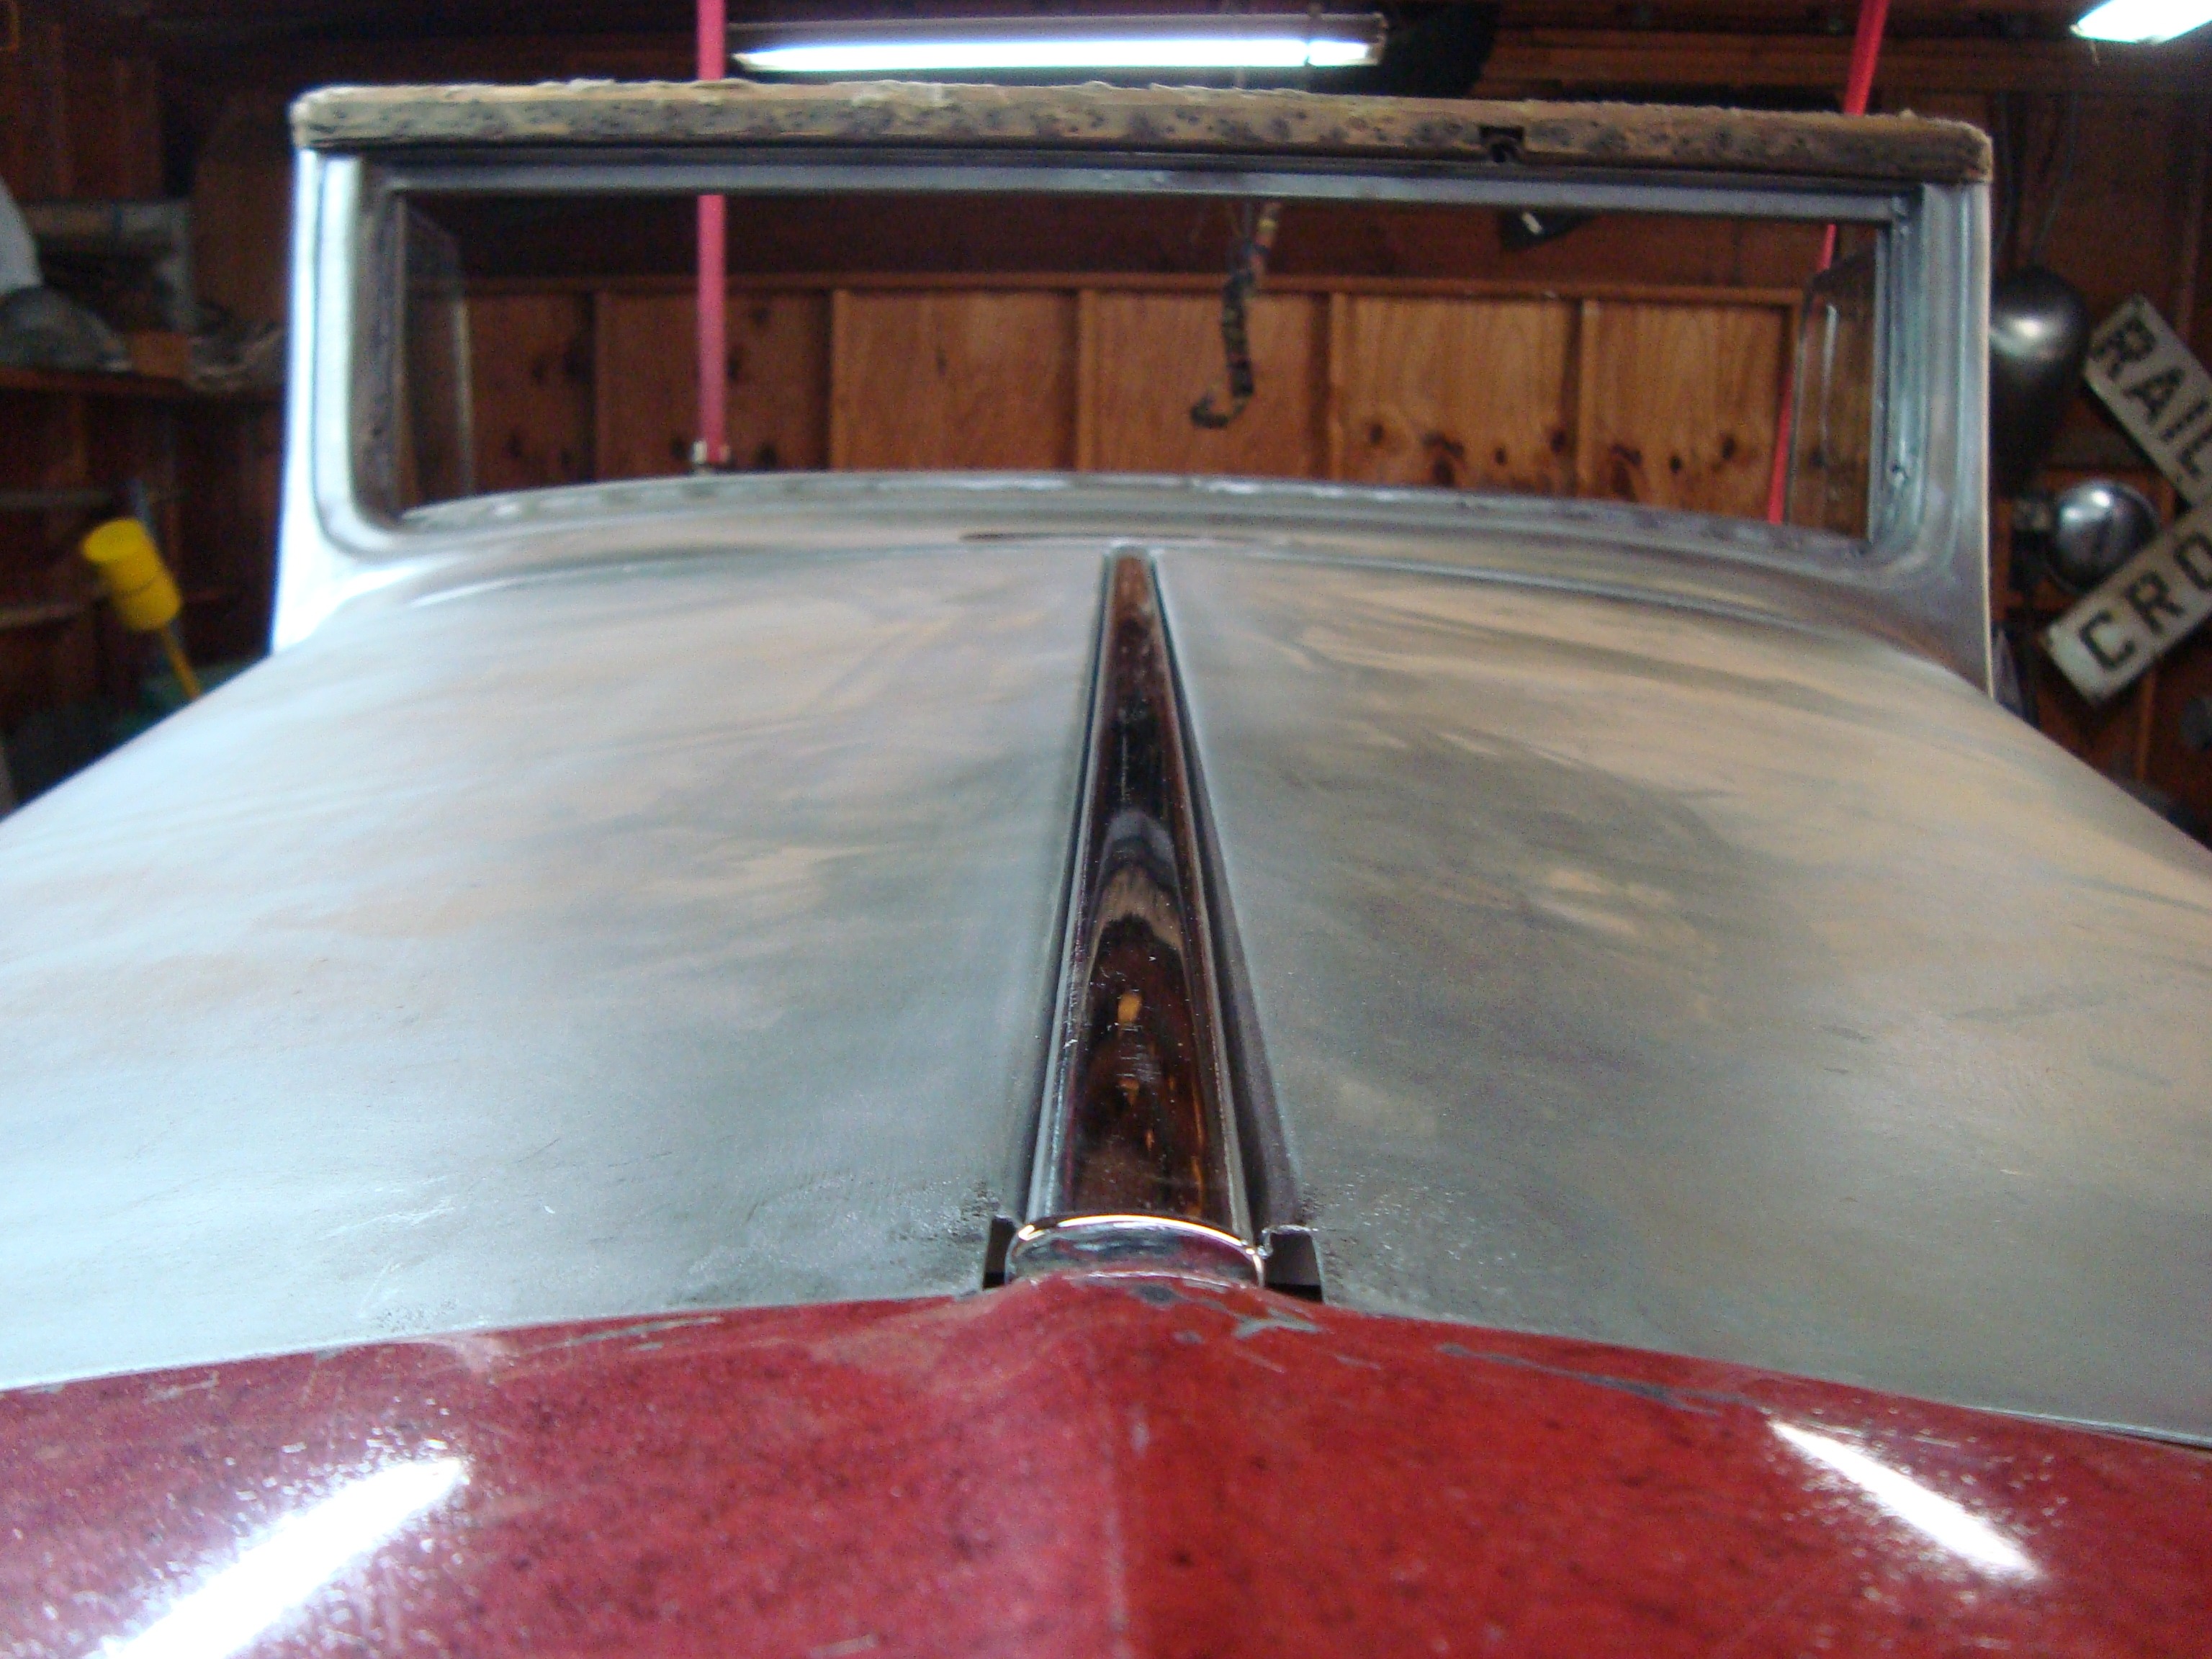
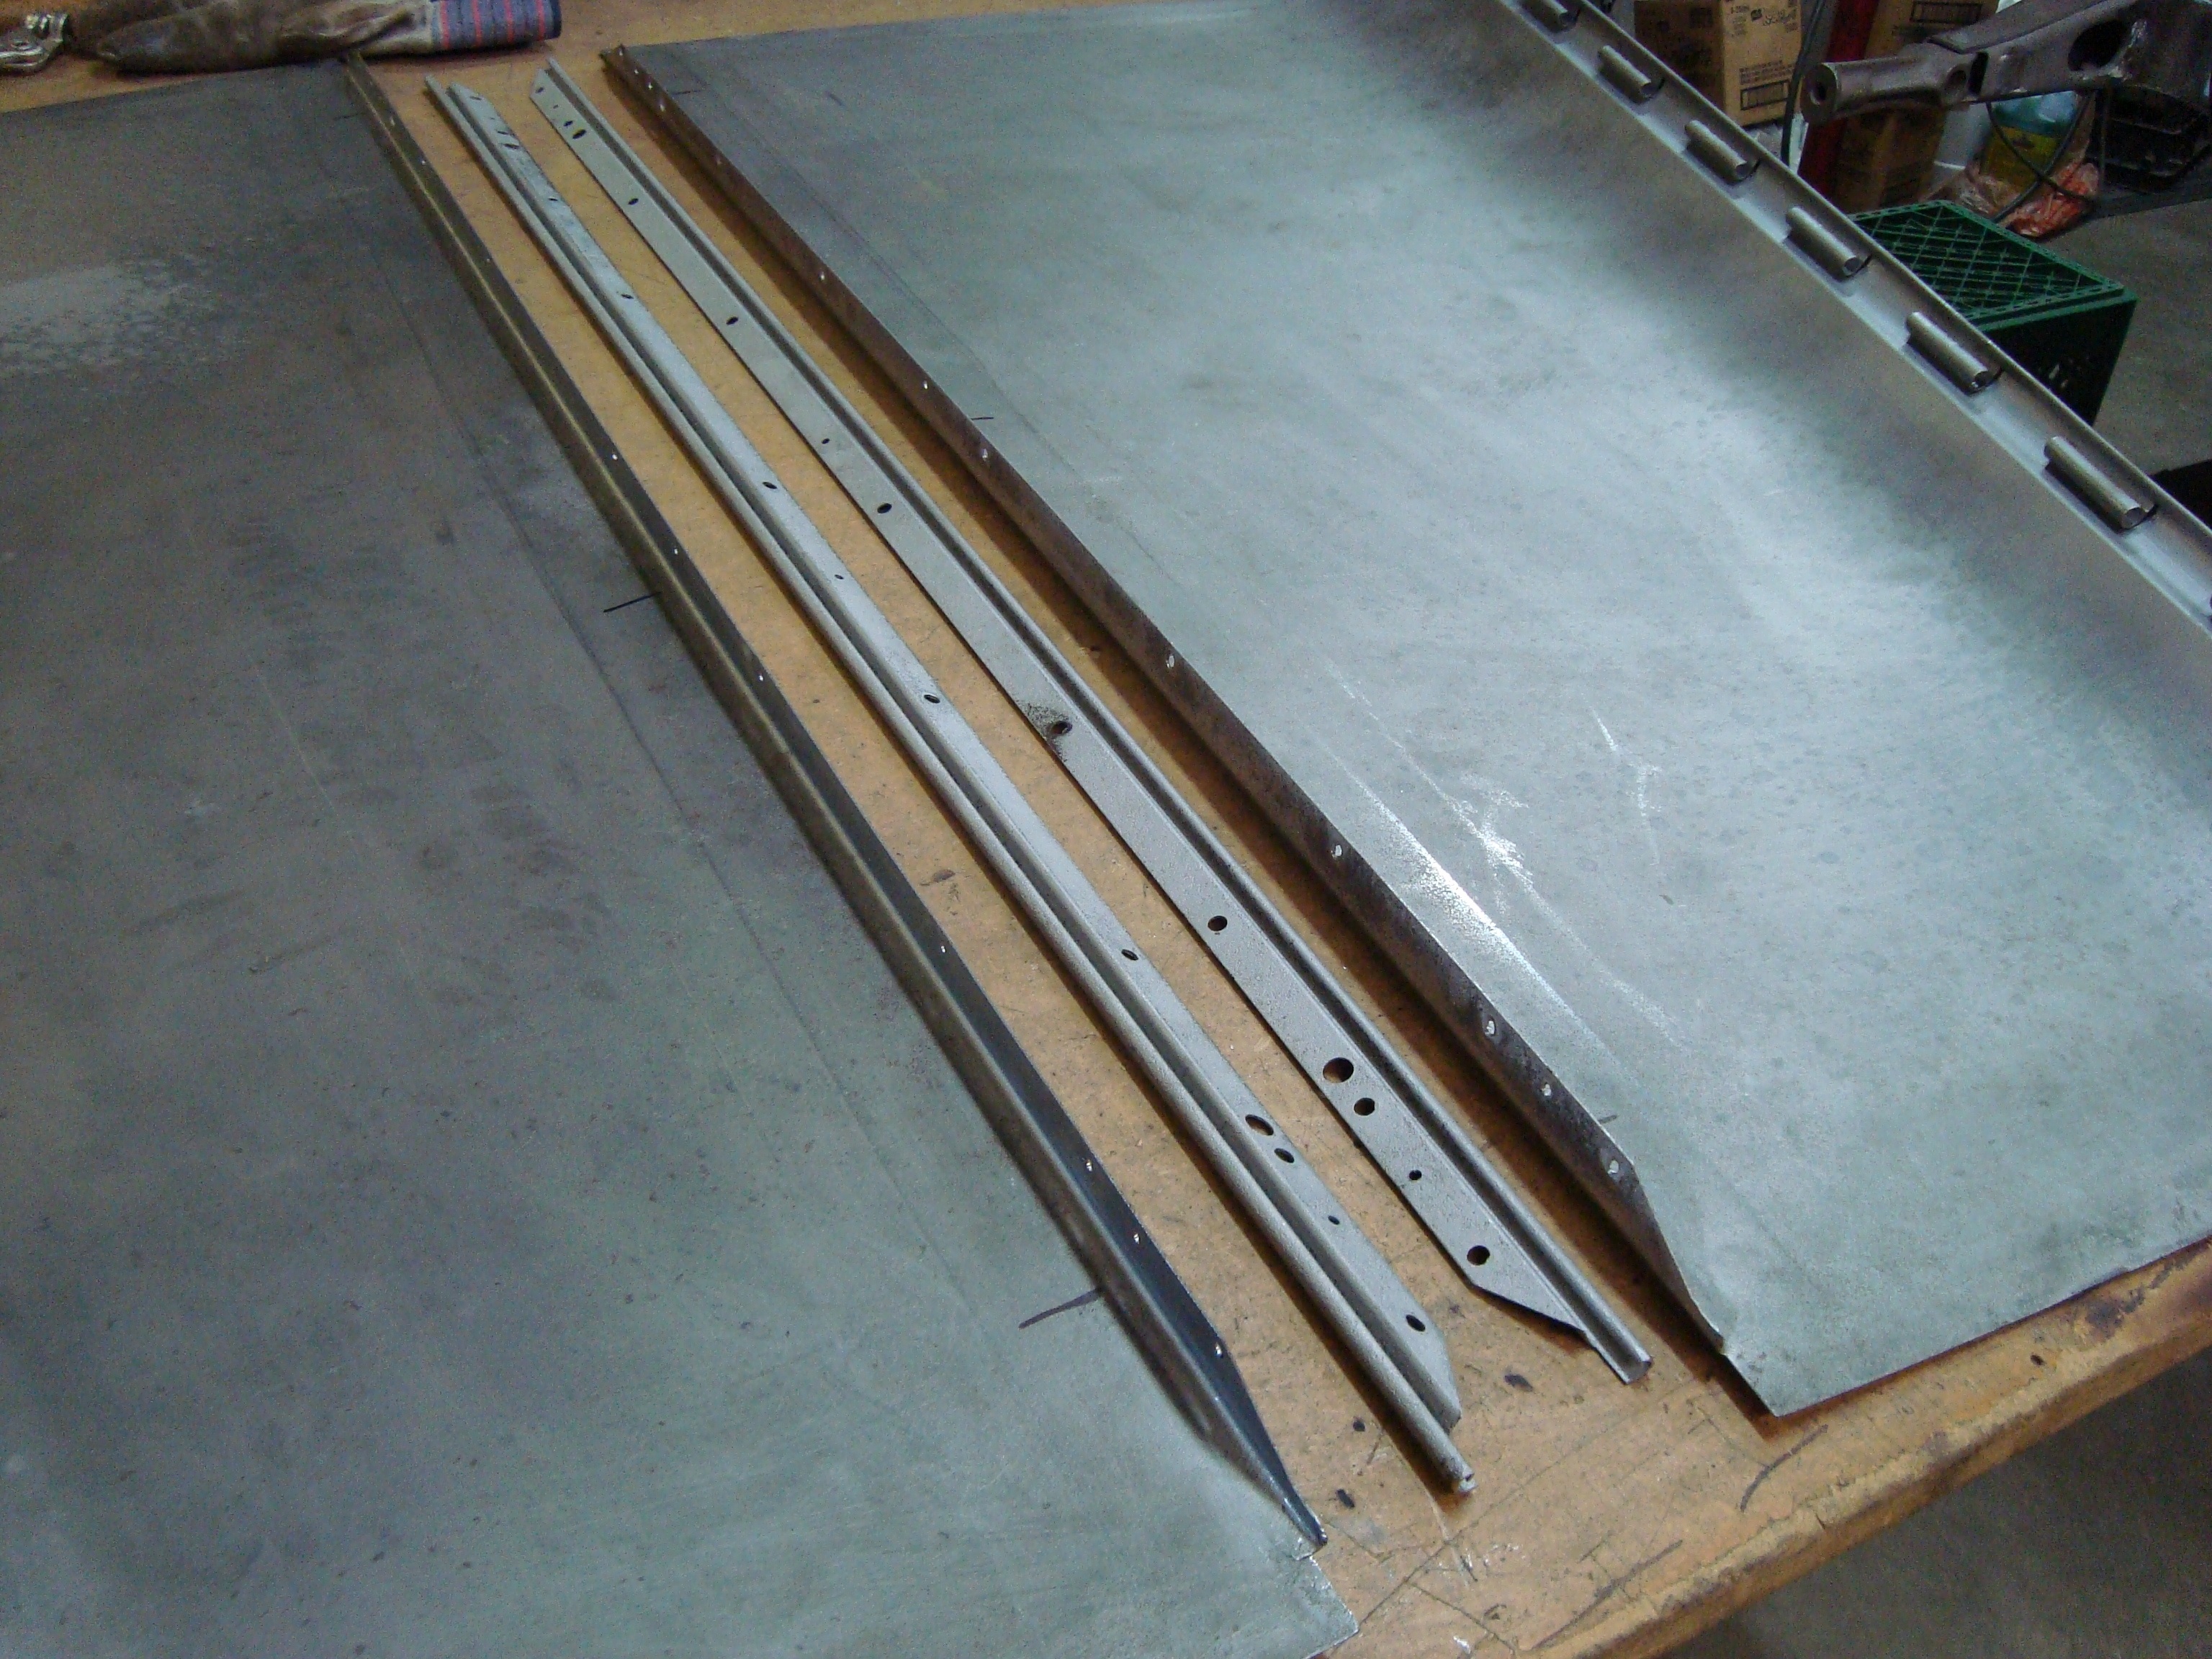
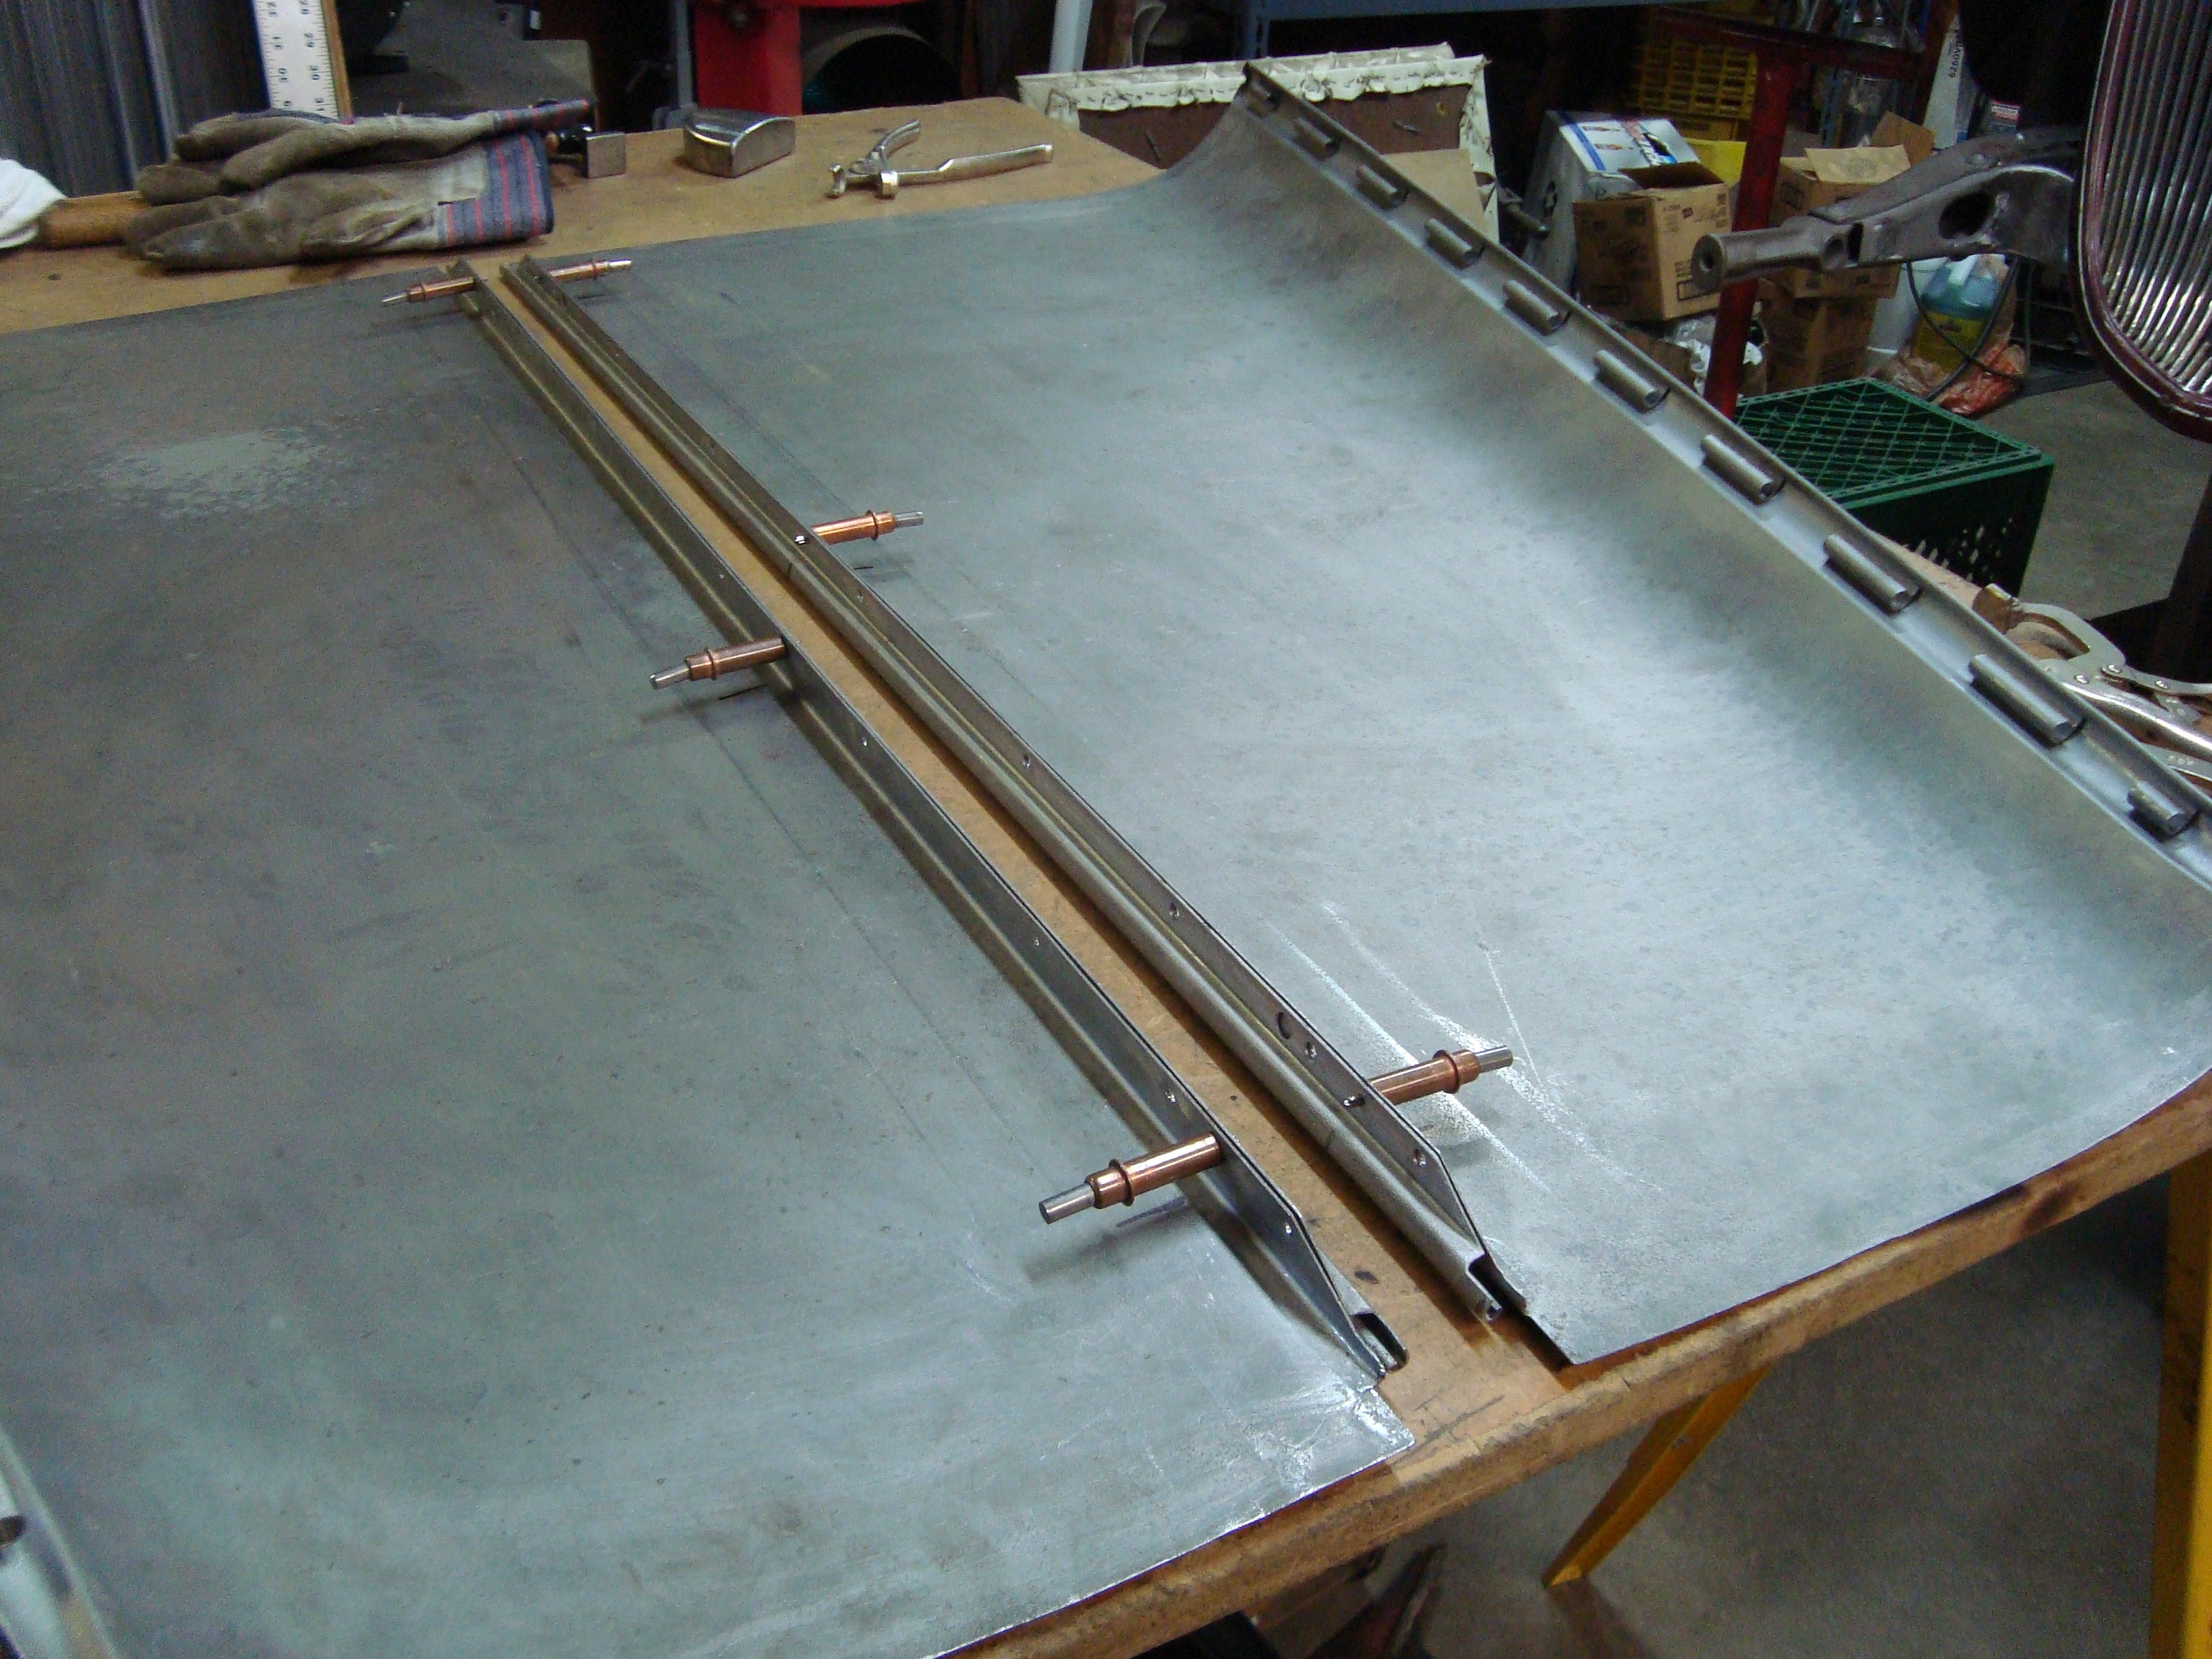
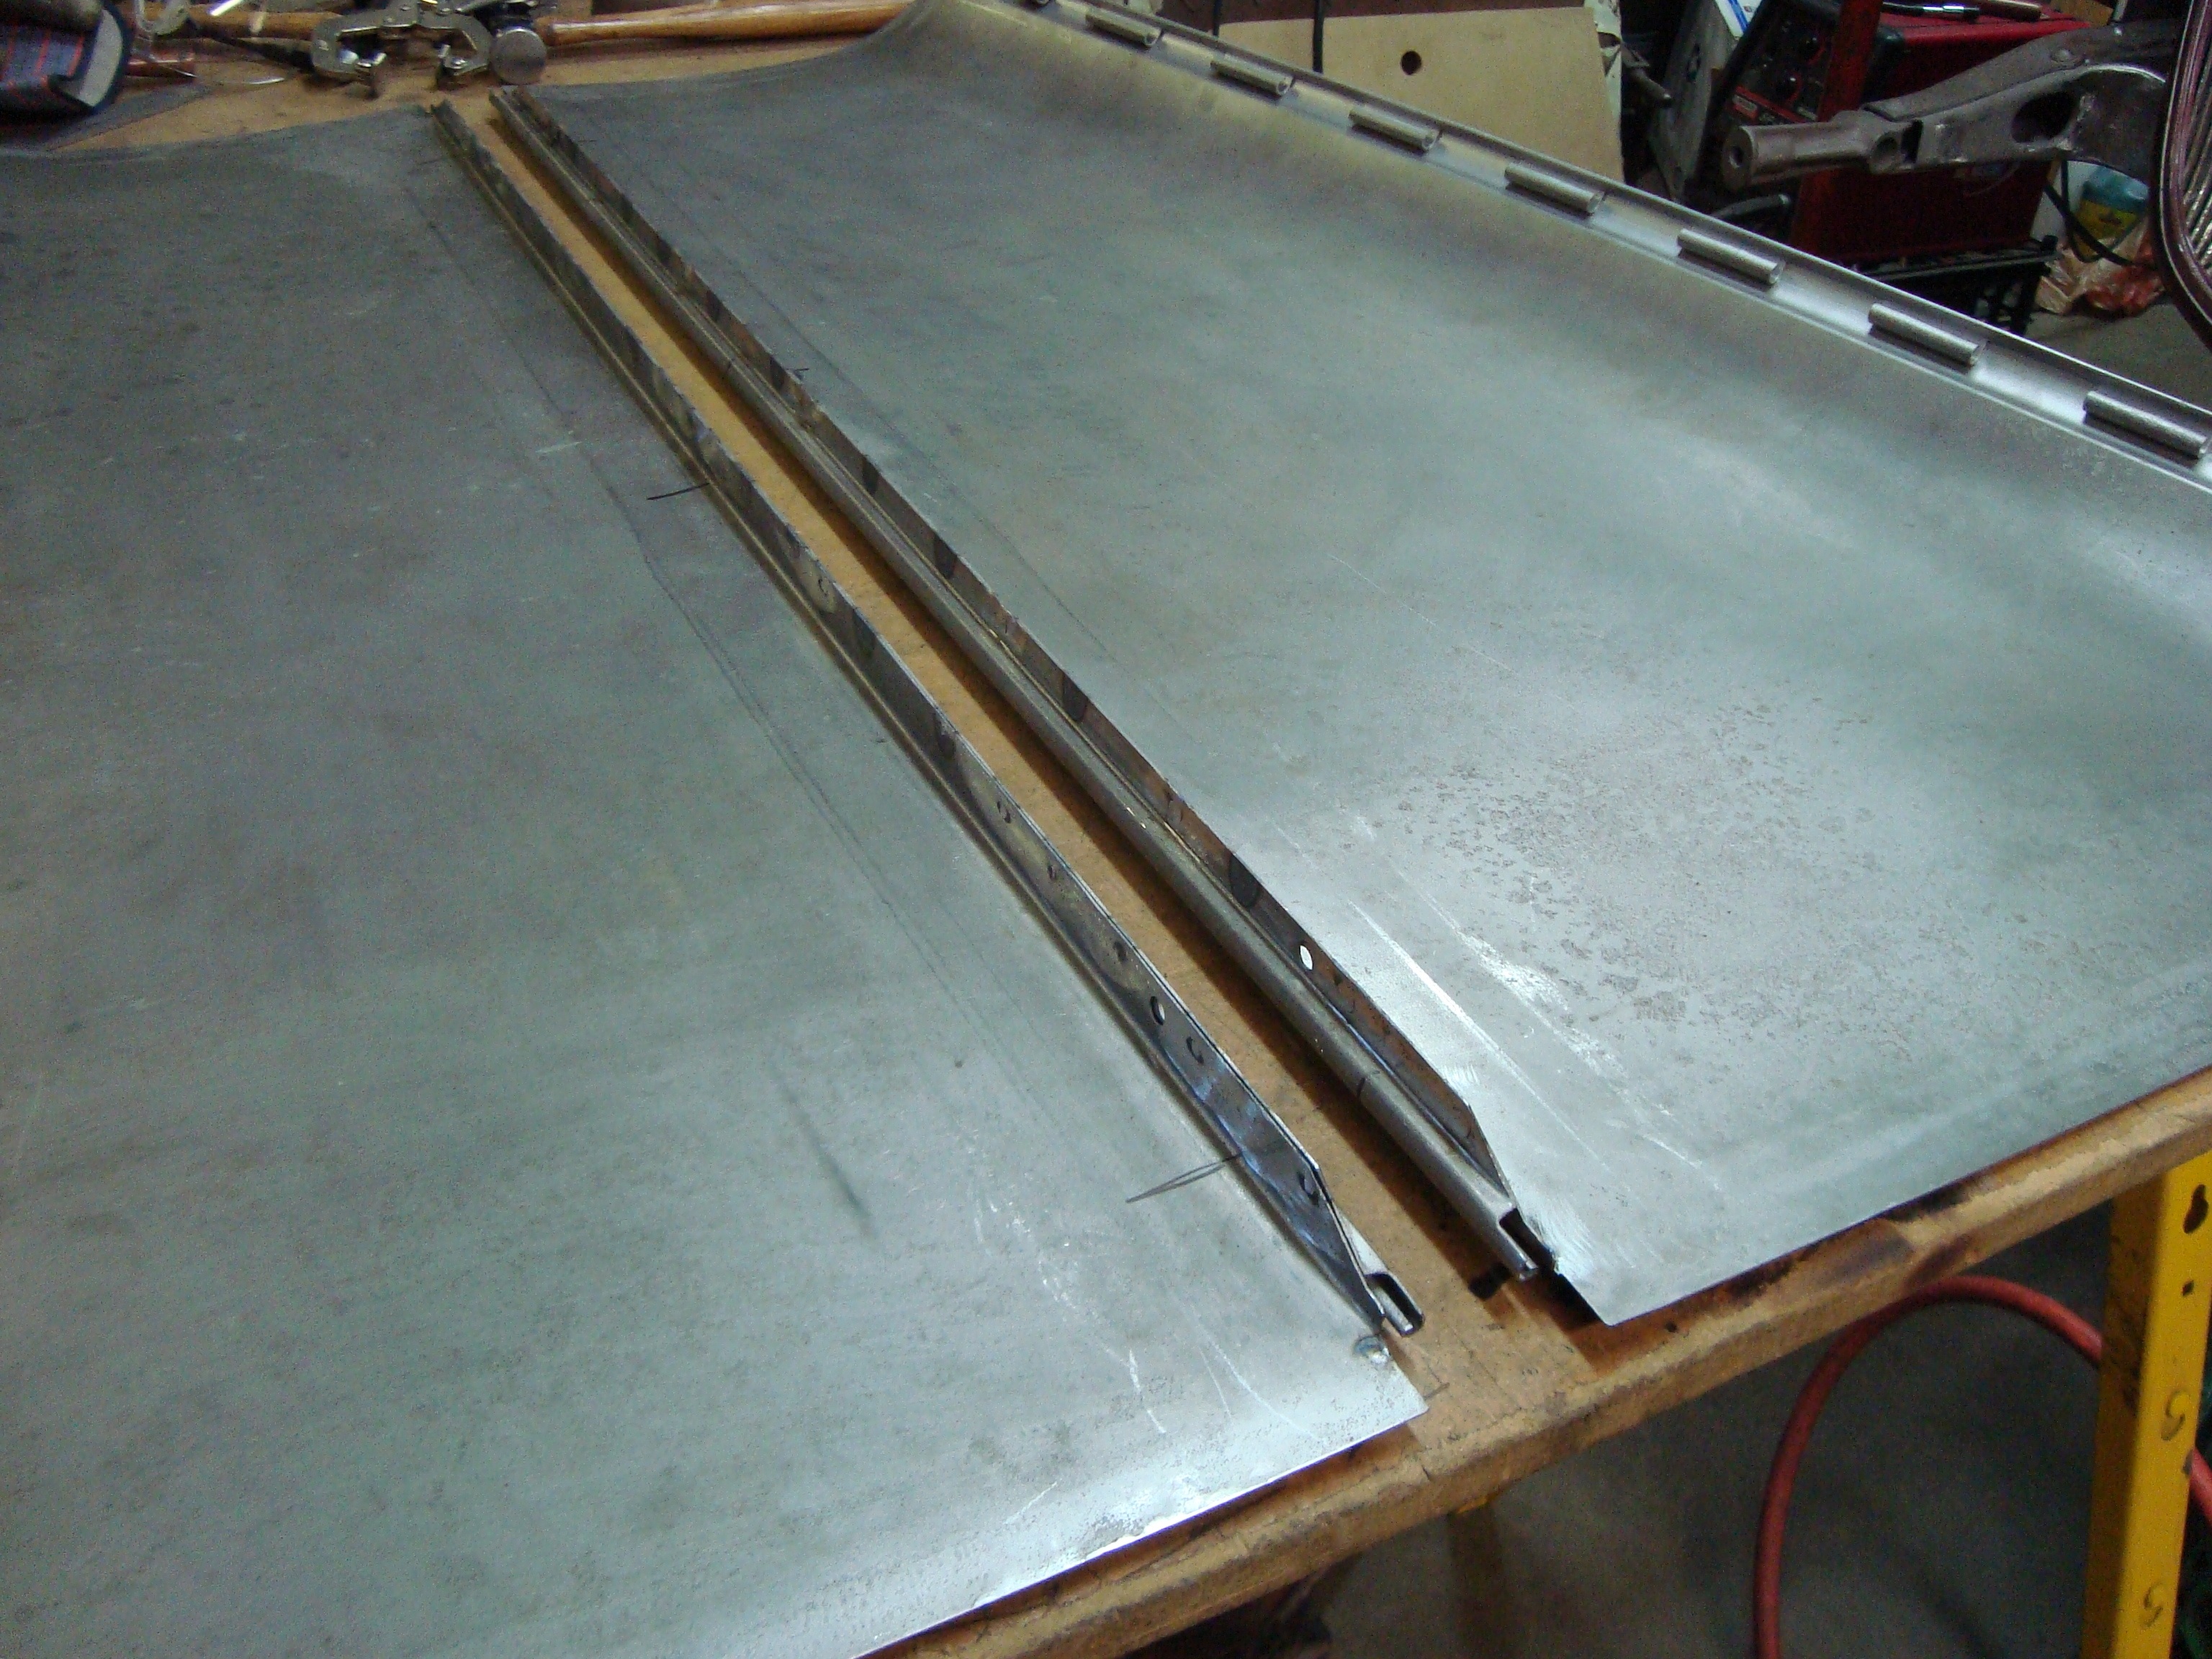
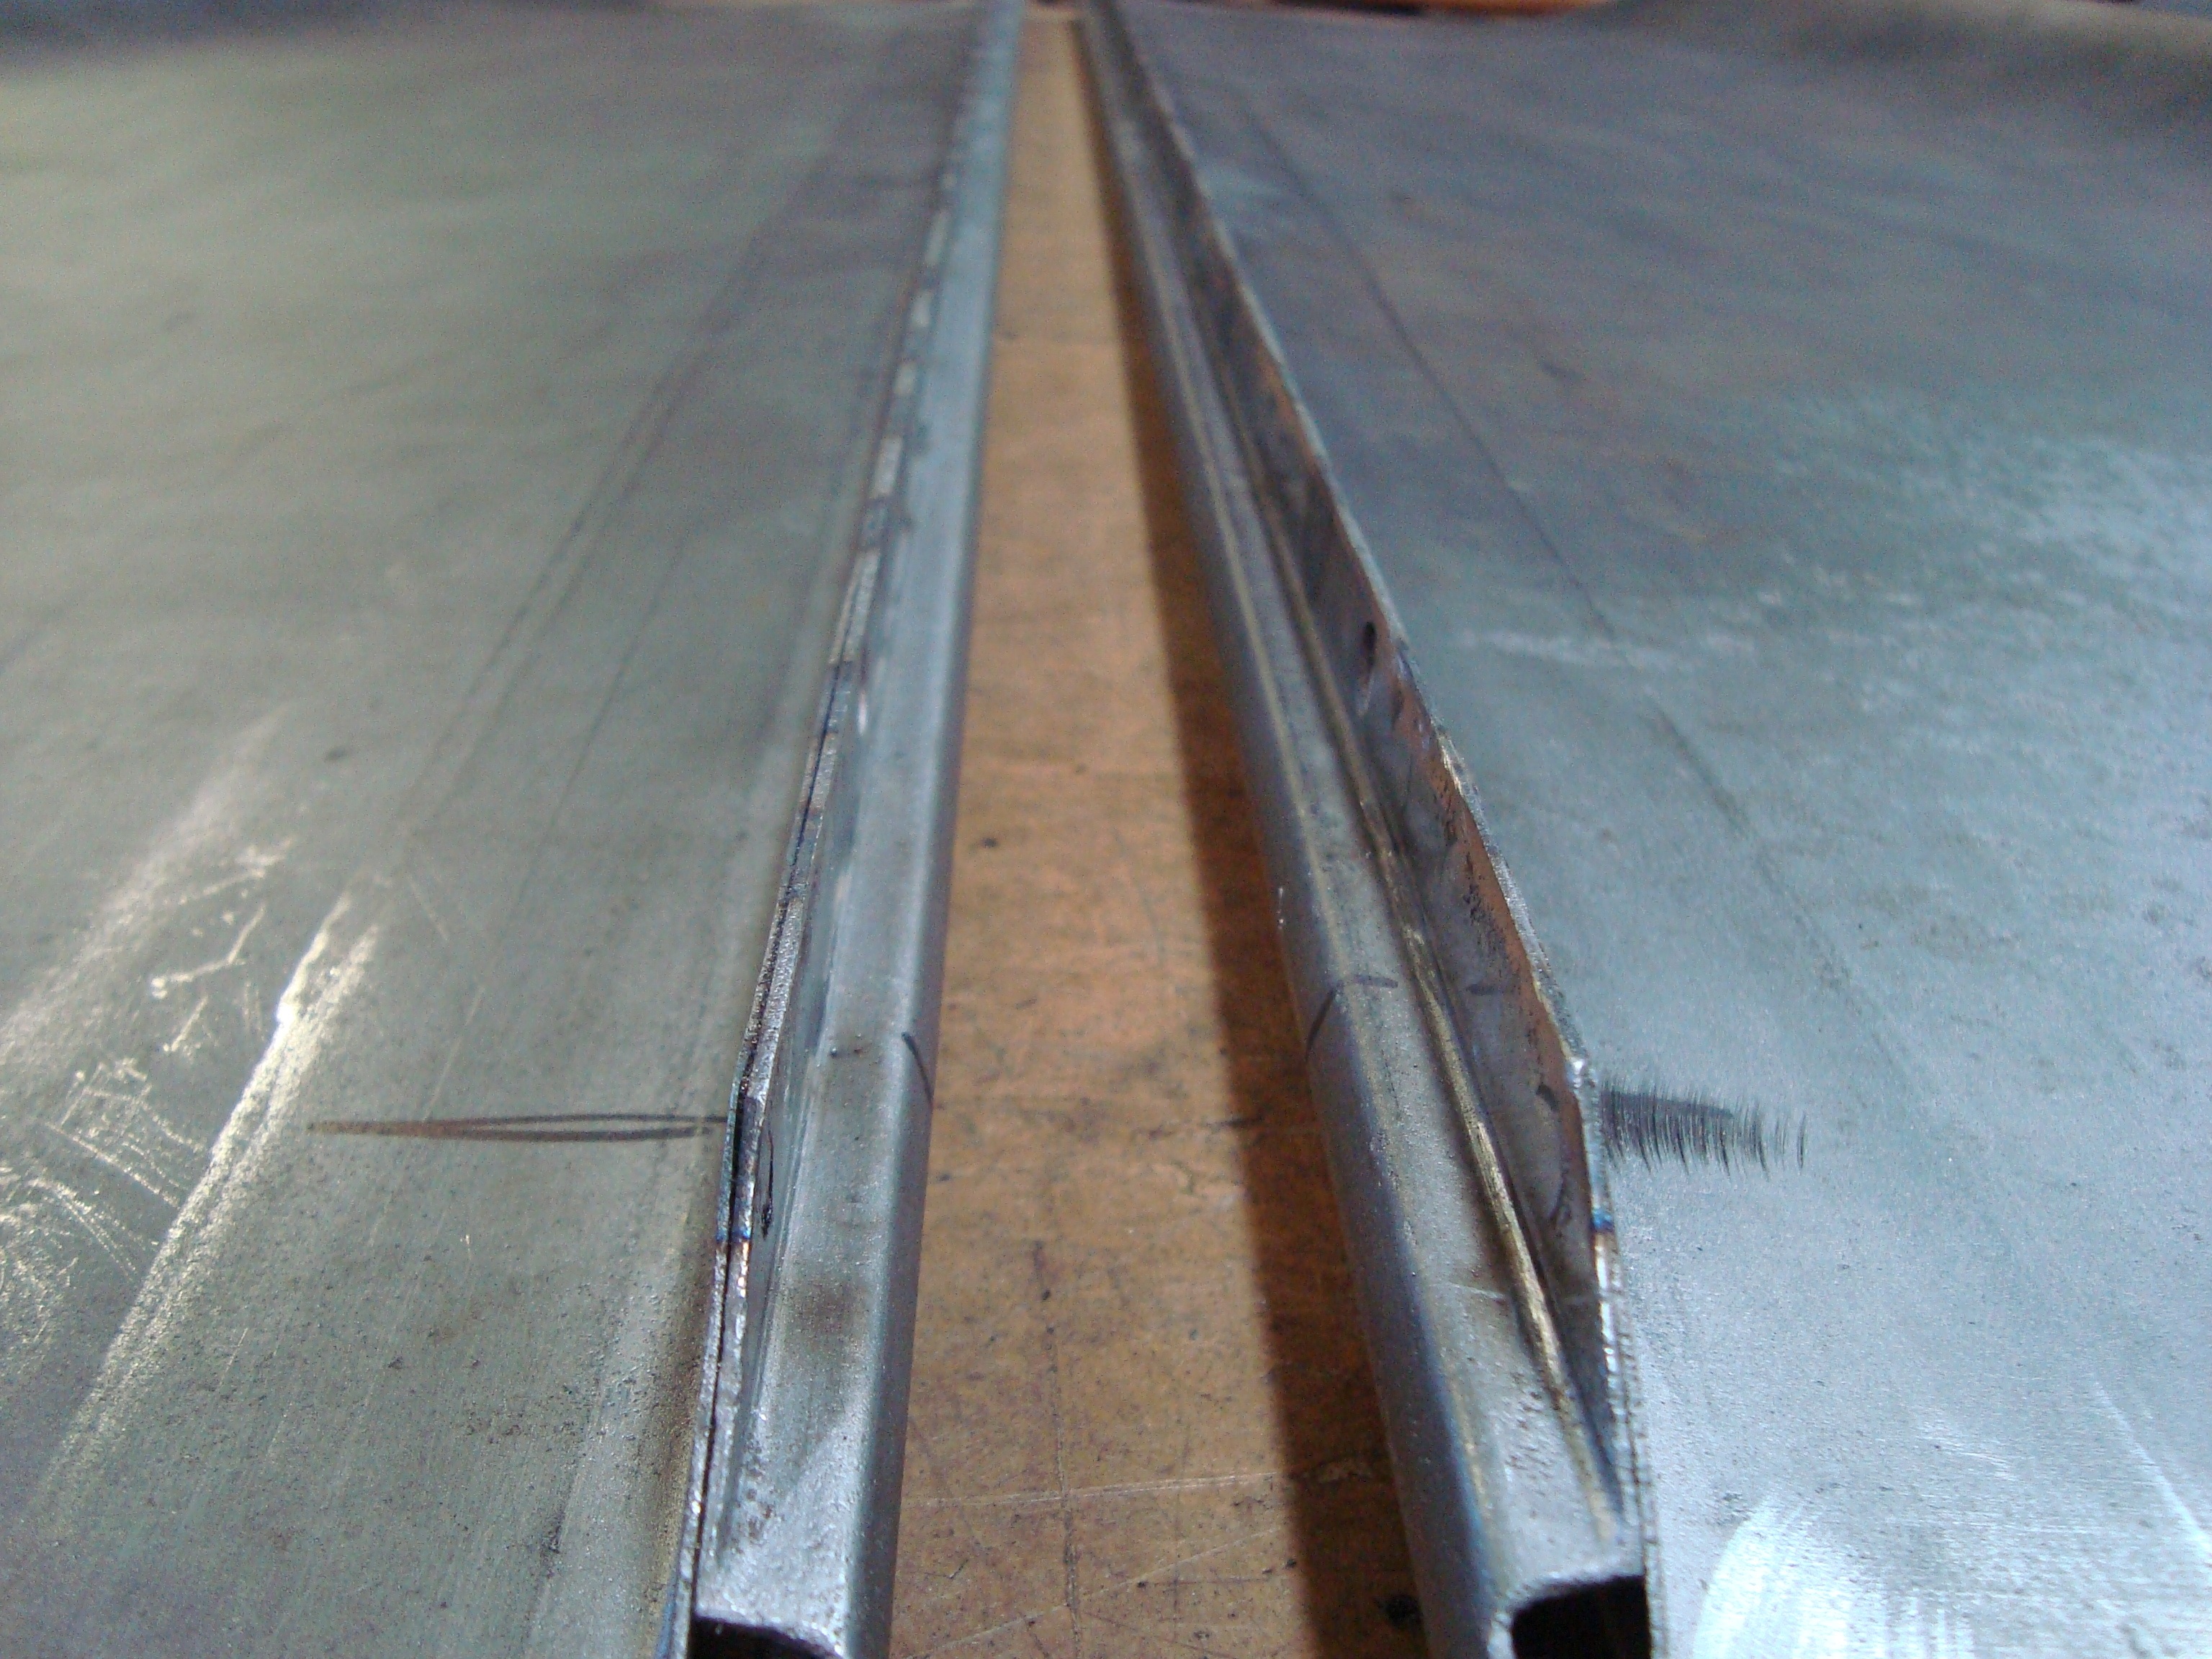
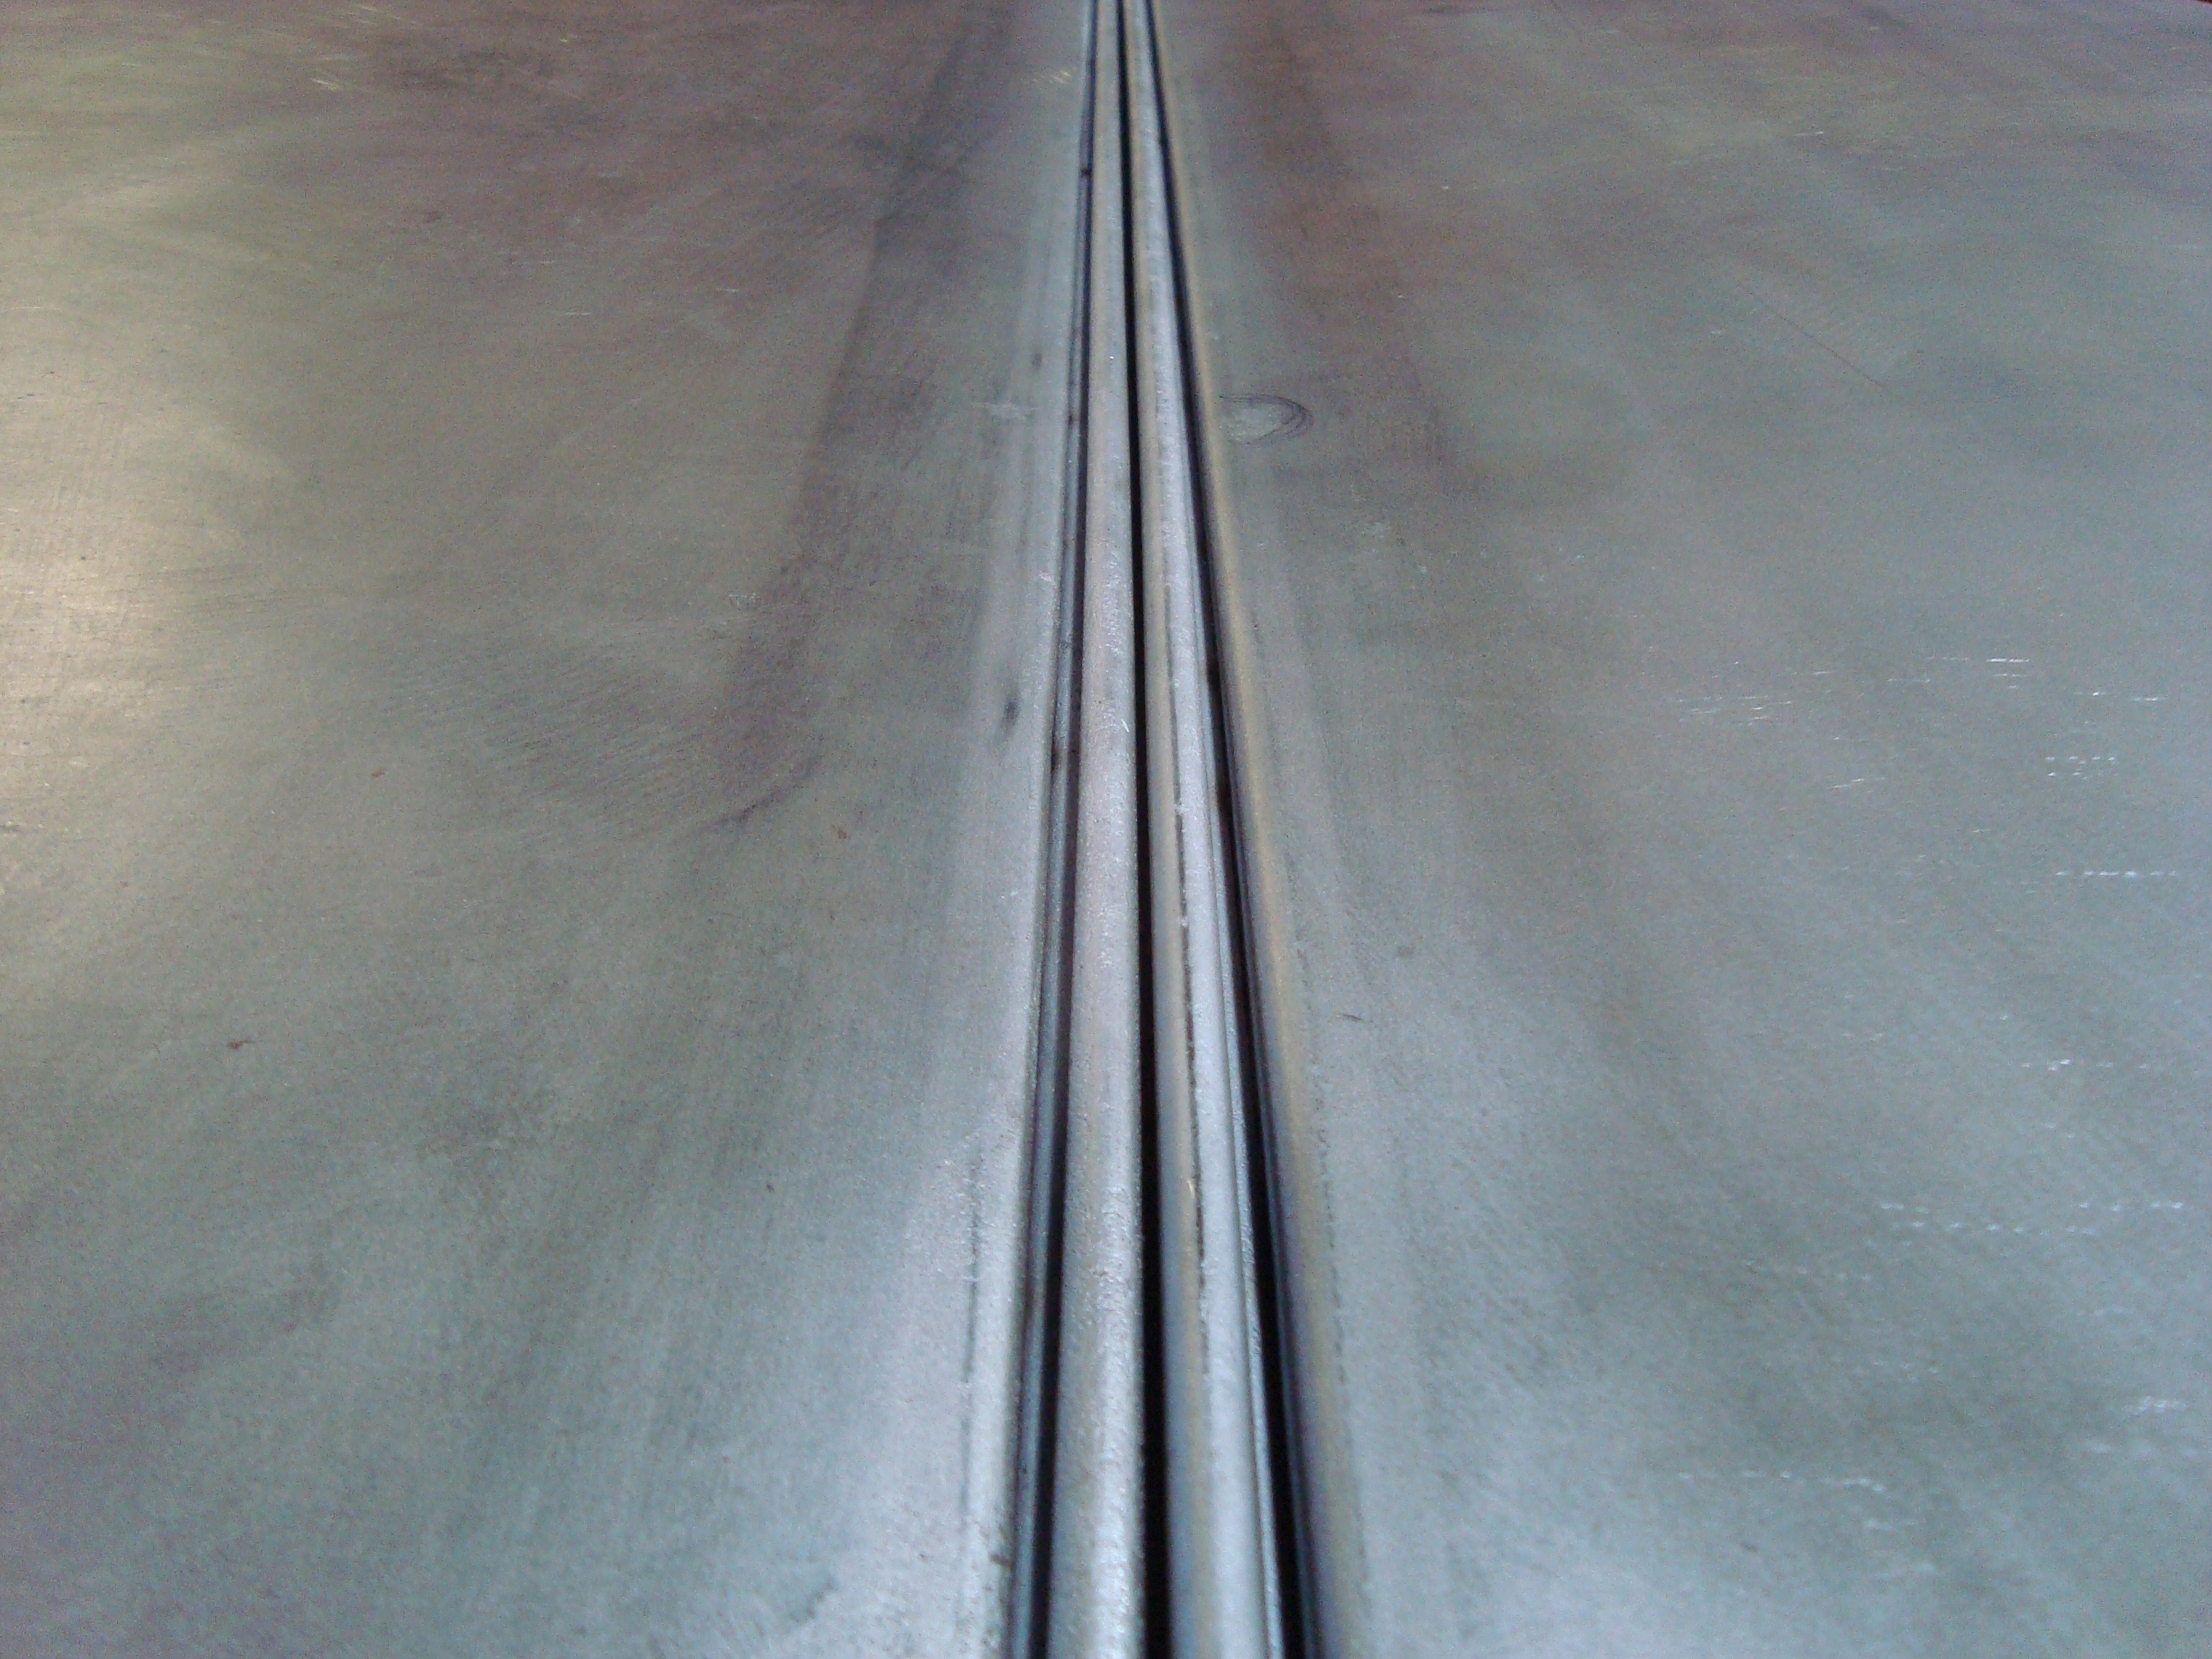
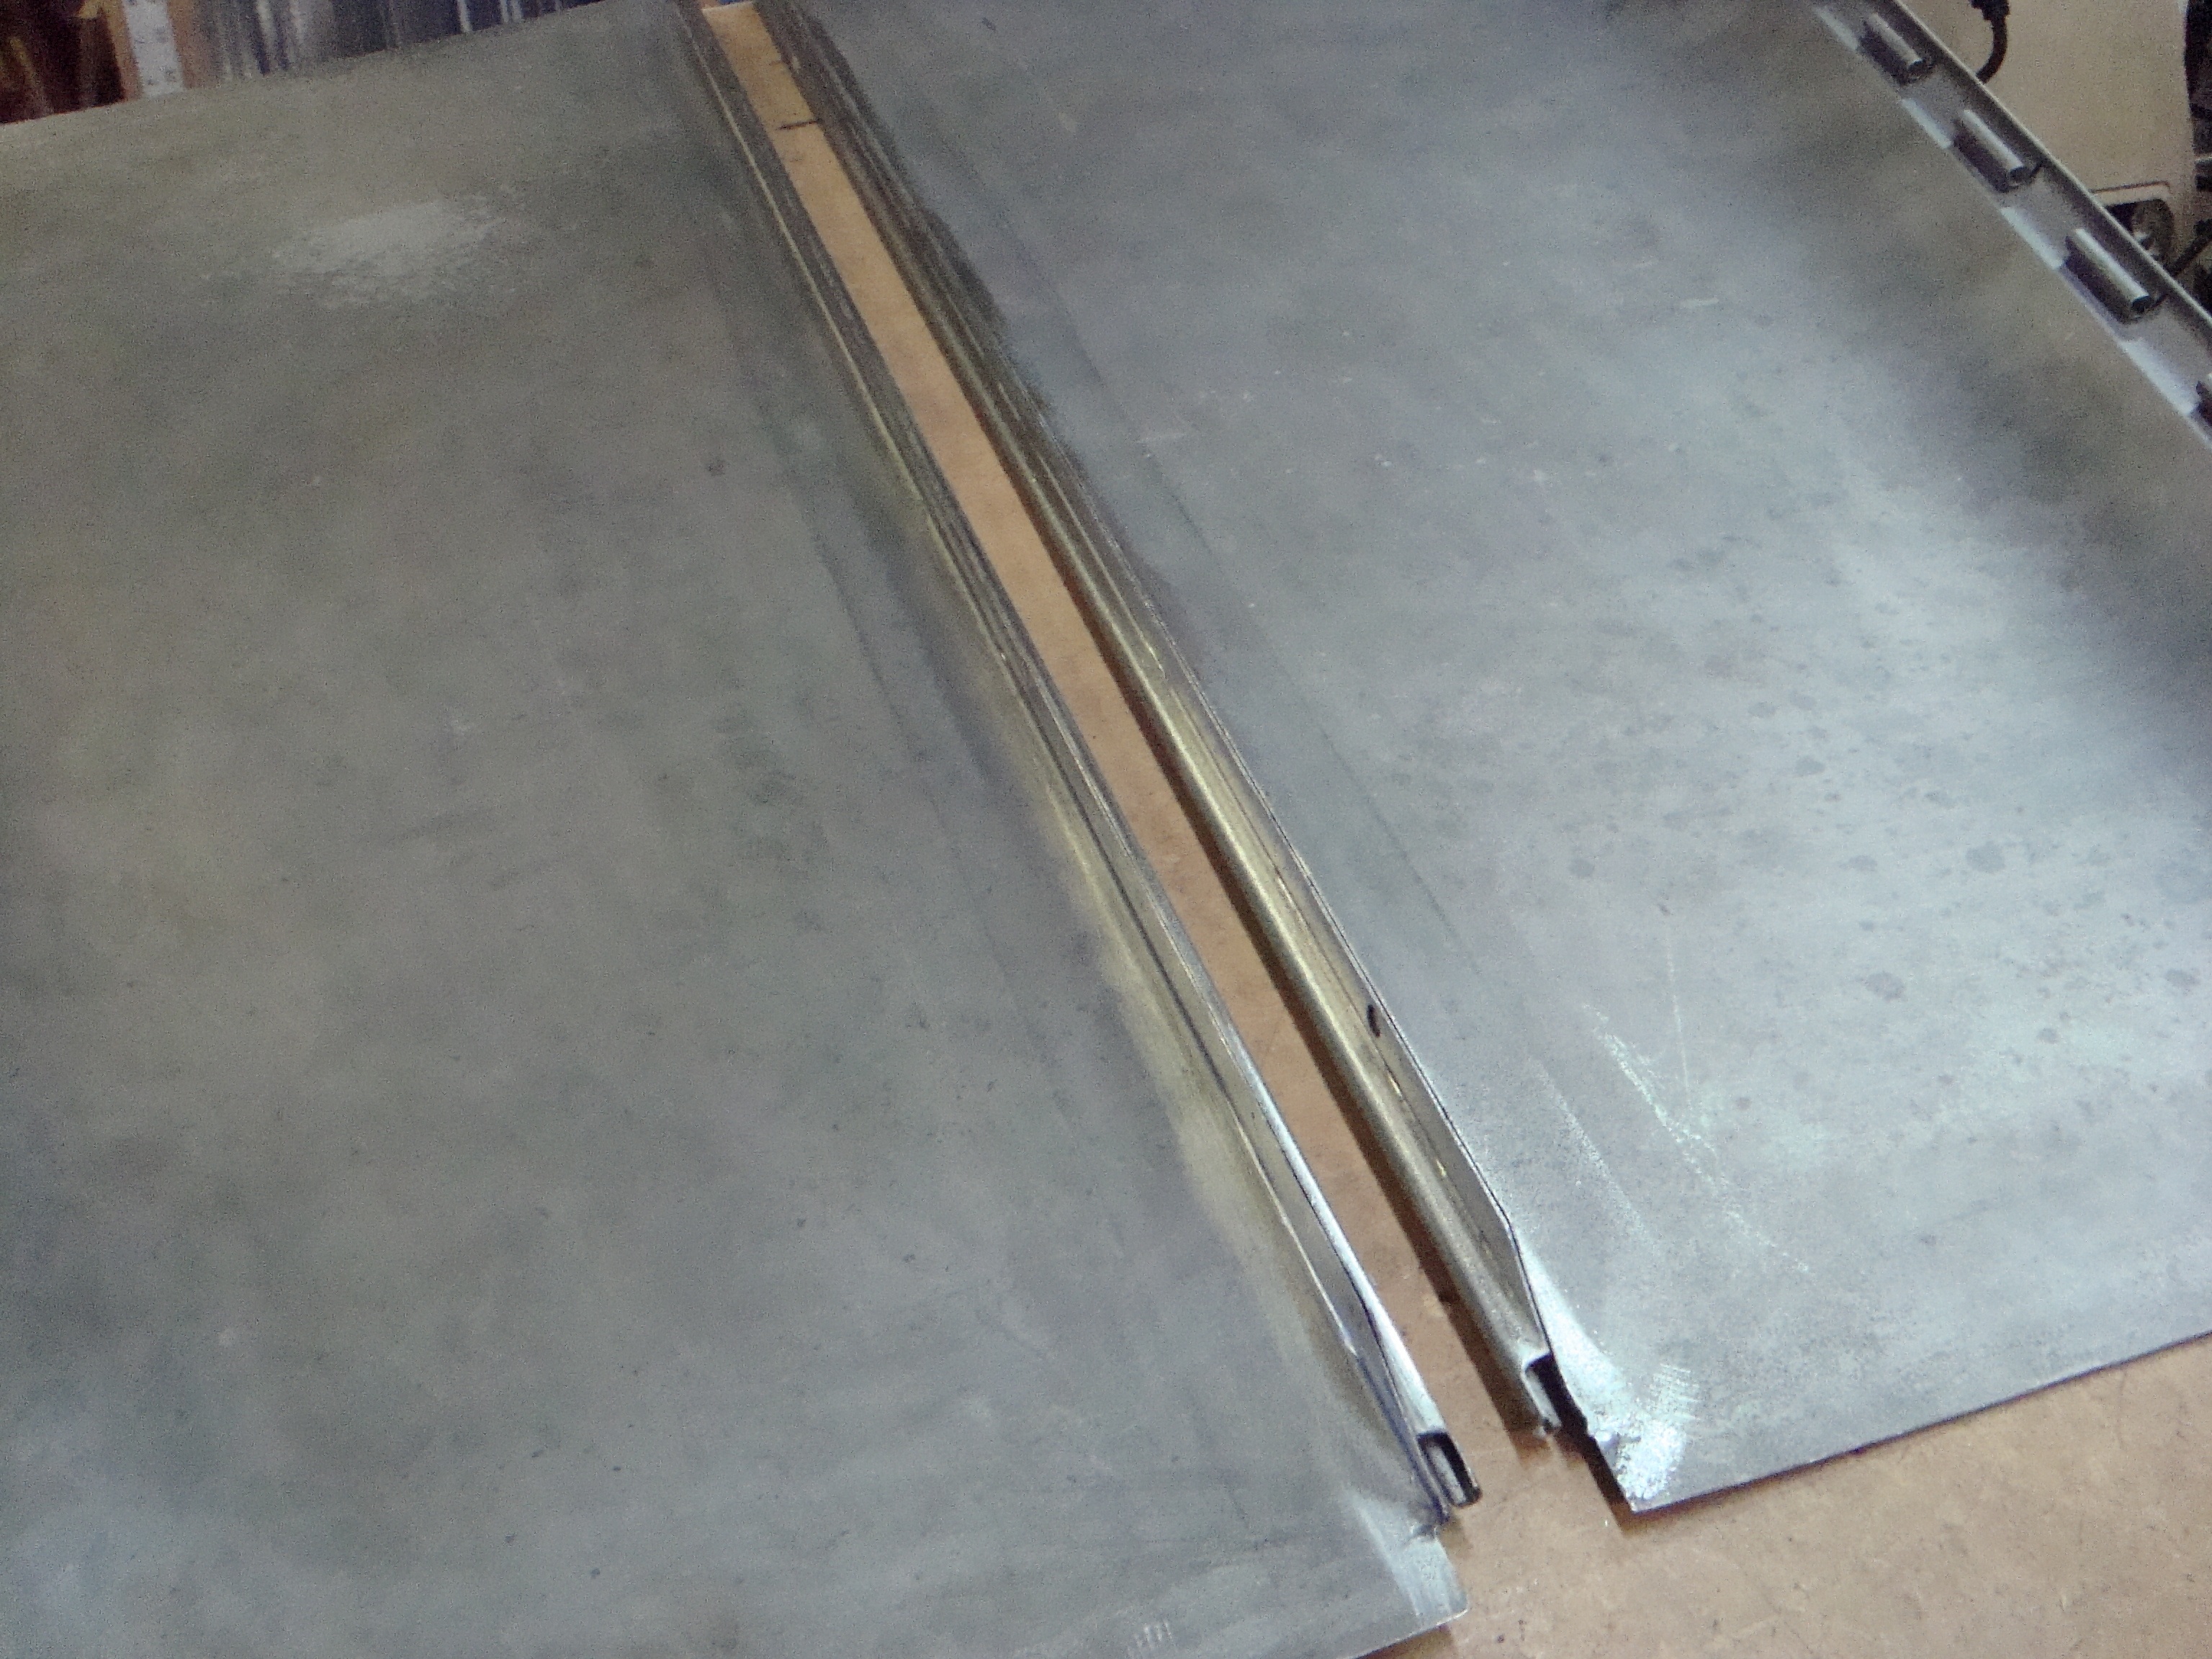 The hood tops can get bowed and sprung. This hood looked to have been closed too far while off of the car. You end up with a hood that has a curve over the length of it. Or creases on either side of the hinge, resulting in a hood that binds when you open and close it, almost always ripping up your paint. Best to cut out the hinge from the hood panel, straighten and clean all of the pieces, and weld it back together.
0 -
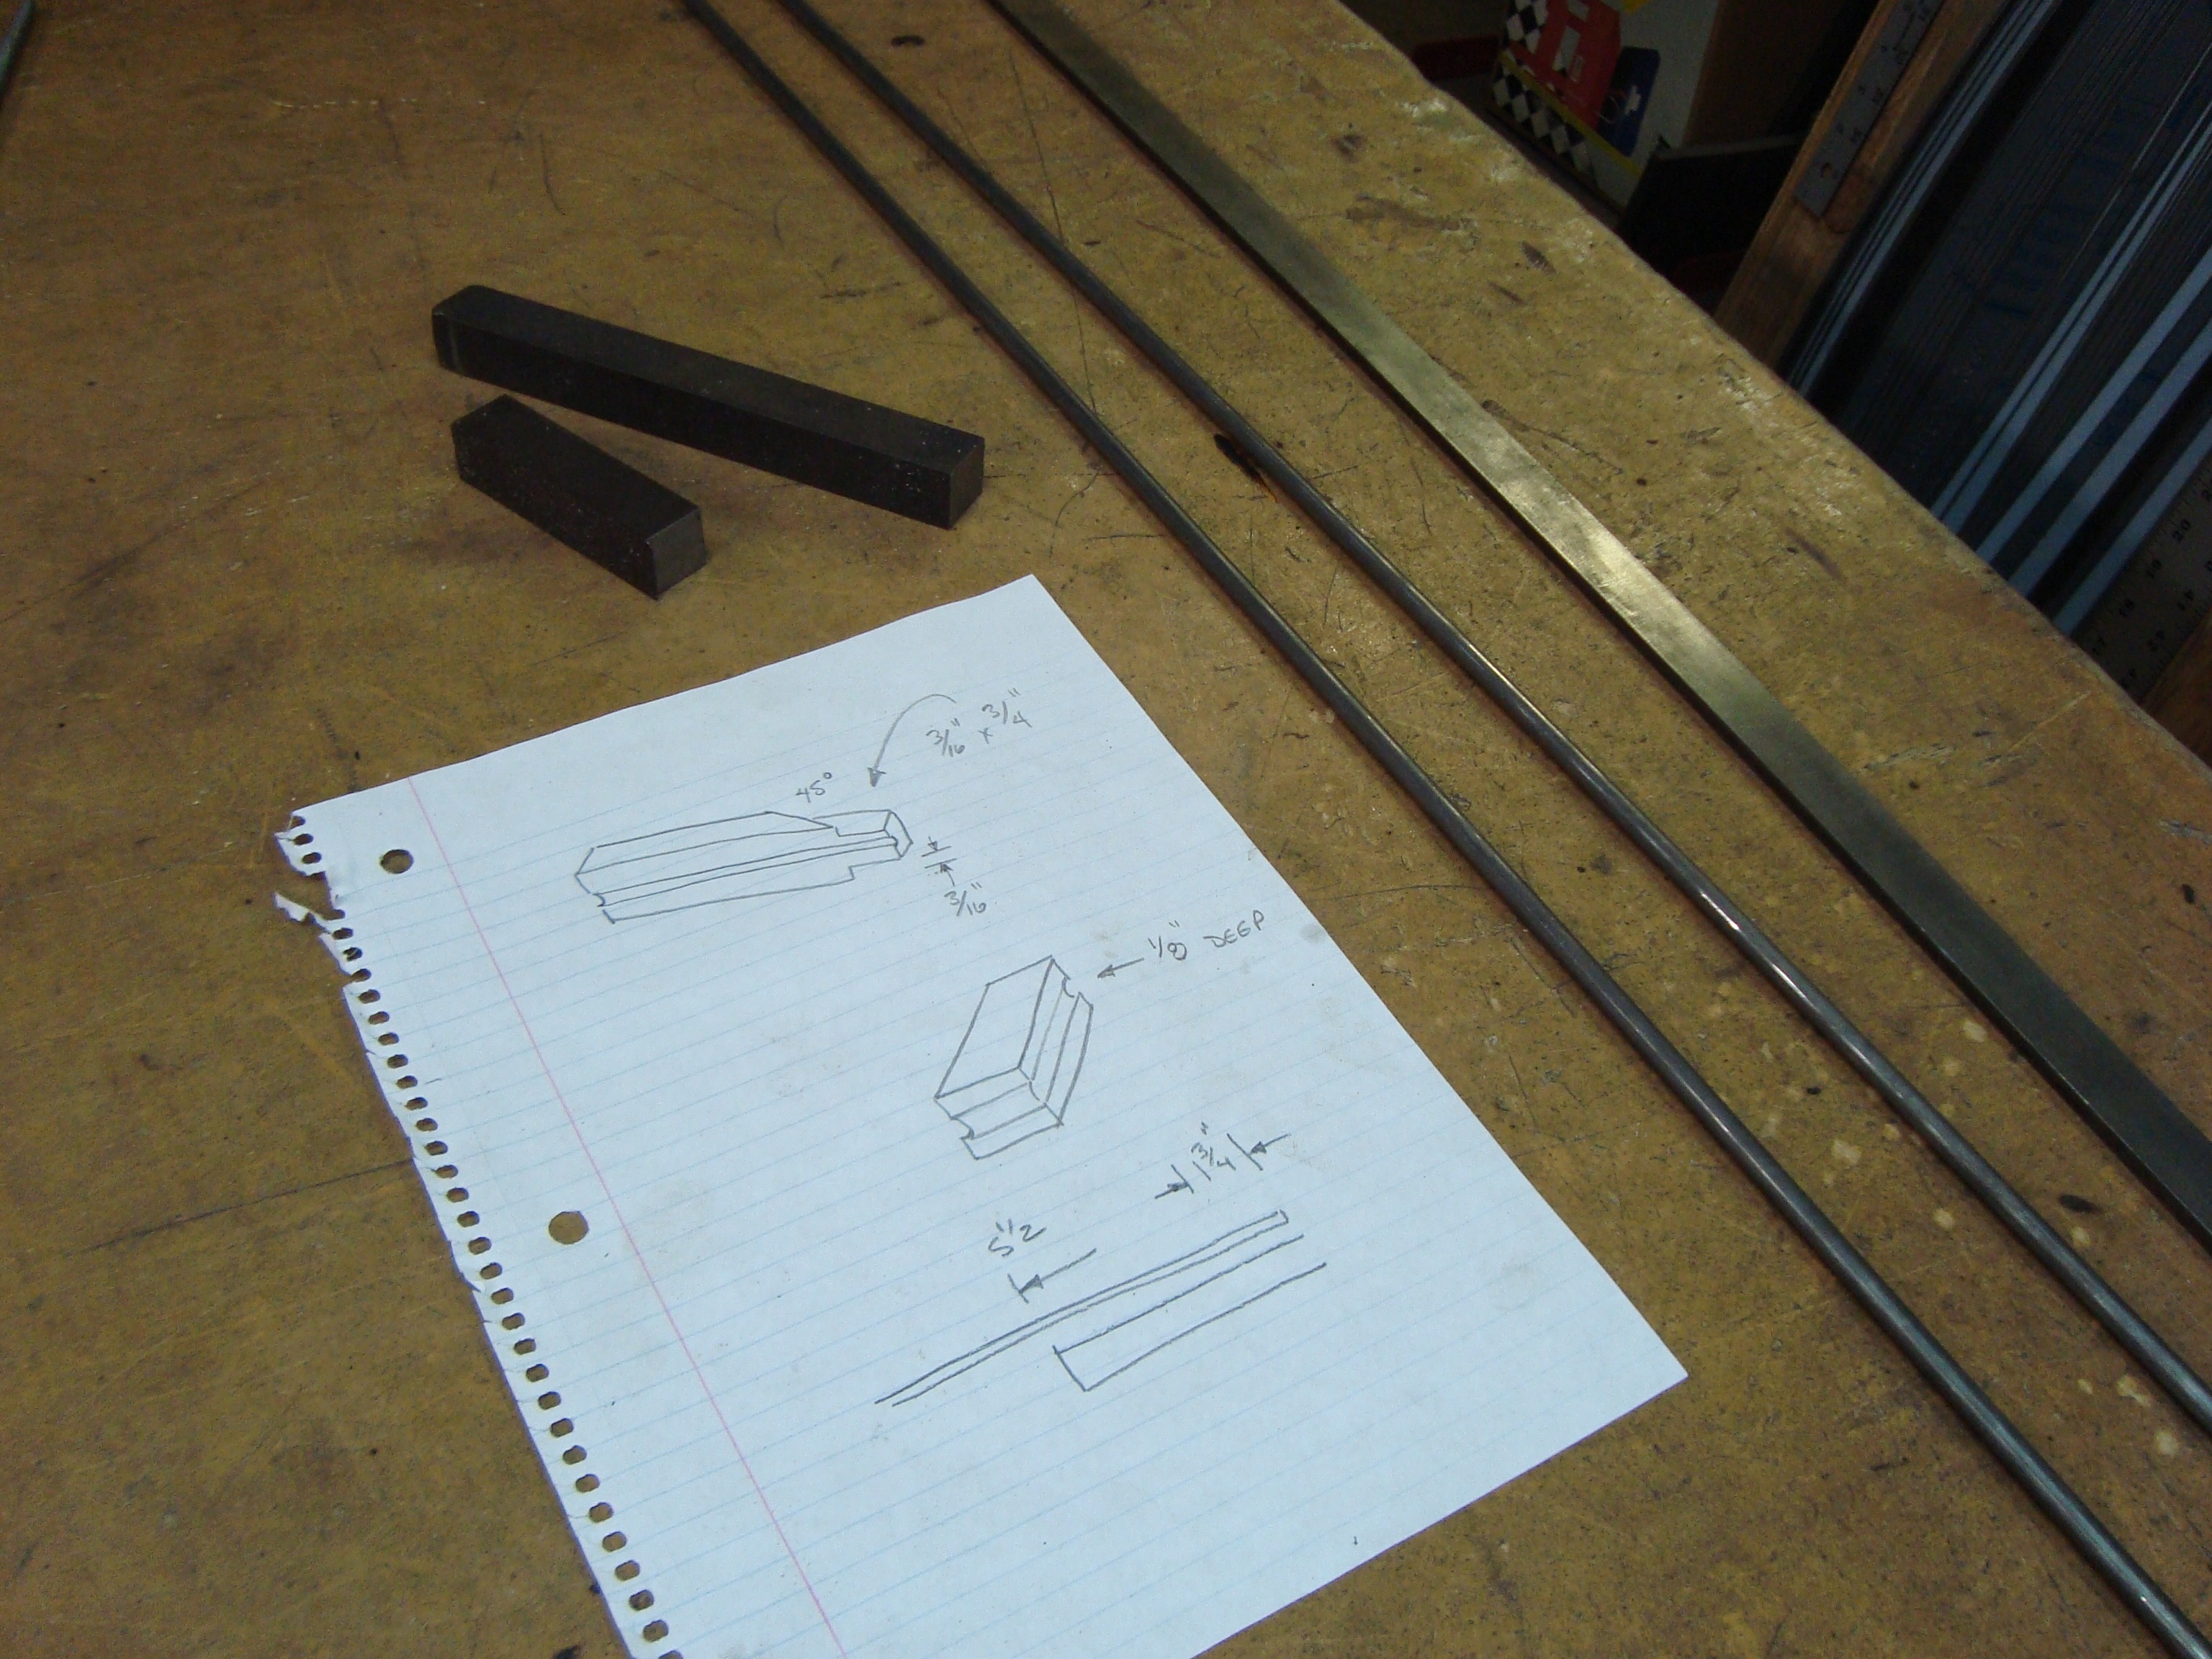
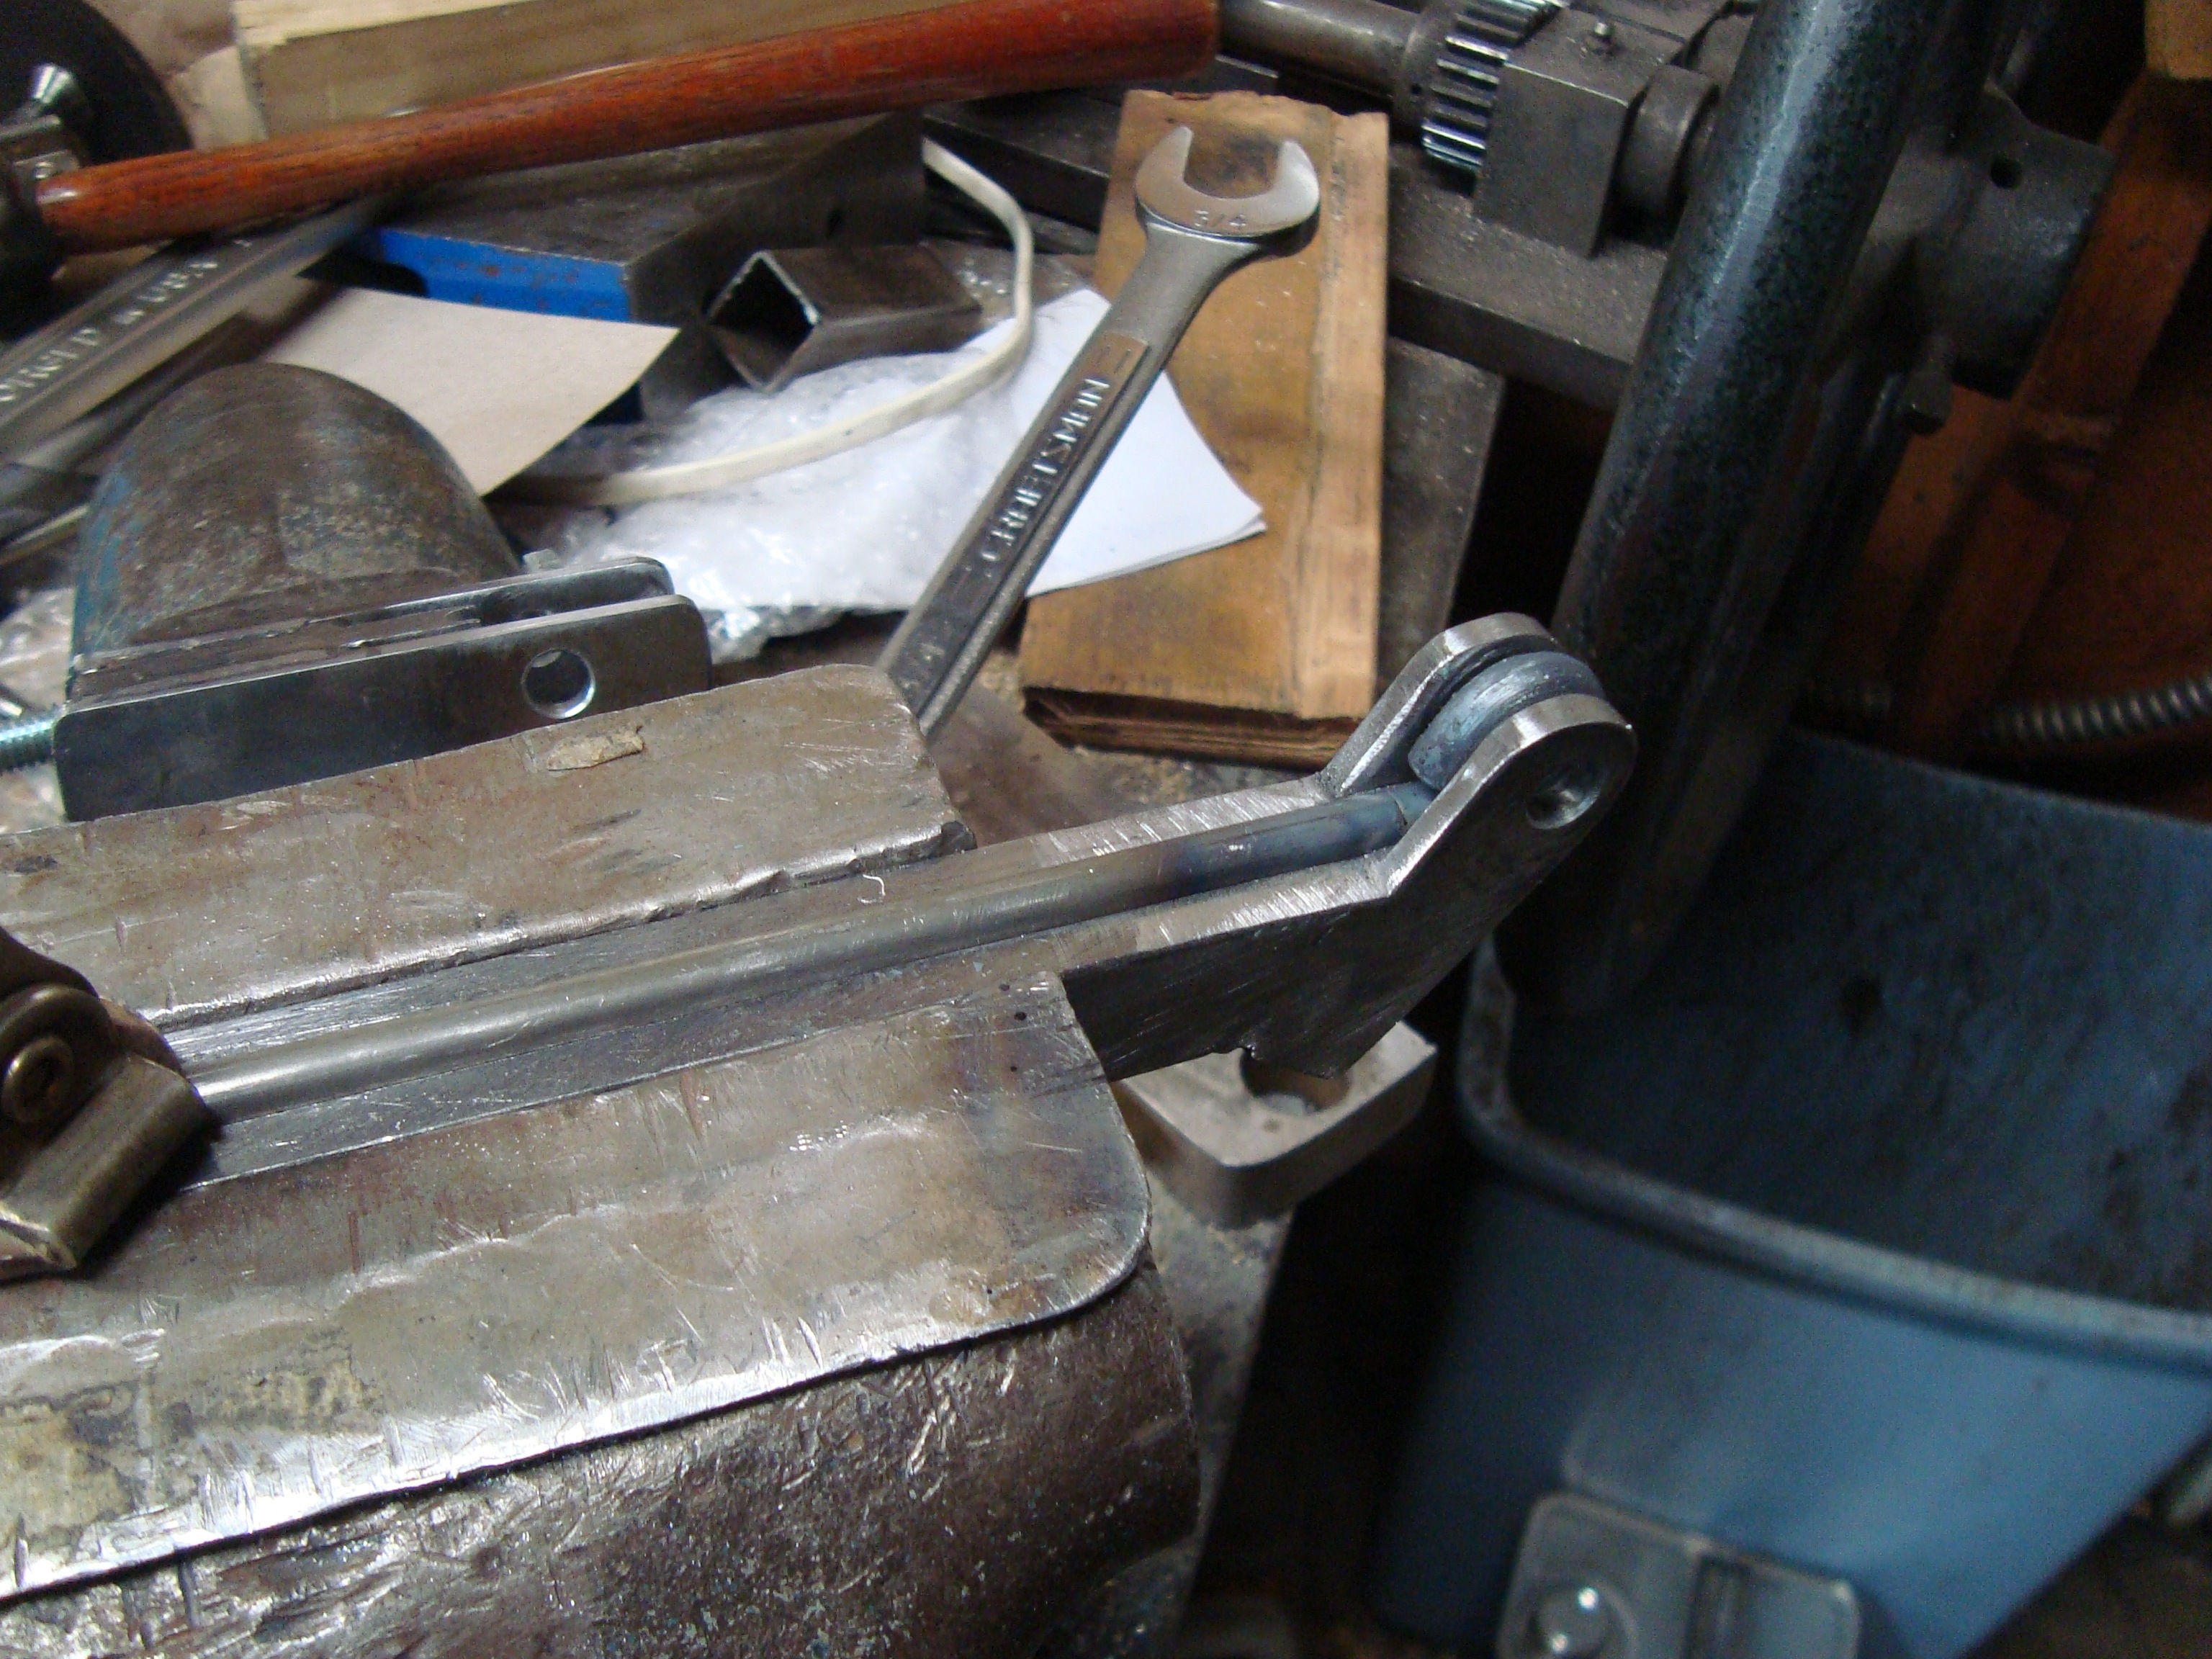
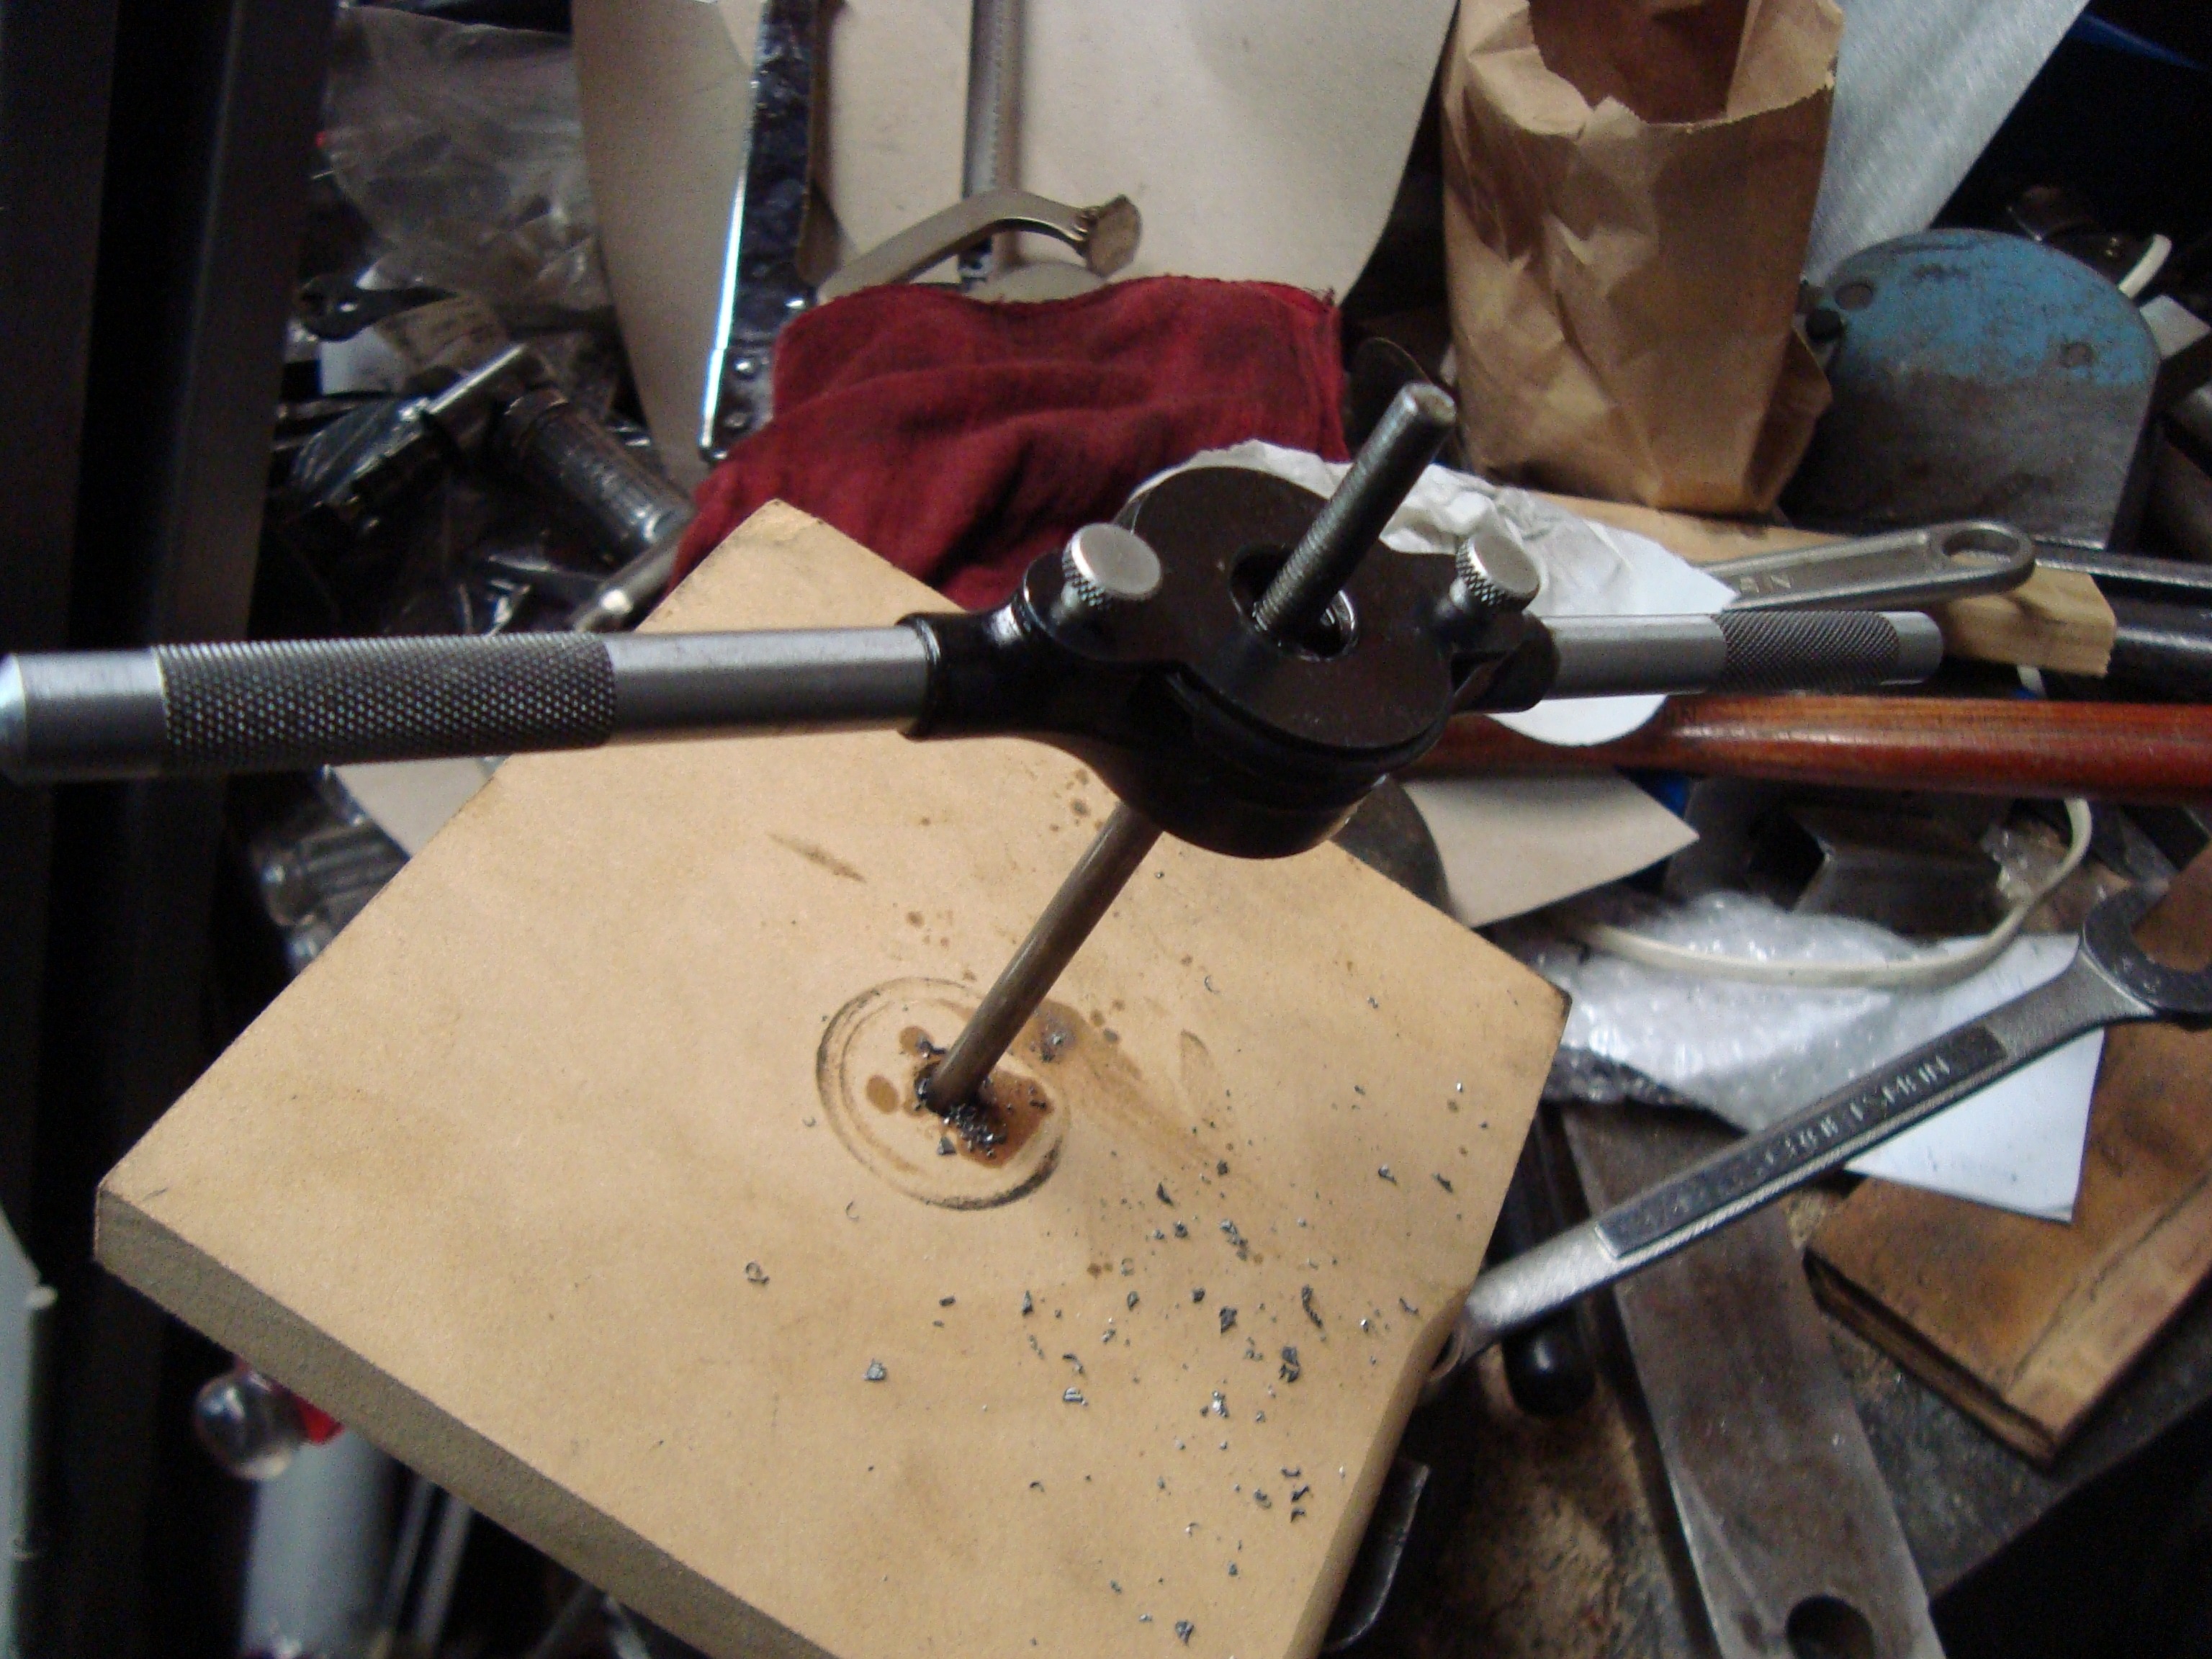
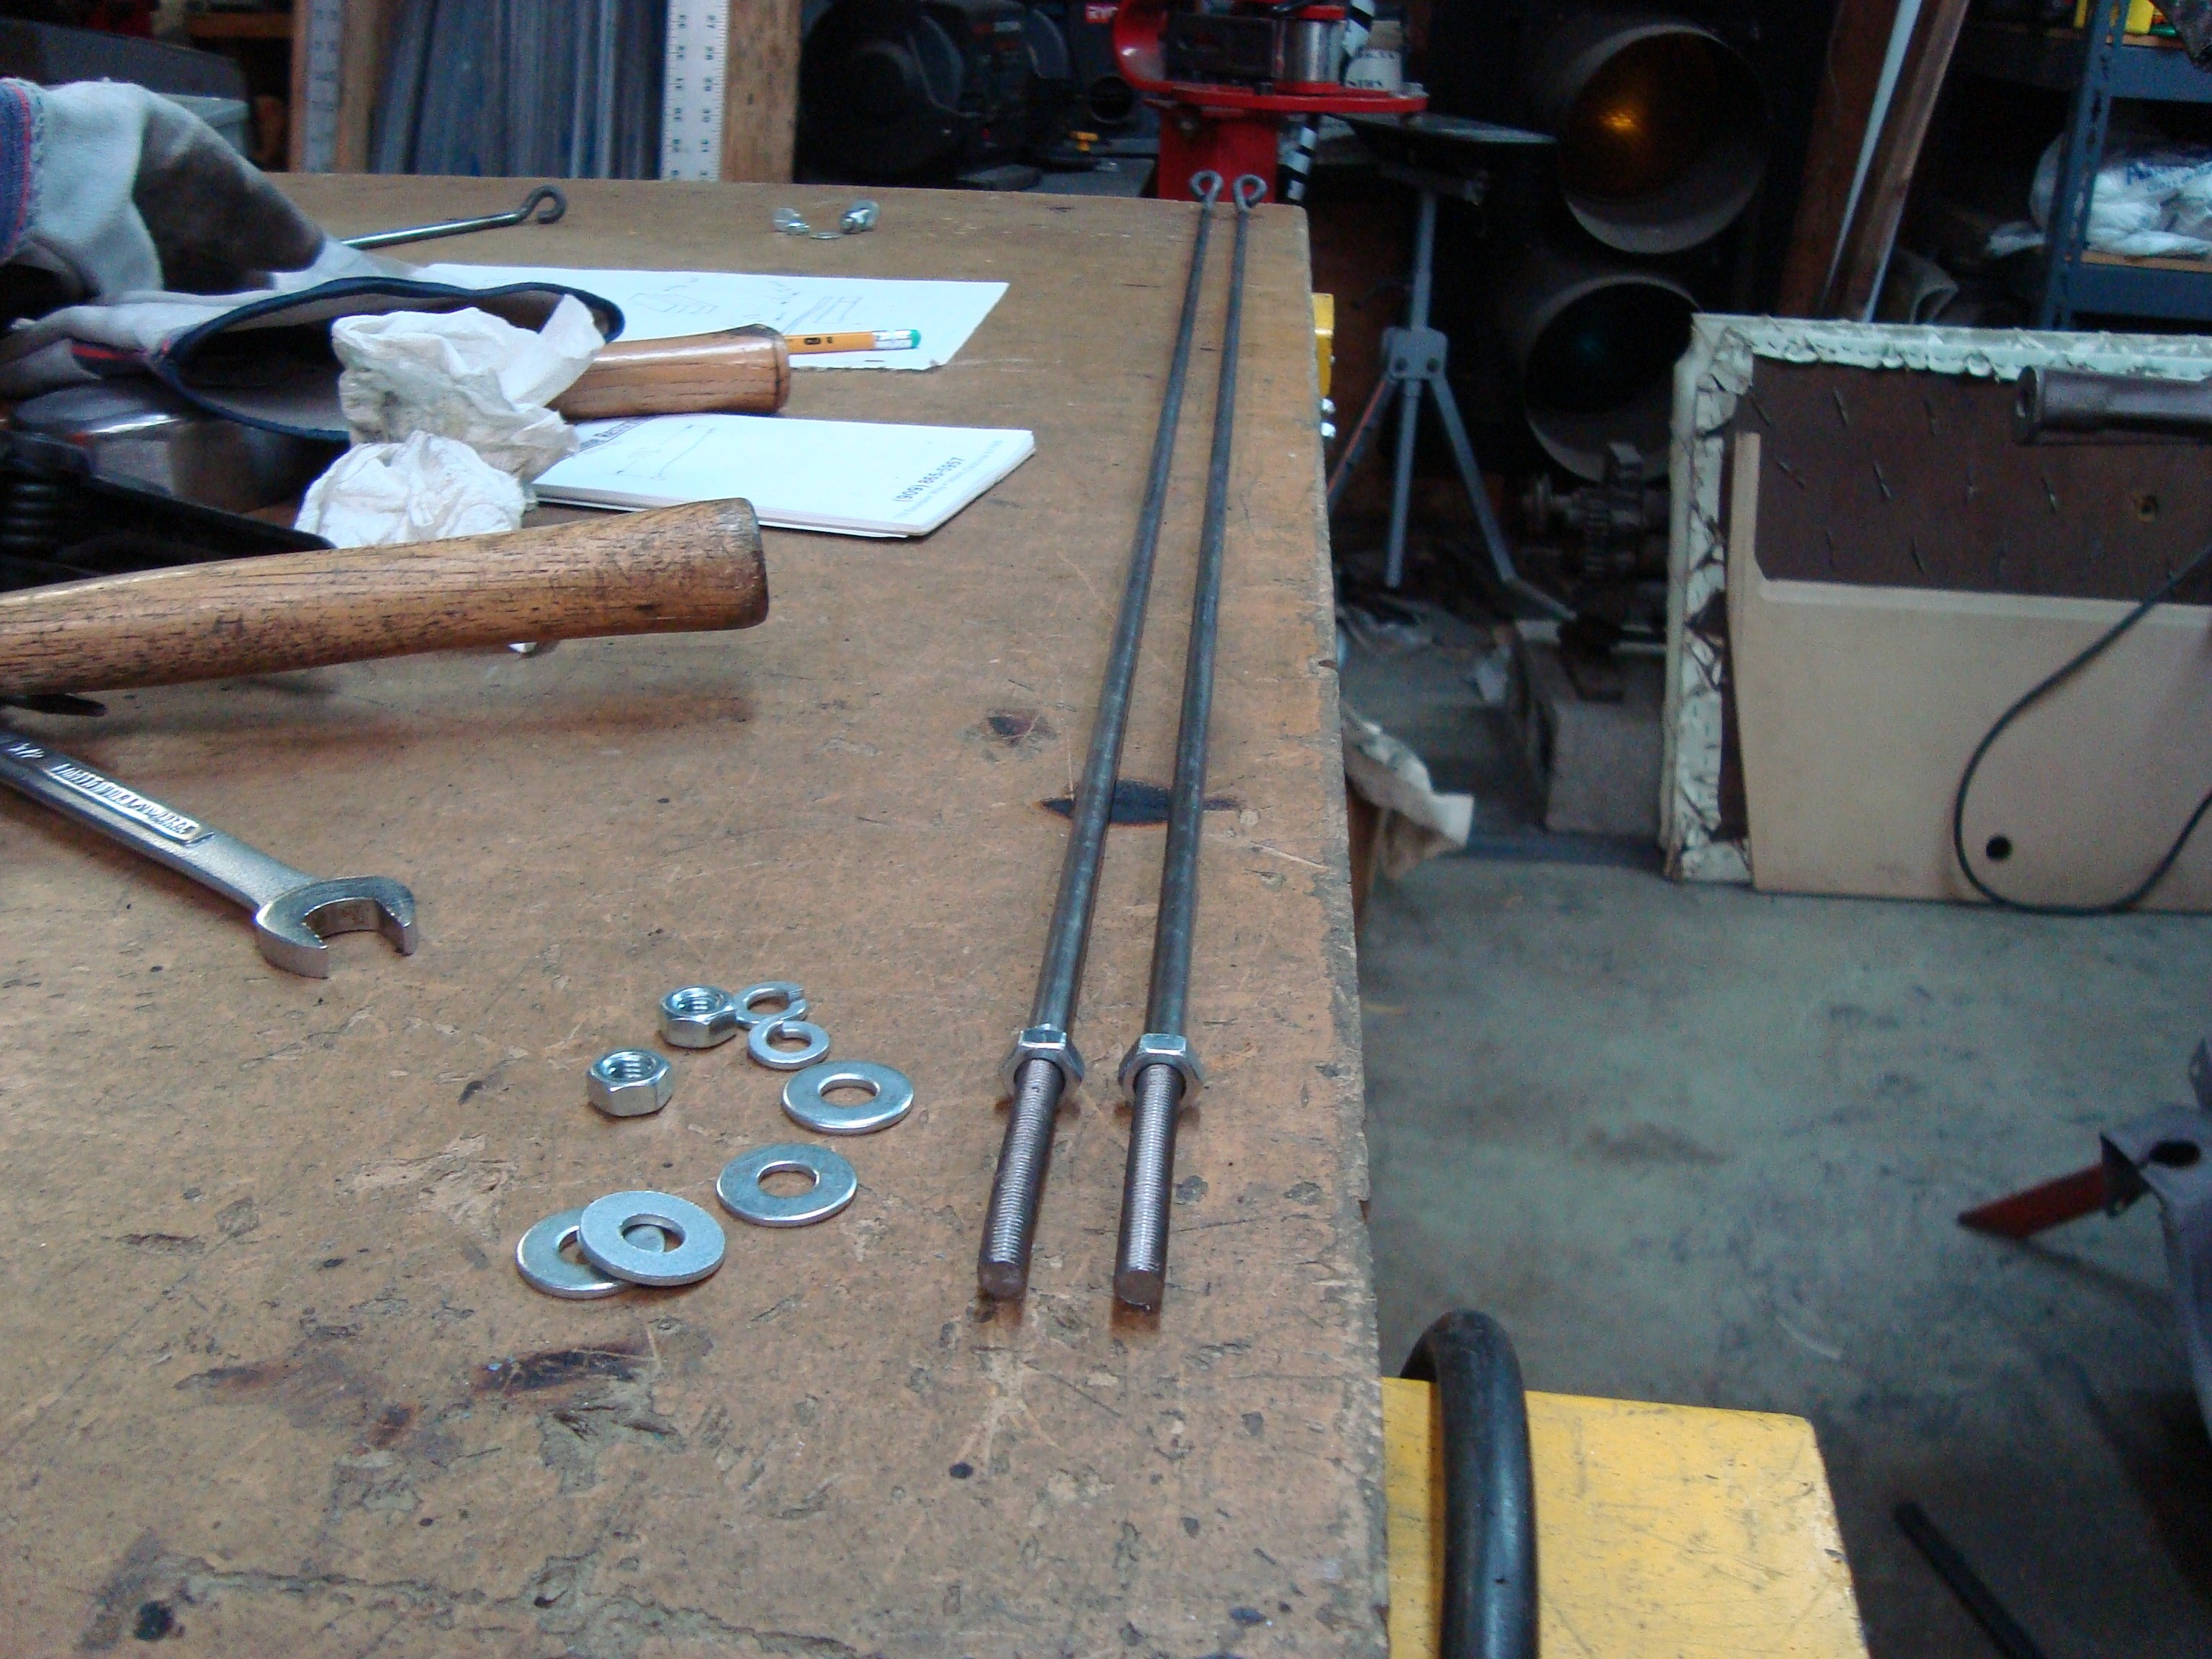
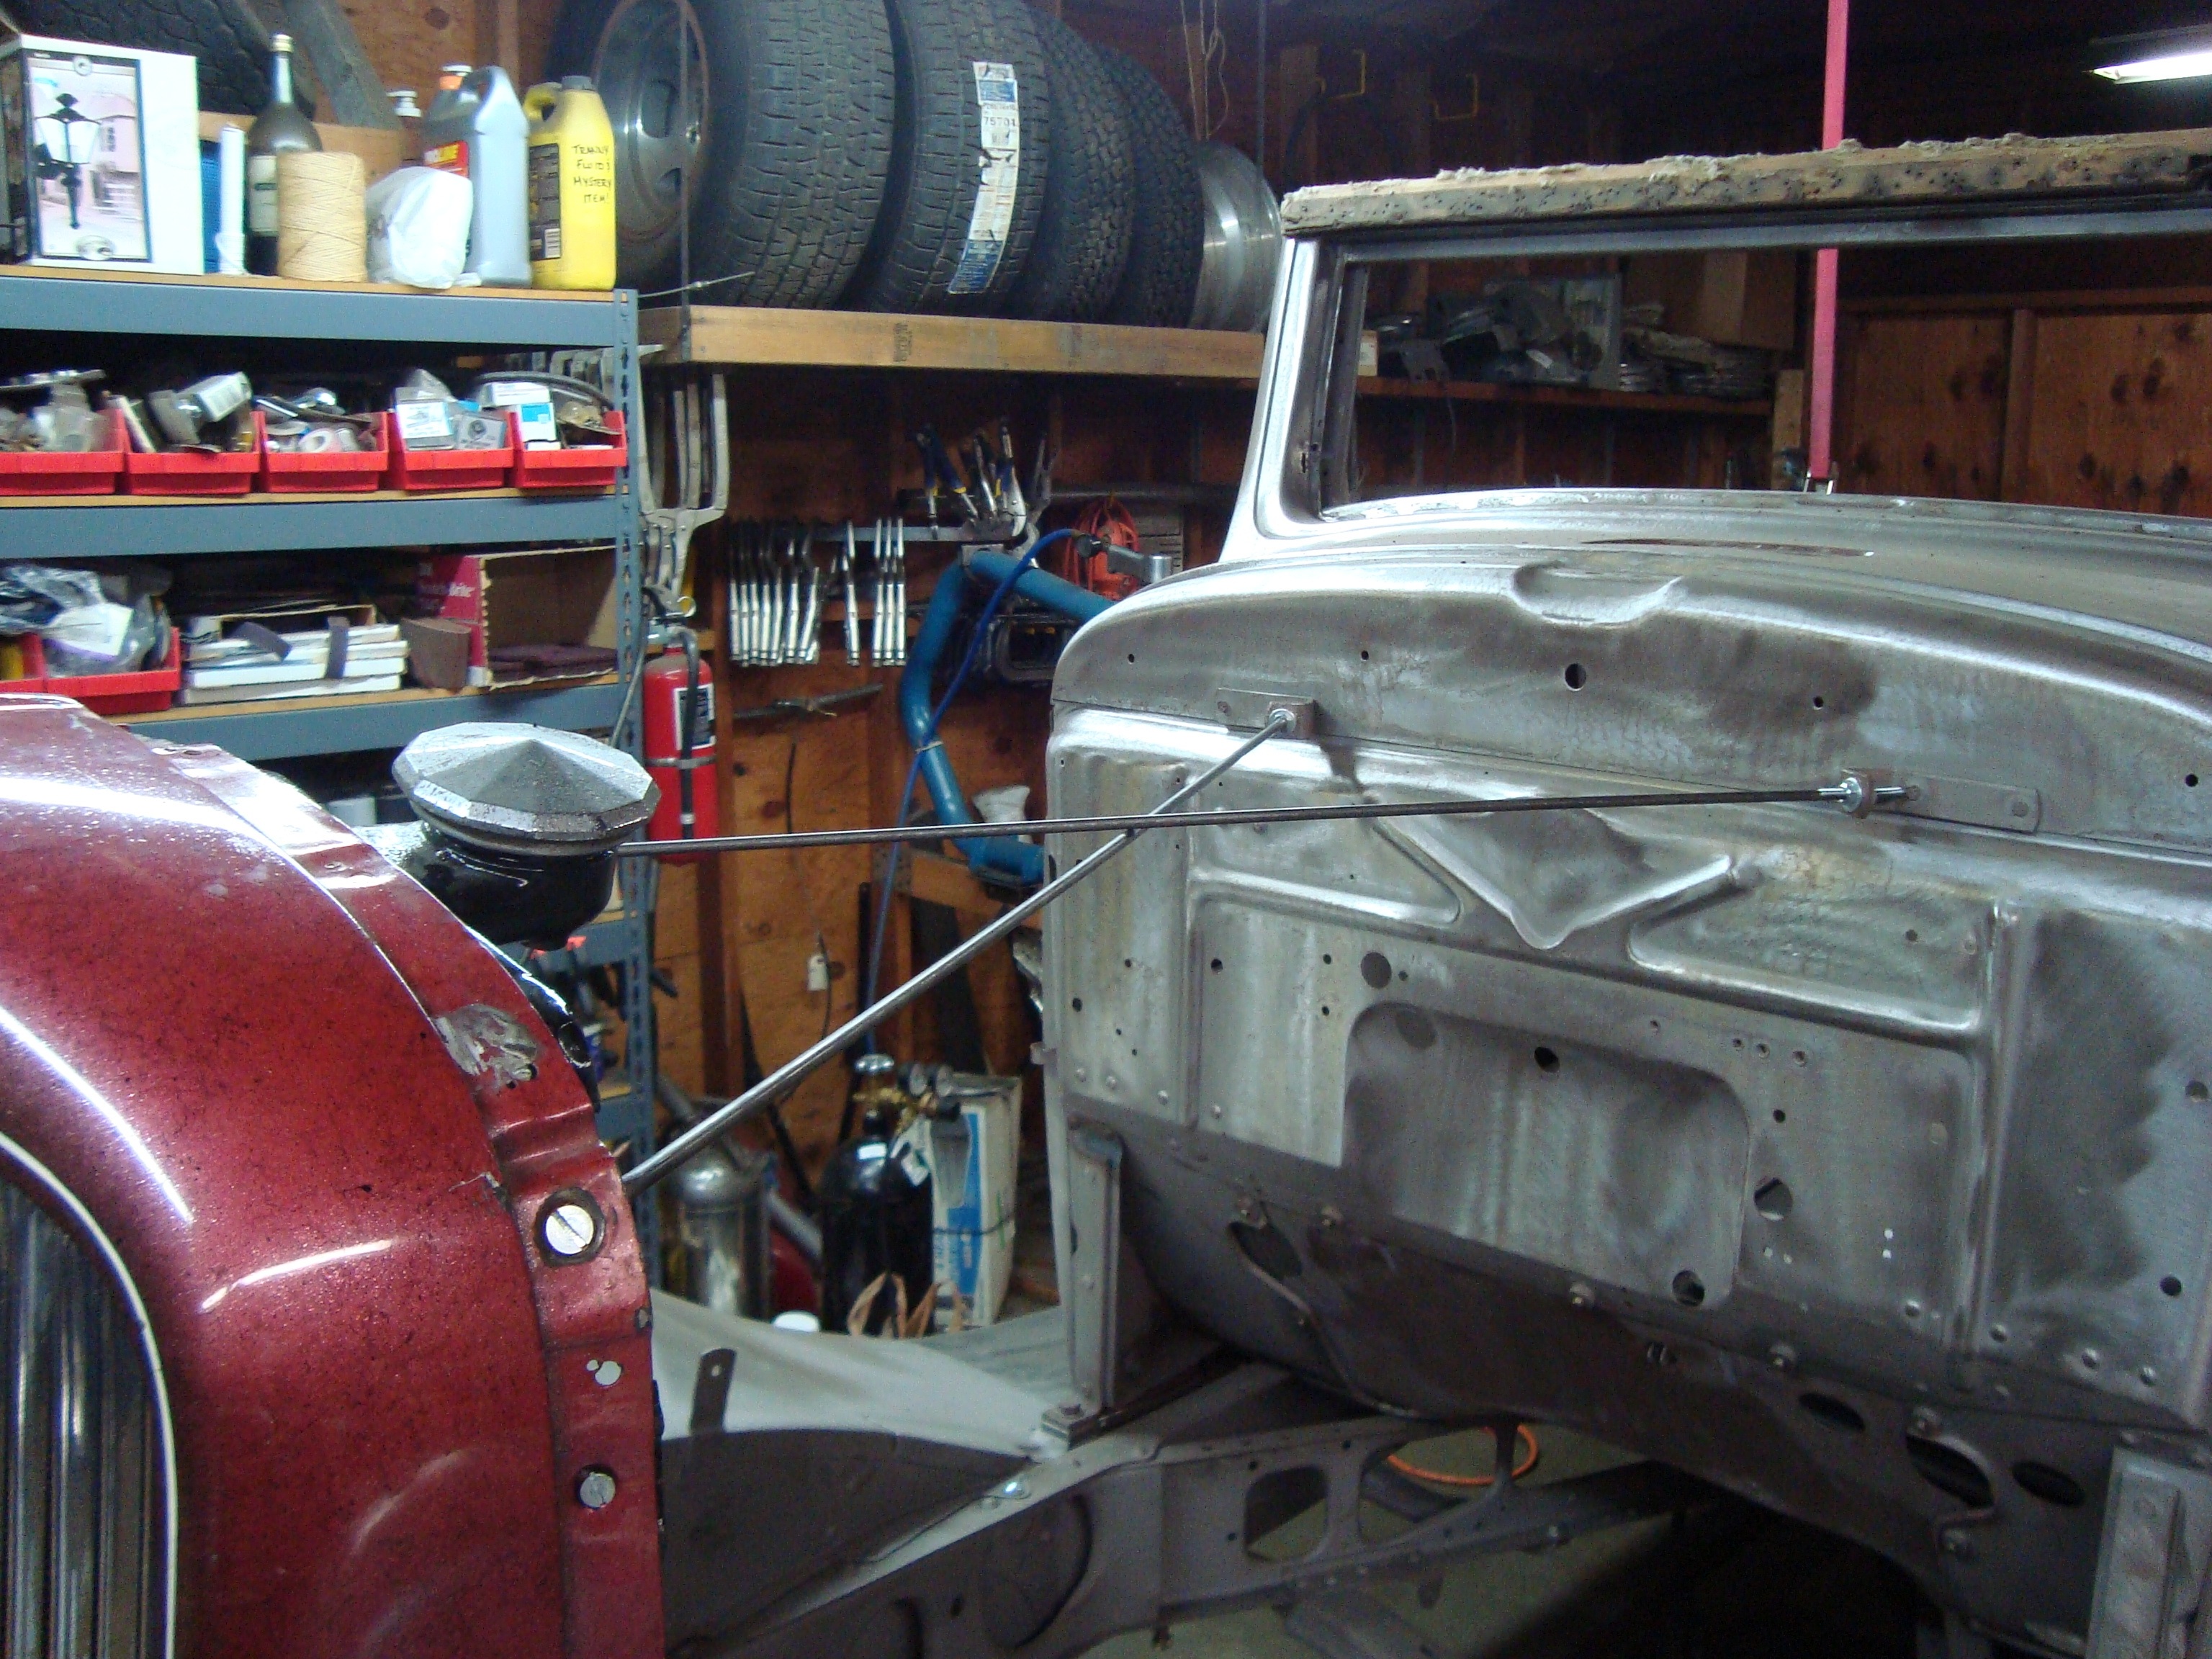 The radiator supports available all seemed to be not what I wanted. Too long or short, wrong diameter or thread pitch. So I made them.
0 -
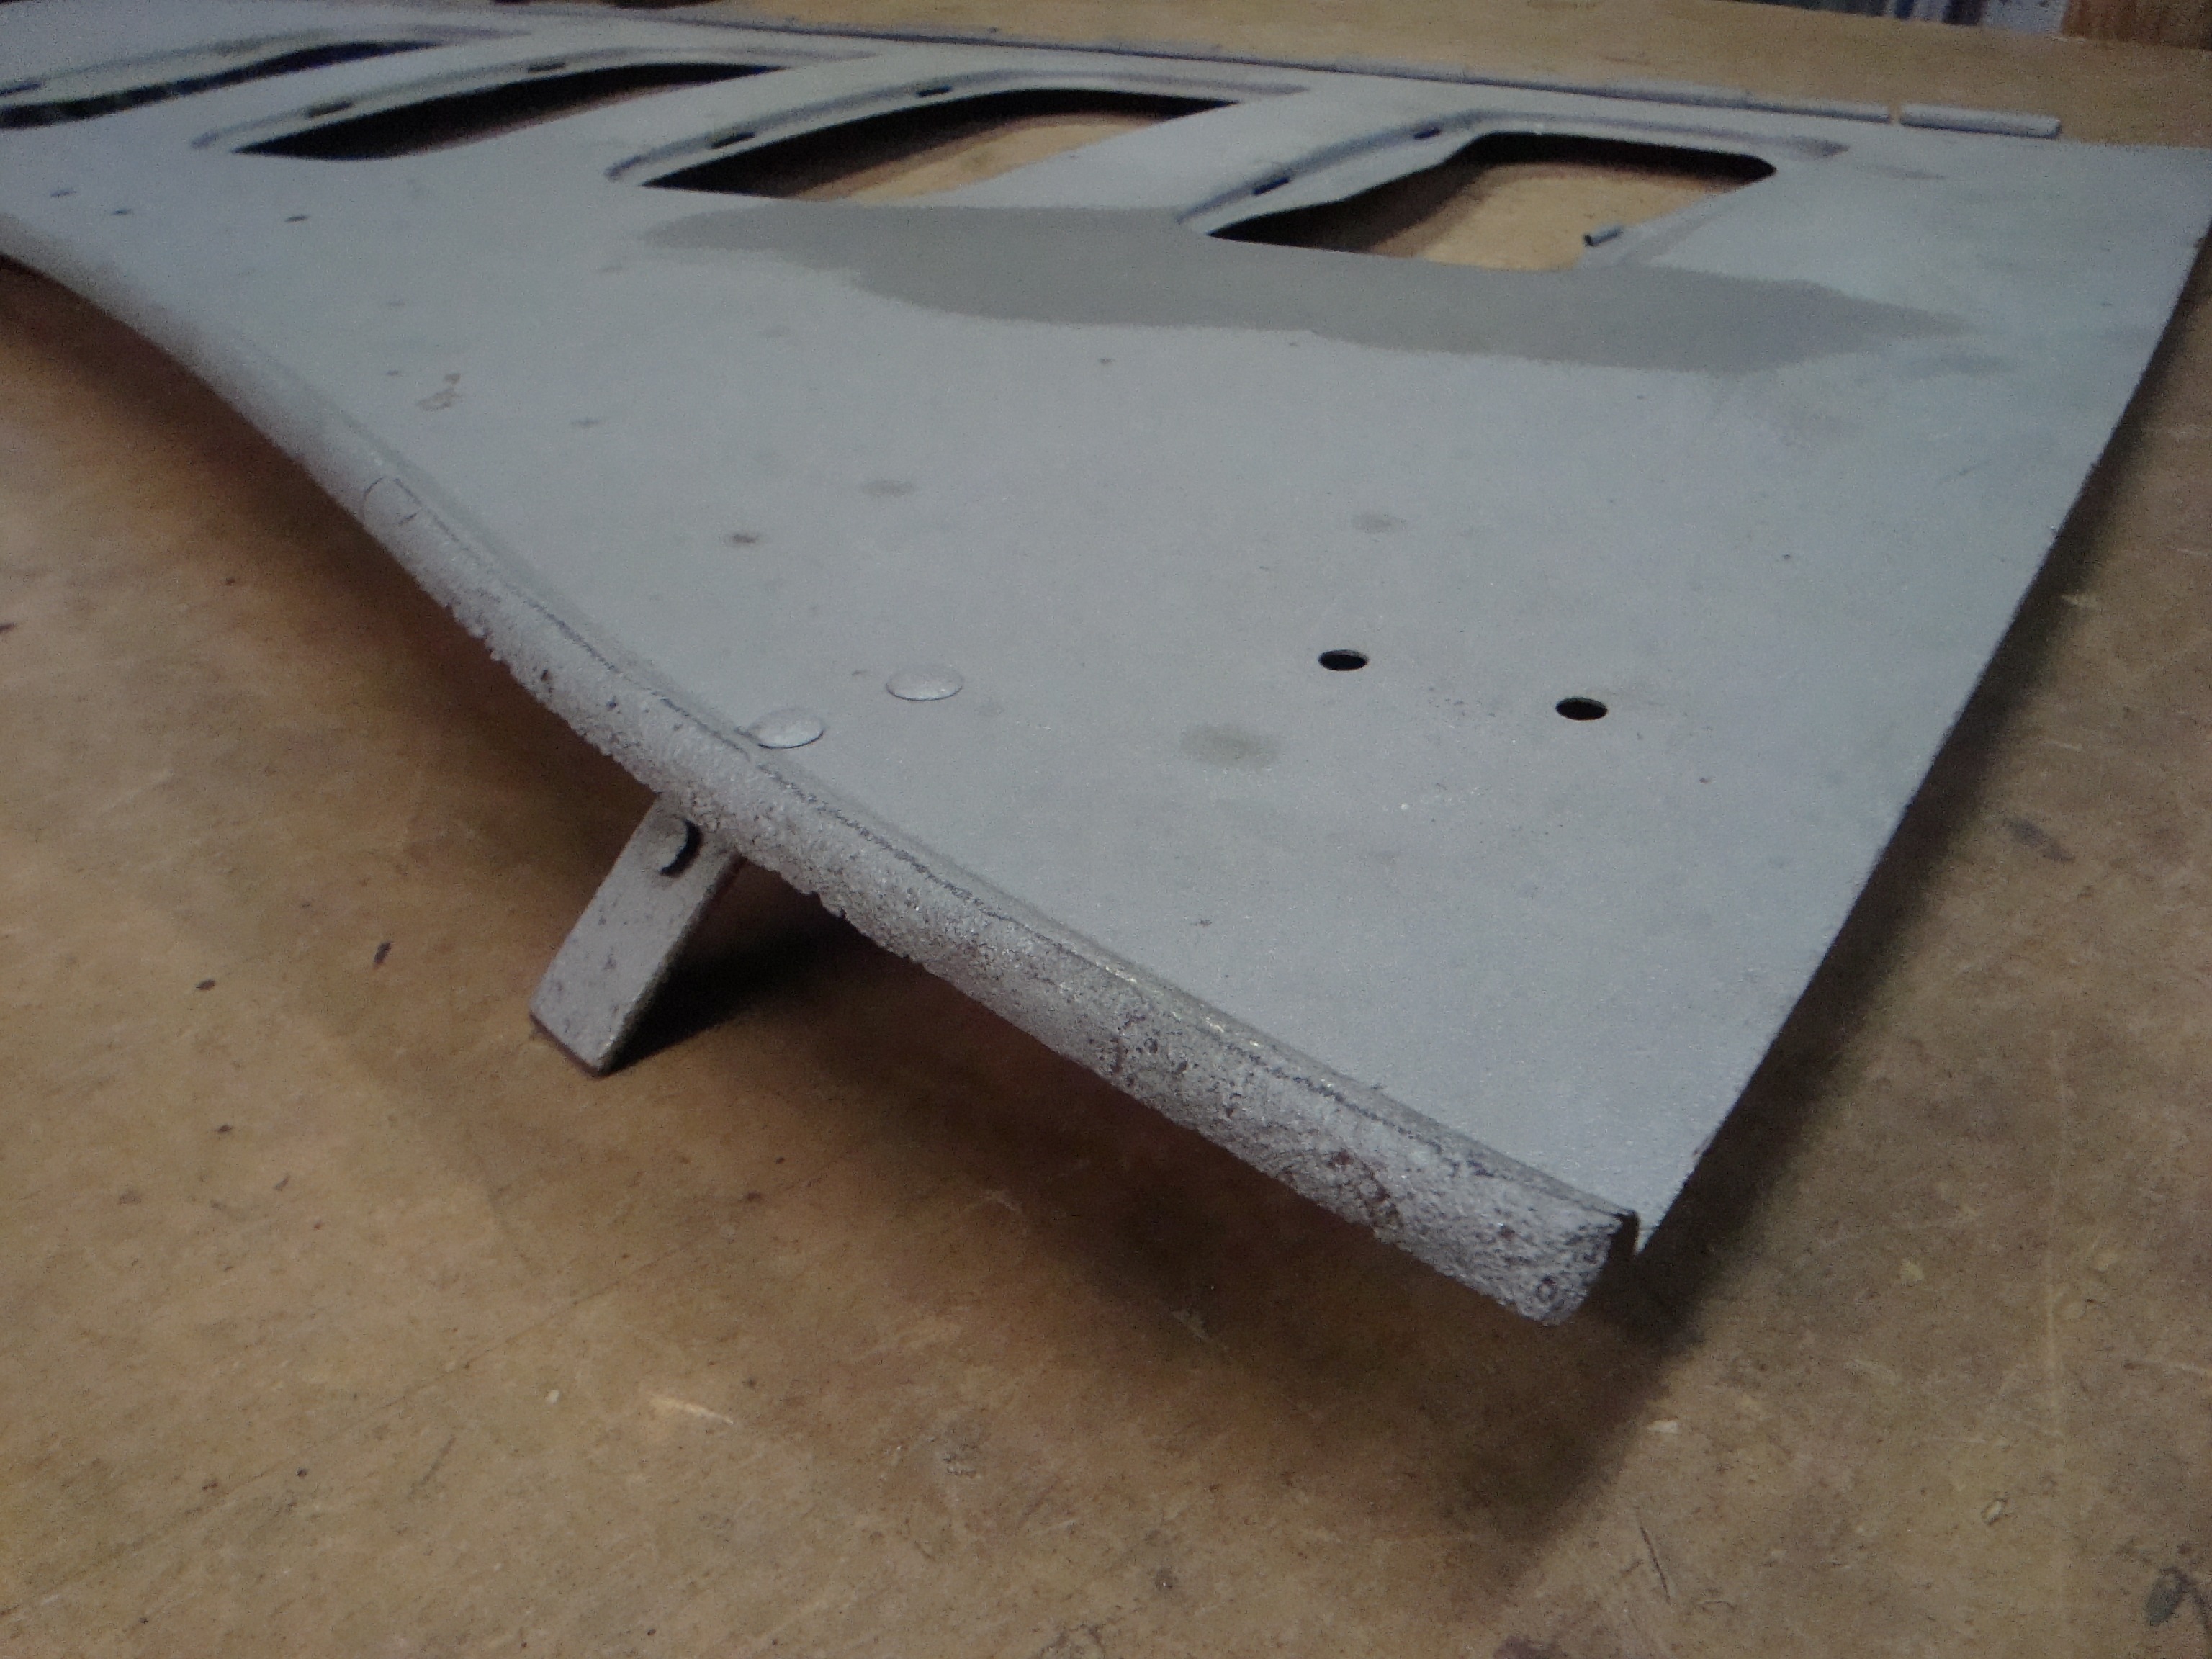
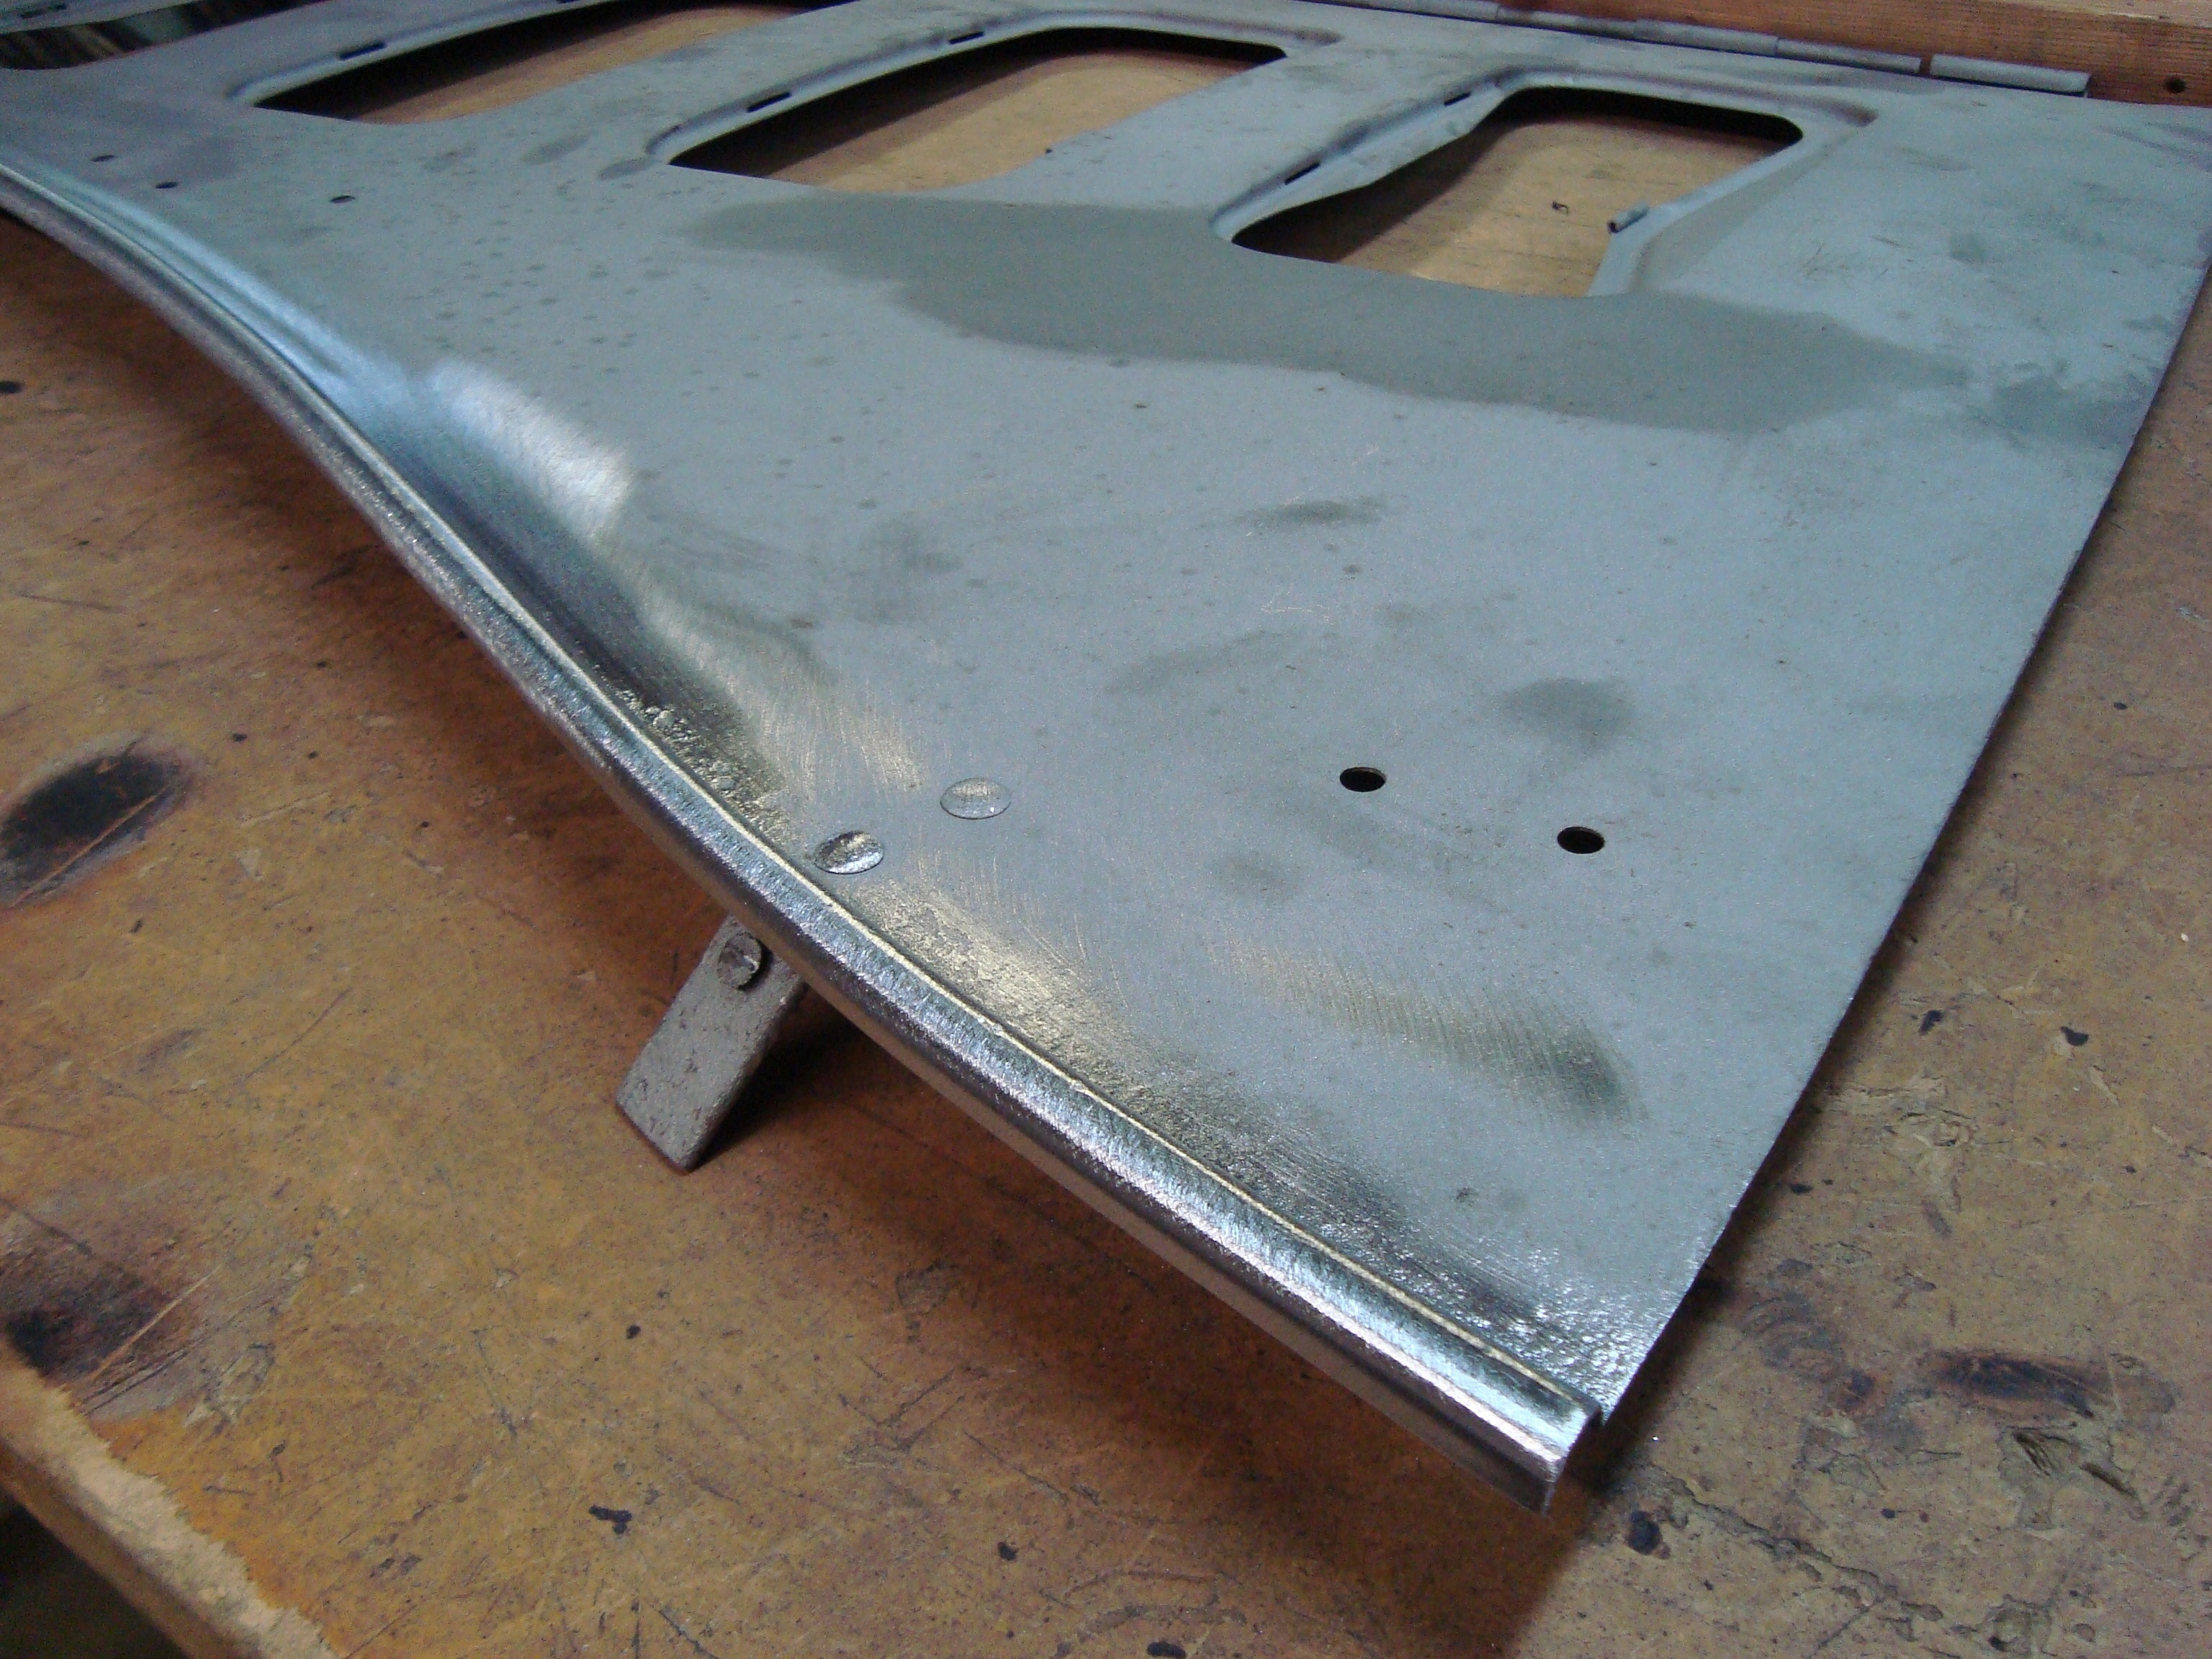
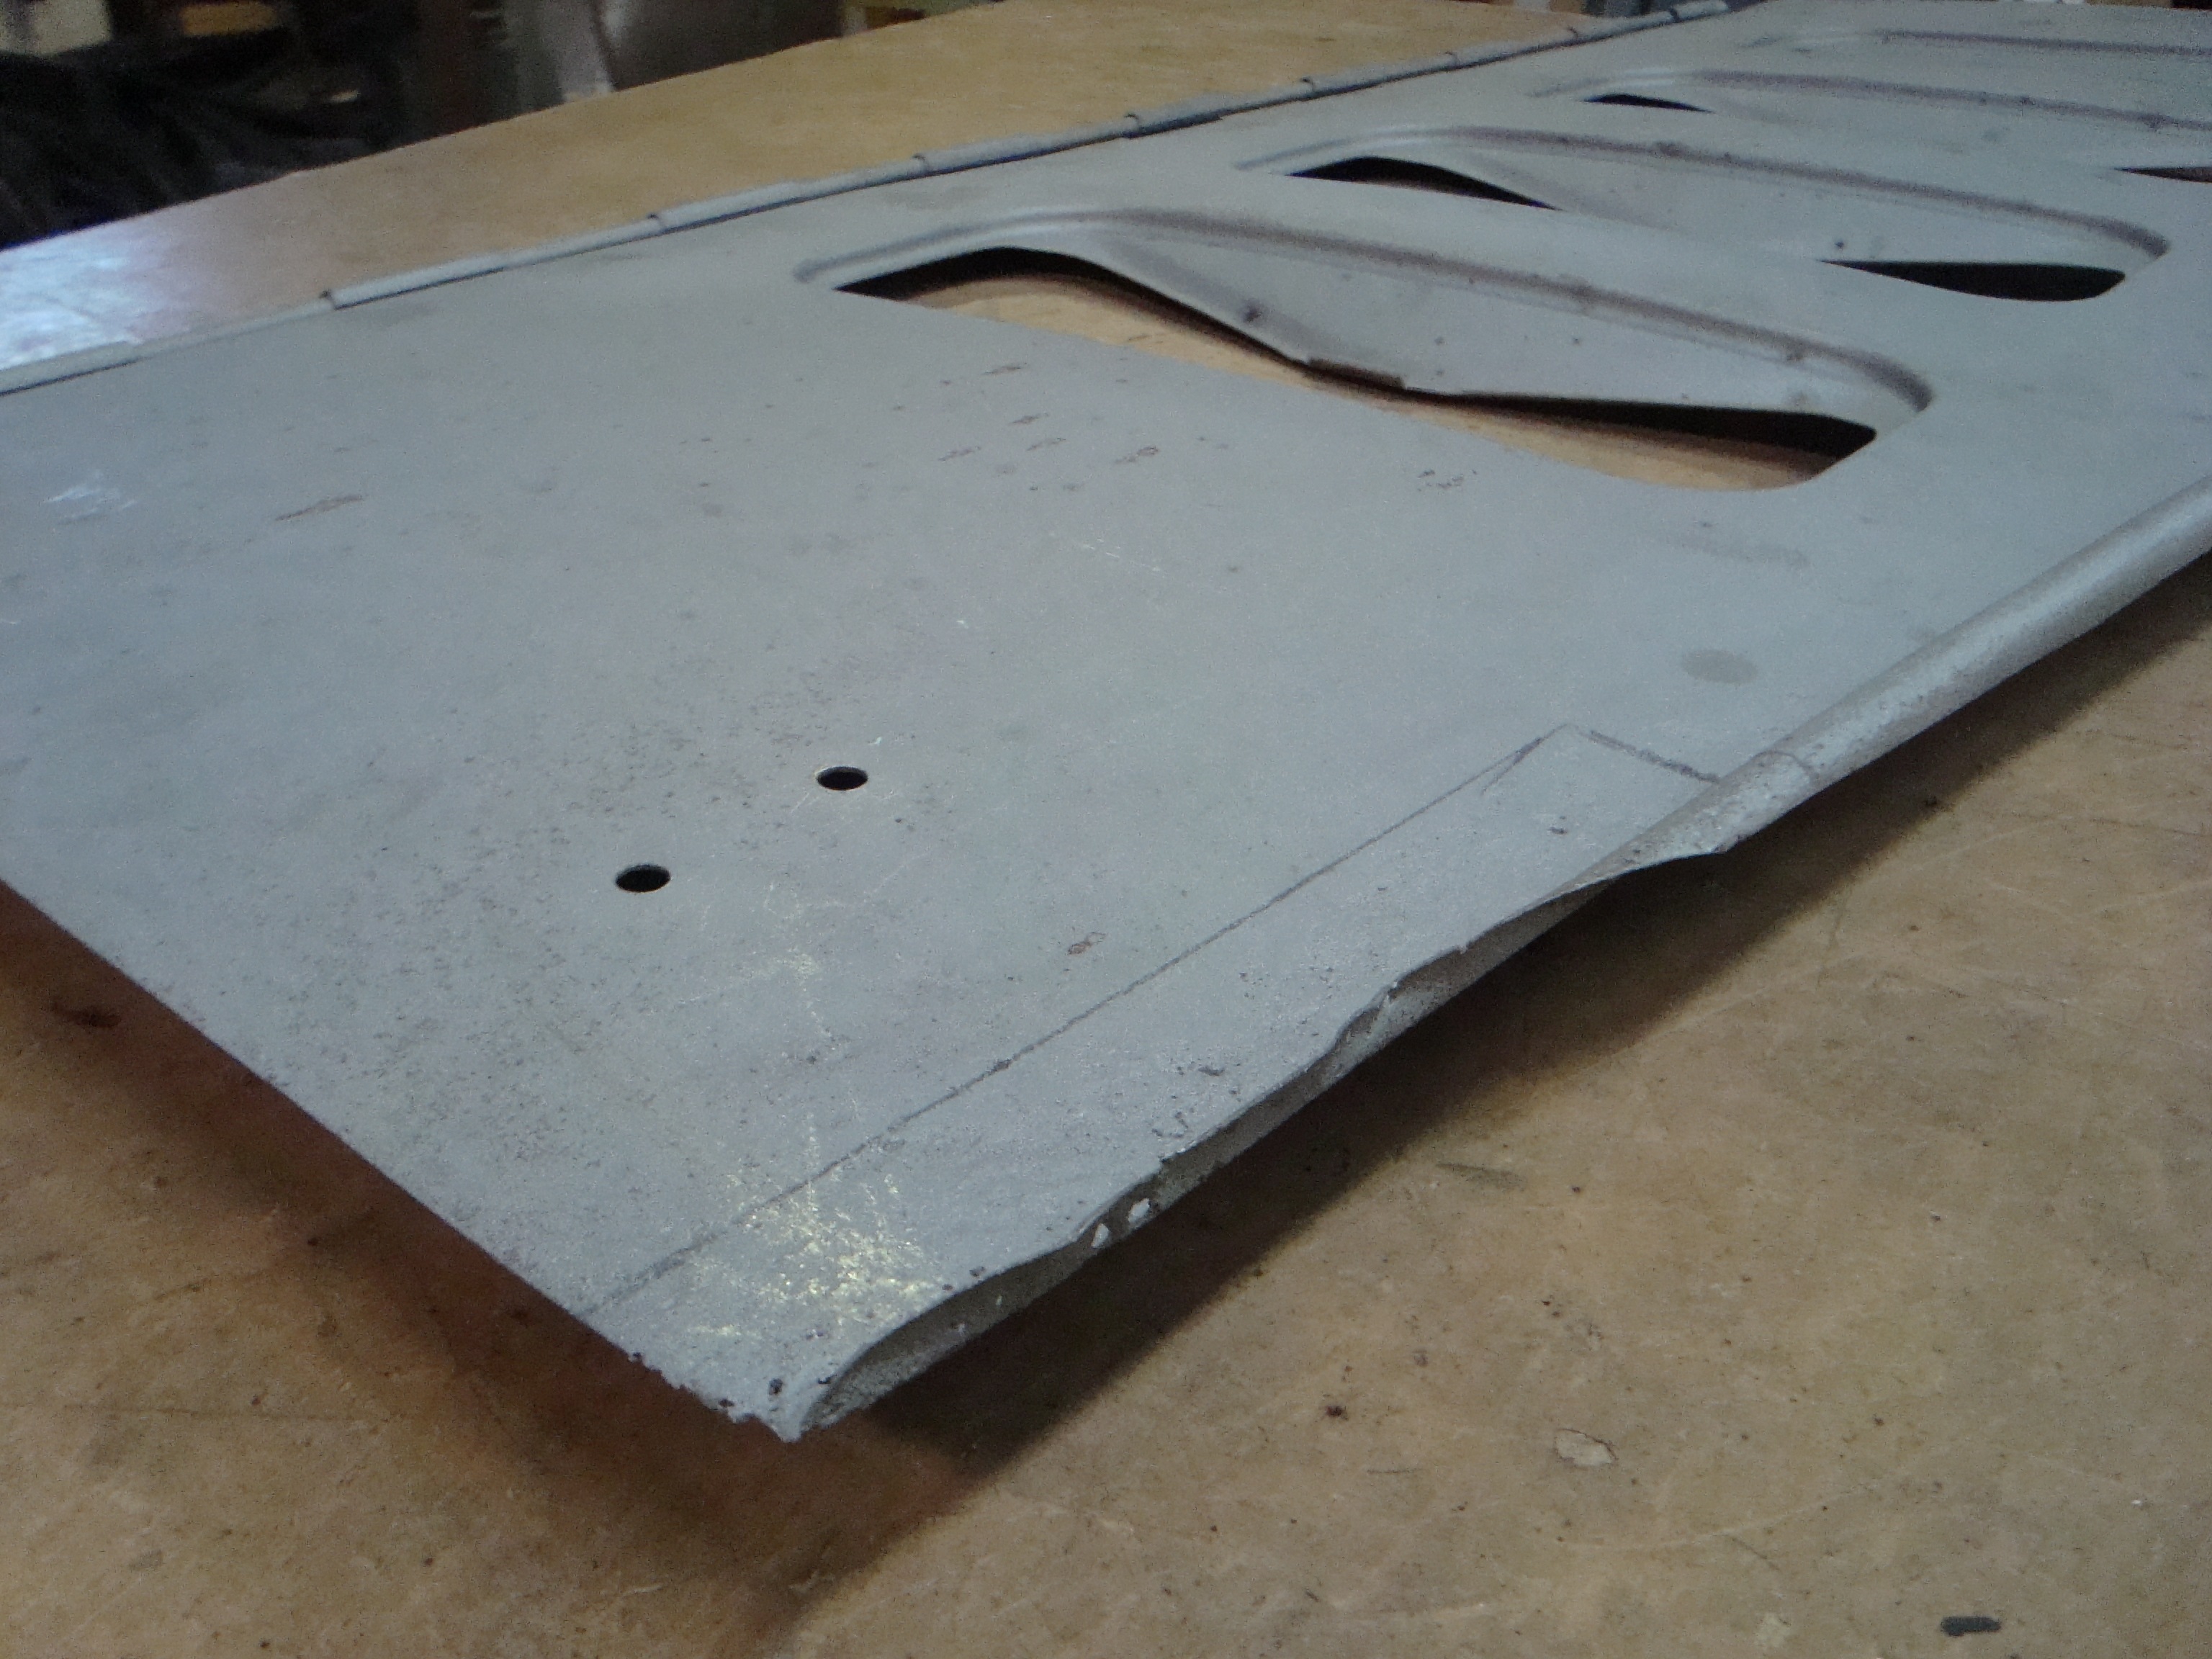
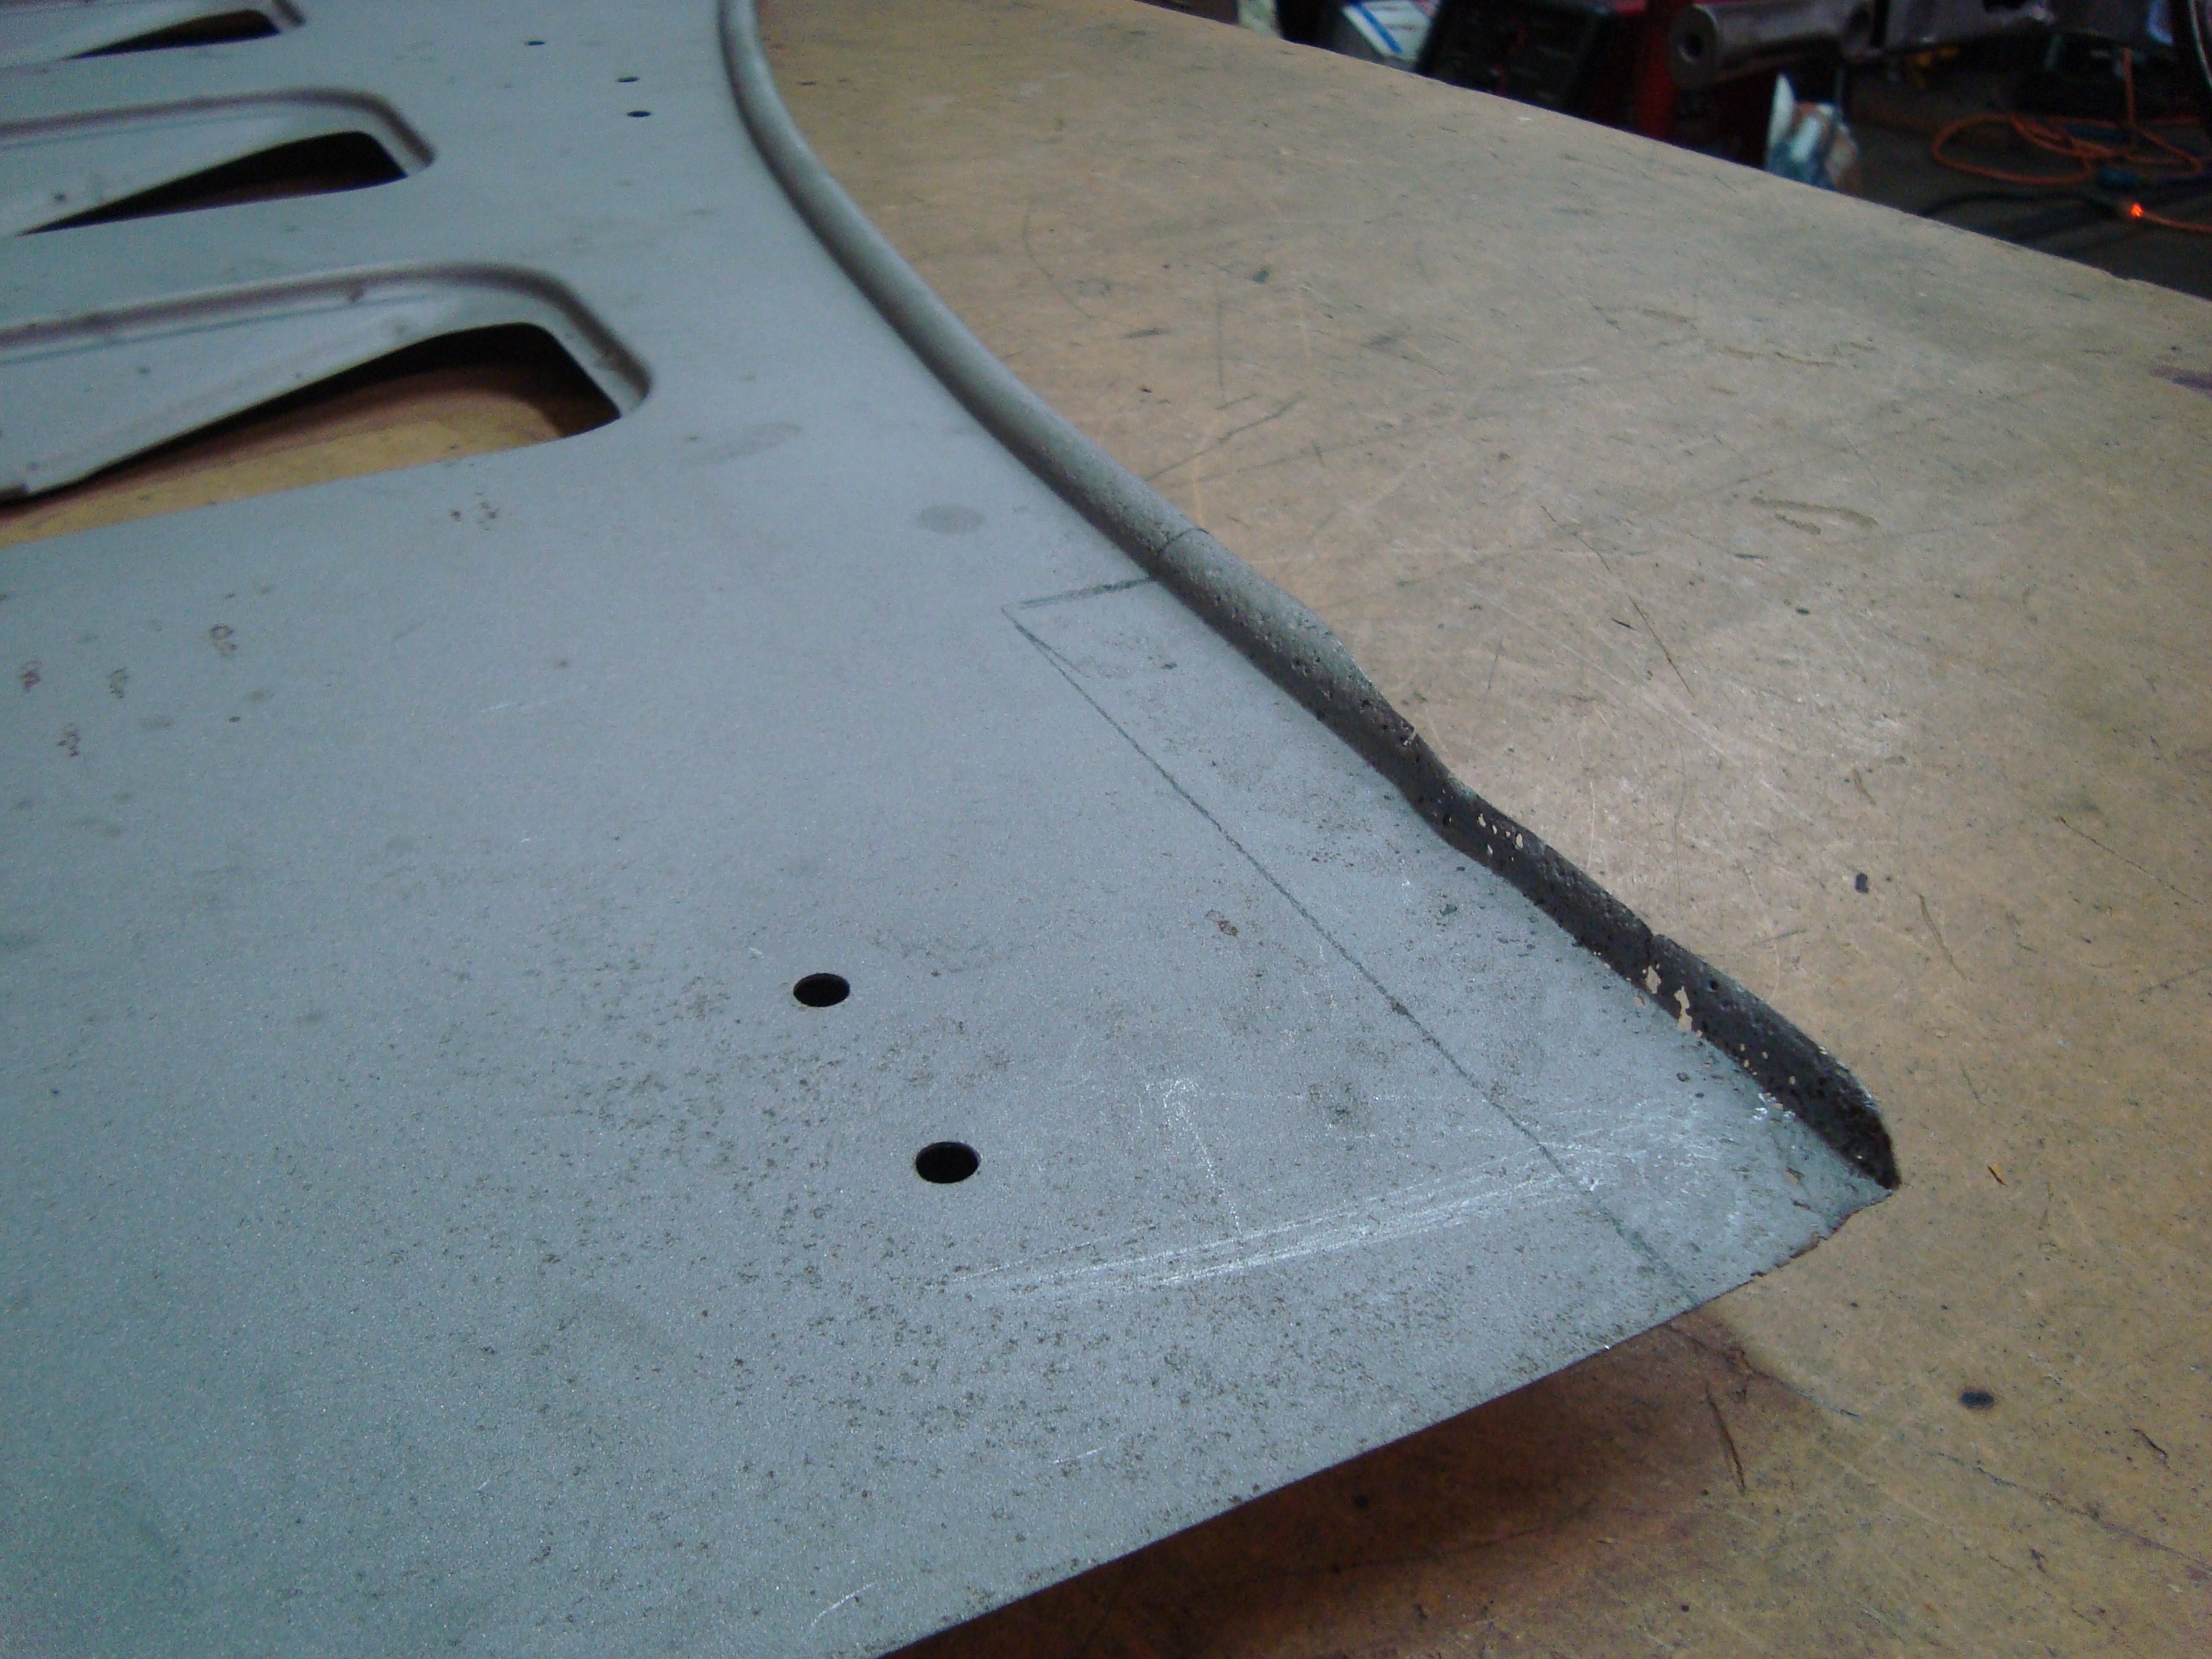
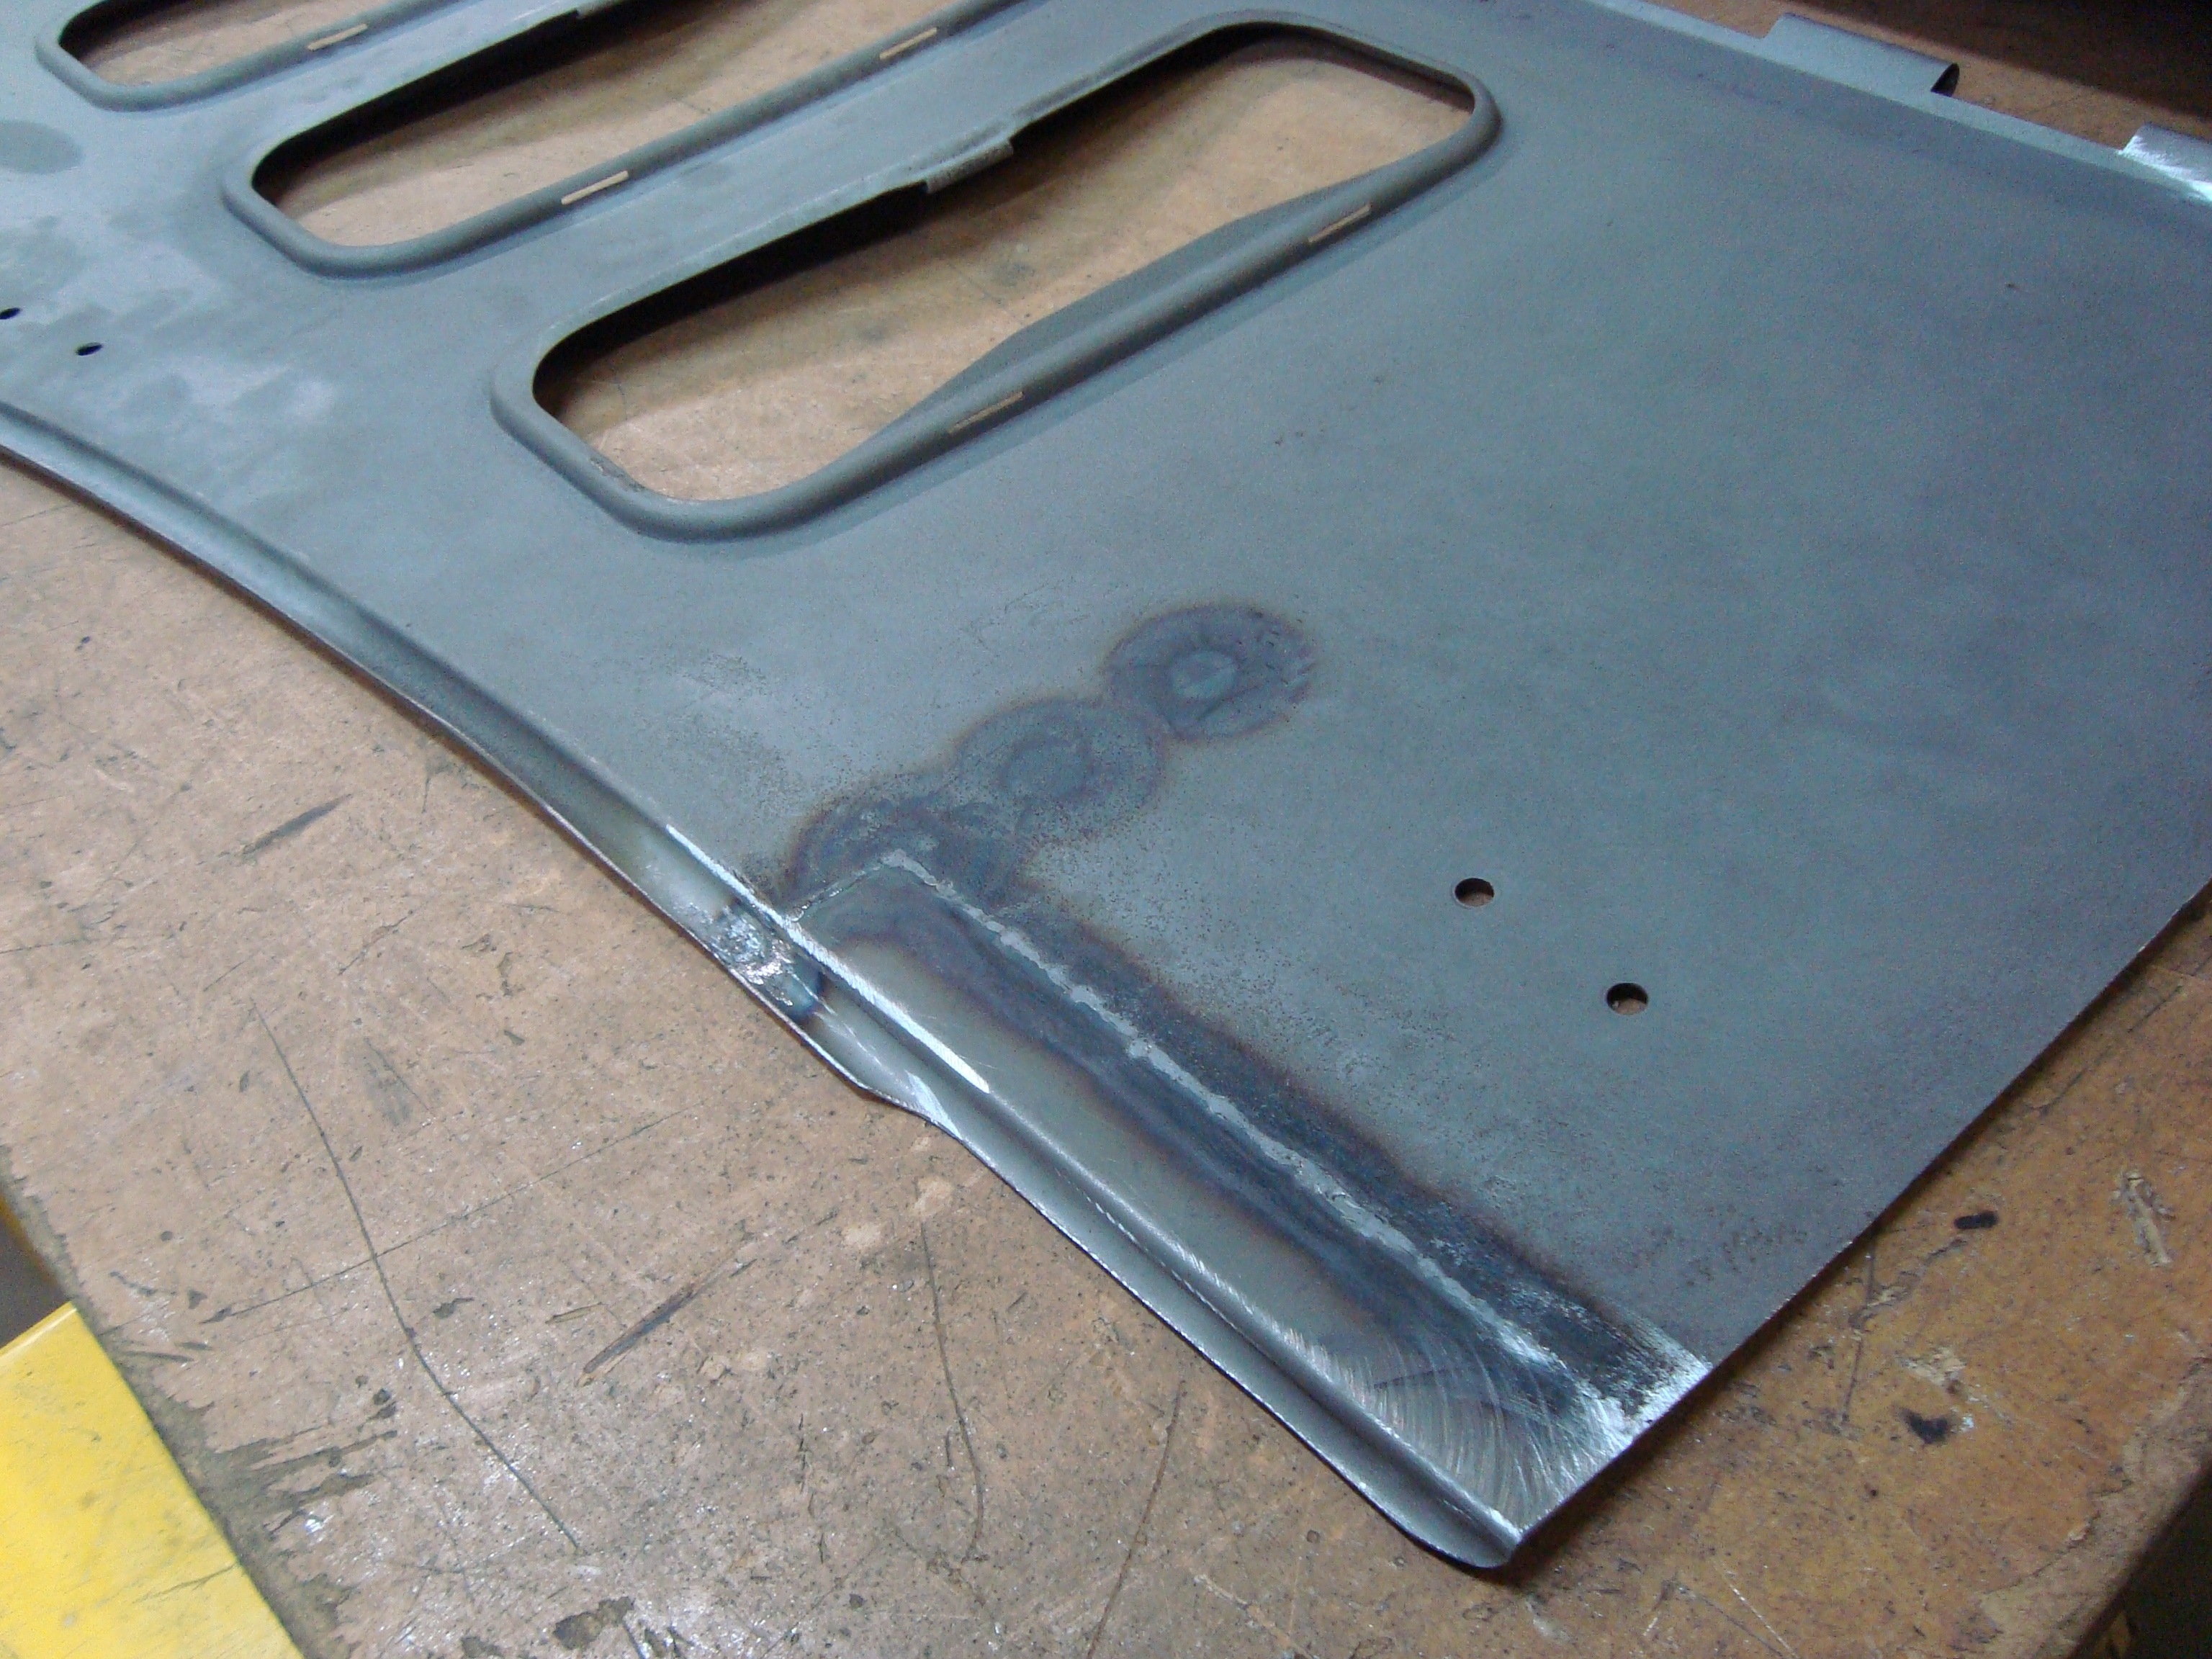 Hood sides.
0 -
Bent Metal, Do you have an apprentice? I certainly hope you have someone to pass this knowledge on to. Your work is a marvel.
0 -
awsume job!!!!0
-
Thank you "Steven". "Parkerm", no apprentice, just me. I've had a couple guys helping out. They seem to last a few weeks and move on. I suspect that once they find out there is no "trick" or "secret" to metal shaping, and that the truth is it's just a lot of careful work that isn't always easy. Then they go find something easier to do.
0 -
I found a fellow in Alsip , Illinois that has yours skills. He is currently restoring all 4 fenders of my 33 KT and areas of the body that need help. I will be visiting today to get some up to date photos. I will gladly share his contact info....when we are finished....lol
Thank you again for sharing.0 -
Guy- your comment about finding something easier to do seems to sum up many who are lookin for a position today!0
-
If this isn’t a must see checkup thread I’m not sure what is. Great work and eye for detail.0
-
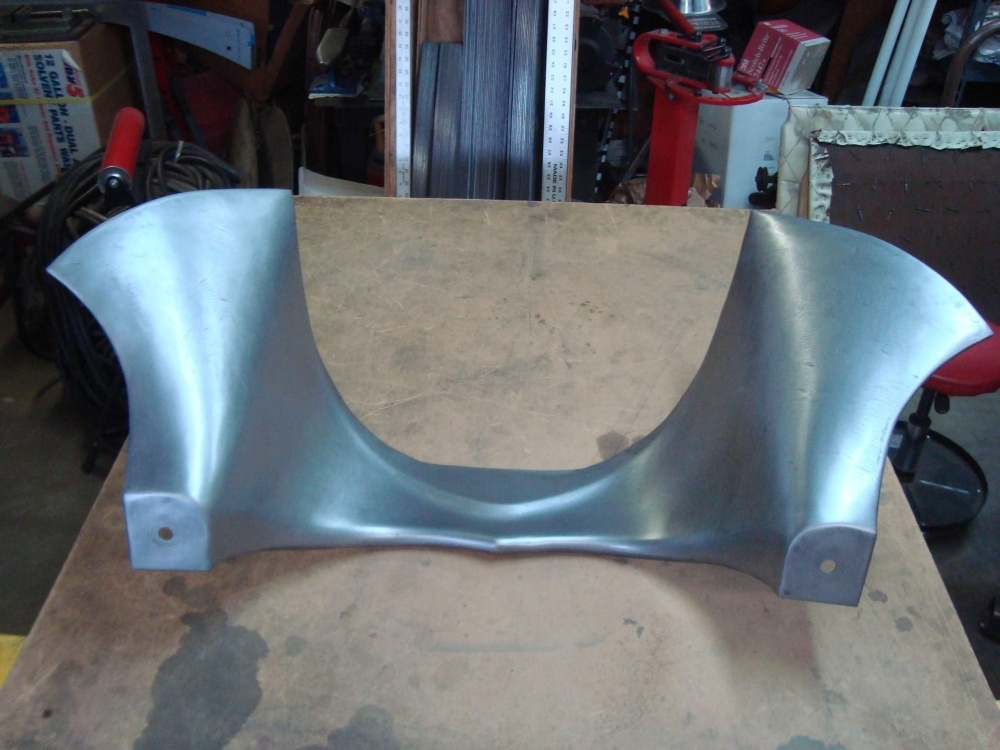
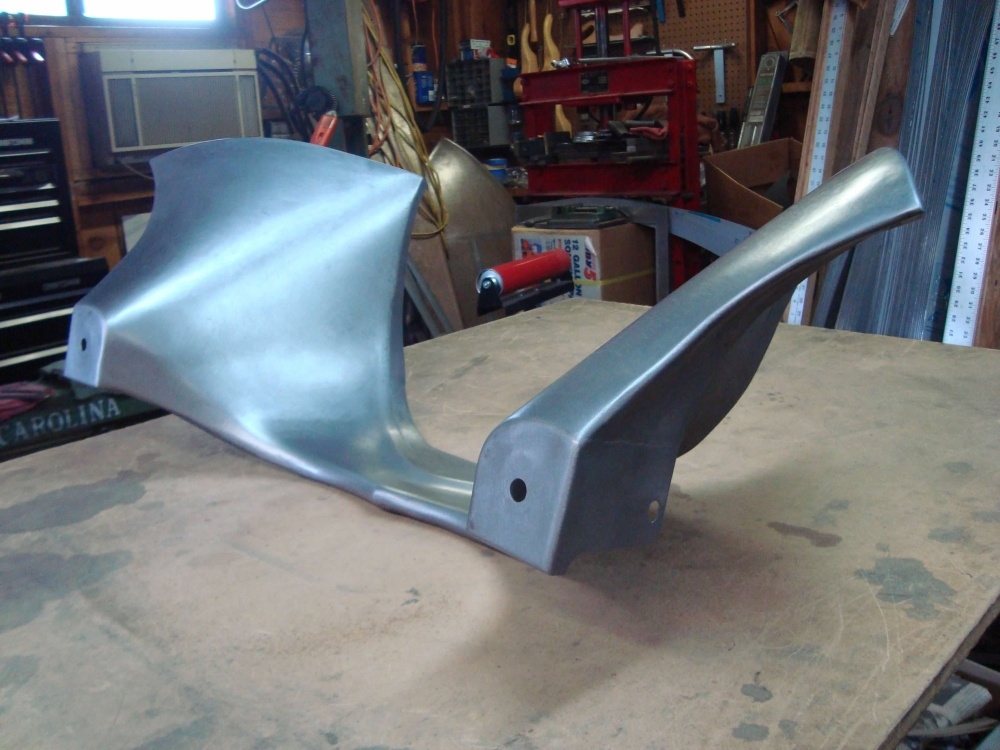
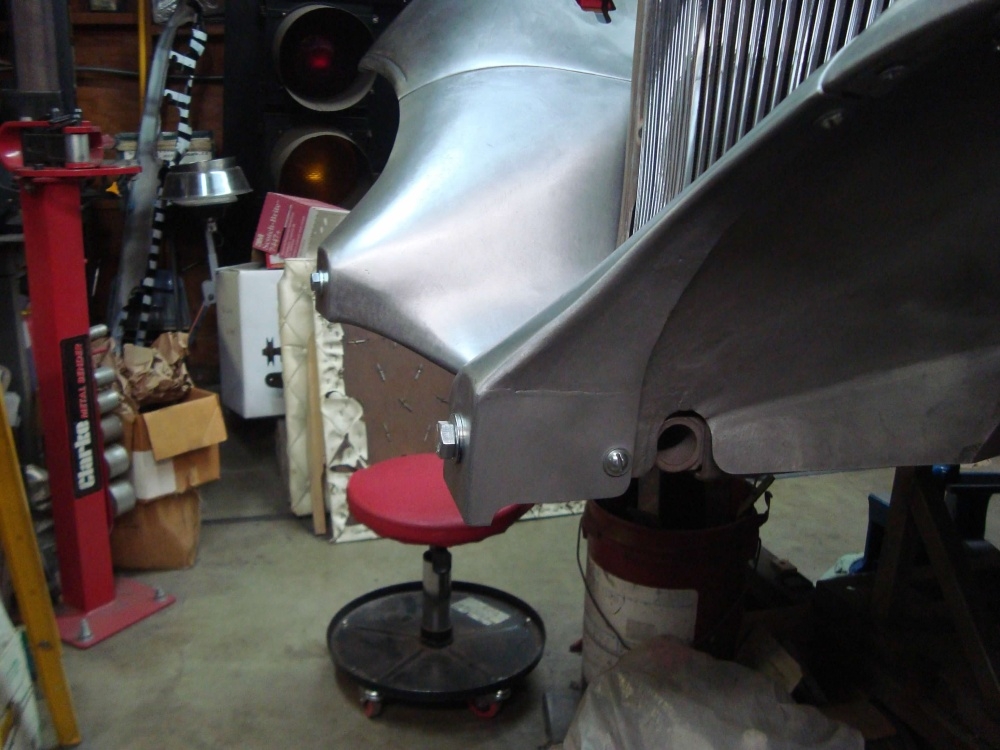
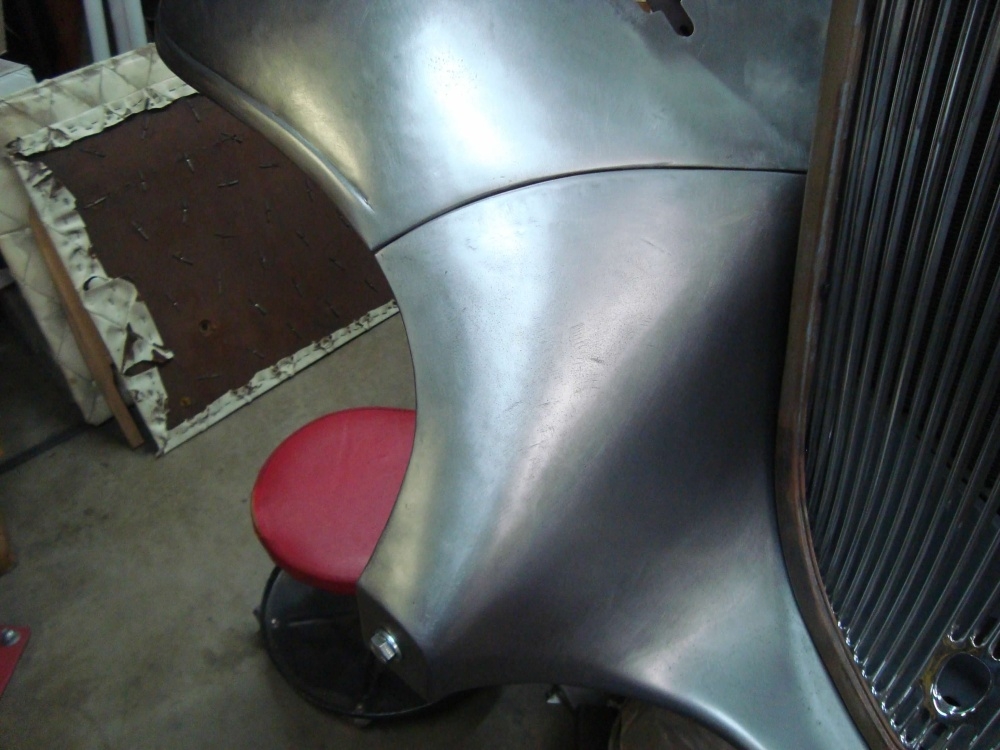
Don't know what to call this piece? Front valance? Front frame cover? Whatever it is, they are usually rough. This one I ended up making from two originals, along with some newly fabricated patch panels. The majority of the finished part I made from this original part. Where the part bolts to the front frame horn the metal was badly damaged and formed up with solid lead.
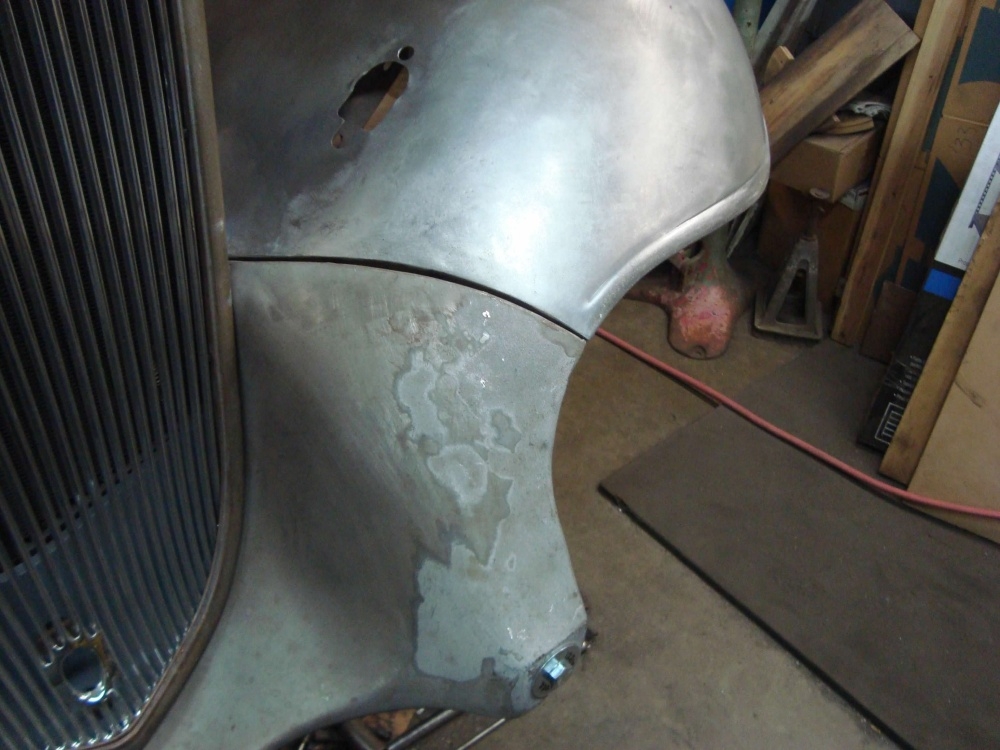
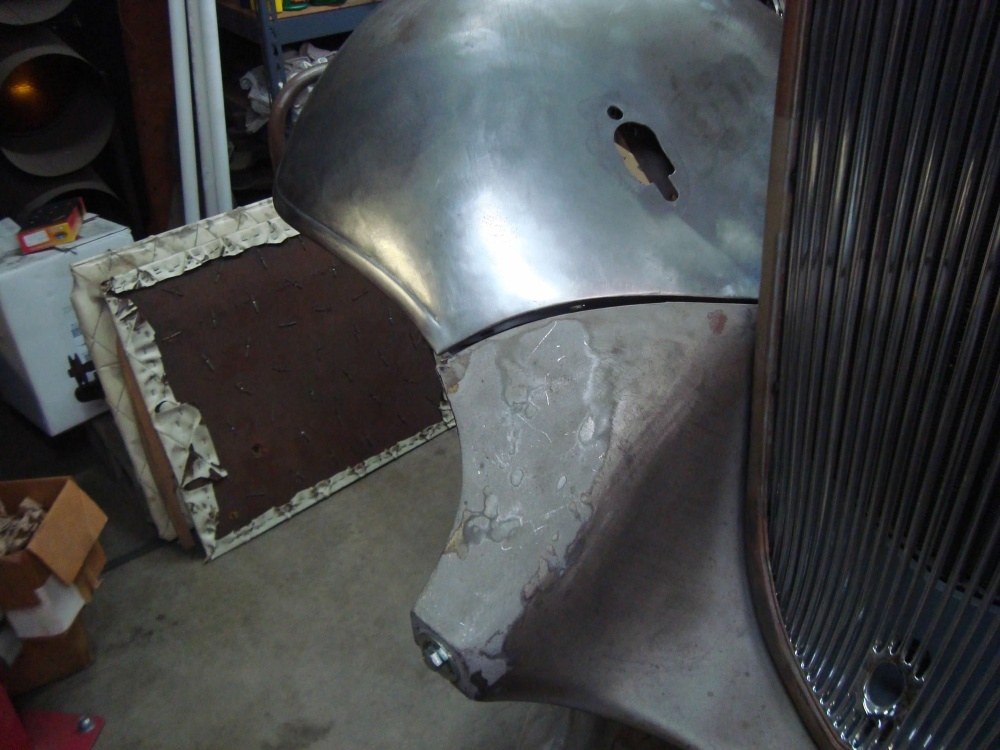
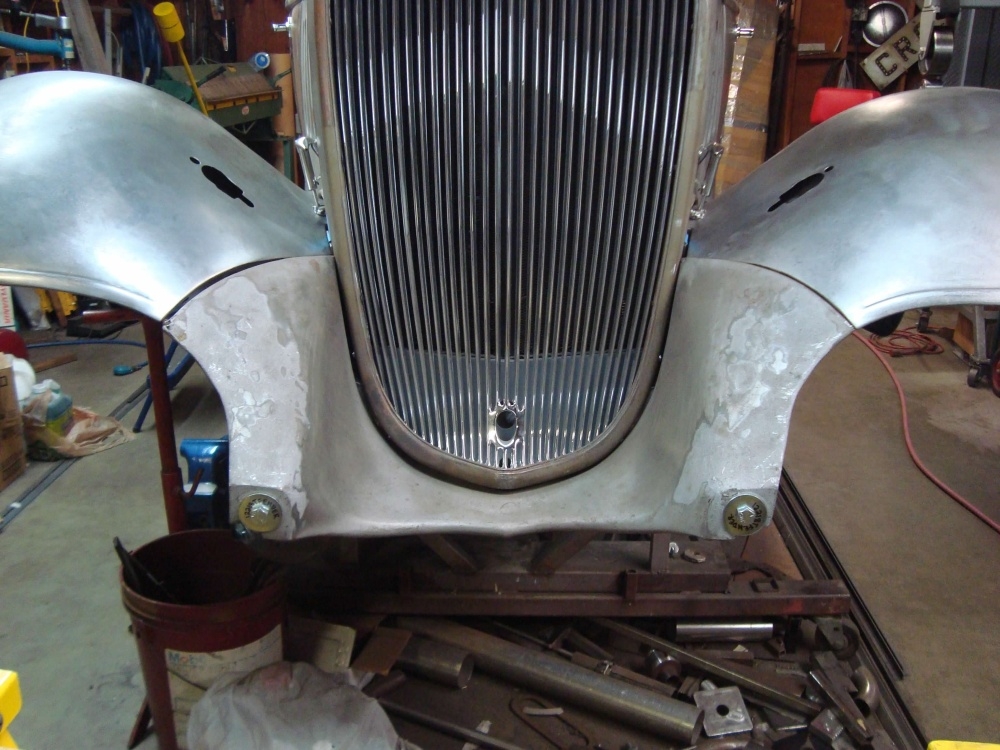
0 -
Pieces were cut out and pieces were made, twisted and tweaked, then welded.
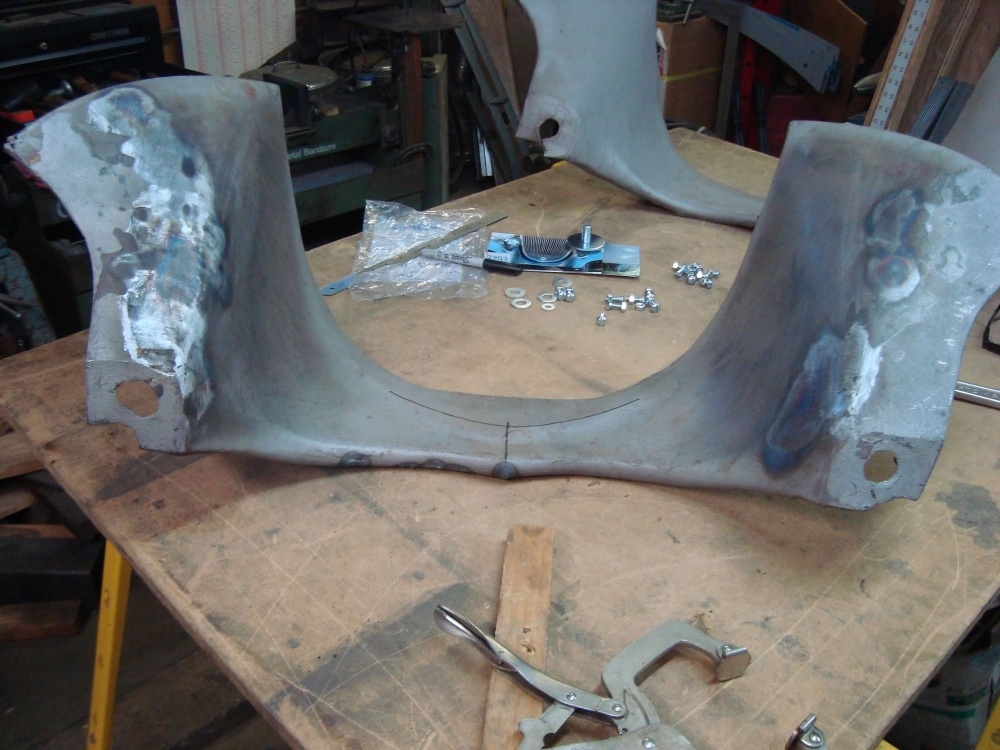
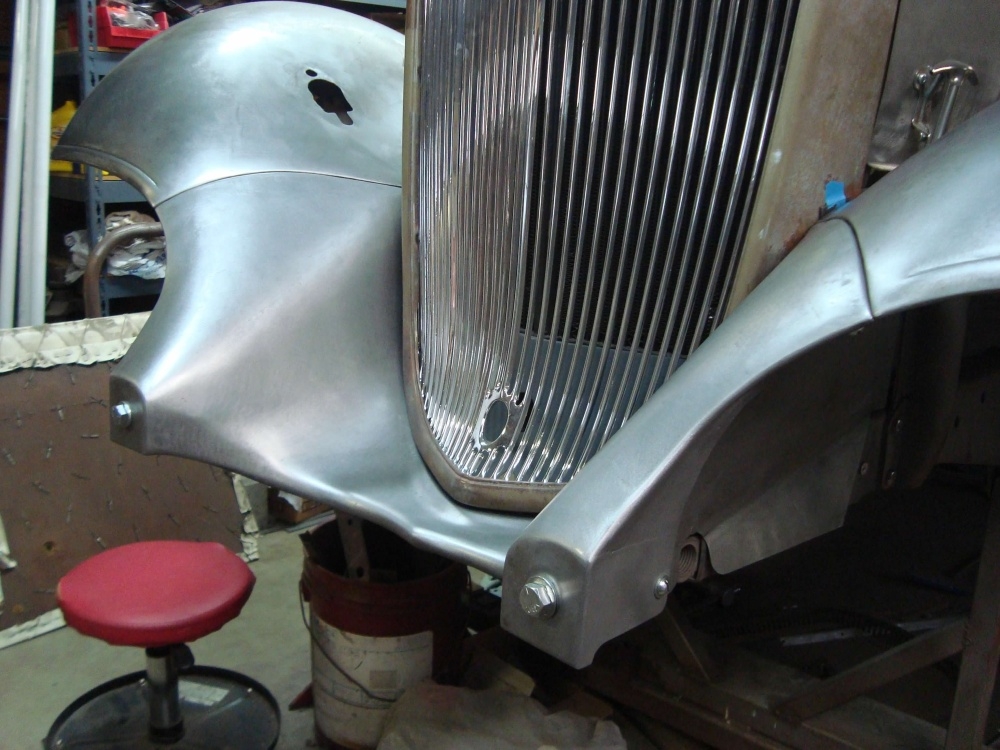
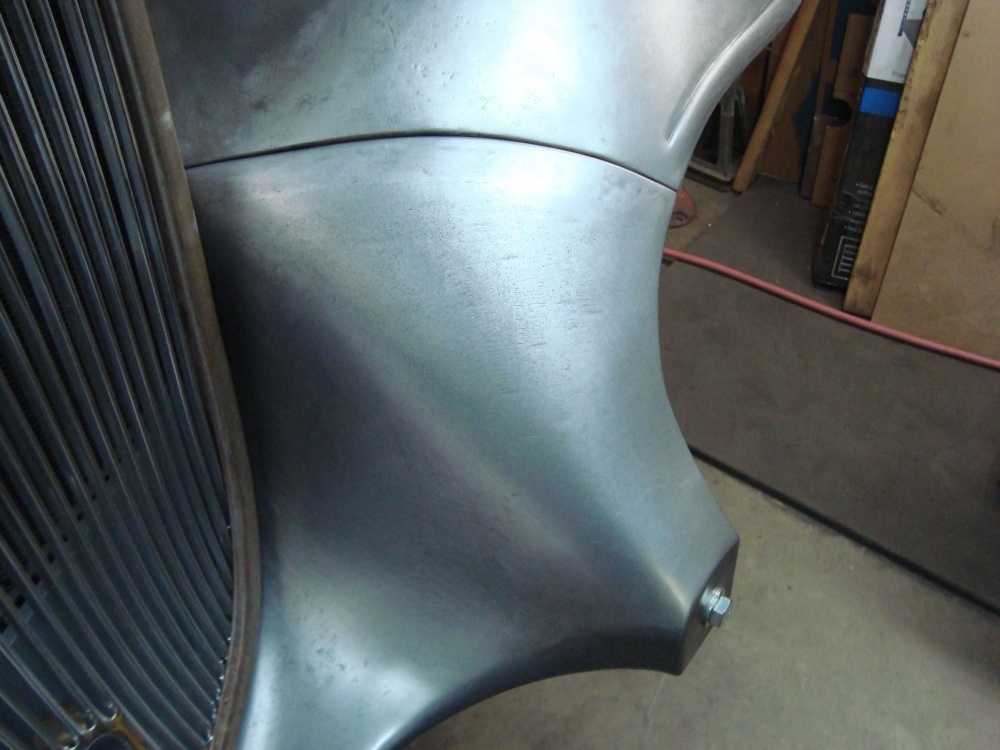
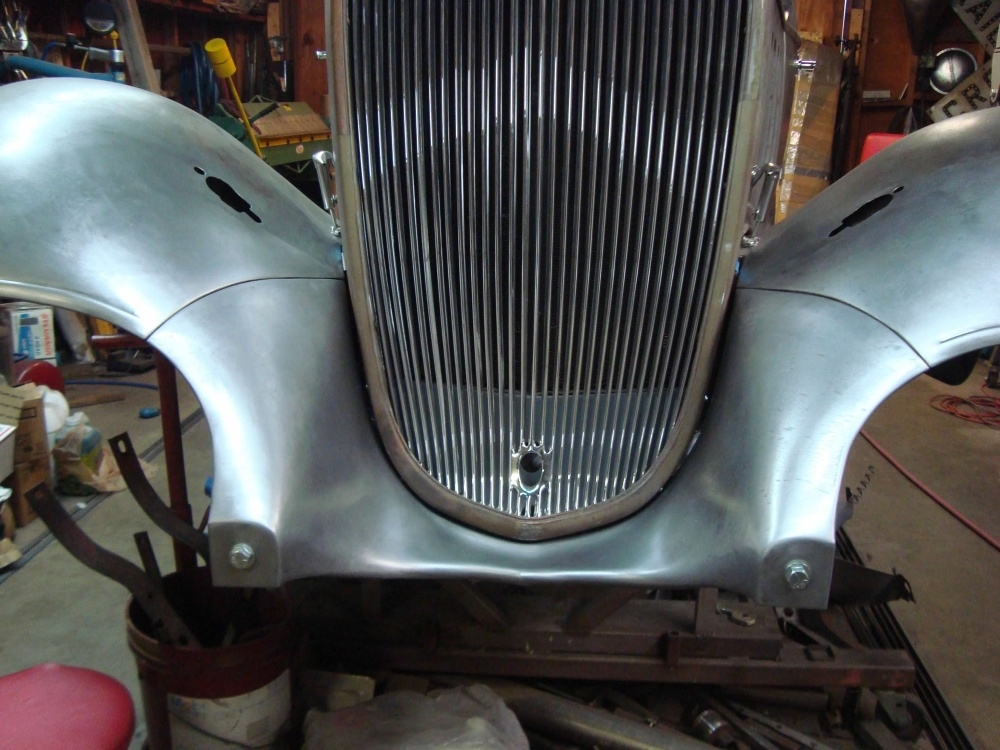
0 -
I don’t have the words. Just a work of art!
regards, Tom0 -
A work of GUY!0
-
Thank you guys! Glad you are liking the pics.
 0
0 -
All together.
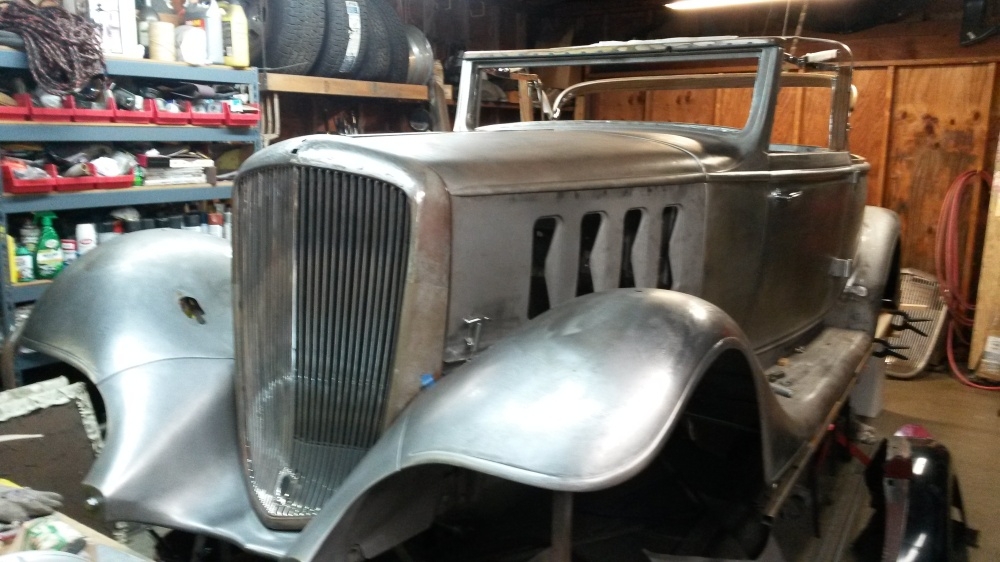
0 -
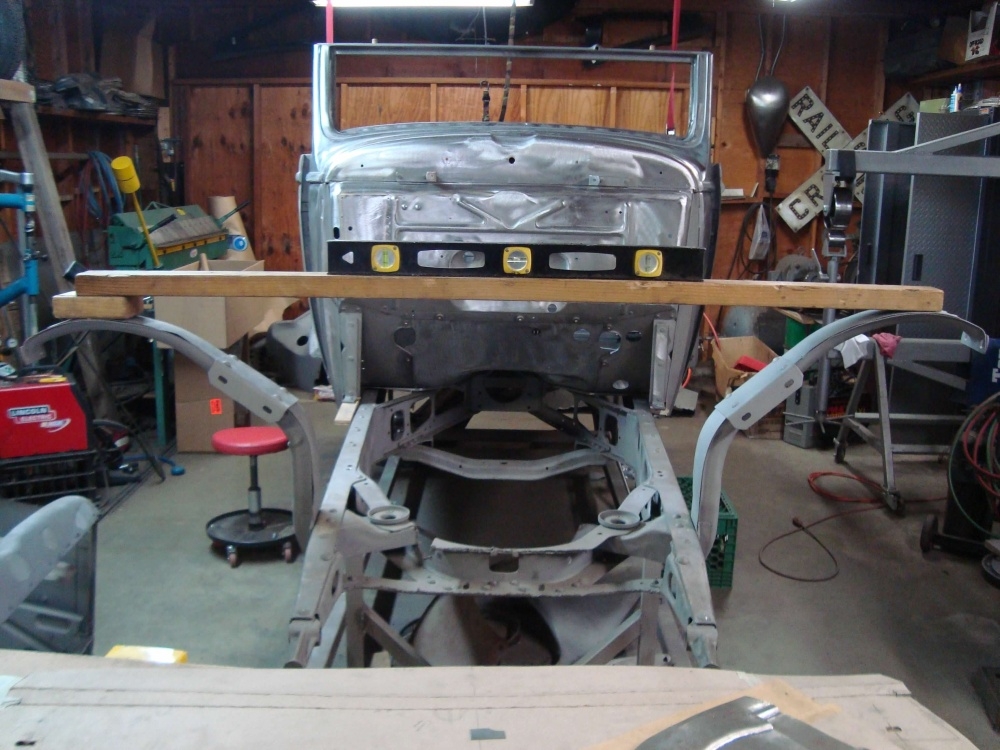
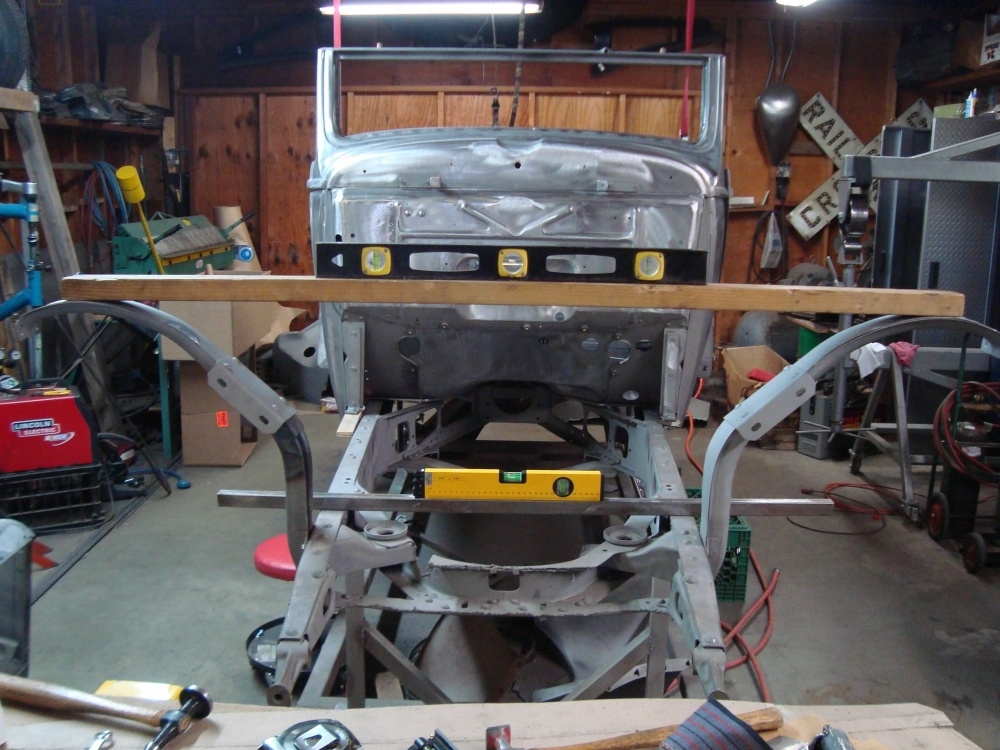
Let me back track a little bit. Squaring up the fender bracing before any sheet metal work started. Notice one side is a 2X4 thickness, or inch and a half higher than the other. So I corrected the bent one.
0 -
Incredible work! I really enjoy seeing what you do, and the end results are truly a marvel.
0 -
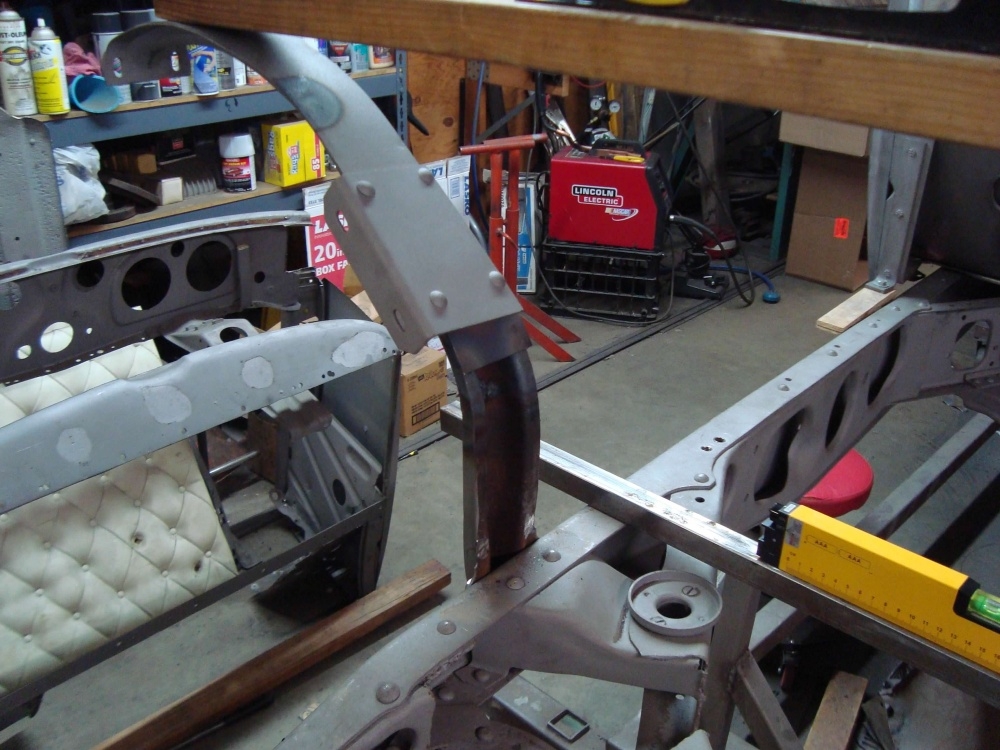
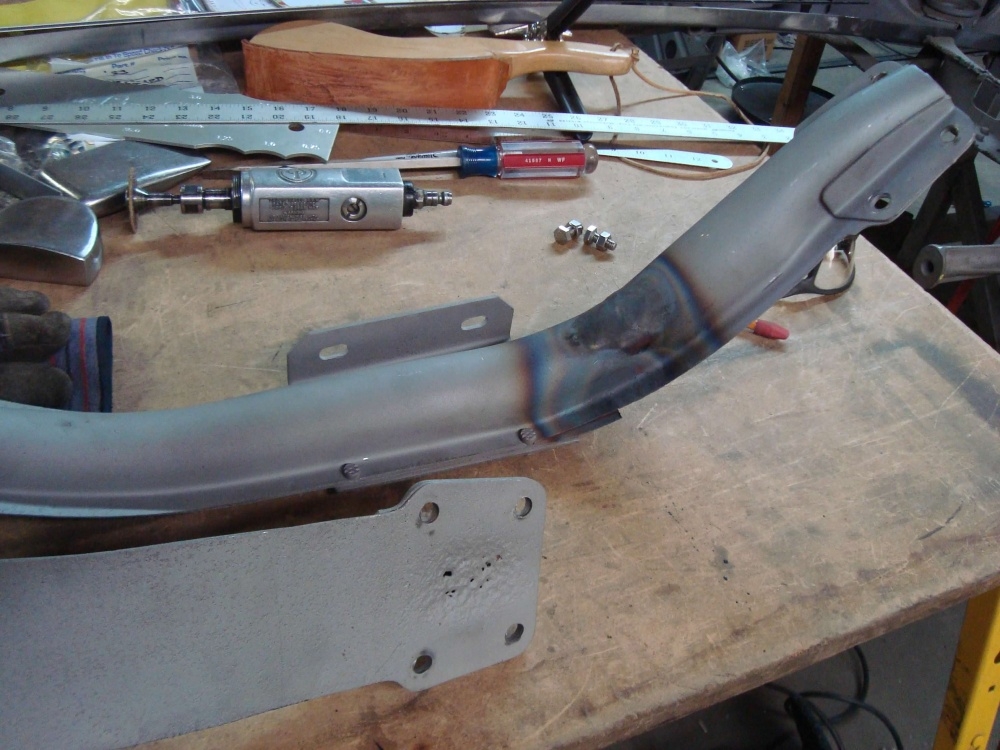
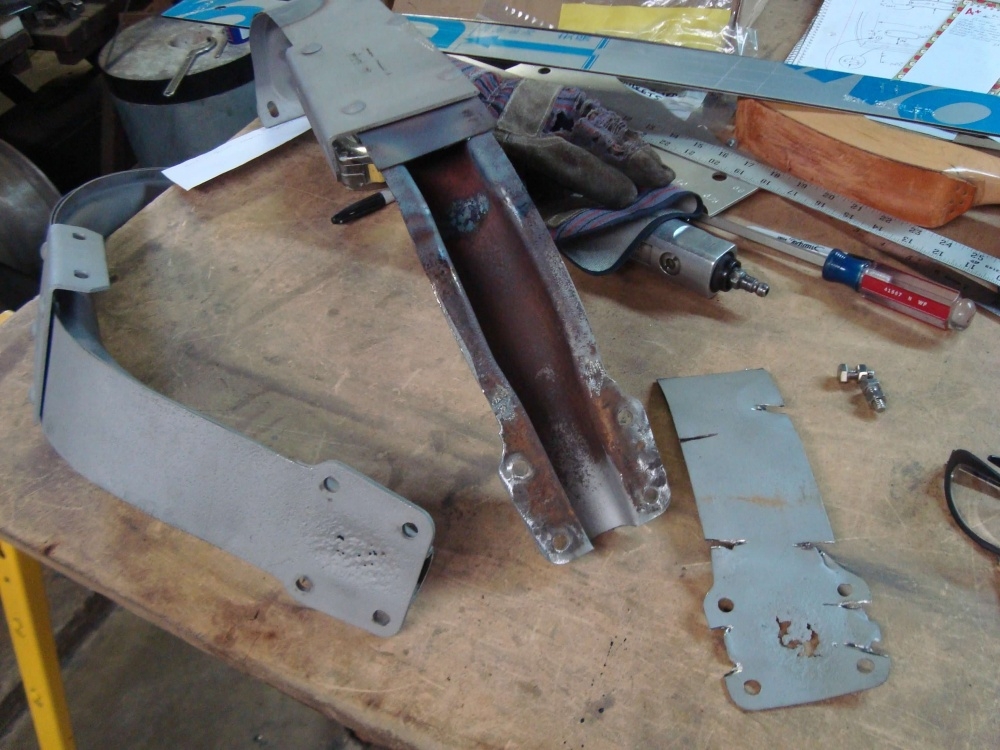
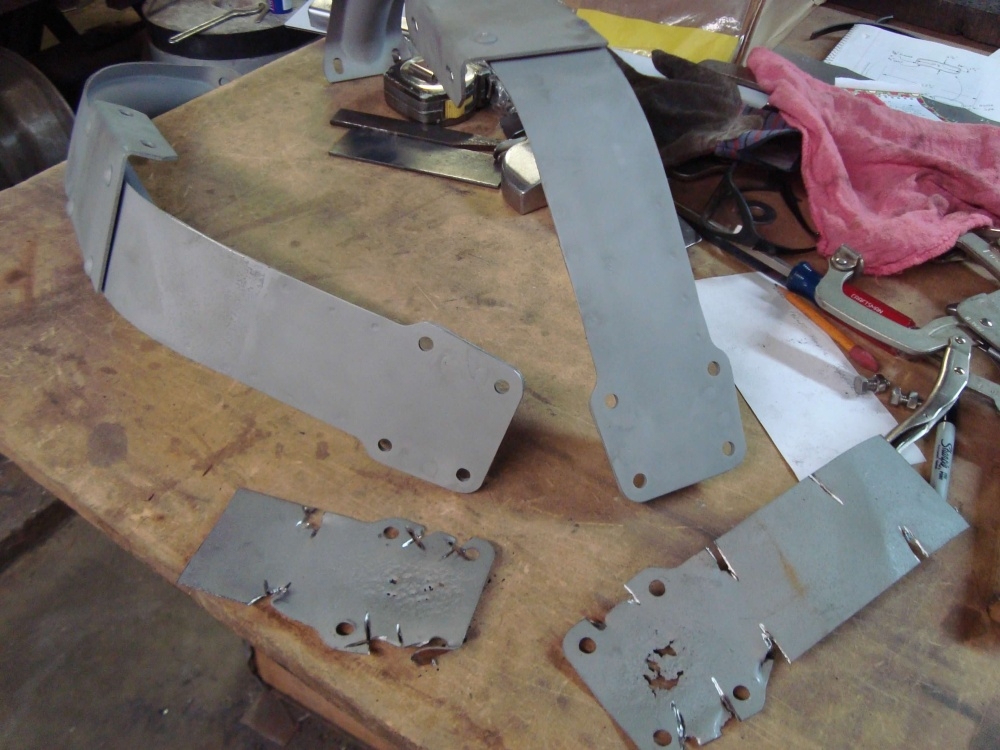
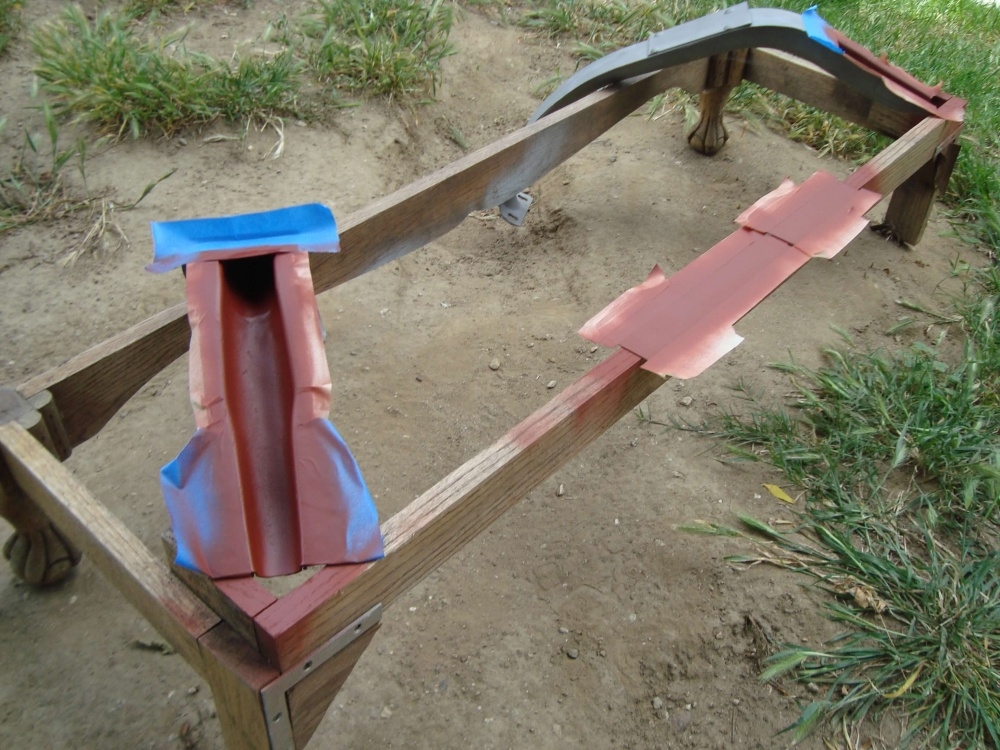
Here is the process of fixing the fender brace. They are boxed in with sheet metal on the inside and tend to rust inside. I needed to take them apart and fix the rust.
0 -
Absolutely beautiful work
What most people don’t understand is how many hours in the work.The investment in tools and years of practice to have the skills to do what you do much less the patients to get the job done correctly
thanks for sharing
John0 -
I had the opportunity to see some of this work as you were doing it. I had kind of forgotten just how much repair and fabrication you had to do. I'm quite impressed with it all.0
-
I am so envious of your skills! You are an unbelievable CRAFTSMAN.0
-
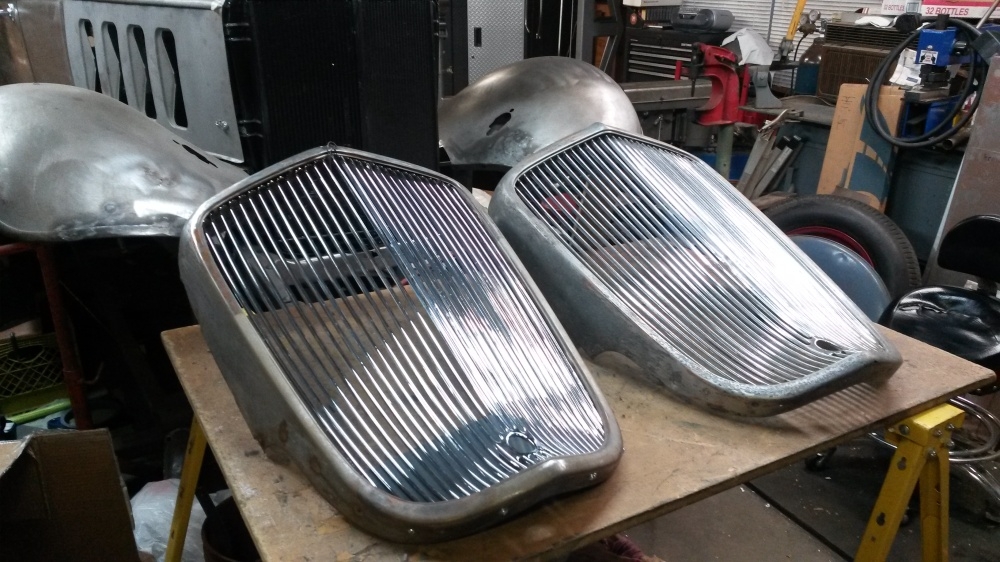
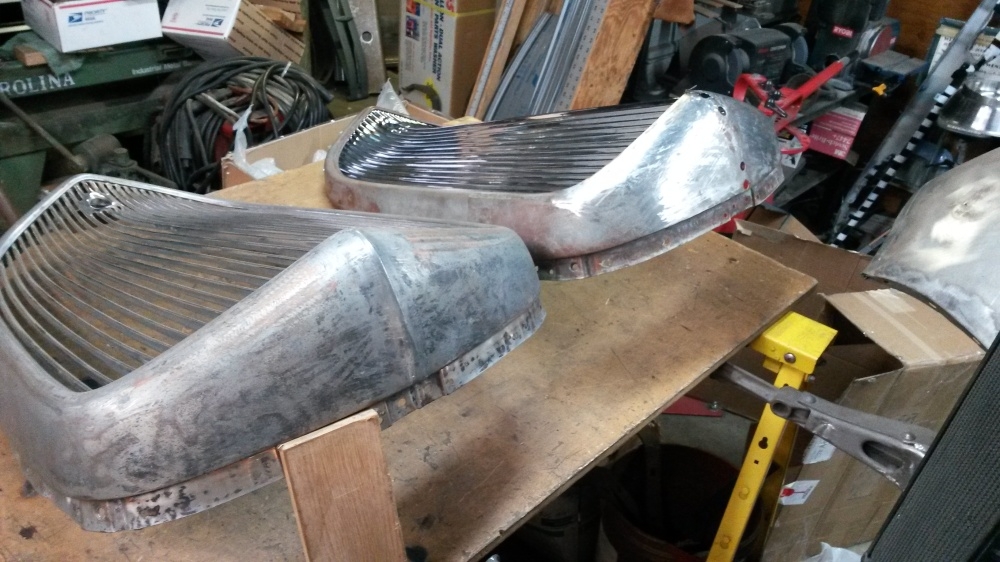
Sorting out the grill shells. Such a pretty grill. Hmm? Peaked or the Griffin?
0 -
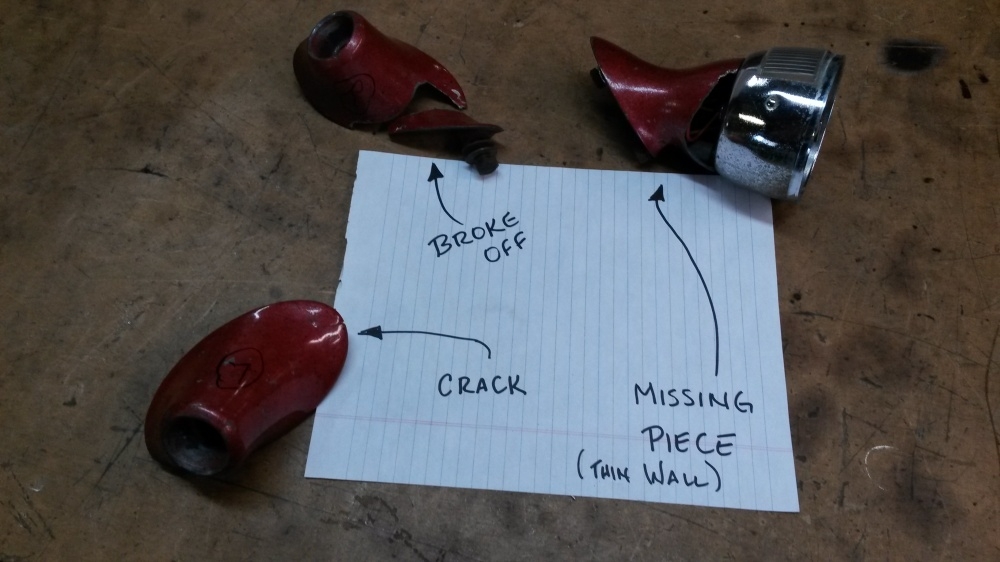
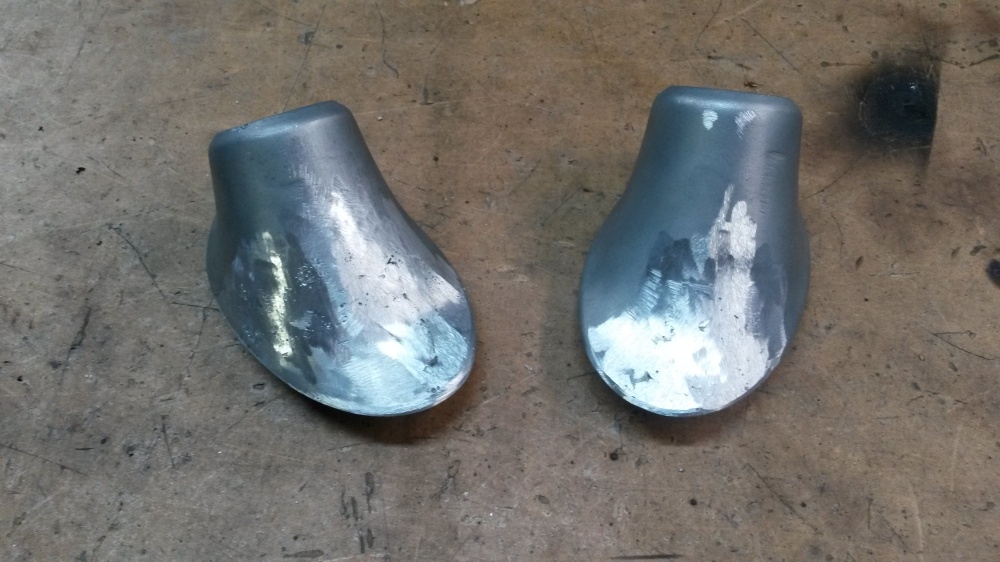
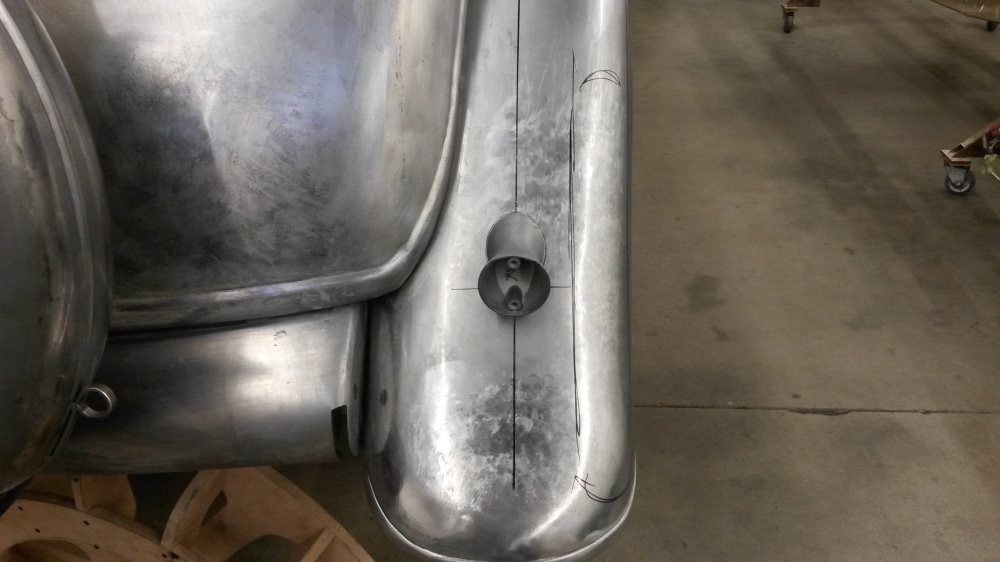
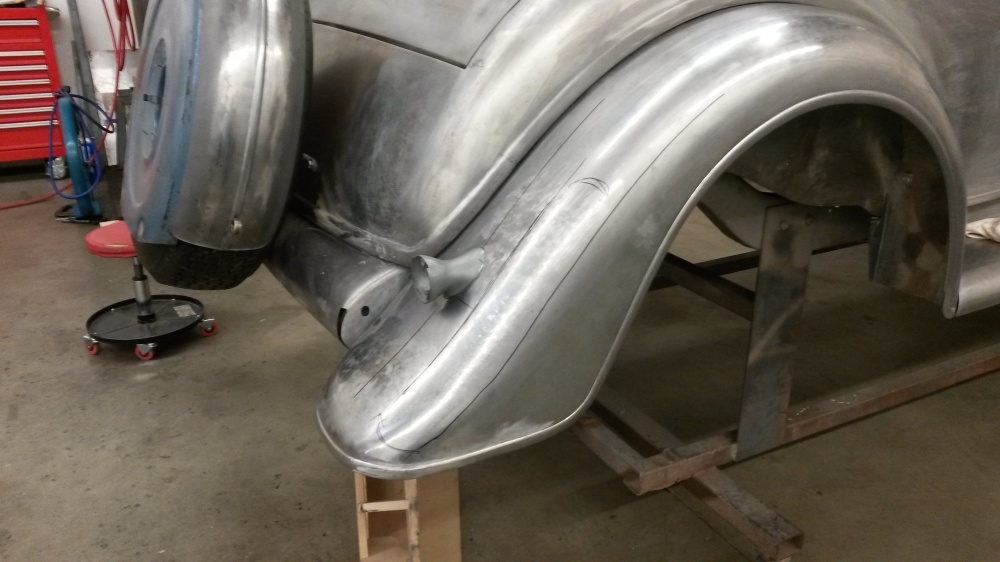
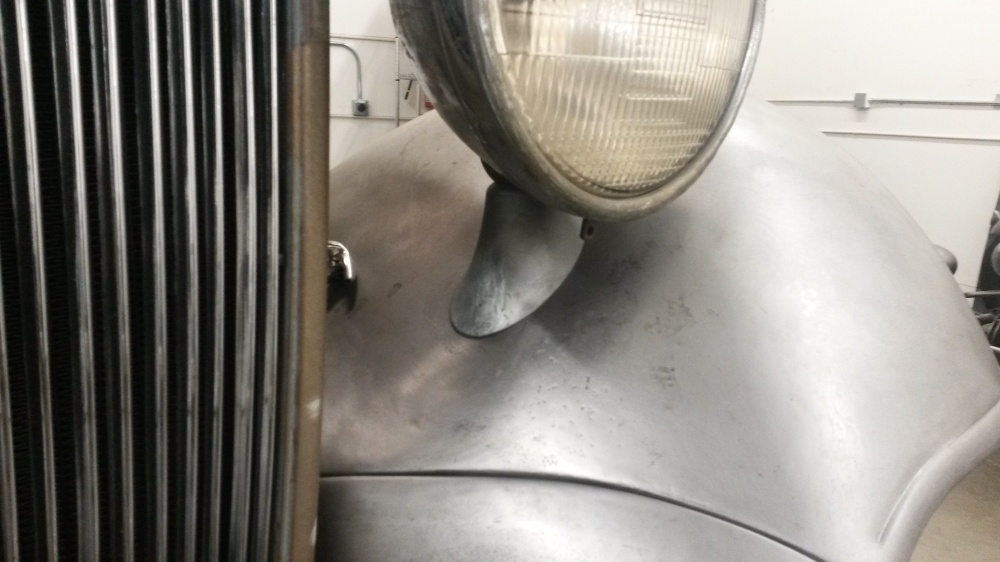
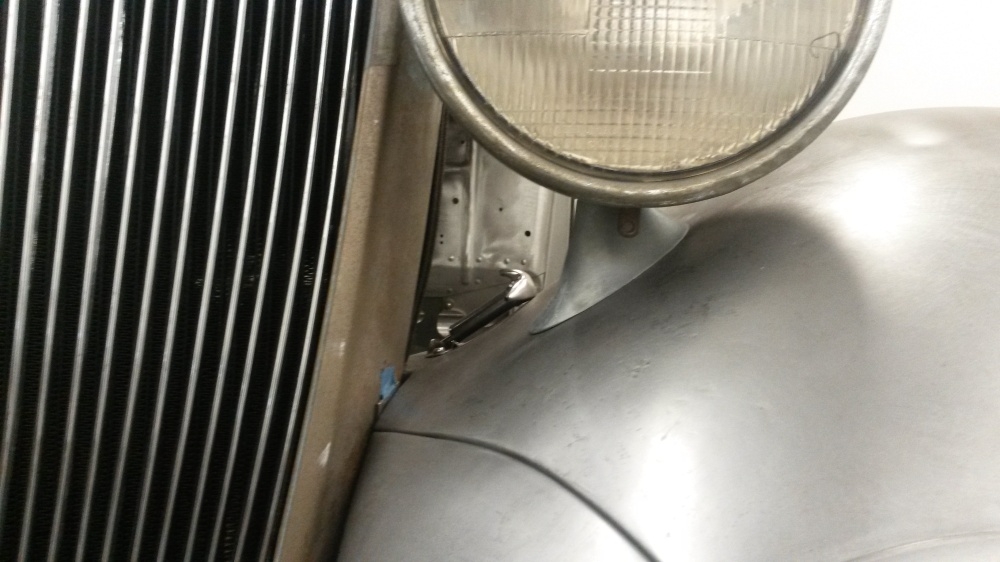
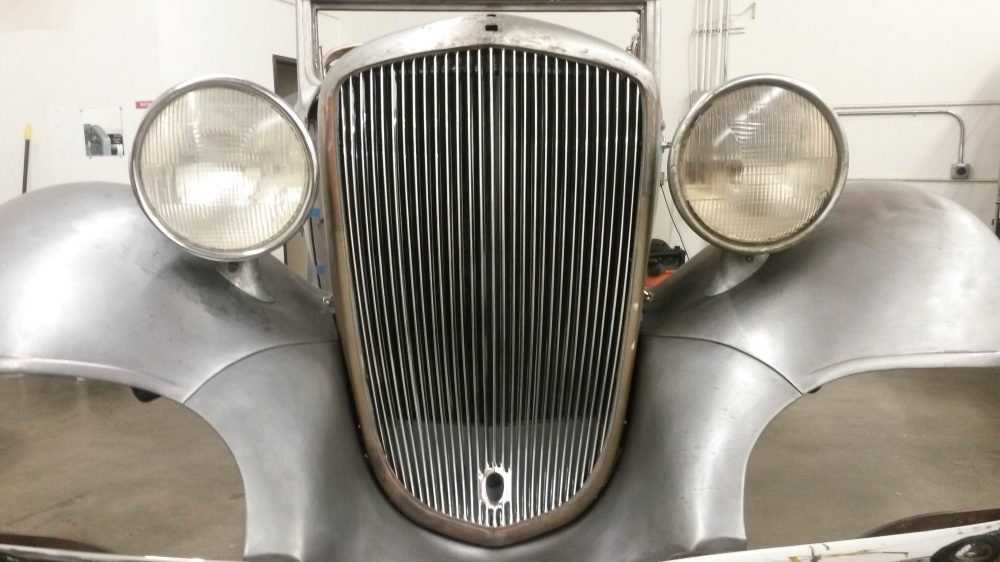
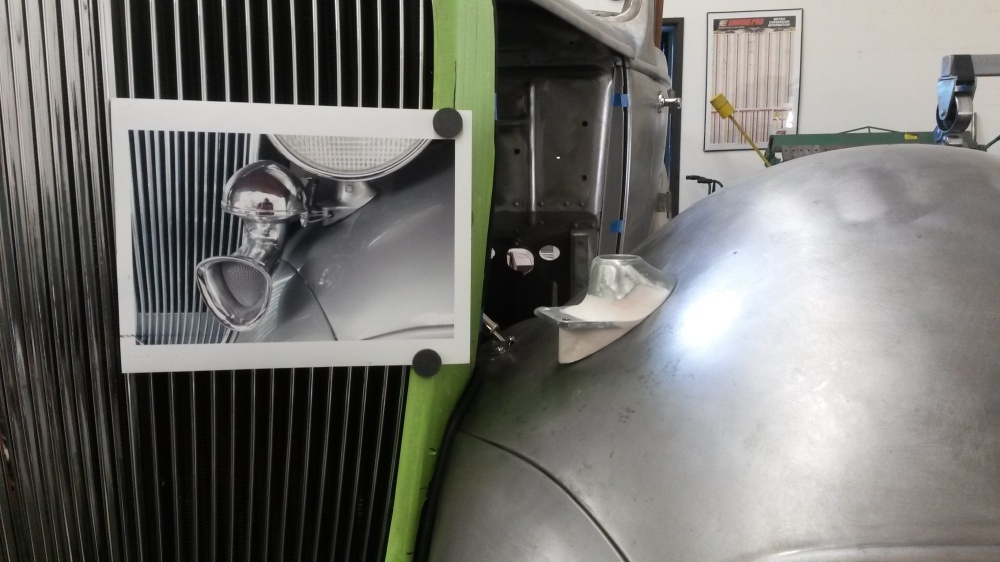
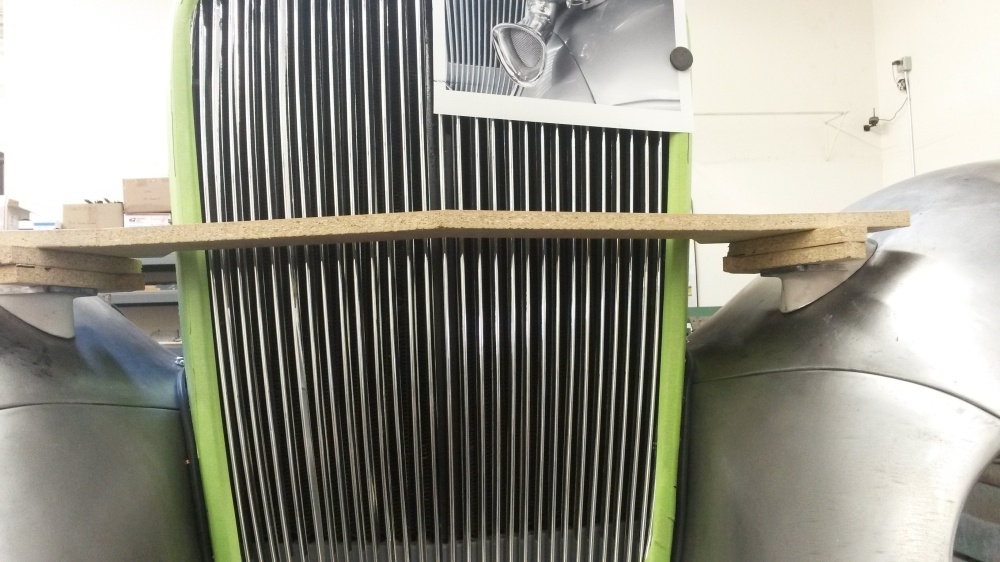
When I got to the head light and tail light bases we couldn't find good ones. Both of these parts were made of pot metal. The head light bases Ivan wanted needed to be the Deluxe model. Which have the horn mounting tabs. The head light bases we had were standard, no mounts for the horns. So, first, fix what we got and then make the bases for the head lights into Deluxe. ....Welding pot metal is not fun.

0 -
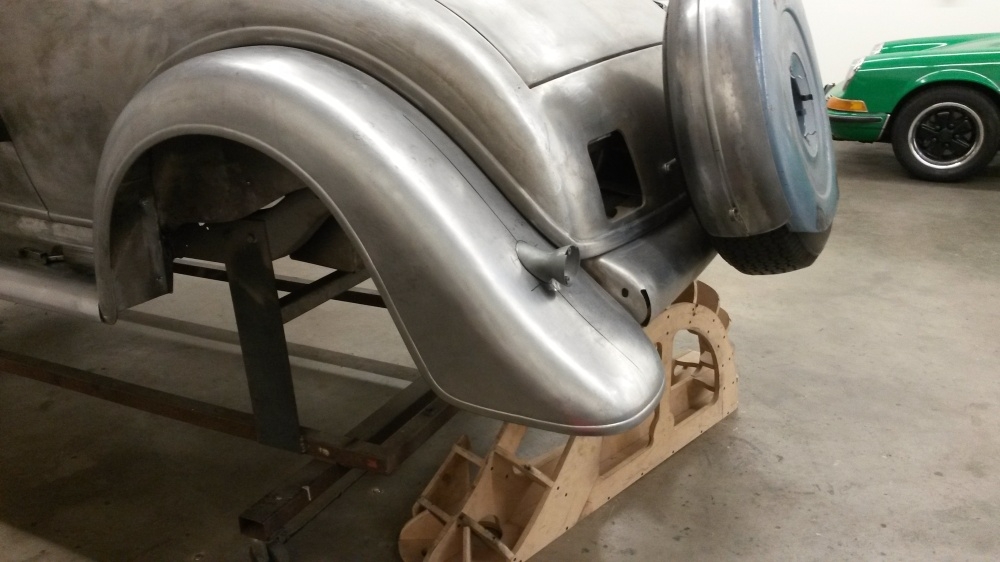
The bases. Getting the angles right.
0 -
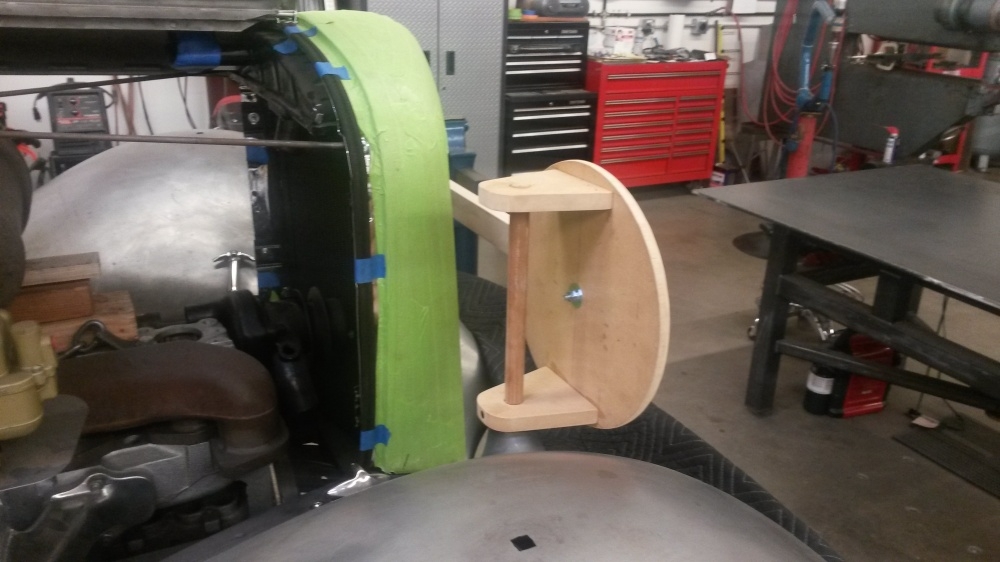
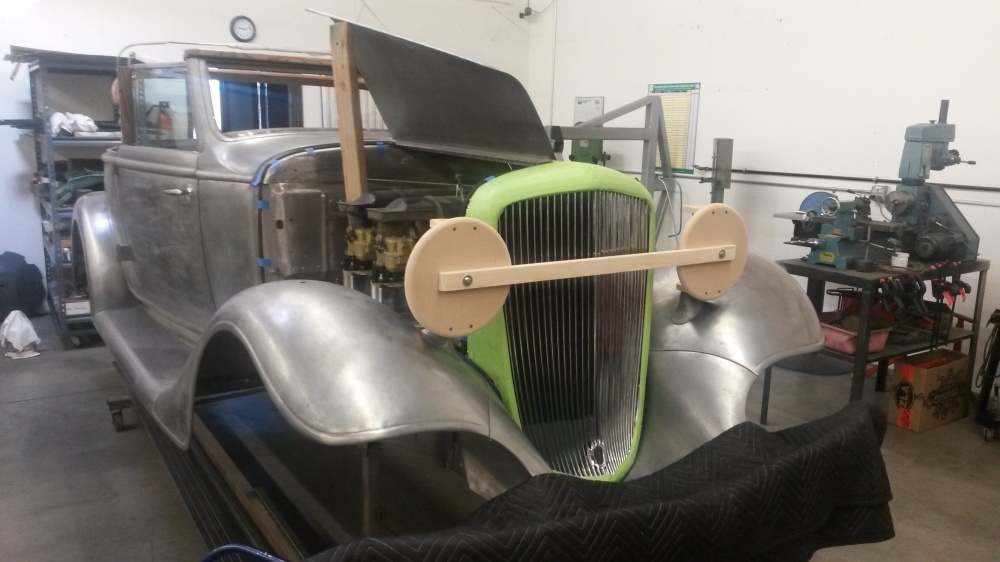
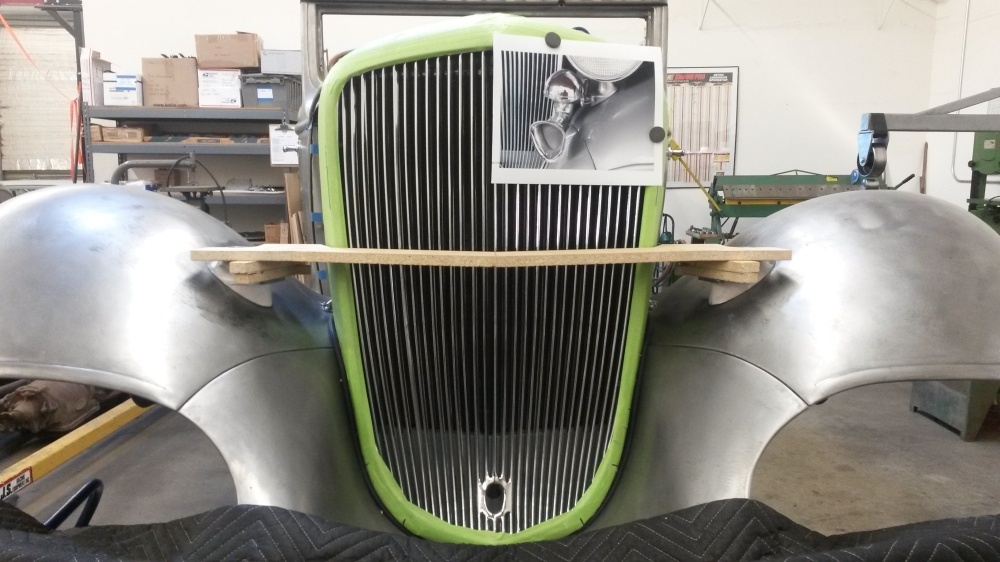
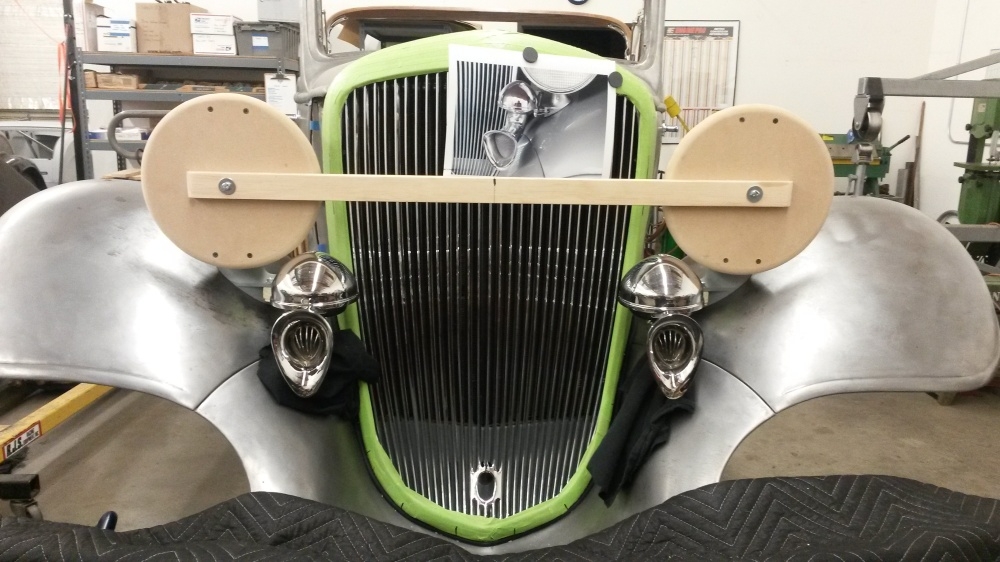
The head light bases. Before I could make the changes to the bases, the head lights went away for plating. So I had to make a wood fixture to replace the head lights.
0 -
I added the horn tabs and test fit the horns in place.
0 -
The bases were then cast new from these pieces.
0
Categories
- 37K All Categories
- 117 Hudson 1916 - 1929
- 21 Upcoming Events
- 96 Essex Super 6
- 28.6K HUDSON
- 576 "How To" - Skills, mechanical and other wise
- 995 Street Rods
- 151 American Motors
- 181 The Flathead Forum
- 49 Manuals, etc,.
- 78 Hudson 8
- 44 FORUM - Instructions and Tips on using the forum
- 2.8K CLASSIFIEDS
- 610 Vehicles
- 2.2K Parts & Pieces
- 78 Literature & Memorabilia
- Hudson 1916 - 1929 Yahoo Groups Archived Photos
