1951 dash removal to rewire
any tips or insight on how to remove the dash cluster?
remove front set bottom, but i dont know how that is held in?
then take the whole dash out? or try to just remove the cluster?
remove the trim around the dash?
2nd question is how to the interior lights come apart? the clear glass cover pull off? is the housing screwed on?
lights are above the windshield and in the rear corners.
thanks
0
Comments
-
The light covers are interference fit, prying them out is the removal method. Once out screws holding light housing exposed.
The removal of the dash dash consists of removing the nuts on machine bolts at the rear edge of the dash. Then removal of all items attached through the dash and bottom. The task involves laying in your back to view the underside of the dash. Removing the front seat bottom will make the task easier. The rewiring task is easier and better outcome will be better too. Good Luck0 -
thanks,
i question some of the connections like to the turn signal switch for example,
do i tear it apart and can i attach new wires inside of it? or do i just attach the new wires to the end of the column where the factory bullet connectors are and use the factory wire up inside the column cover?
i want to keep everything visually looking stock. i am using a american autowire harness to start from.0 -
I finished rewiring my '51 a few months ago, and I'm sorry to report that it's a Royal Pain to get the instrument cluster out and even worse to get it back in. There are 5 bolts that hold the instrument cluster to the dash. You will need a 3/8 socket and an assortment of extensions to reach the nuts from under the dash.
I agree with Glowplug that the best way is to remove the front seat cushion. I placed a piece of plywood on the seat base to support my back while I was working. Lie with your back on the plywood and throw your legs up over the back of the front seat. You will need a good source of light and a mirror to help you see what you're doing.
In addition to the nuts that hold the instrument cluster to the dash, there are also some 3/8" nuts that hold the dash to the frame. Make sure you are removing the correct nuts.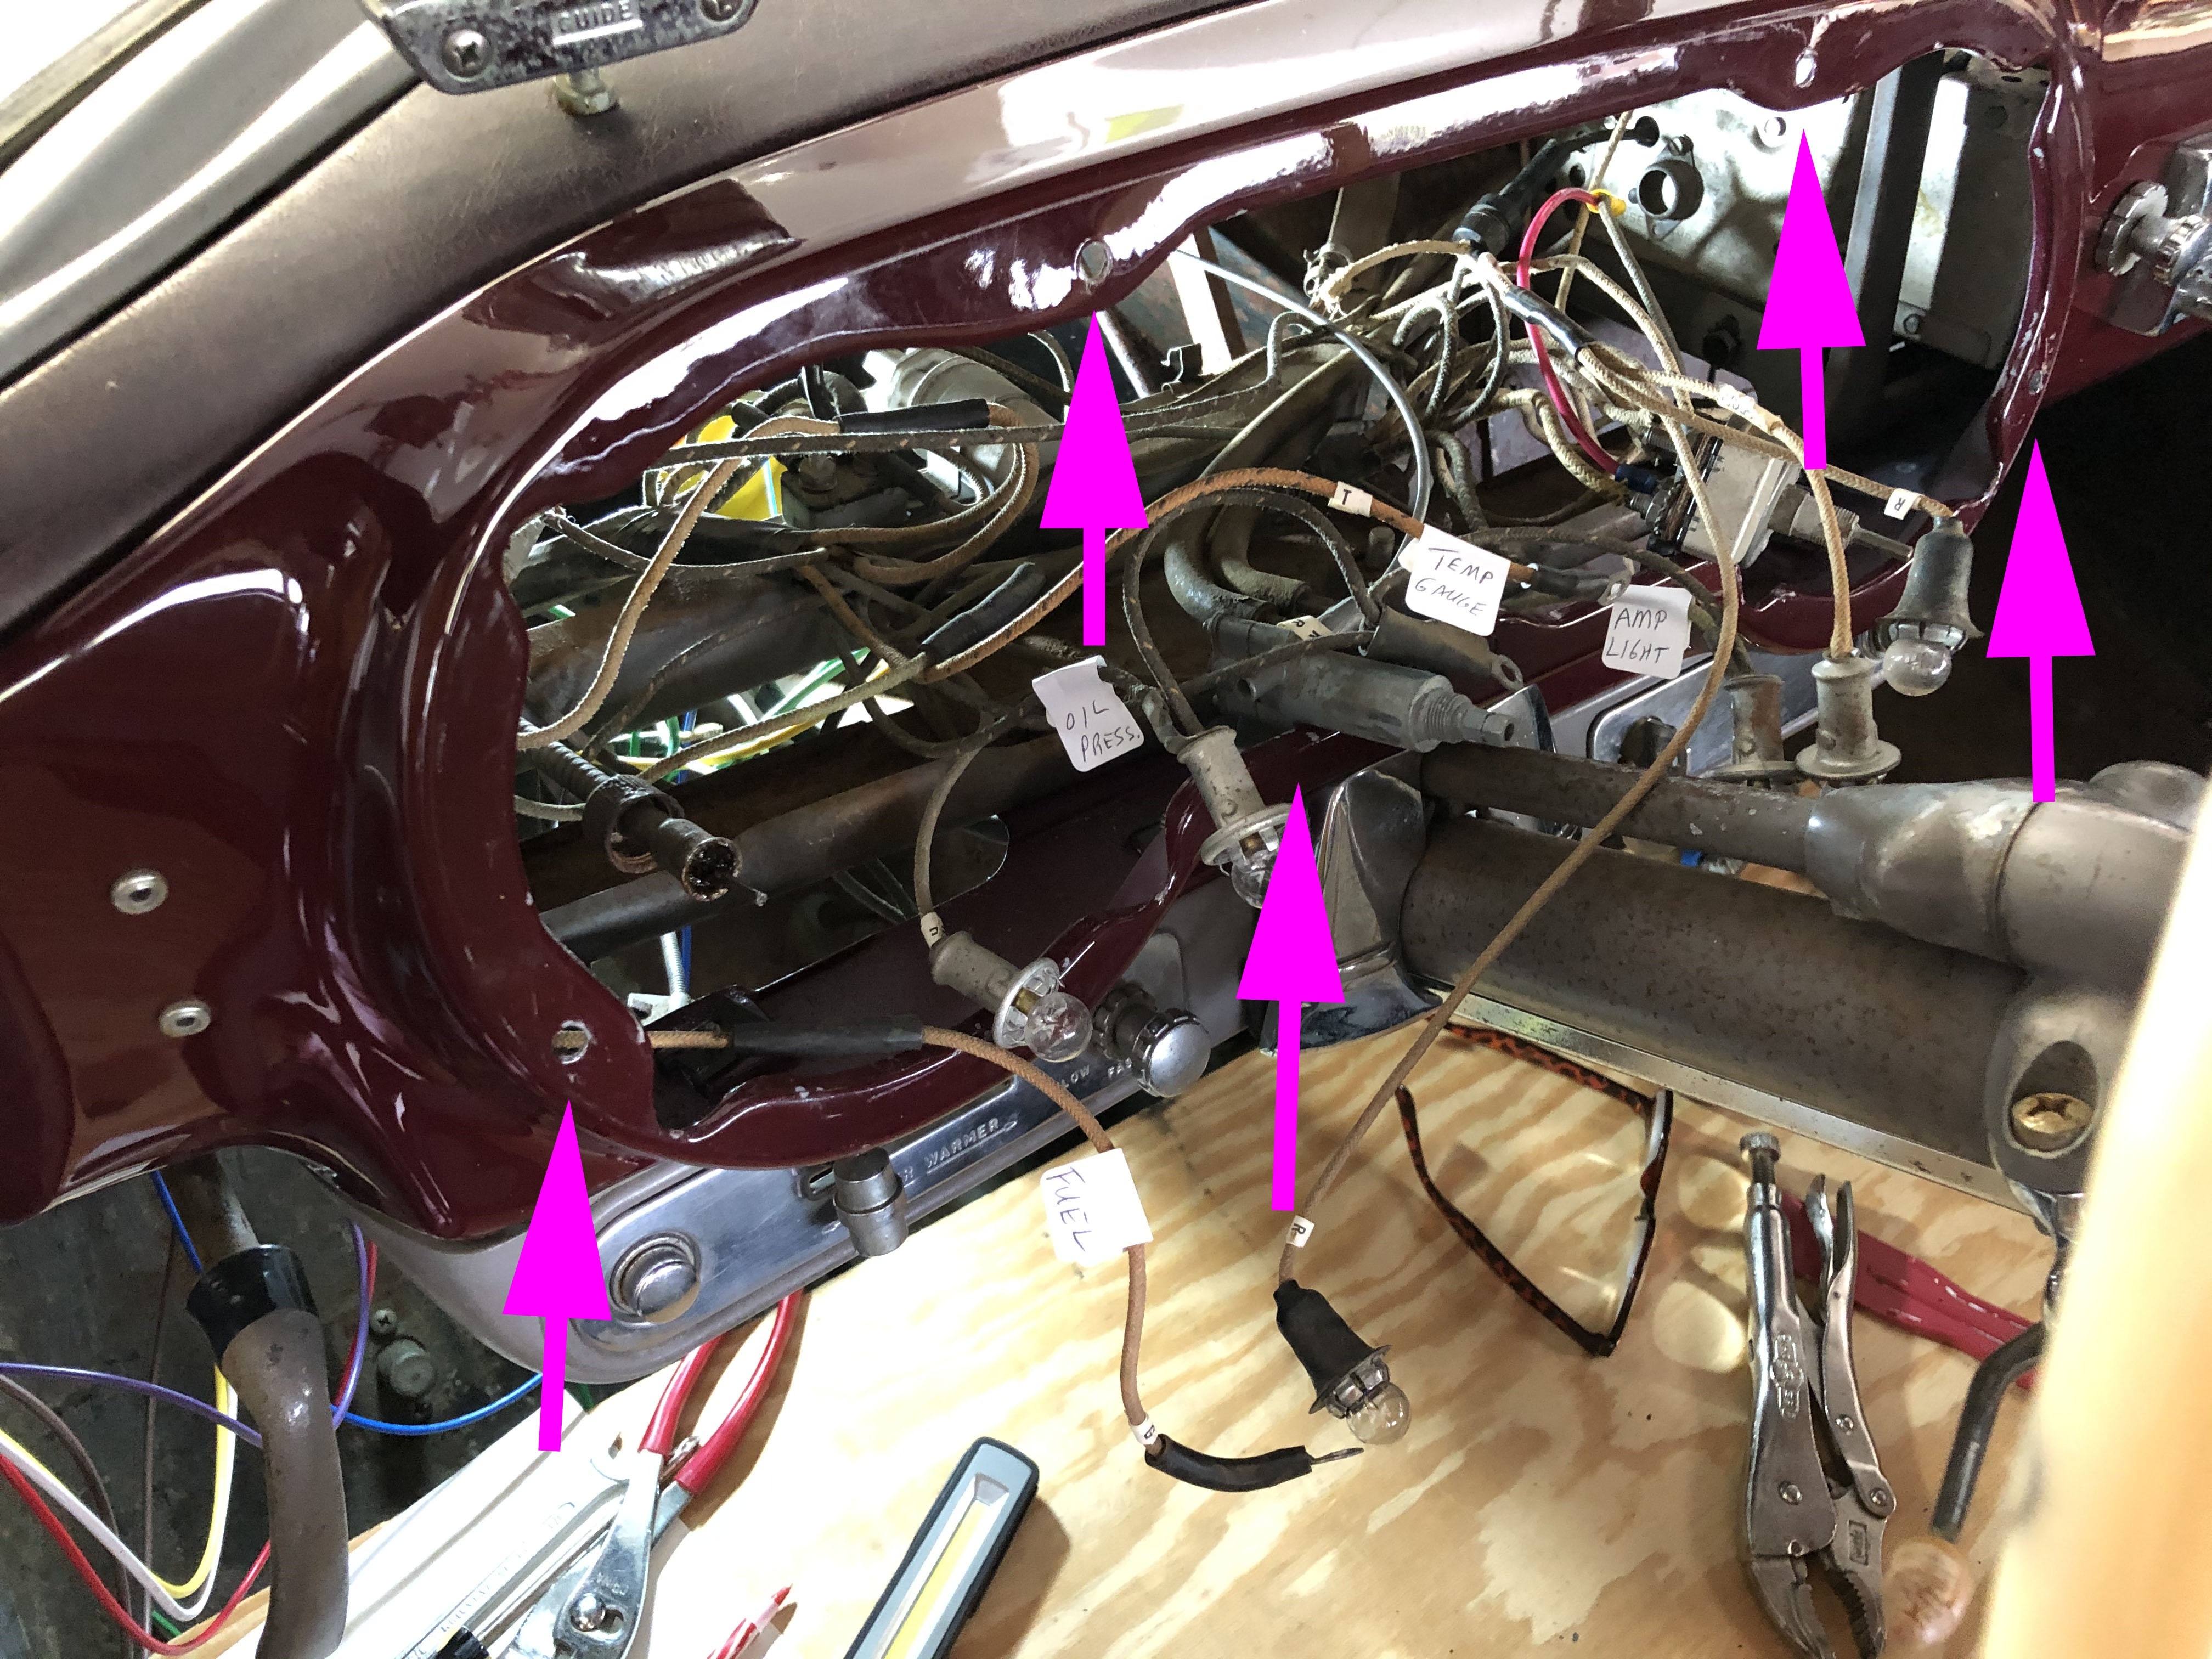 Here are the locations of the bolts. There are two at the top and two at the sides, but the real stinker is the 5th one at the center of the cluster just above the steering column. I decided before reinstalling the cluster that I was not even going to attempt to put the 5th nut back on, and I almost settled for 3 out of 5. It took a full morning and a lot of "magic words" to get the 4th nut back on. Hopefully you will have better luck.
Regarding the turn signal switch, I wanted to rewire it with new copper wiring, but it looks like it's riveted together and I didn't think I could get it apart without ruining it. The insulation on the factory wires looked good, so I decided to use the old wiring and splice it to the new wiring under the dash. It's not exactly concours quality but it works.
Send me a message if you want any additional information.0 -
thank you, i finally had time and removed the whole dash and the cluster.
my wiring is not near as nice as yours is in the picture.
a few questions,
the push button on the lower left heater control panel. what does it do?
the wiper switch had what looks like 2 hose barbs but no hoses on it?
the turn signal indicators, where are they?
is there a high beam indicator anywhere?
winst10, did you replace the bulb holders with different ones? or did you get a new factory style harness that was copper and fabric braid?
thanks.0 -
Push button left of heater control is the start button (push and hold to crank engine).Hose barbs on wiper switch are for vacuum controlled windshield washer.Turn signal indicator are the rivet-looking things on the left-most side of the dash (my '51 Super Six has only 1 that blinks when the signal is on).High beam indicator is a red light at the bottom of the speedometer0
-
thank you cchancel.
so the wipers are cable operated and the vacuum is just for the washer squirters.
the turn signal indicator flashes the same little red jewel light for either right or left turn?
0 -
Vacuum is just to squirt wiper fluid.Turn signal indicator on my car is singular and white and flashes regardless of left or right turn.Dash in picture looks to possibly have 2 indicators, but I haven't seen that before.0
-
The second indicator is for the back up light.
Saon: In answer to your questions I did not use a pre-made harness. I bought several rolls of 14 gauge wire in different colors (with plastic insulation) and rewired each circuit one at a time. It took quite a while but I'm retired and with the pandemic I've had plenty of time. I also used a variety of wire terminals and connectors. I tried to replace as much of the original wiring as possible but there are a couple of areas where I left the old wiring in place.
I cleaned up the original bulb sockets with some steel wool and I replaced the contacts with pigtails from some generic replacement sockets I bought on eBay.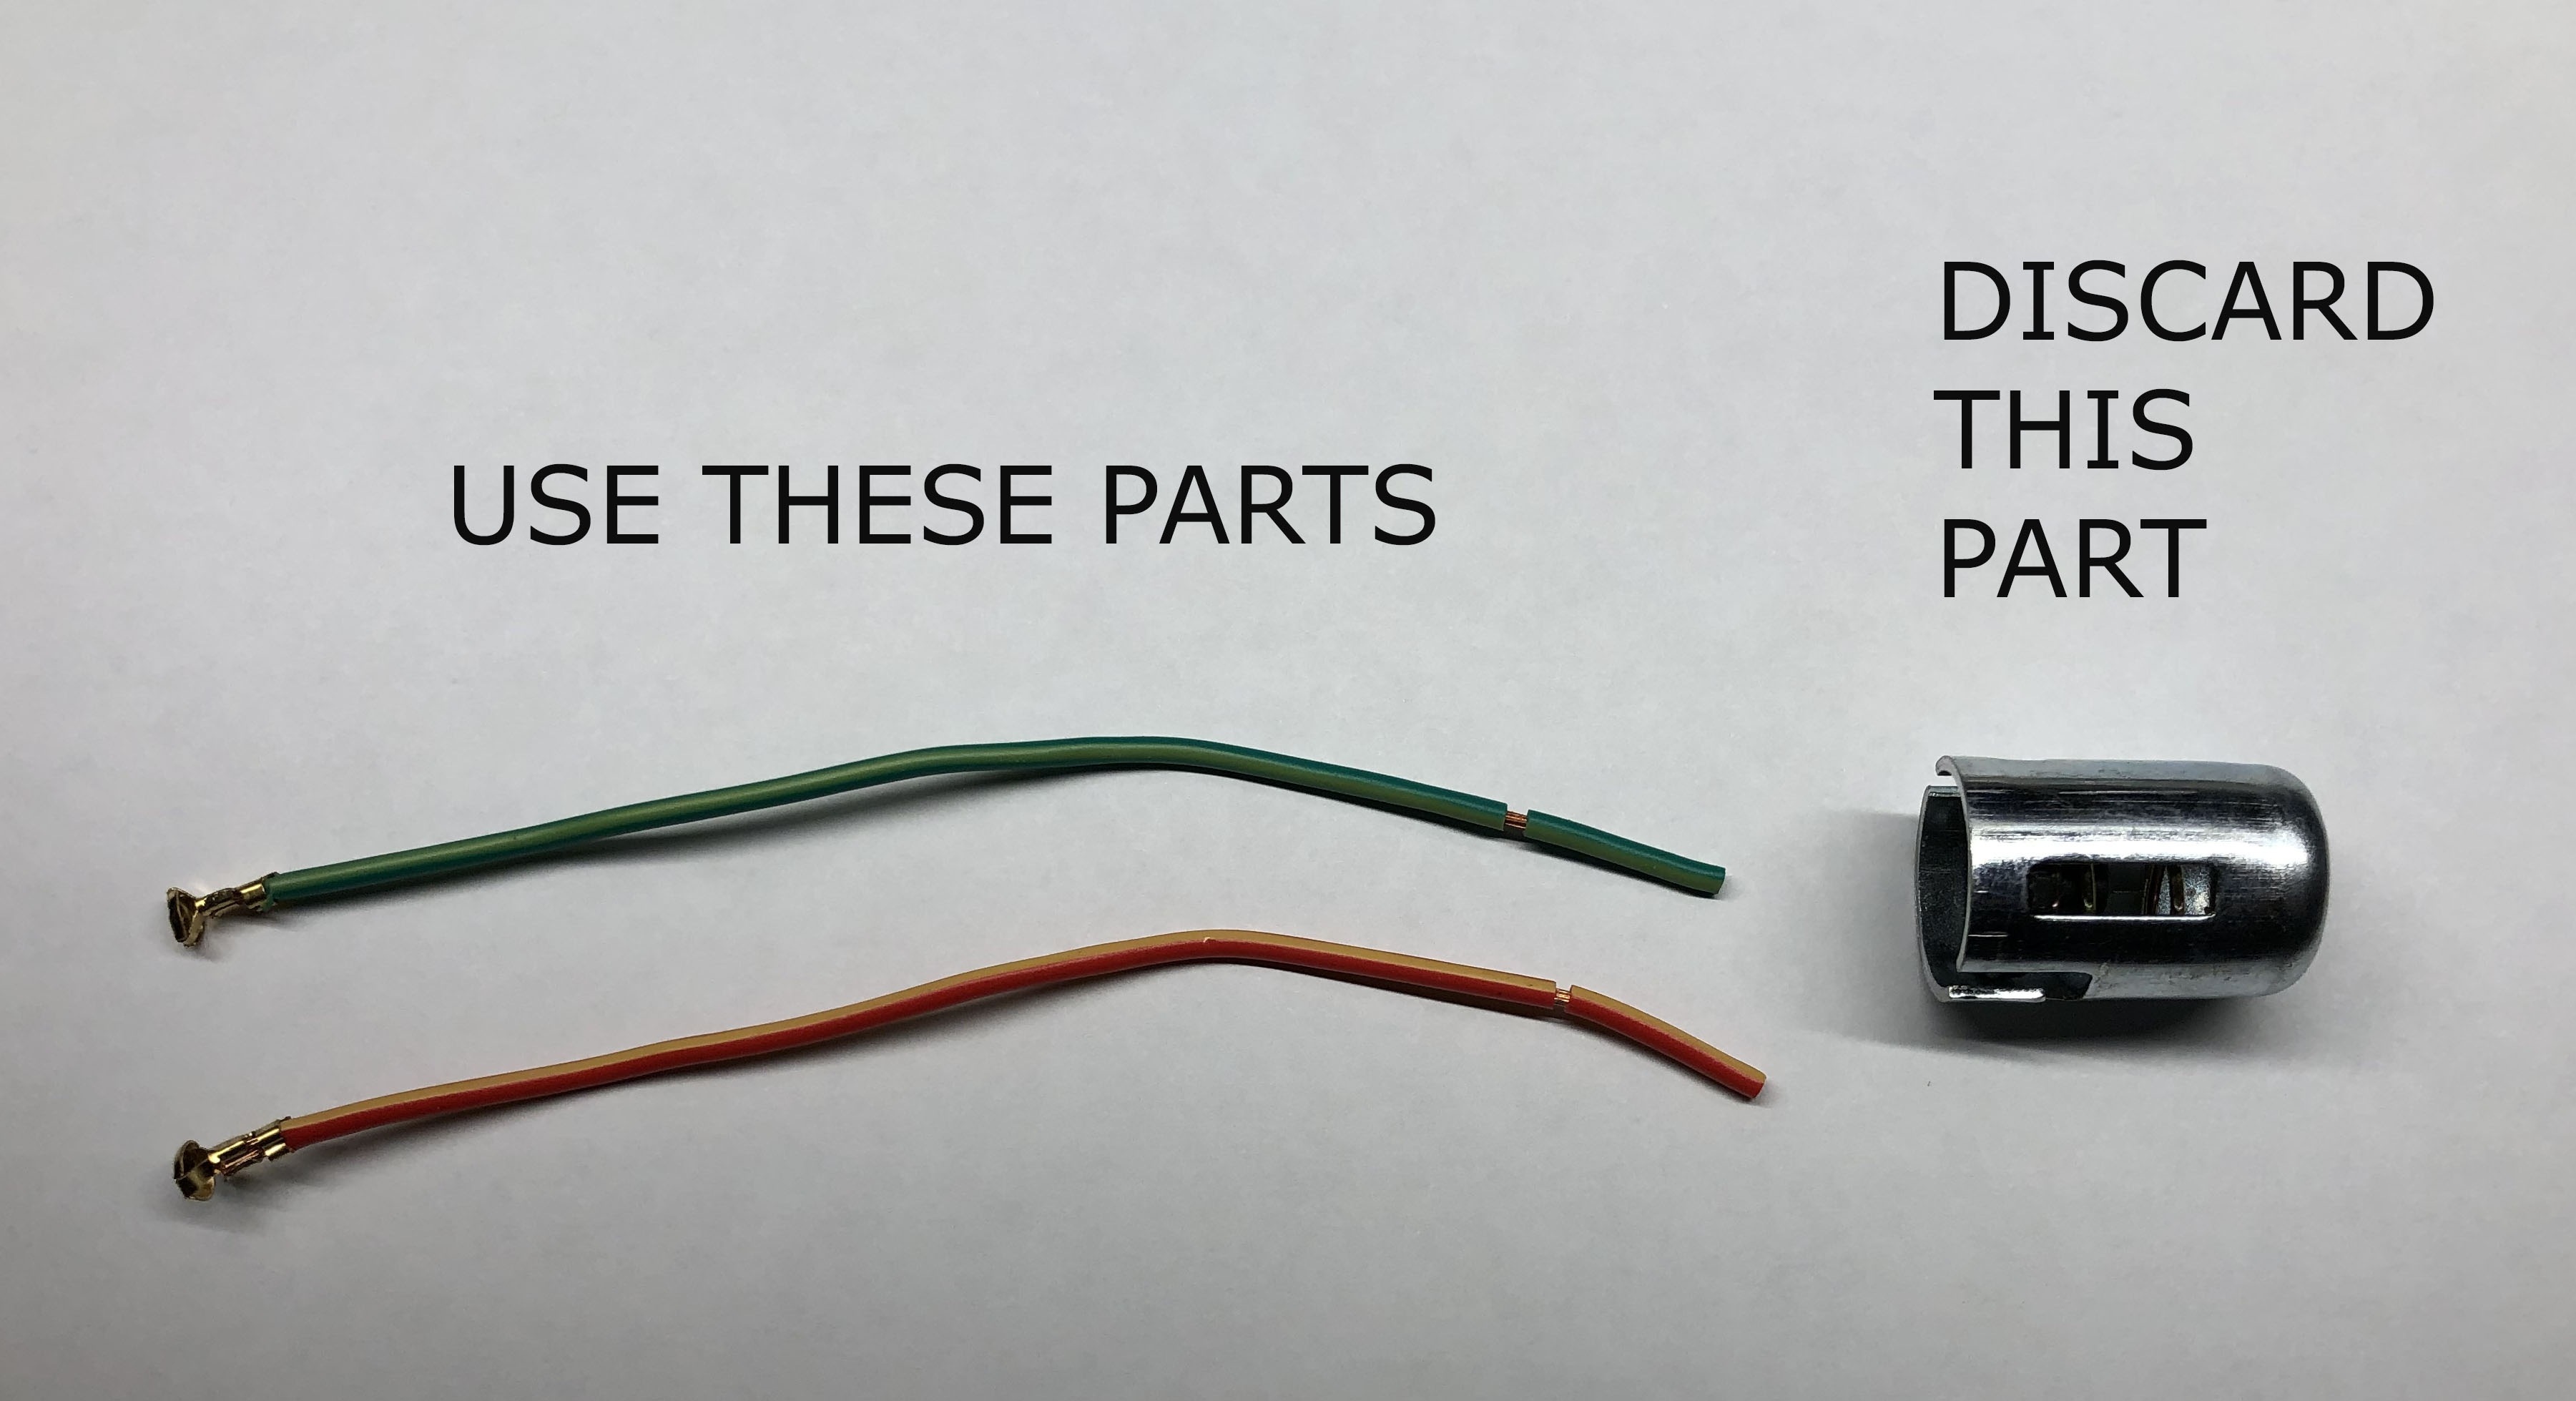
In most cases I reused the original spring and insulator button but for a few sockets I replaced the original spring with a new spring from the replacement socket.
My car is a driver, but if you are going for an original quality restoration you should probably get a harness with the original type wiring with braided insulation.0 -
The '48 - '50 gauges were pretty easy to work on as they were hinged and just flopped down. I am not familiar with the '51 - '53, but the 54 is a royal pain. I removed the radio and speaker to make it easier and it was still not easy.0
-
I have pulled the dash on a 51, 52 and 54. The 54 was by far the easy one. I replaced the wire harness with one that I purchased that had (most) of the stuff I needed for my car. I made a few changes on routing the wires. The dash kit for the wiring was complete with correct wires, colors and lengths. I made one or two simple changes that I thought Hudson should have made back in 1954. Where the wiring kit mated at the terminals in front of the radiator, the wires were too long. So, I cut each one and reduced it to the correct length and used new termination connectors. My car was rather simple, however, the car was stripped, primed and mostly painted and ready to start the build from the ground up.
0 -
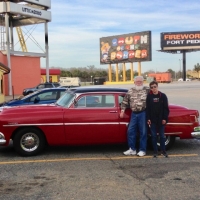
thank you all. a little story on the car.
the car was a driver but the owner was tired of dealing with the original drivetrain quirks. he has driven the car all over the country to shows in the past 30-40 years and decided it needed to be more modern and reliable as he is ageing. so he commented to me about how nice his new truck drove 1 day. so we decided on a drivetrain swap to a modern LS engine form a 2000 camaro. i know many of you will disagree with that but it is his and however he wants to have it he can. i have done many swaps like this but never anything 6 volt and not positive ground with fabric wiring.
my intent is to leave everything stock appearing, dash, gauges, interior, shifter, white walls, lights ect. hood closed its stock with a bit of a rumble. and even when opening the hood if you didnt know they were not built with this engine you wouldnt know it wasnt stock. i will share pics as i get closer to completion.
it has add on under dash A/C which it has had for years. by running a second 12 volt battery mounted in the engine compartment and had pulleys built to run the compressor. that unit will stay operational but converted to a single 12 volt battery system now.
i enjoy doing things as original and correct as possible but with a modern twist. if you didnt know, you wouldnt know kind of theme.
i was also able to source those light bulb contact buttons bare so i can crimp them on my wires and reuse the stock disk and light socket. kwik wire sells a pack of 25 for $5.50.
i will have more questions as i go. the drivetrain part is finished. i am just integrating the 2 wiring harness together now and trying to nail the details of the lights and misc items.
still have the cooling system to do which i have a fan sourced but im trying to find a aluminum radiator. ill probably start another thread on info for that soon.
i sure appreciate everyone on this forum and their knowledge and experience.
0 -
winst10
can you share how the interior harness is routed to the interior lights and if you changed that?
it appears to go up each side of the windshield and route rearward to the lights in the back sail panel.
then lower lights in the b pillar seems to travel down from the dash in the kick panel area and along the lower door sill.
i still need to source new button switches? for the when you open the doors the lights will come on. or i guess take 1 apart and see how it is wired.0 -
Saon,
Are you trying to get the dome and sail lights to turn on with the entry lights in the B posts? Is that what you're getting at?
0 -
Saon...Sorry I can't really help you with interior lights. My Hudson is a Pacemaker and the only interior light I have is above the windshield. It has a switch on the light itself...no door switches at all.0
-
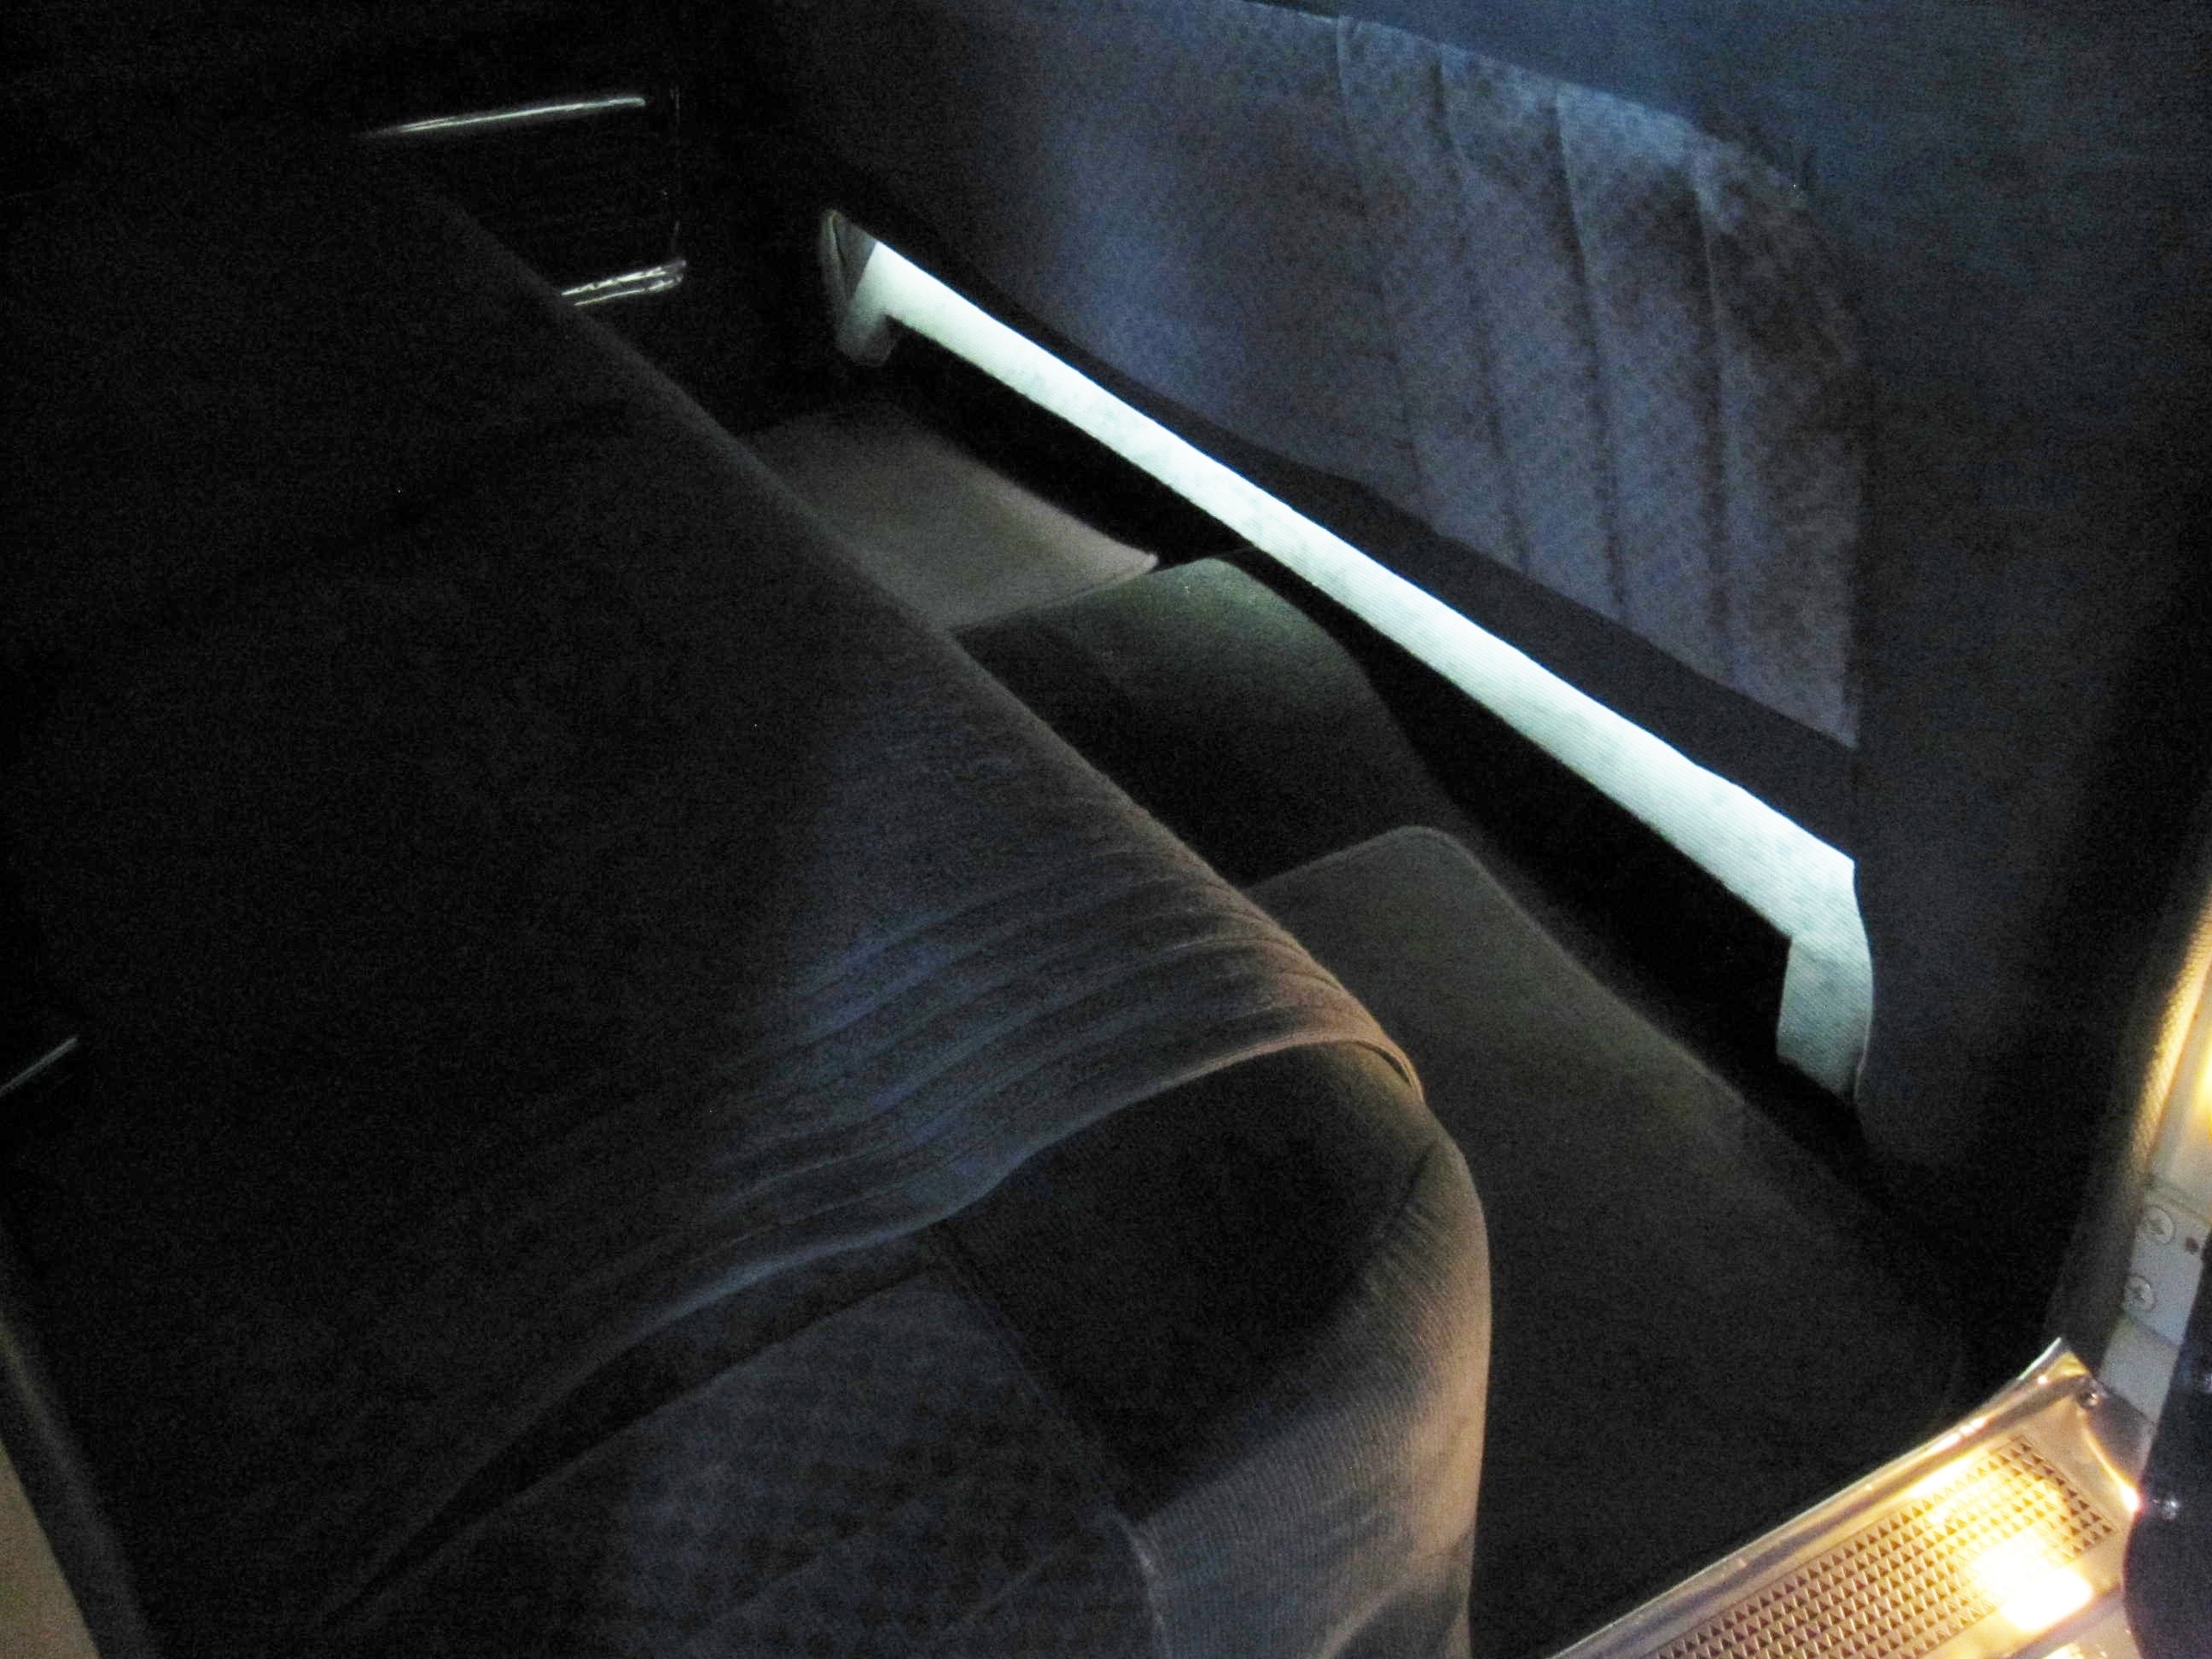
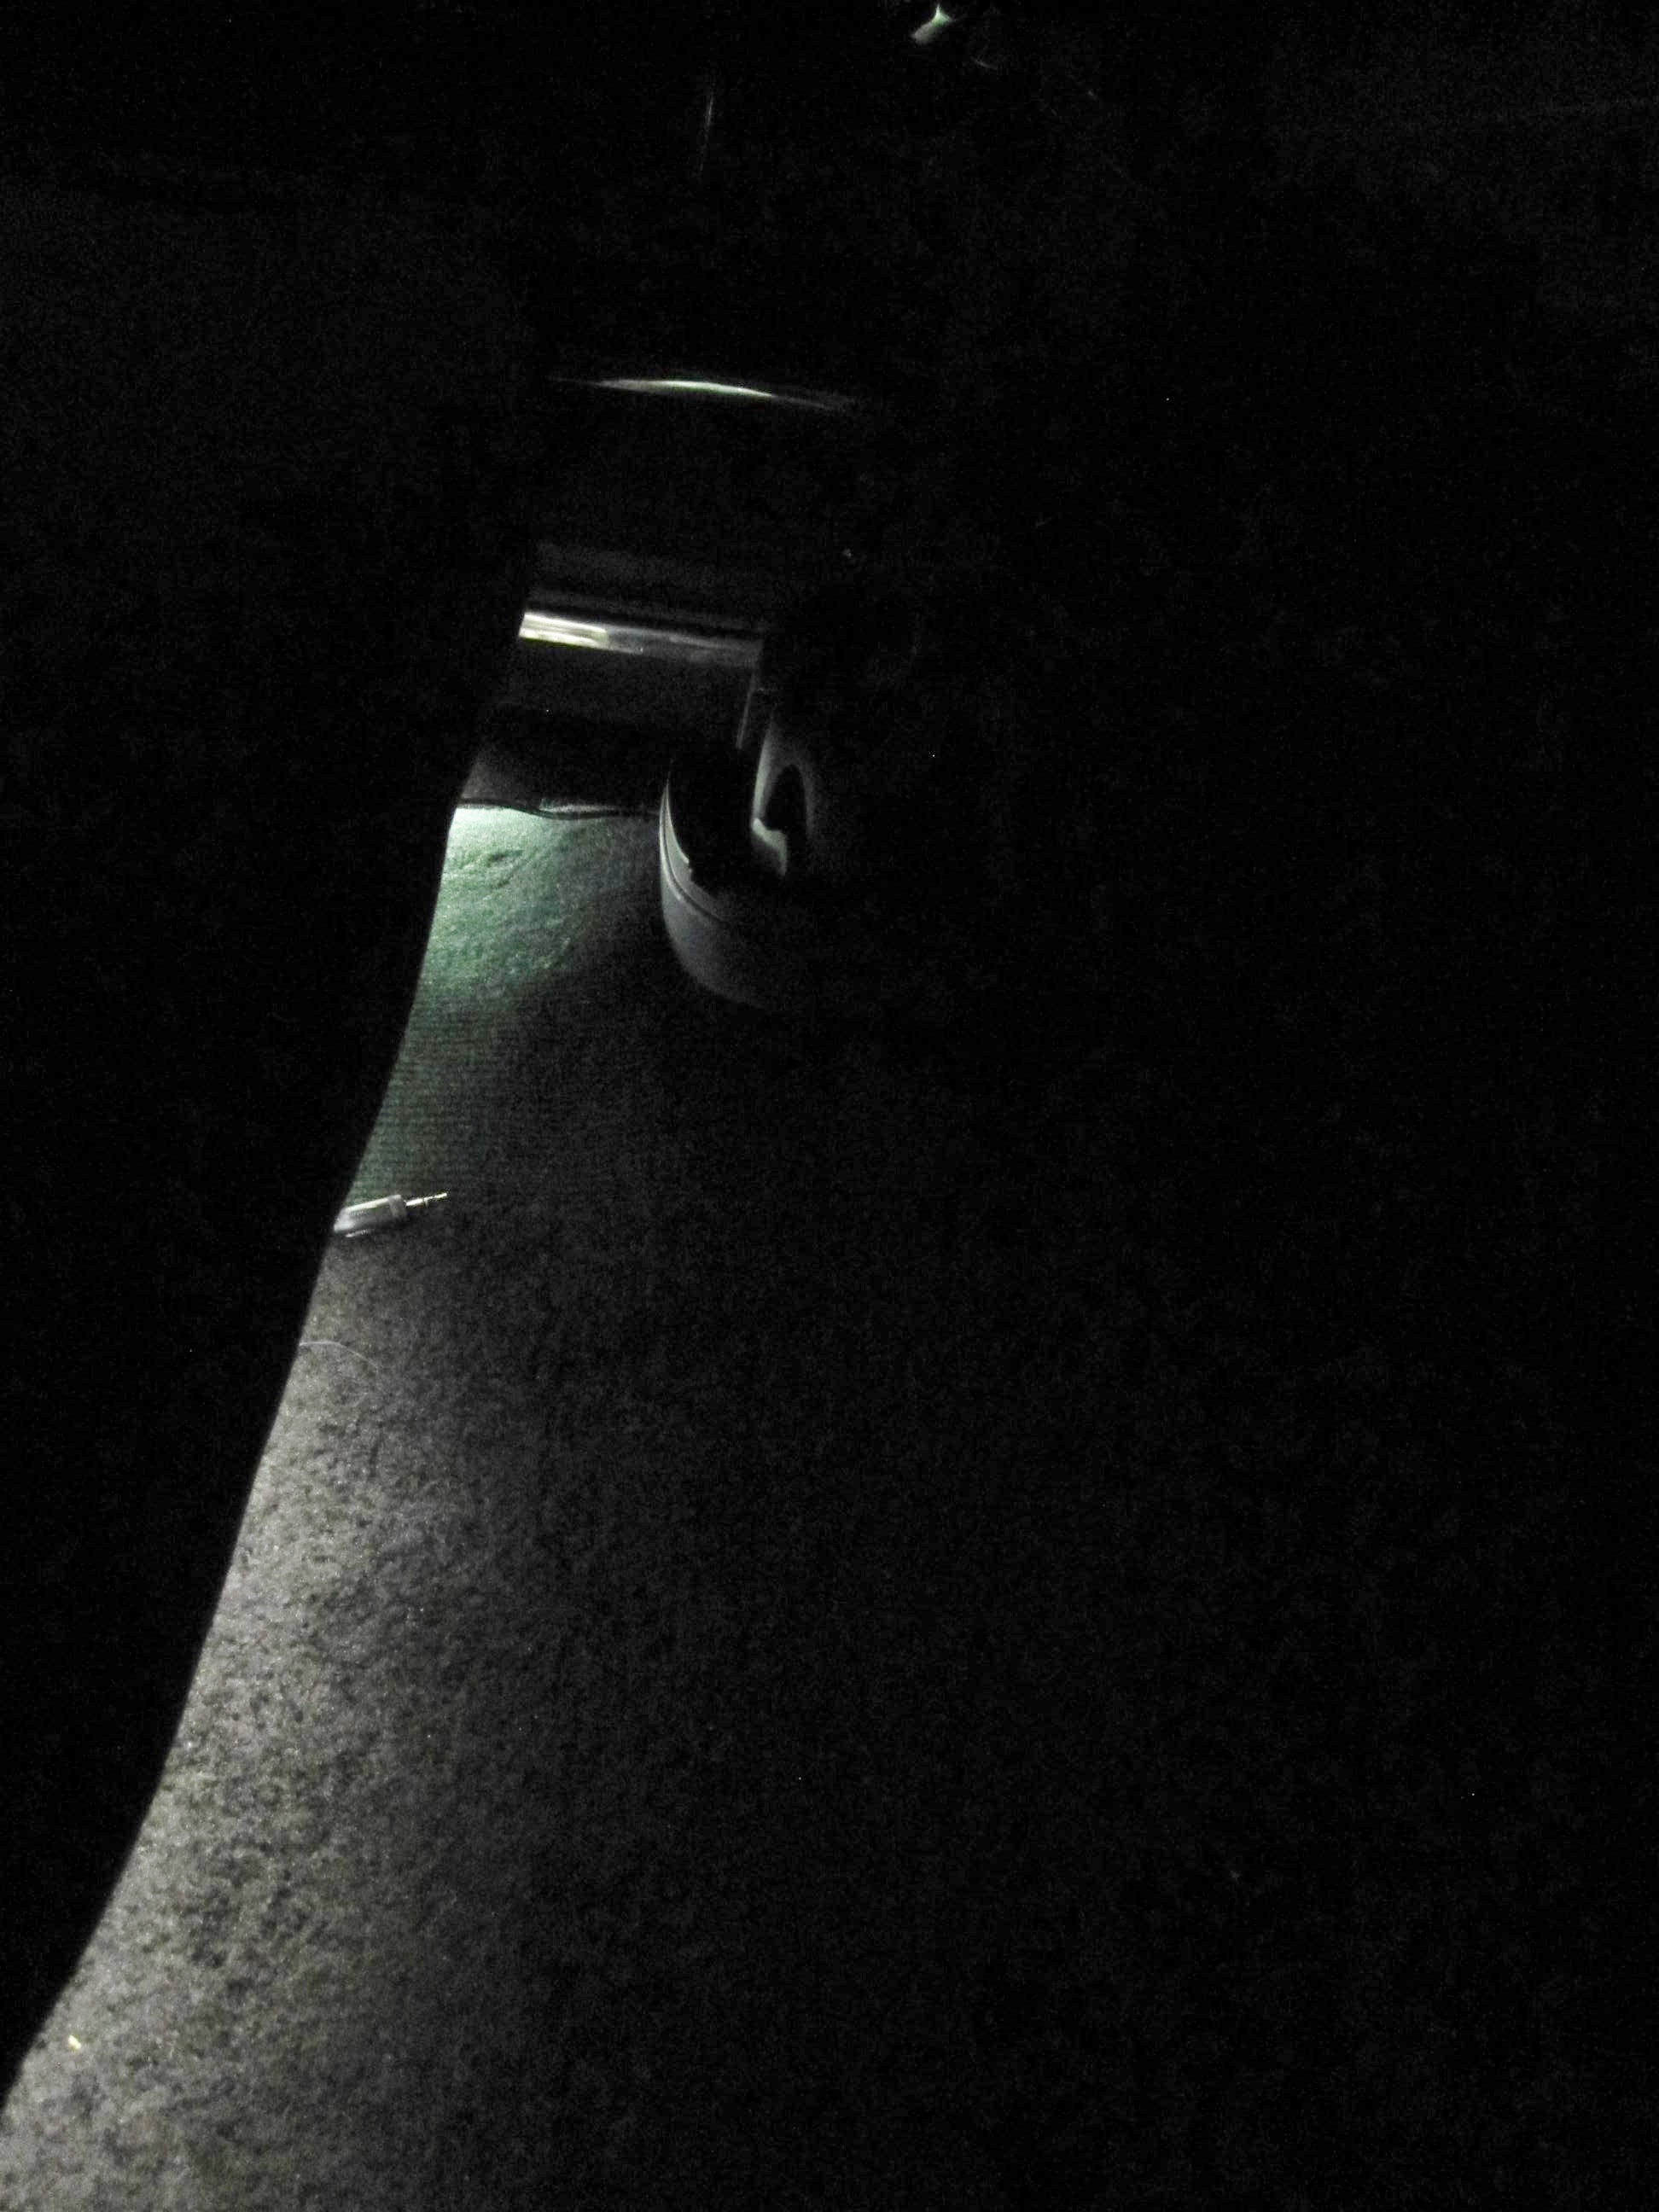
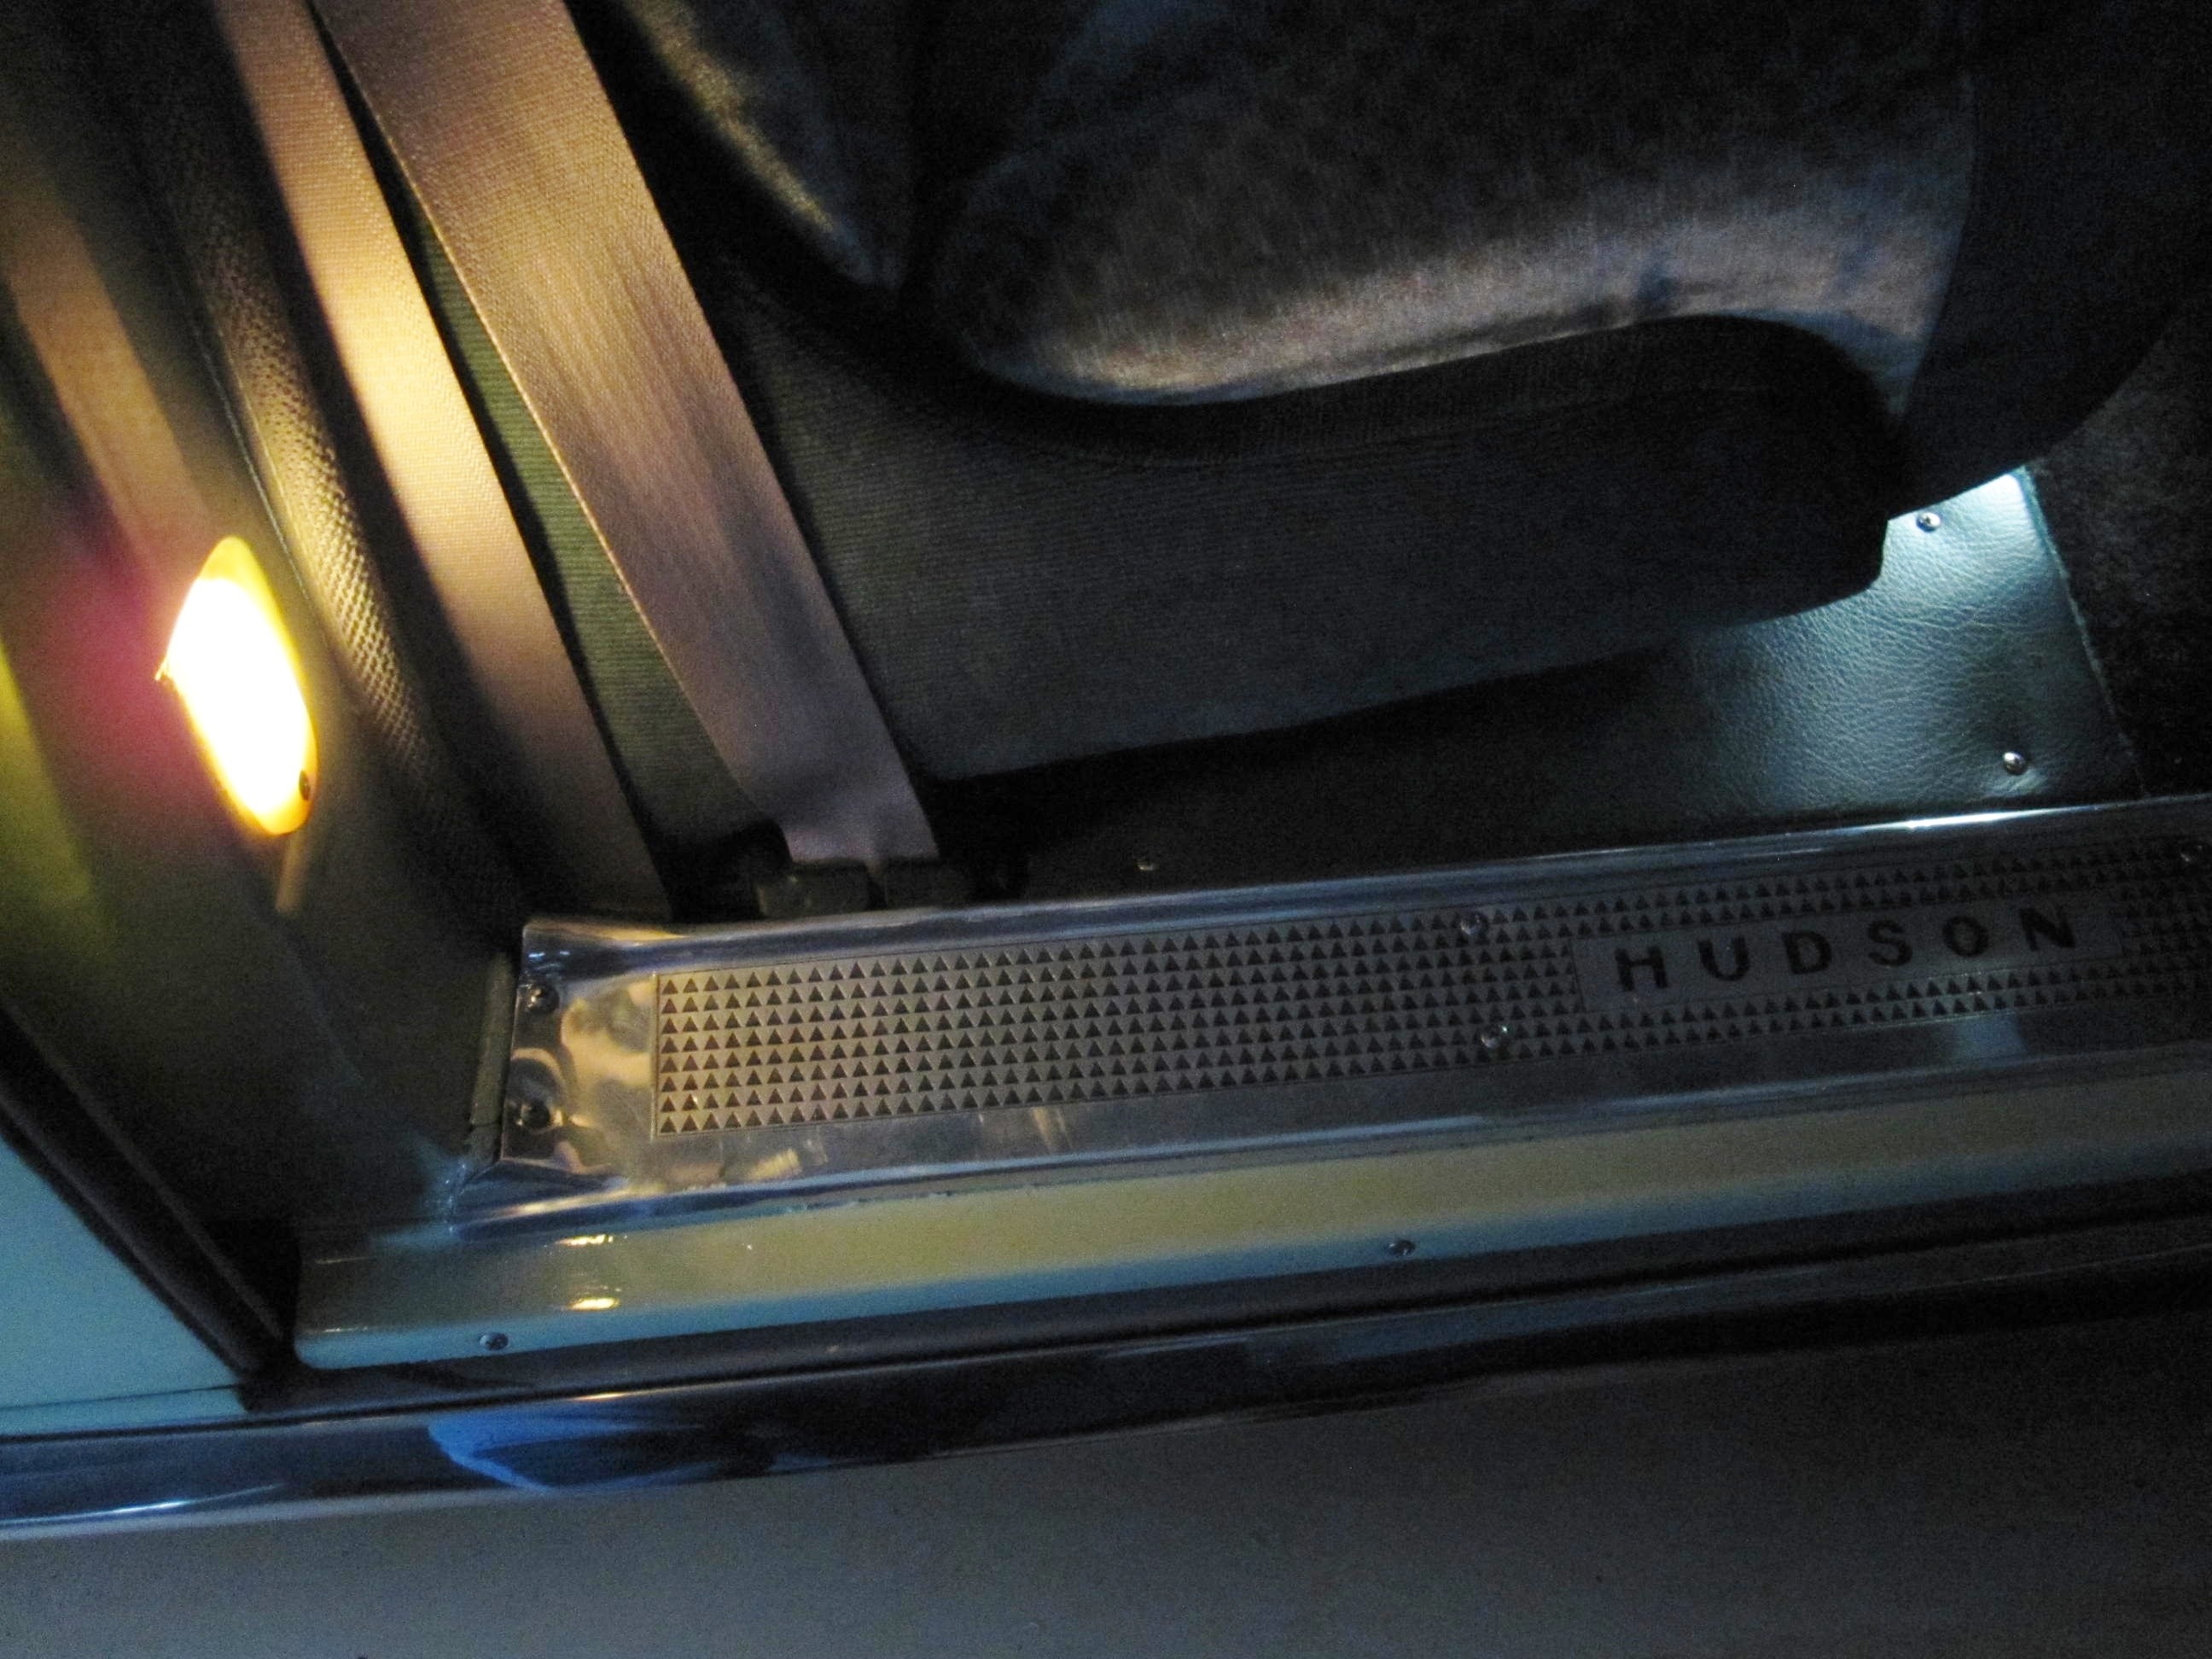
While you are doing the door jam lights run wires to turn on LEDs for the back floor and front floor; hidden and no problem !!! Costs about $15. for the LED string (12V)
0 -
super wasp.
yes i assumed thats how the interior lights worked like a modern car that come on when you open the door. is that not correct? or with the manual switch on the passenger B pillar.
i got the trim removed and the edge of the headliner loose to see the harness running to the rear of the car and down the B pillars.
i think i can get them to work if i can find suitable 2 wire light sockets to isolate the ground from the chassis.
i am switching to 12v neg ground. it seems the stock set up transferred ground thruogh the door switches to the lights.0 -
richardd, that looks very nice.
do the lights come on when you open the door? or are they switched ,manually at the B pillar switch and the headlight switch?0 -
Others, please correct me if I'm wrong, but I believe the sail panel/dome circuit is separate from the door circuit. The door switches activate the B pillar lights. Sail lights are turned on by the manual switch on the passenger side B pillar, and the dome is turned on by the little switch on the light itself.
Richard's LEDs are nice, but I'd have to vacuum a little more if I did that..:D
0 -
you are correct0
-
Well, the door switches create a pathway for negative to run to chassis positive through the light housings as currently configured. Here is a snip form Ken's website. He has the wiring diagrams. That's probably helpful to review so you know how those switches function since you're looking to switch up the polarity. https://hudsonrestoration1948-54.com/1946-1954_wiring_diagrams.pdfsaon said:i am switching to 12v neg ground. it seems the stock set up transferred ground thruogh the door switches to the lights.
Oddly enough, from this it looks like there is an override in that B pillar manual switch coming from the door switches, but I don't recall seeing sail panel lights come on with a door switch. Shrug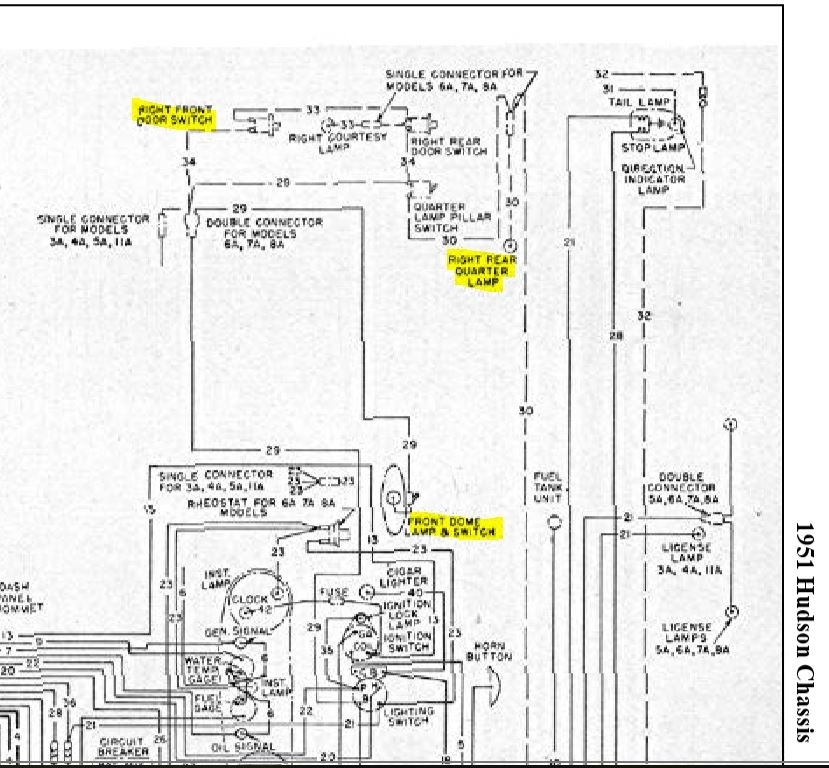
0 -
well if that is the case, then it makes my job a bit easier. i just assumed the door switches controlled all and the passenger B pillar switch was a over ride to turn them on.
but them being 3 separate circuits makes sense to me.
thank you for helping clarify me on that.0 -
that over ride switch is just for the sail panel lights. its separate from the door jambs in the schematic.
also each side door jamb seems to be wired so it only turns on the side that the door opens on. can any1 confirm that on their car?
I printed those off but they didn't print well. fuzzy and the old wiring seems to be all the same color.
0 -
Yes, door lights are separately activated.0
Categories
- 37K All Categories
- 116 Hudson 1916 - 1929
- 21 Upcoming Events
- 96 Essex Super 6
- 28.6K HUDSON
- 576 "How To" - Skills, mechanical and other wise
- 995 Street Rods
- 151 American Motors
- 181 The Flathead Forum
- 49 Manuals, etc,.
- 78 Hudson 8
- 44 FORUM - Instructions and Tips on using the forum
- 2.8K CLASSIFIEDS
- 609 Vehicles
- 2.2K Parts & Pieces
- 78 Literature & Memorabilia
- Hudson 1916 - 1929 Yahoo Groups Archived Photos
