1951 coupe rebuild project
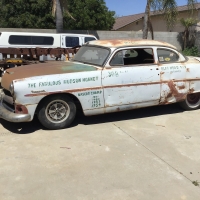
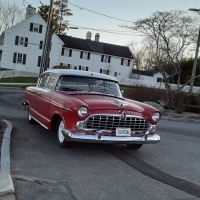
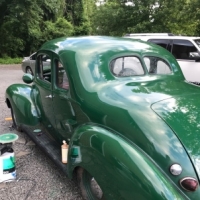
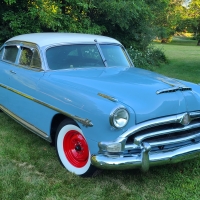
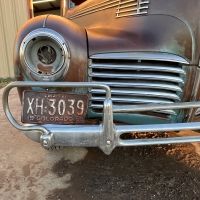
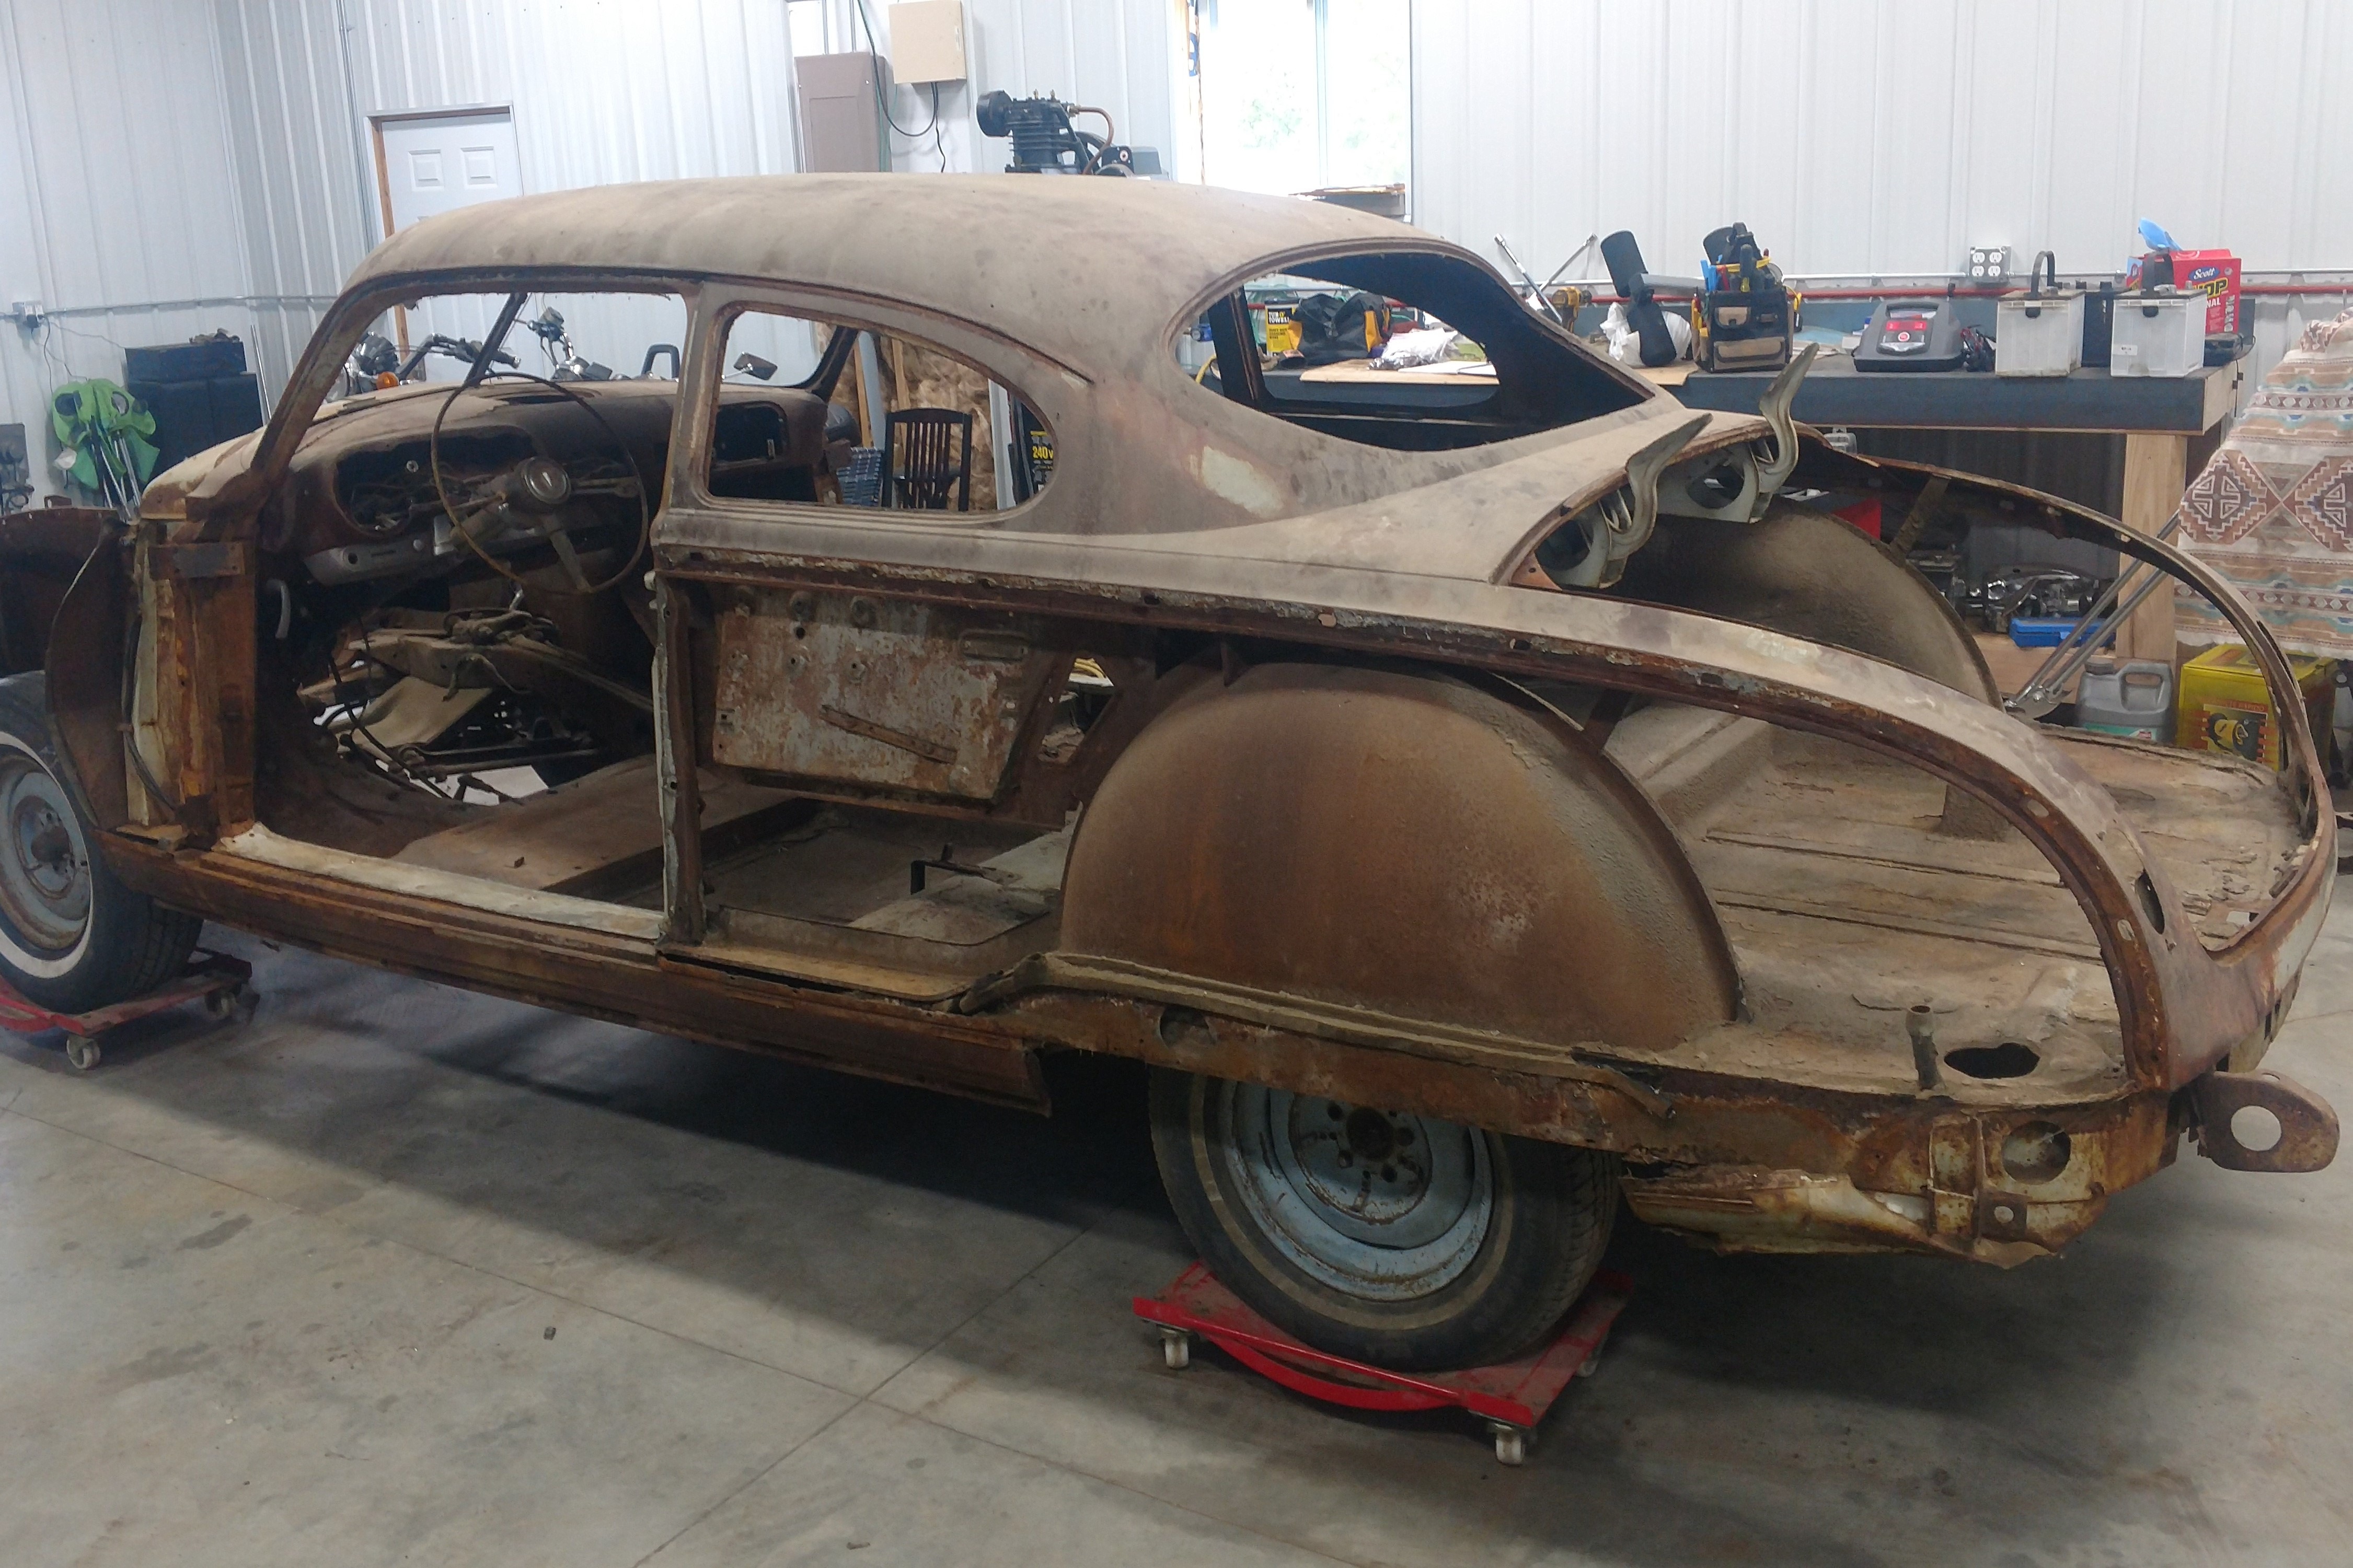
I am starting the (several year) process of rebuilding this 51 coupe. Figured I would post some picture so I can show some progress.....hopefully as time and money allows.
I picked this one up afew years ago and stripped it down. Its a solid car so I will do what I can to get it back on the road.
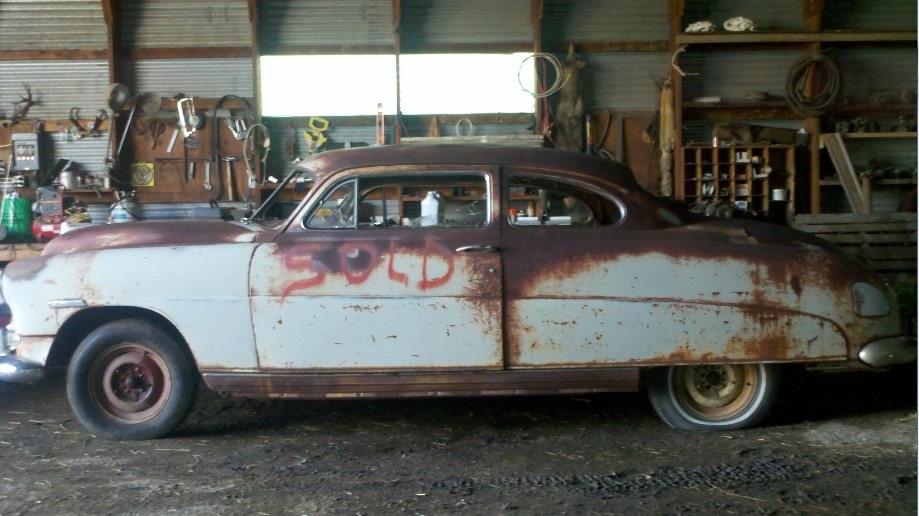
I picked this one up afew years ago and stripped it down. Its a solid car so I will do what I can to get it back on the road.

0
Comments
-
 0
0 -
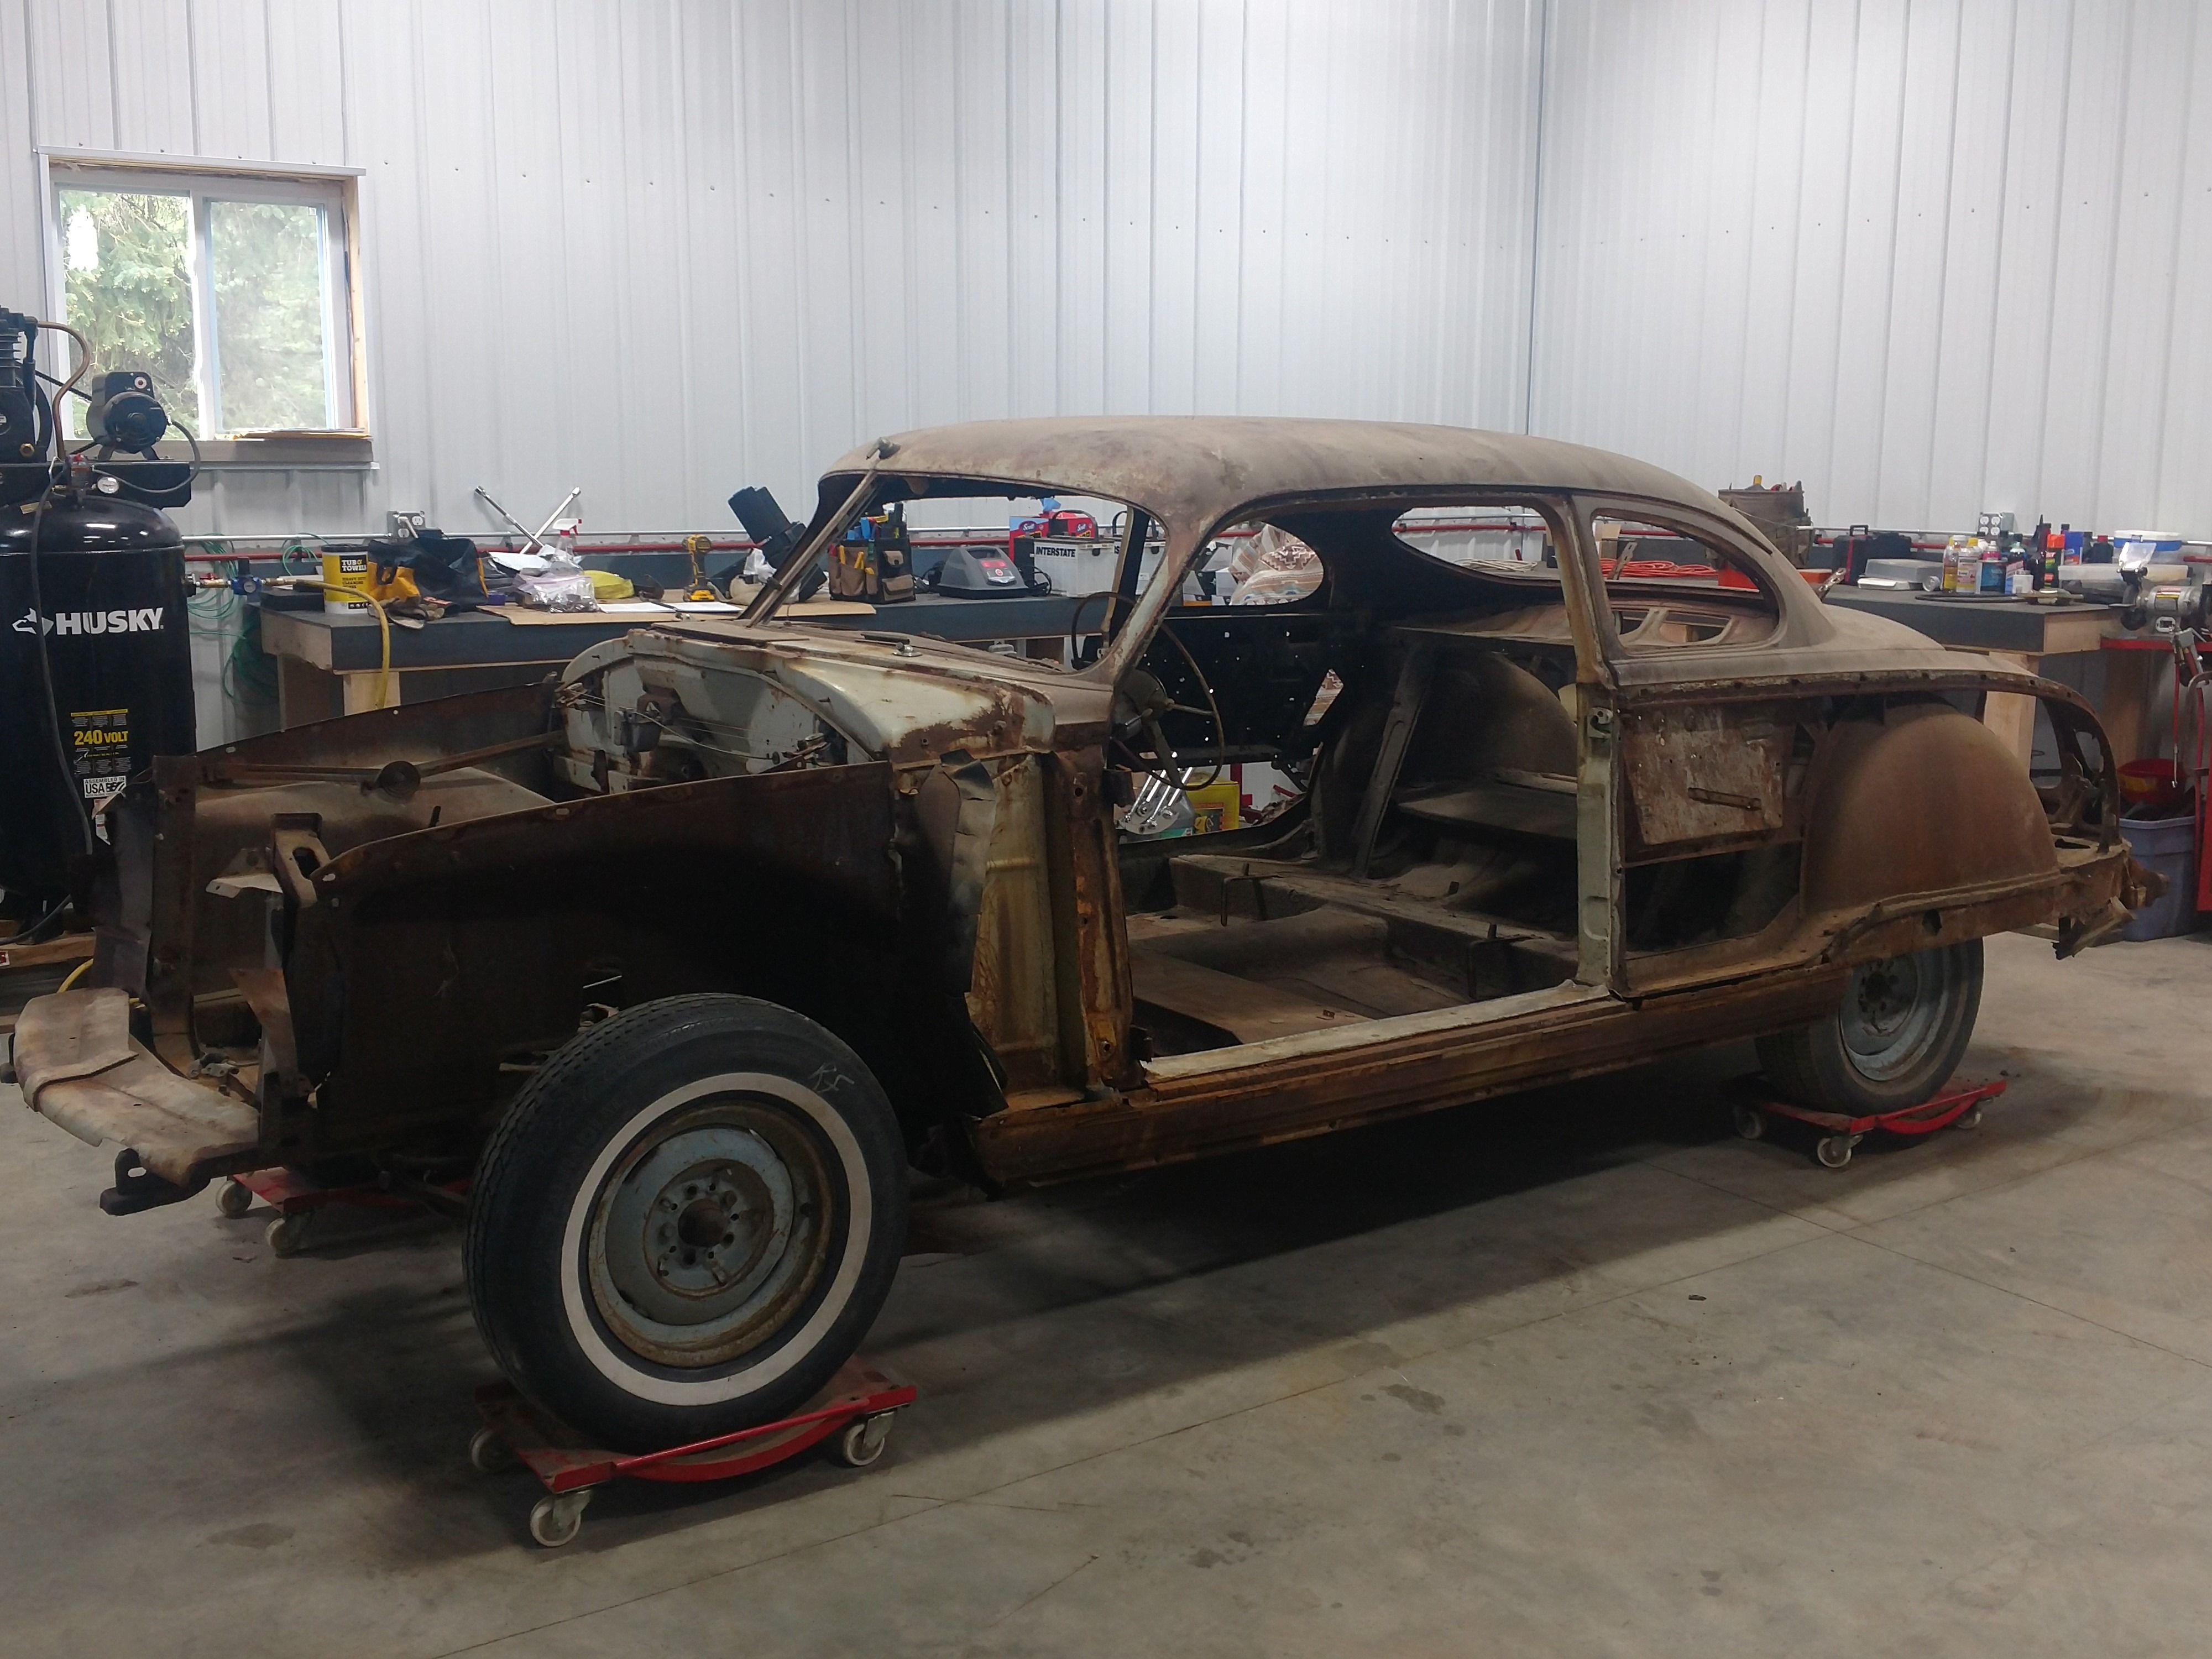
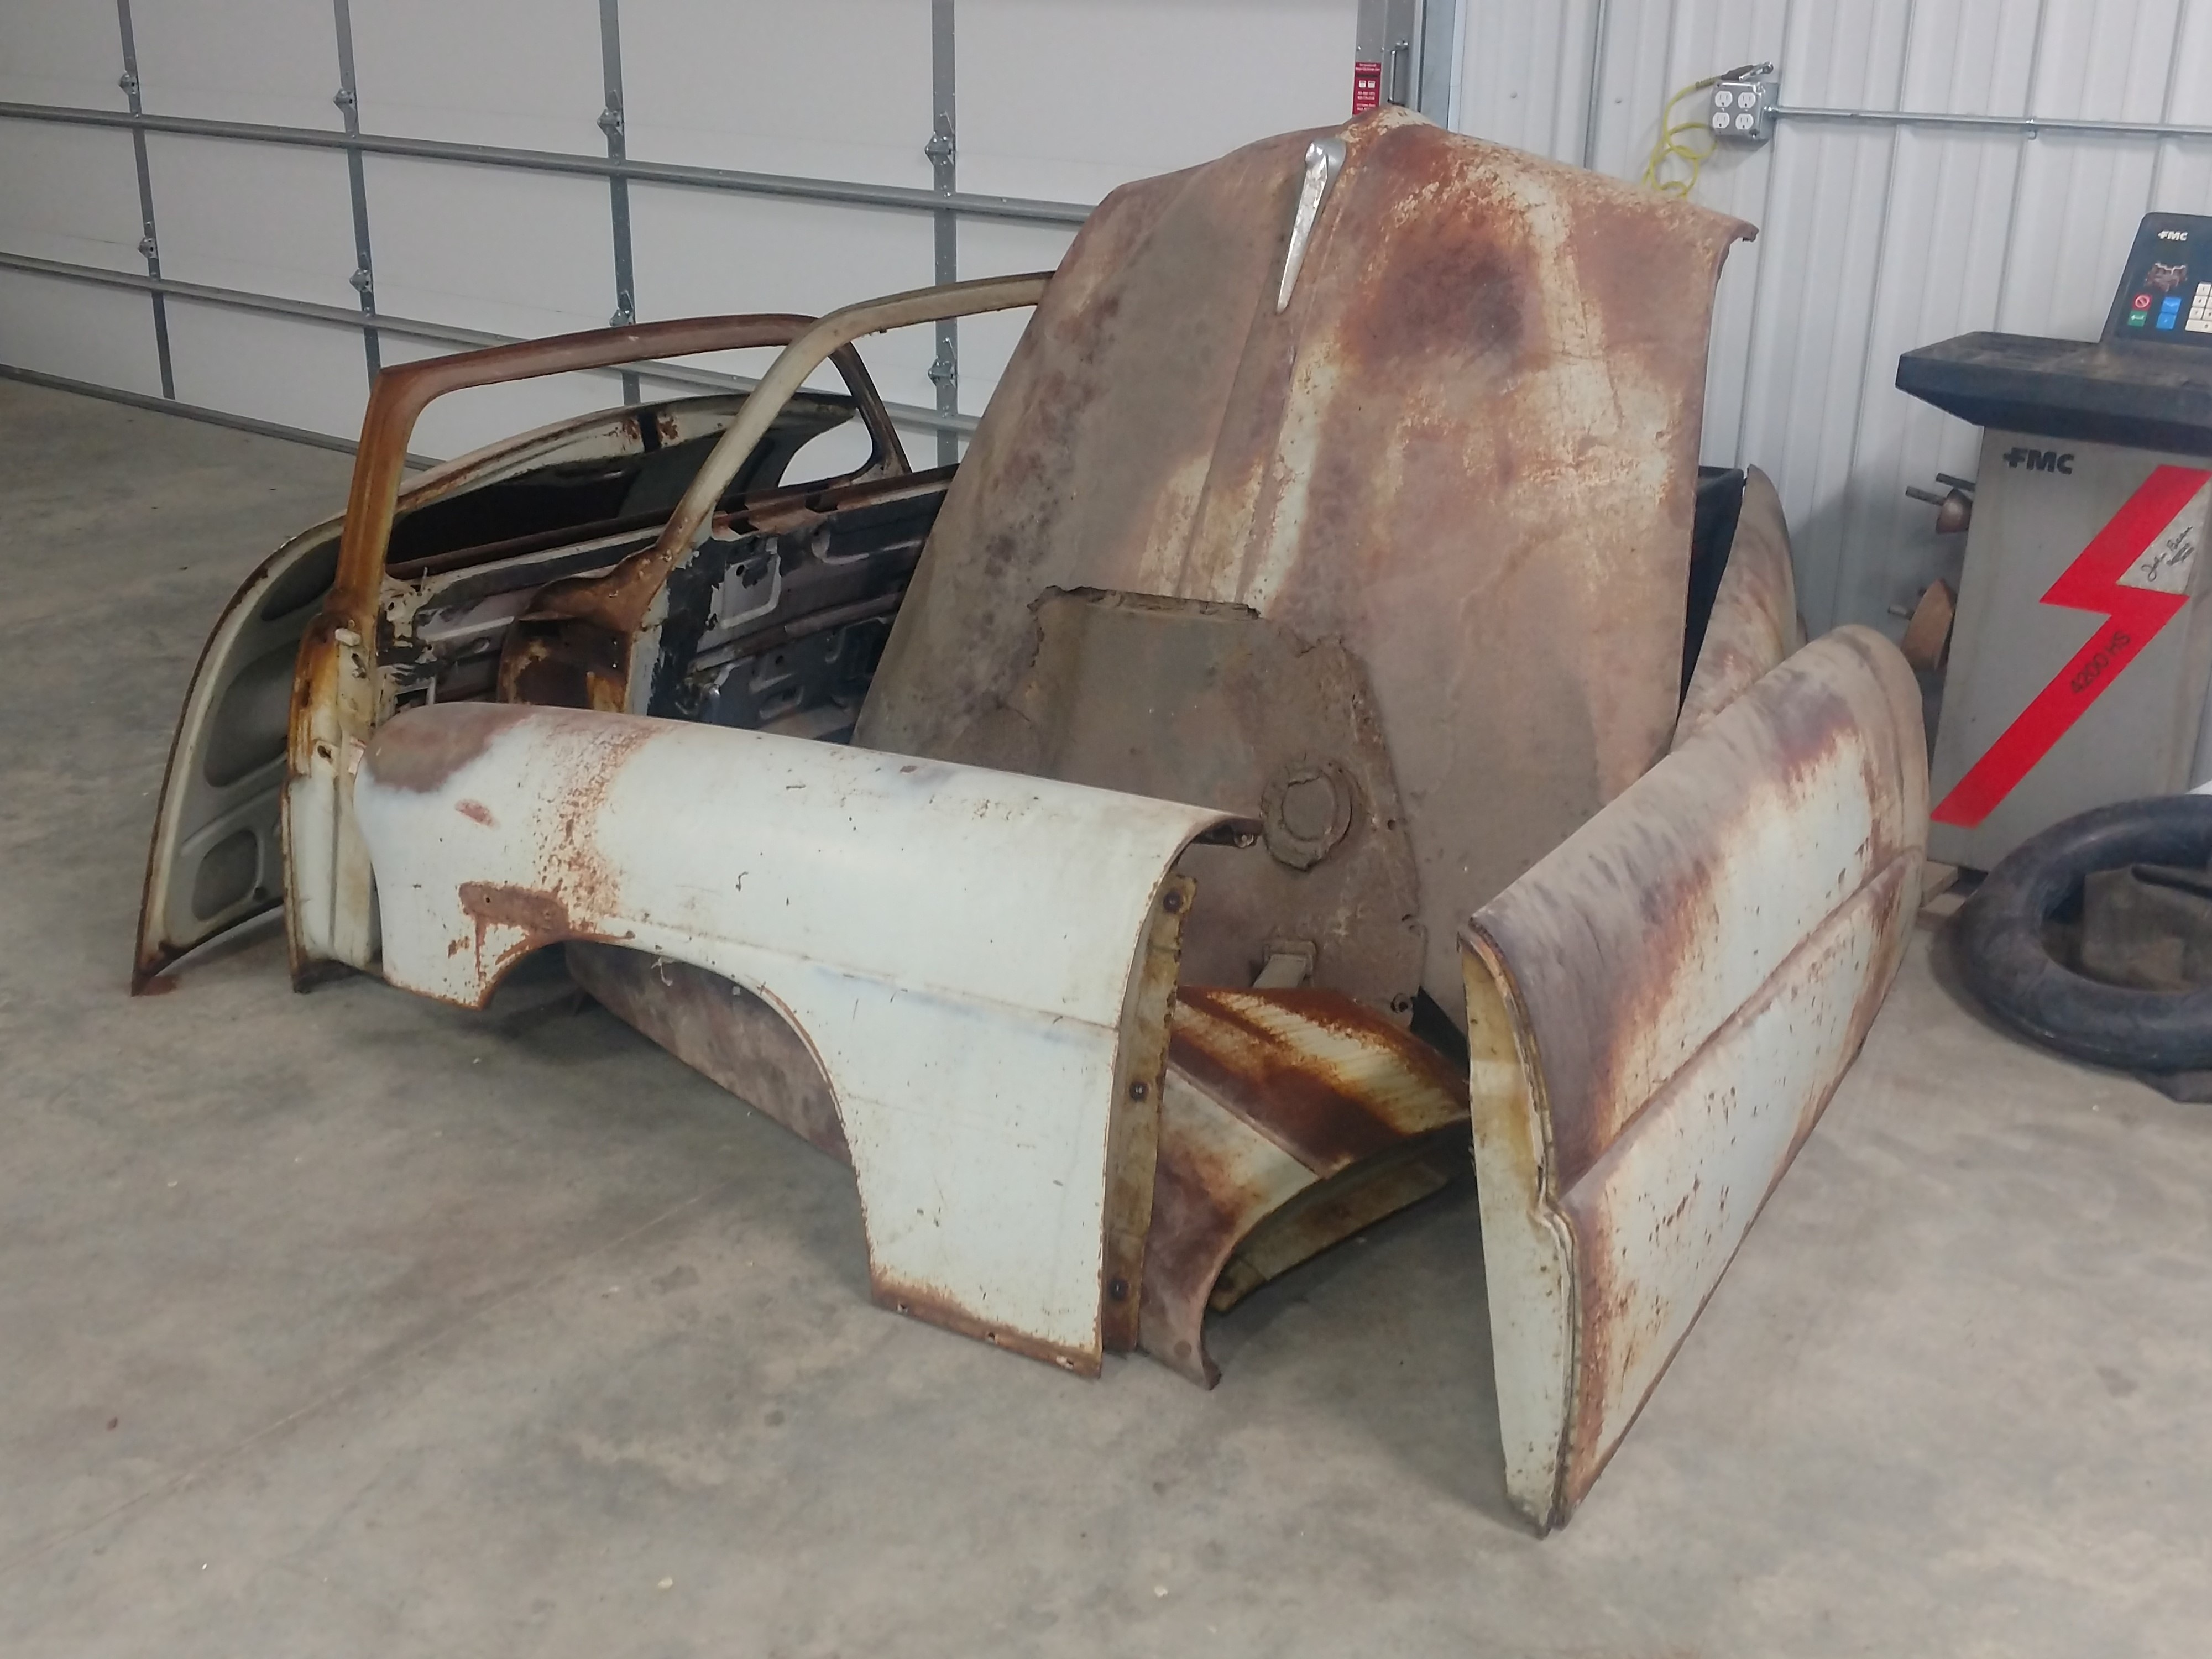
Pile of parts
 0
0 -
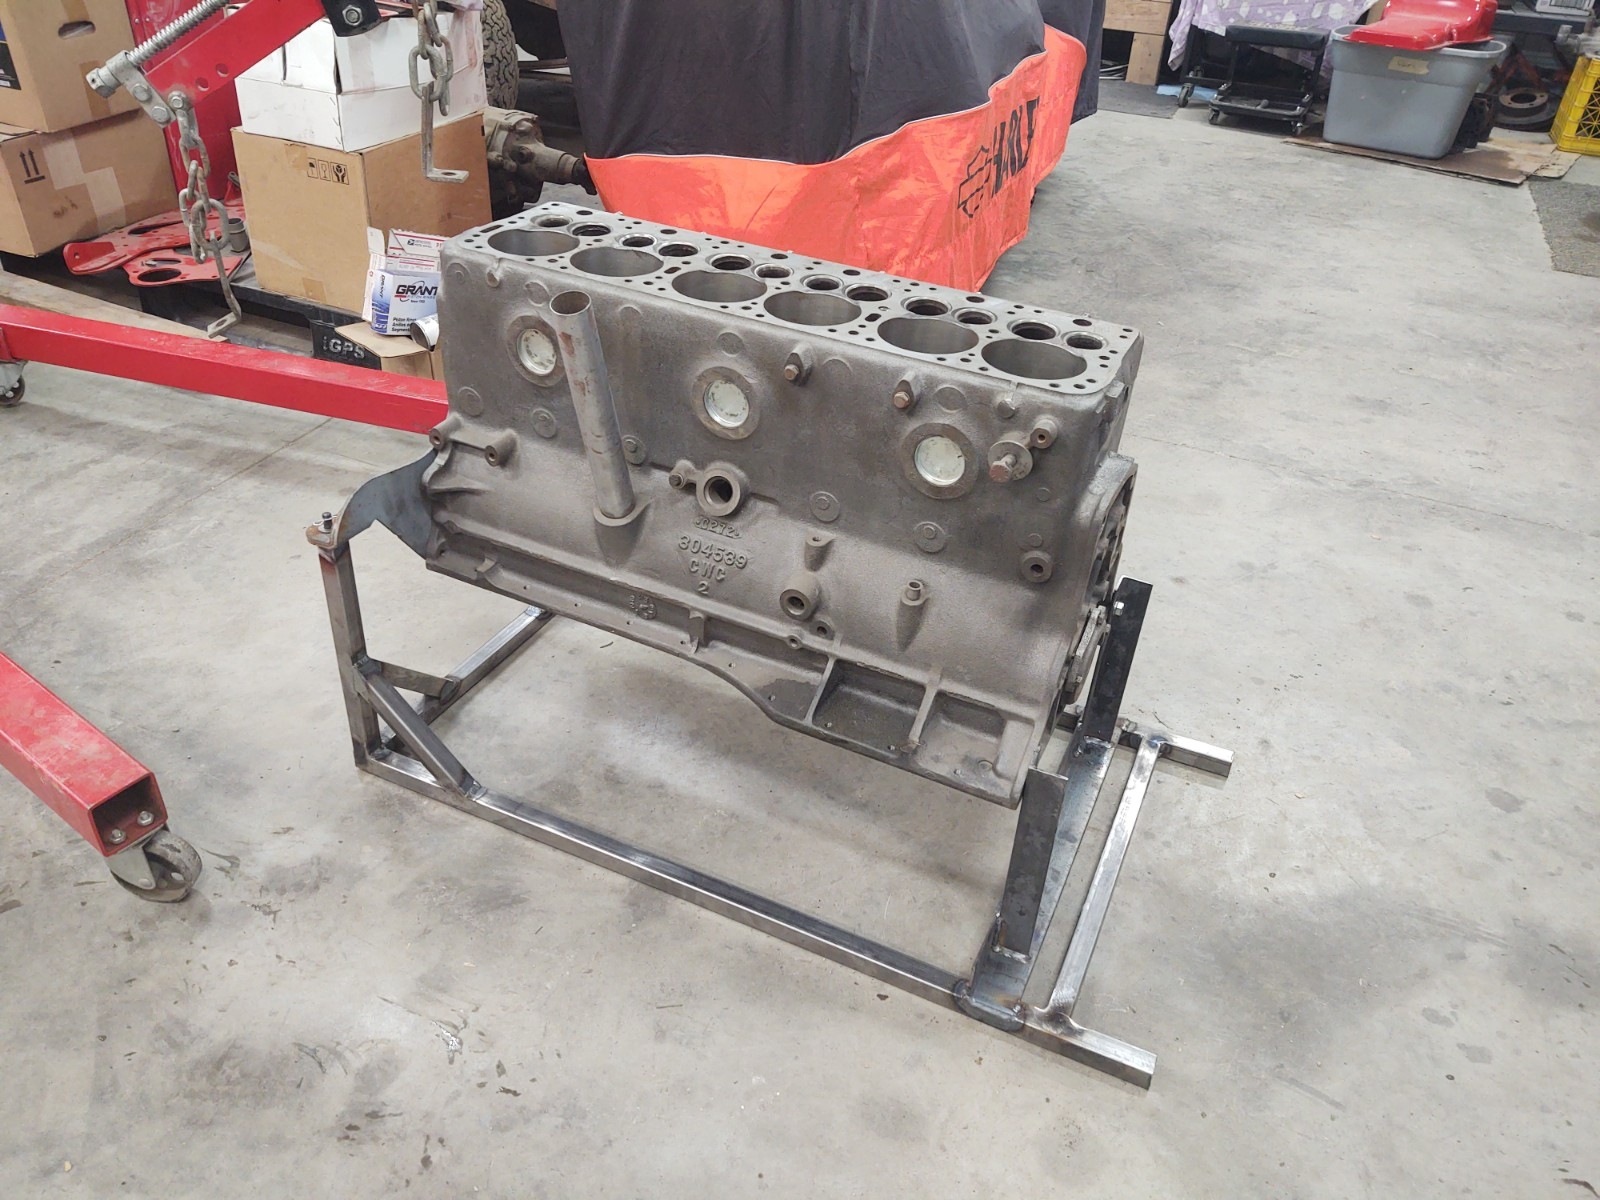
I have a 308 back from the machine shop ready to be put together. I will need to freshen up the valves or find some new ones. Need to spend some time checking them over good.
0 -
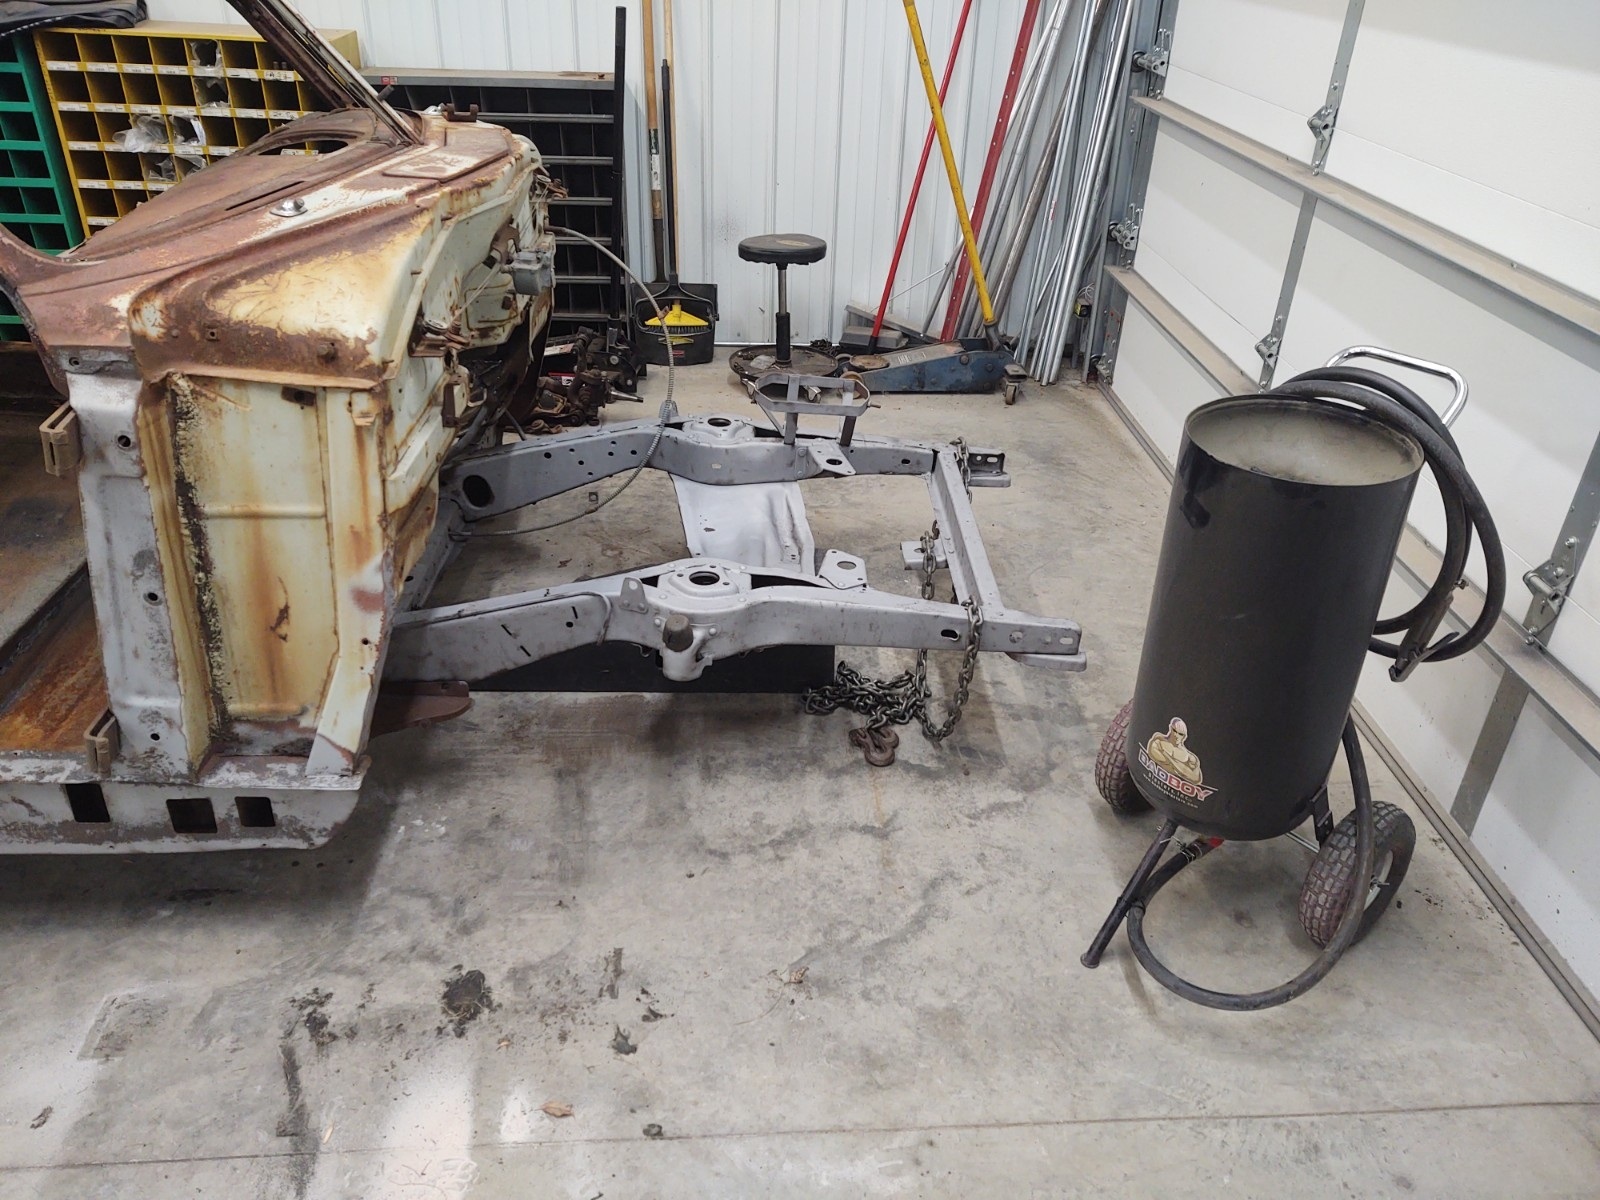
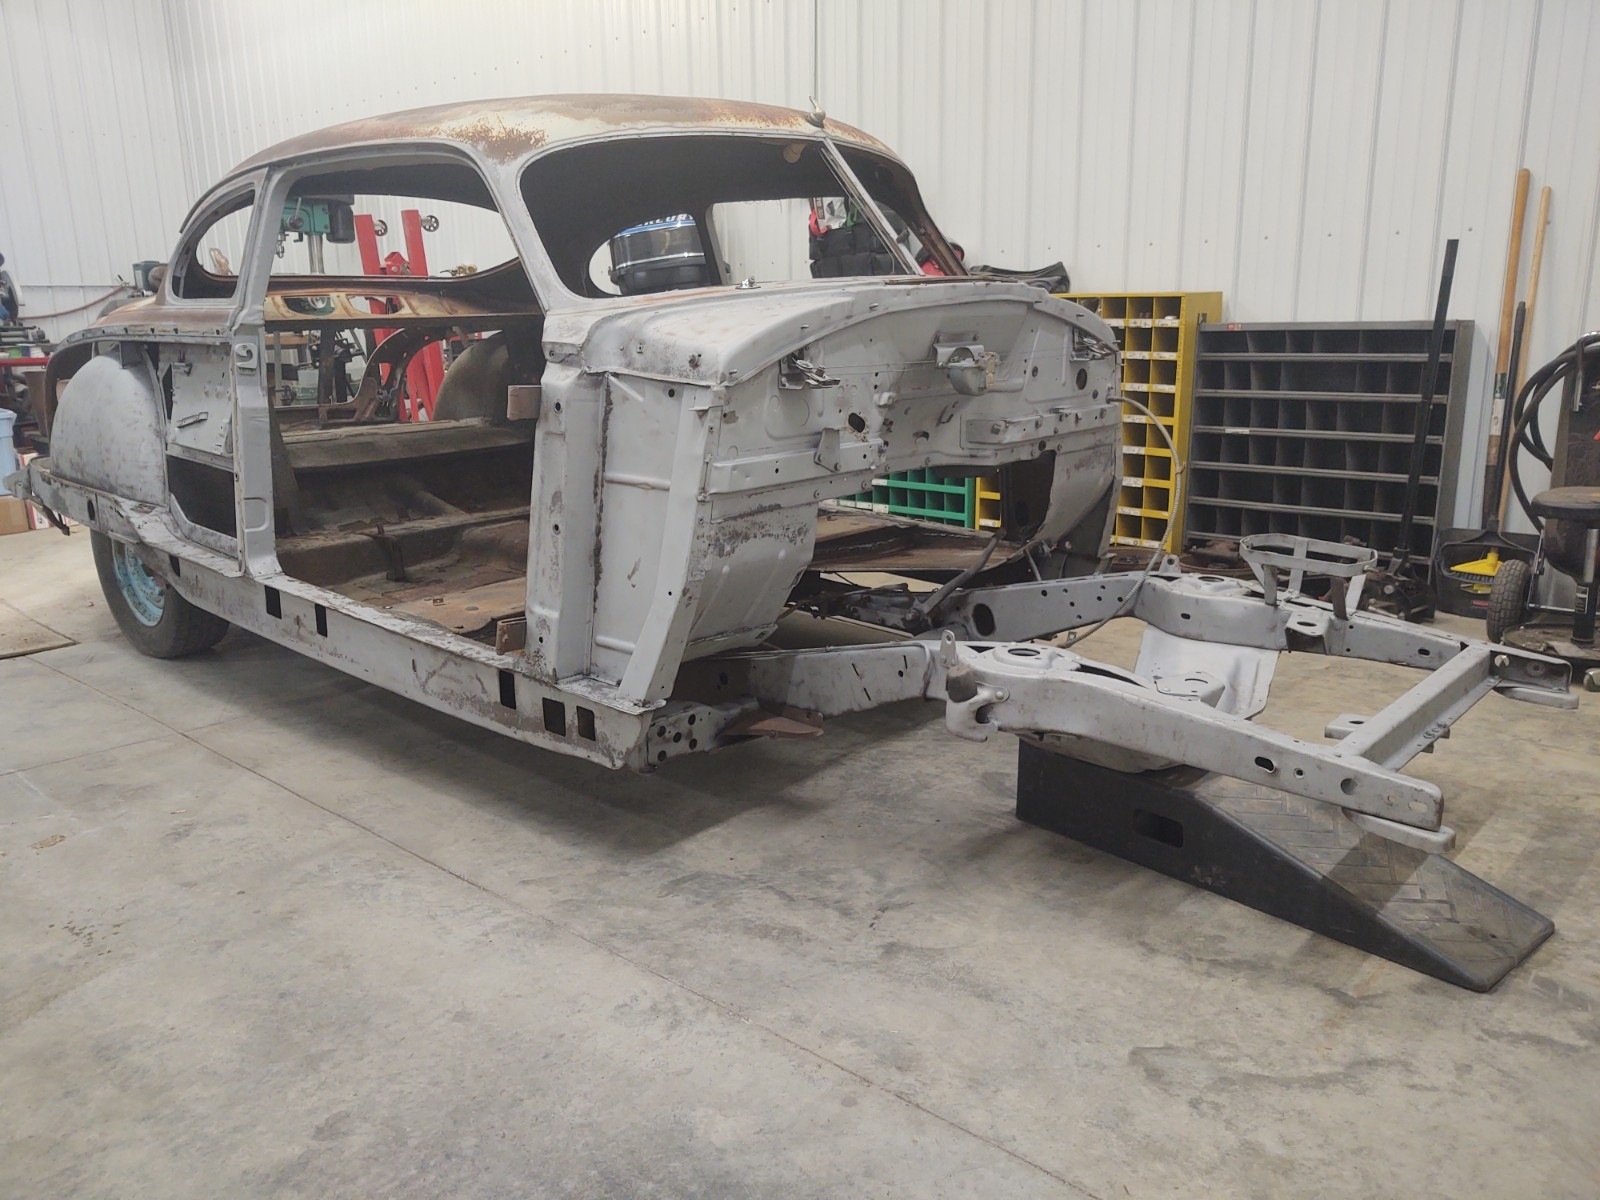
Front suspension is off for complete rebuild. Sandblasting all components and painting.
0 -
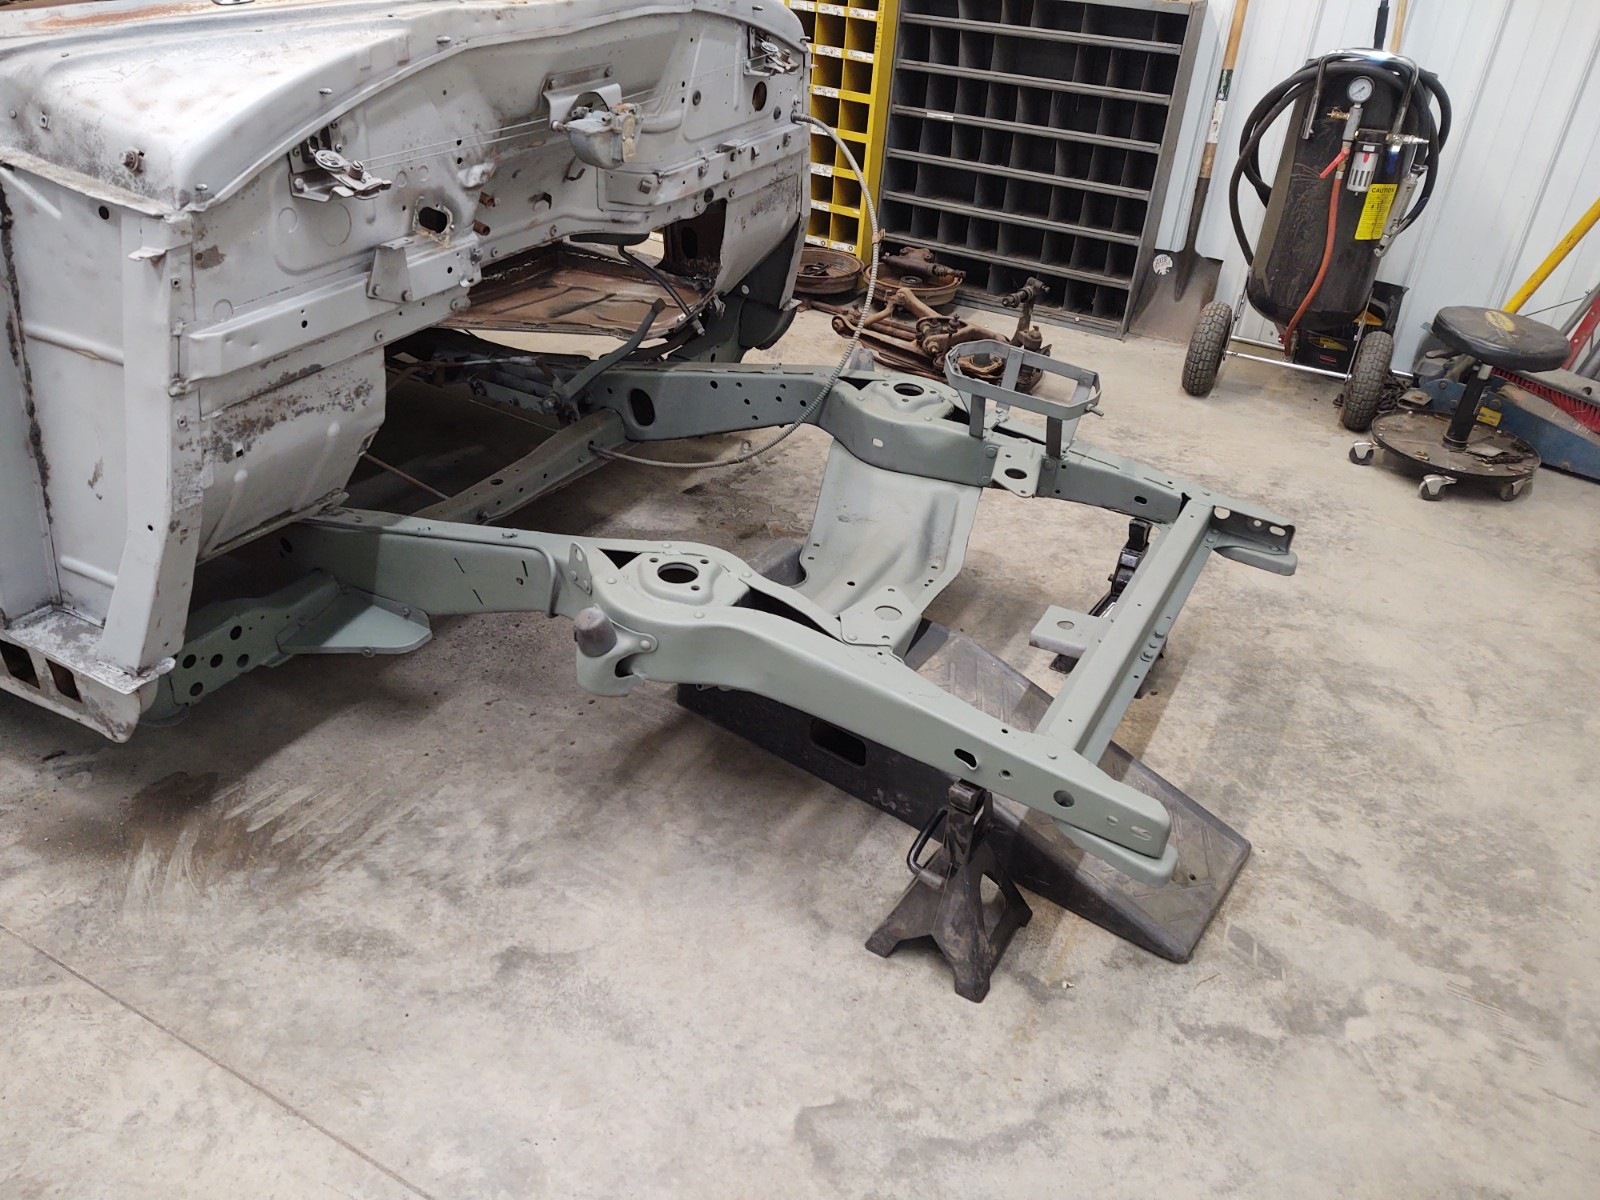
Sprayed some primer on the front subframe. I will paint it semi gloss black when I have everything ready.
The guy must have been chasing some deer with this...haha
fixing some dents underneath.
Before: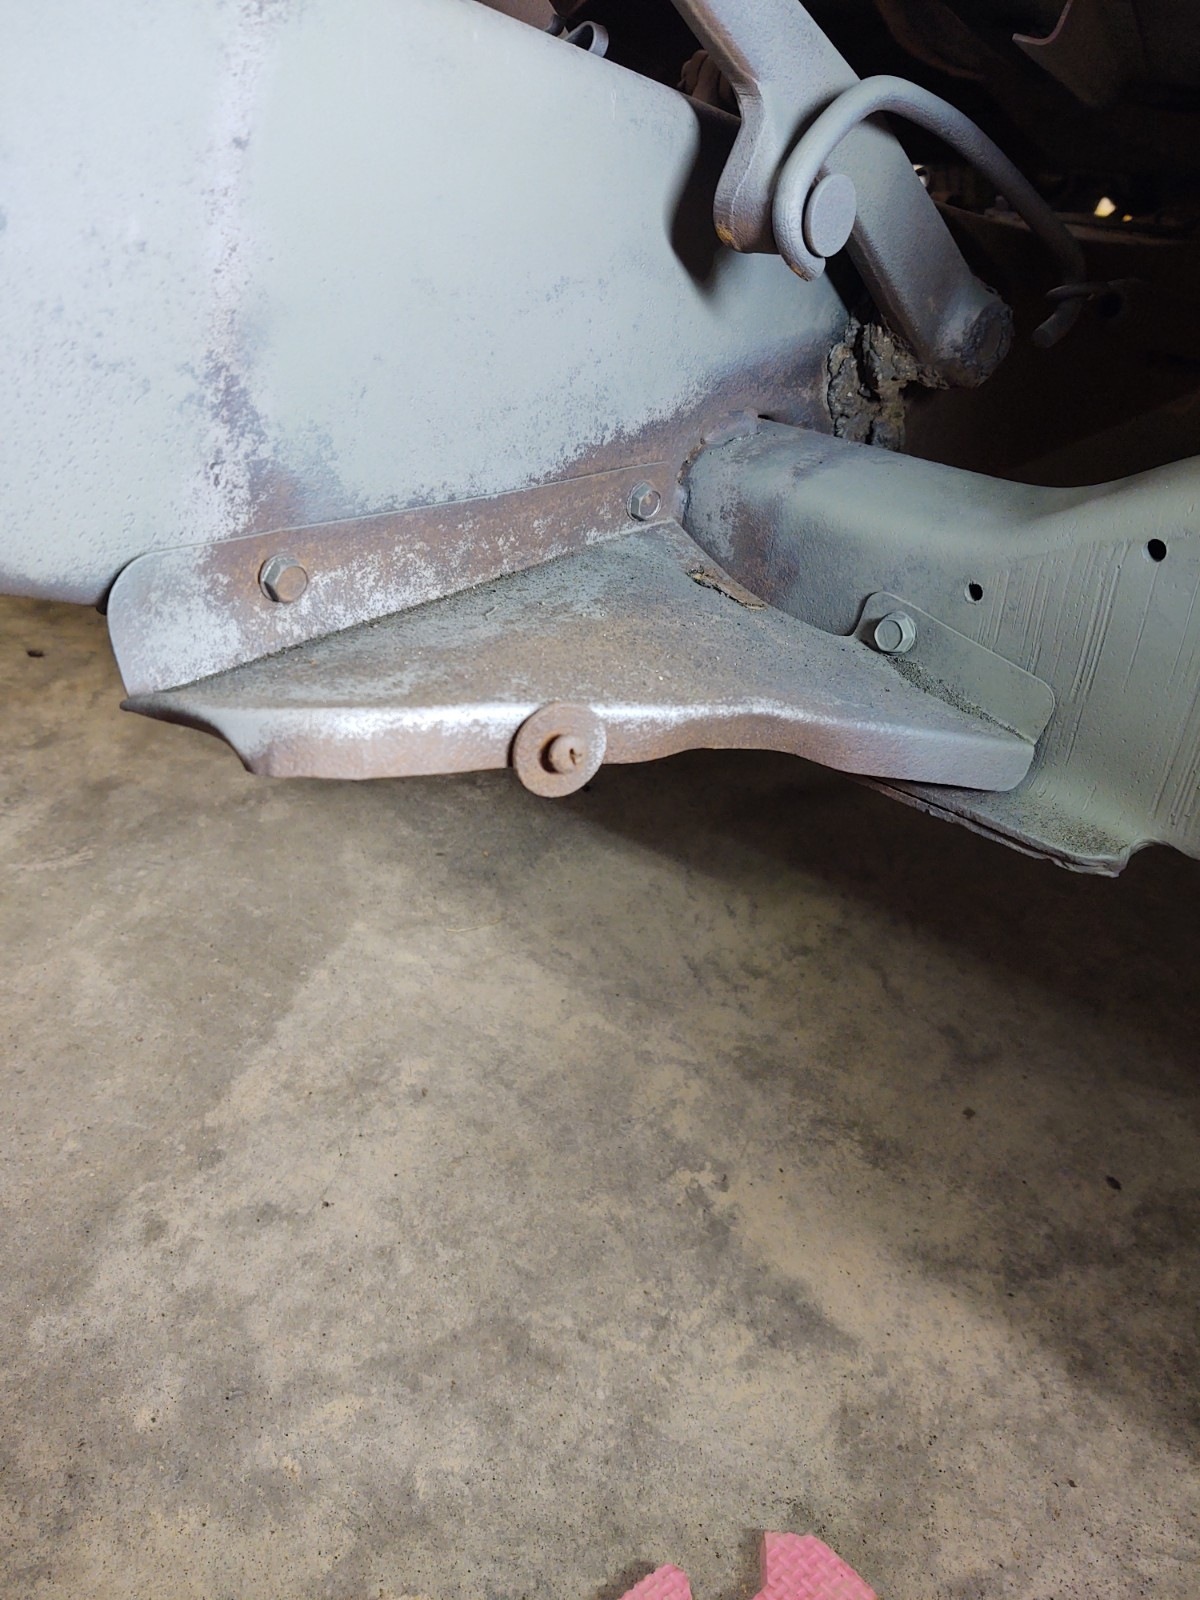
After: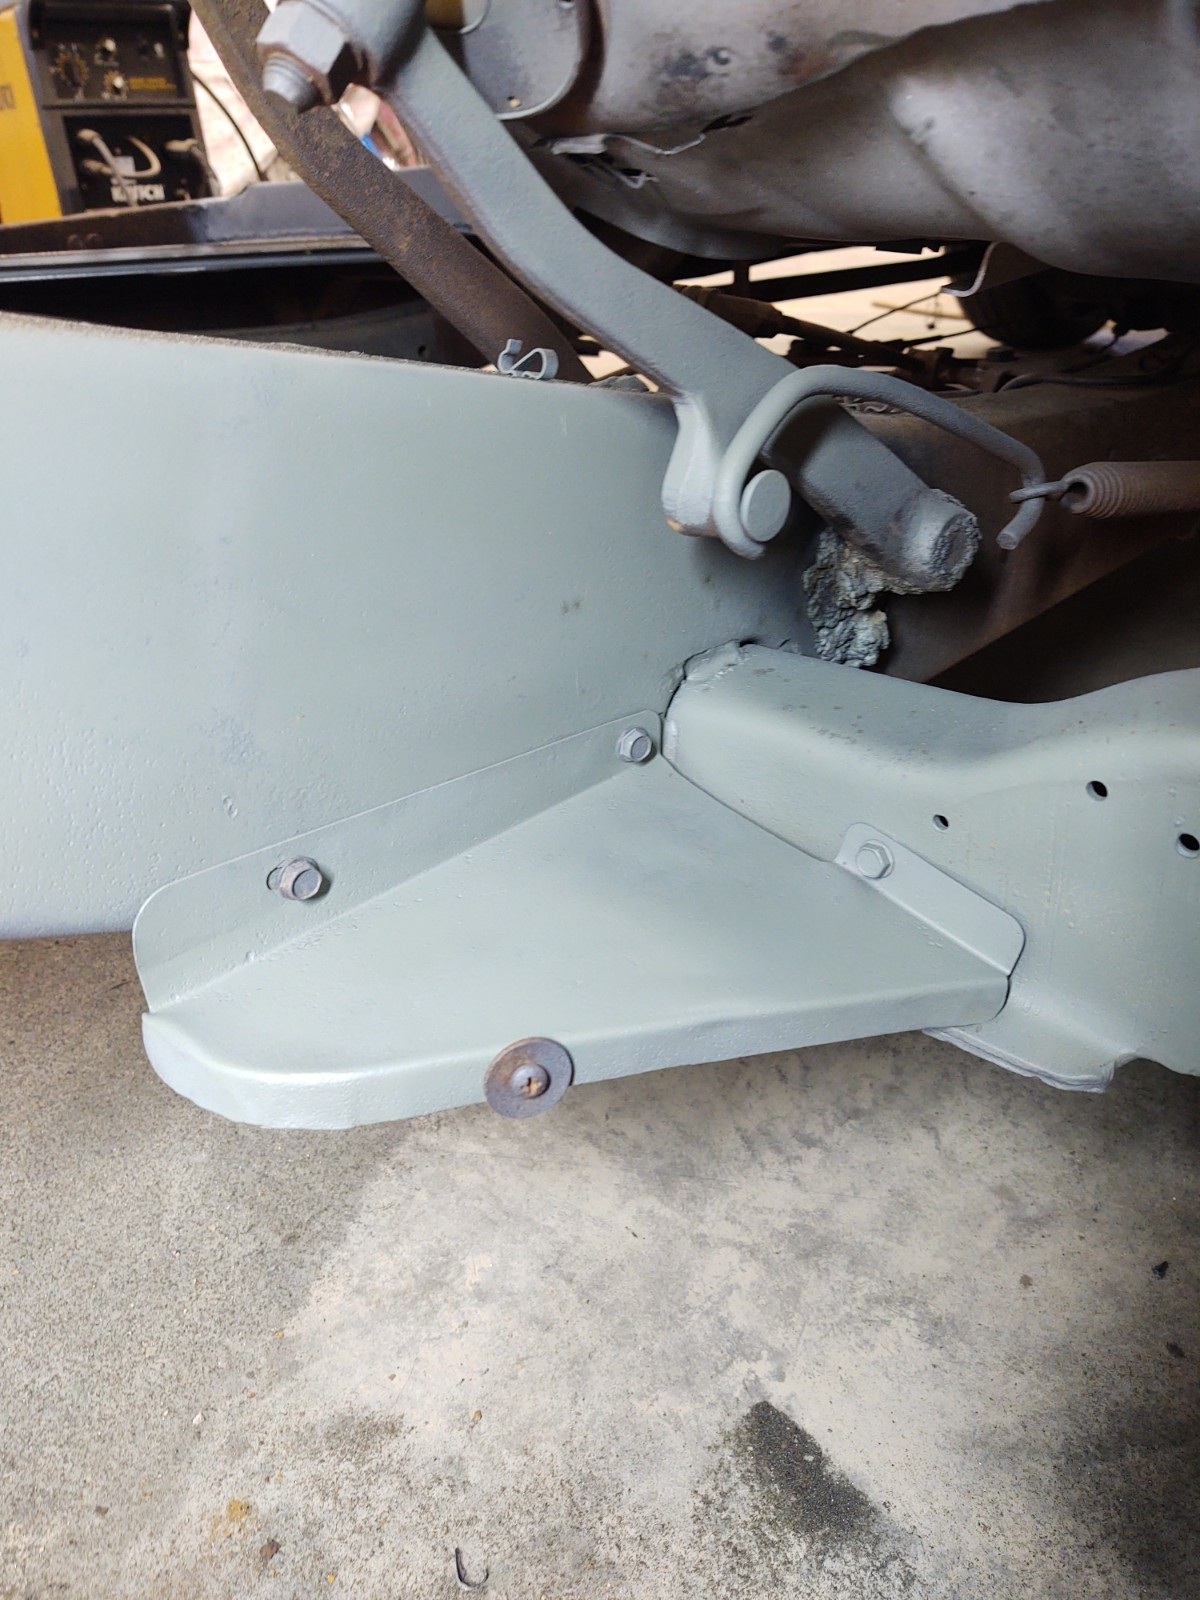
0 -
Some rust in the trunk. First time using a bead roller.....turned out OK
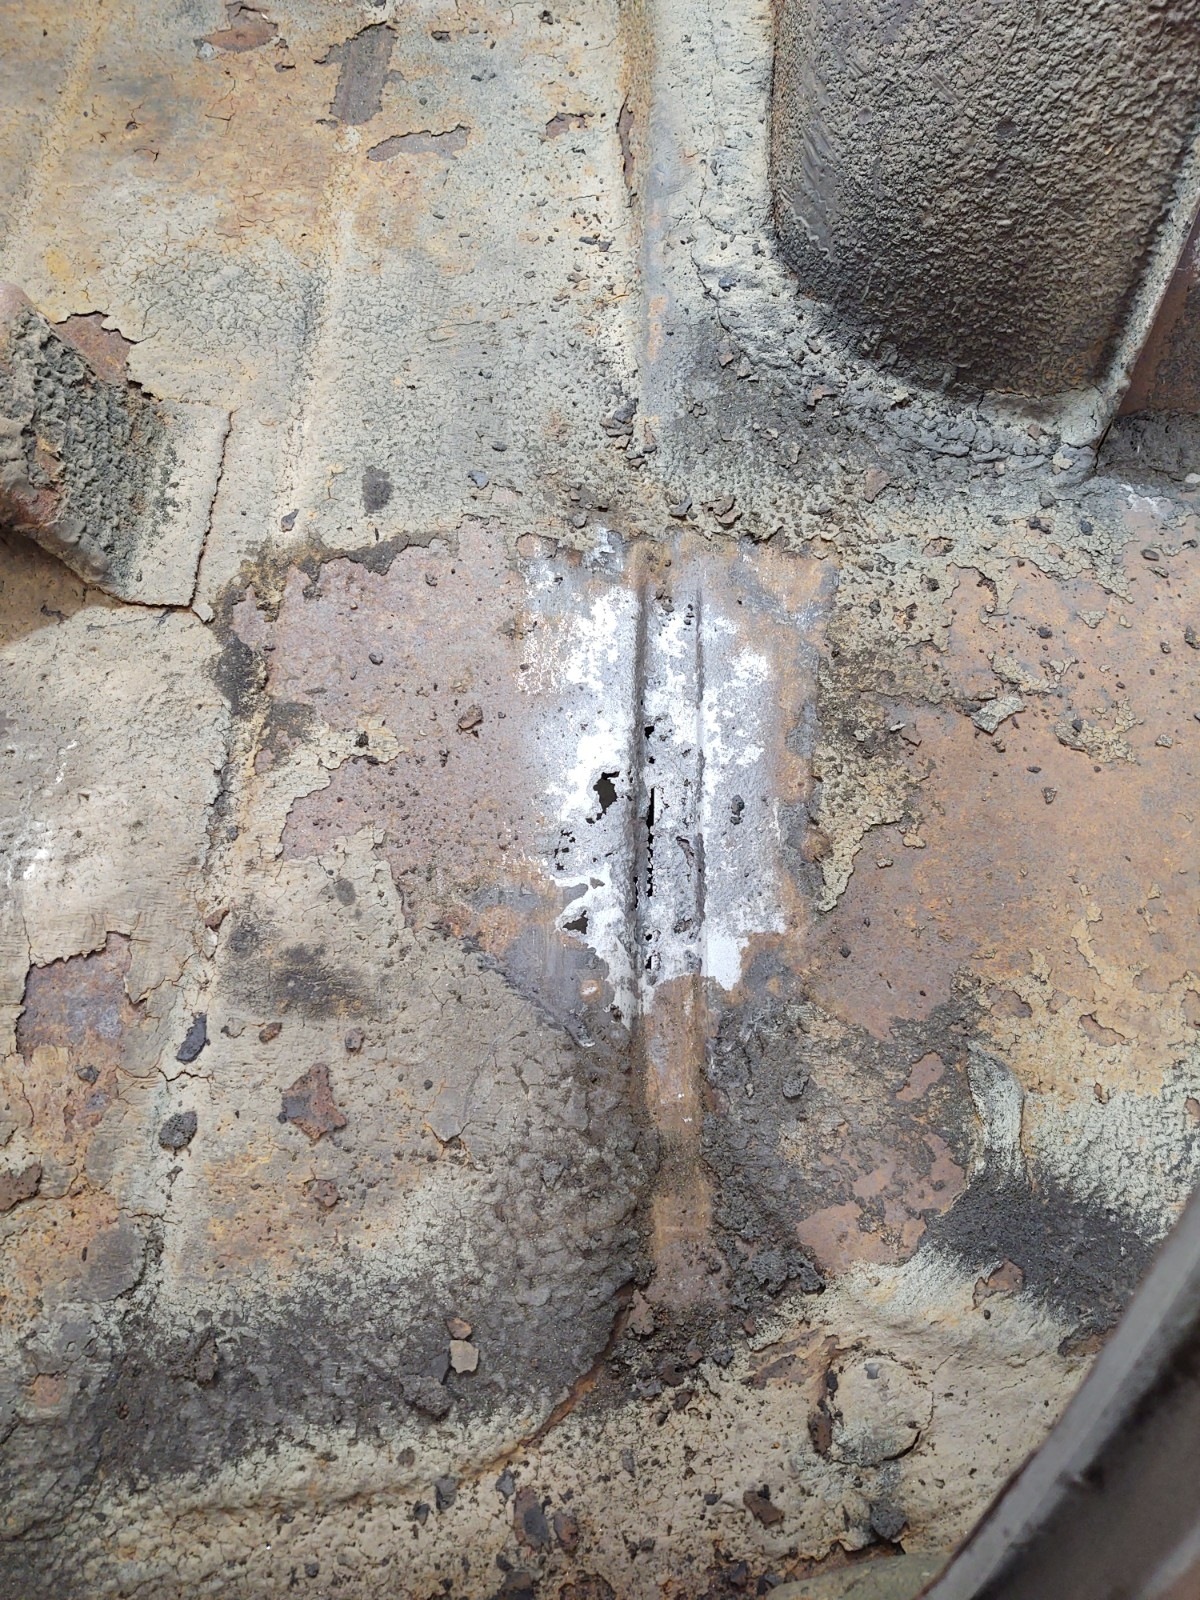
Tried to put afew spot welds back in the panel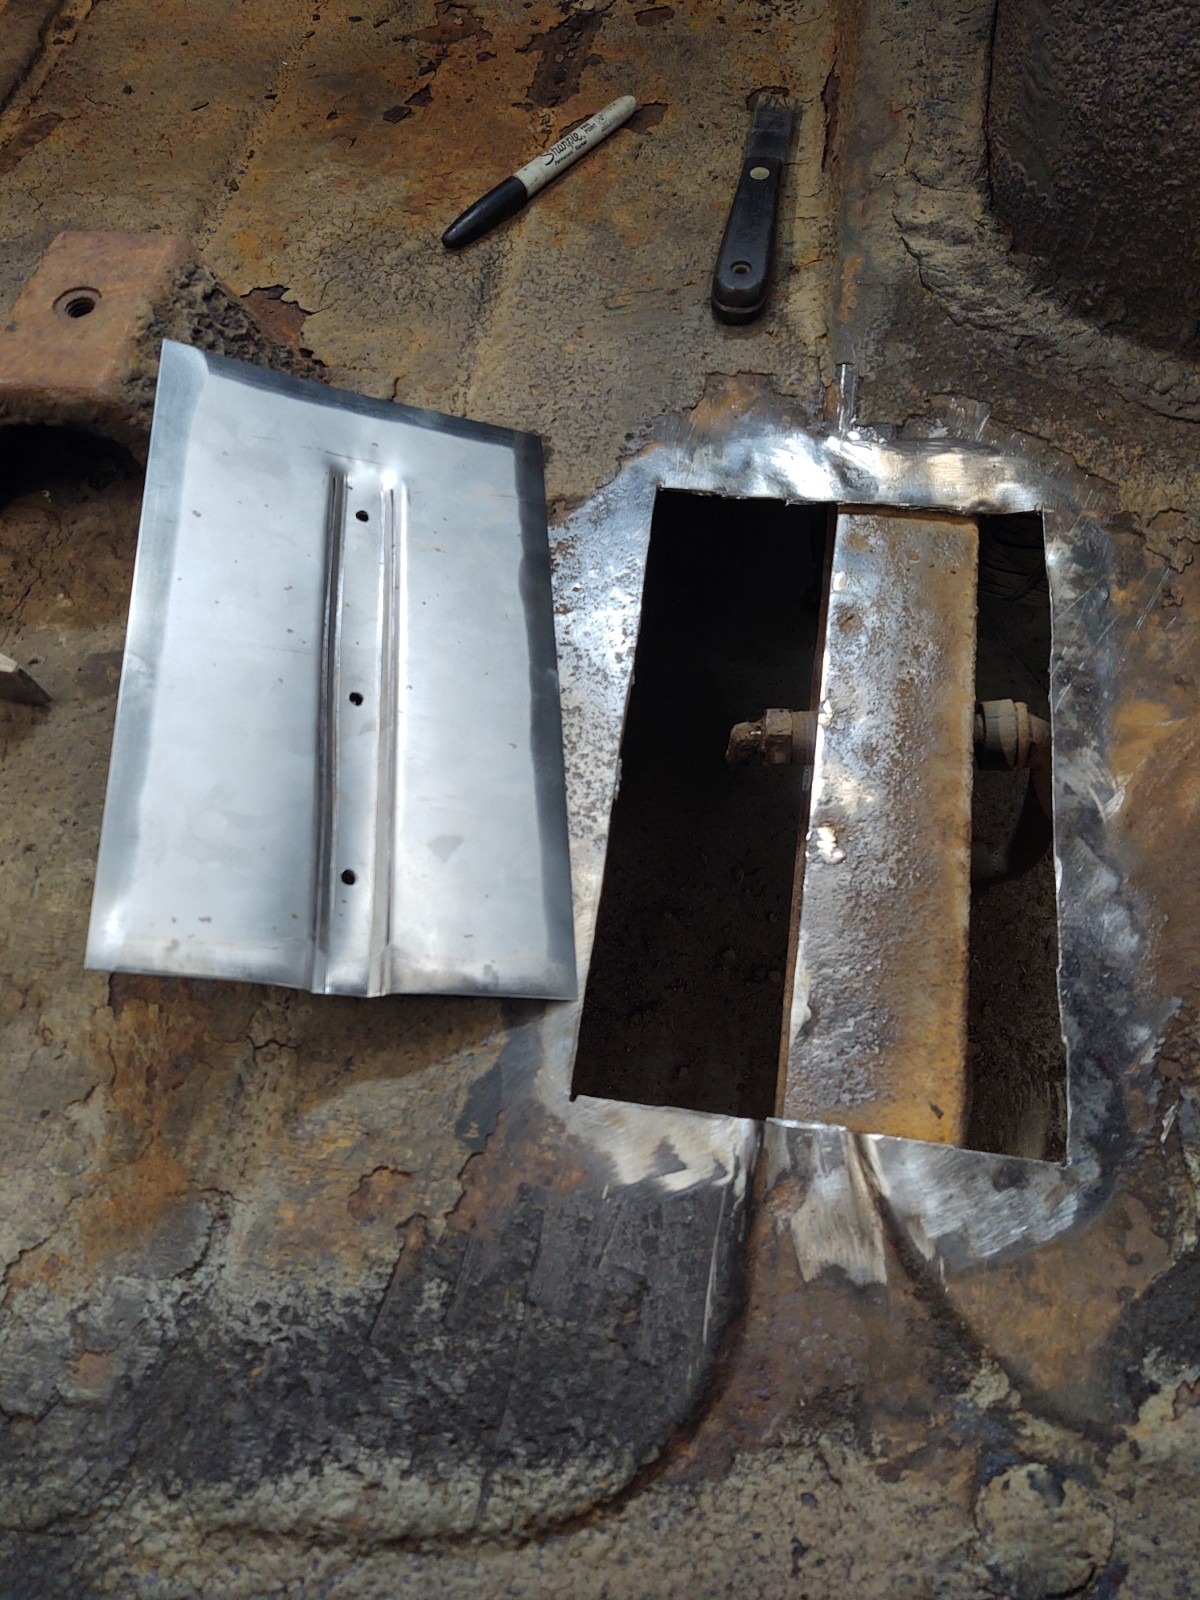
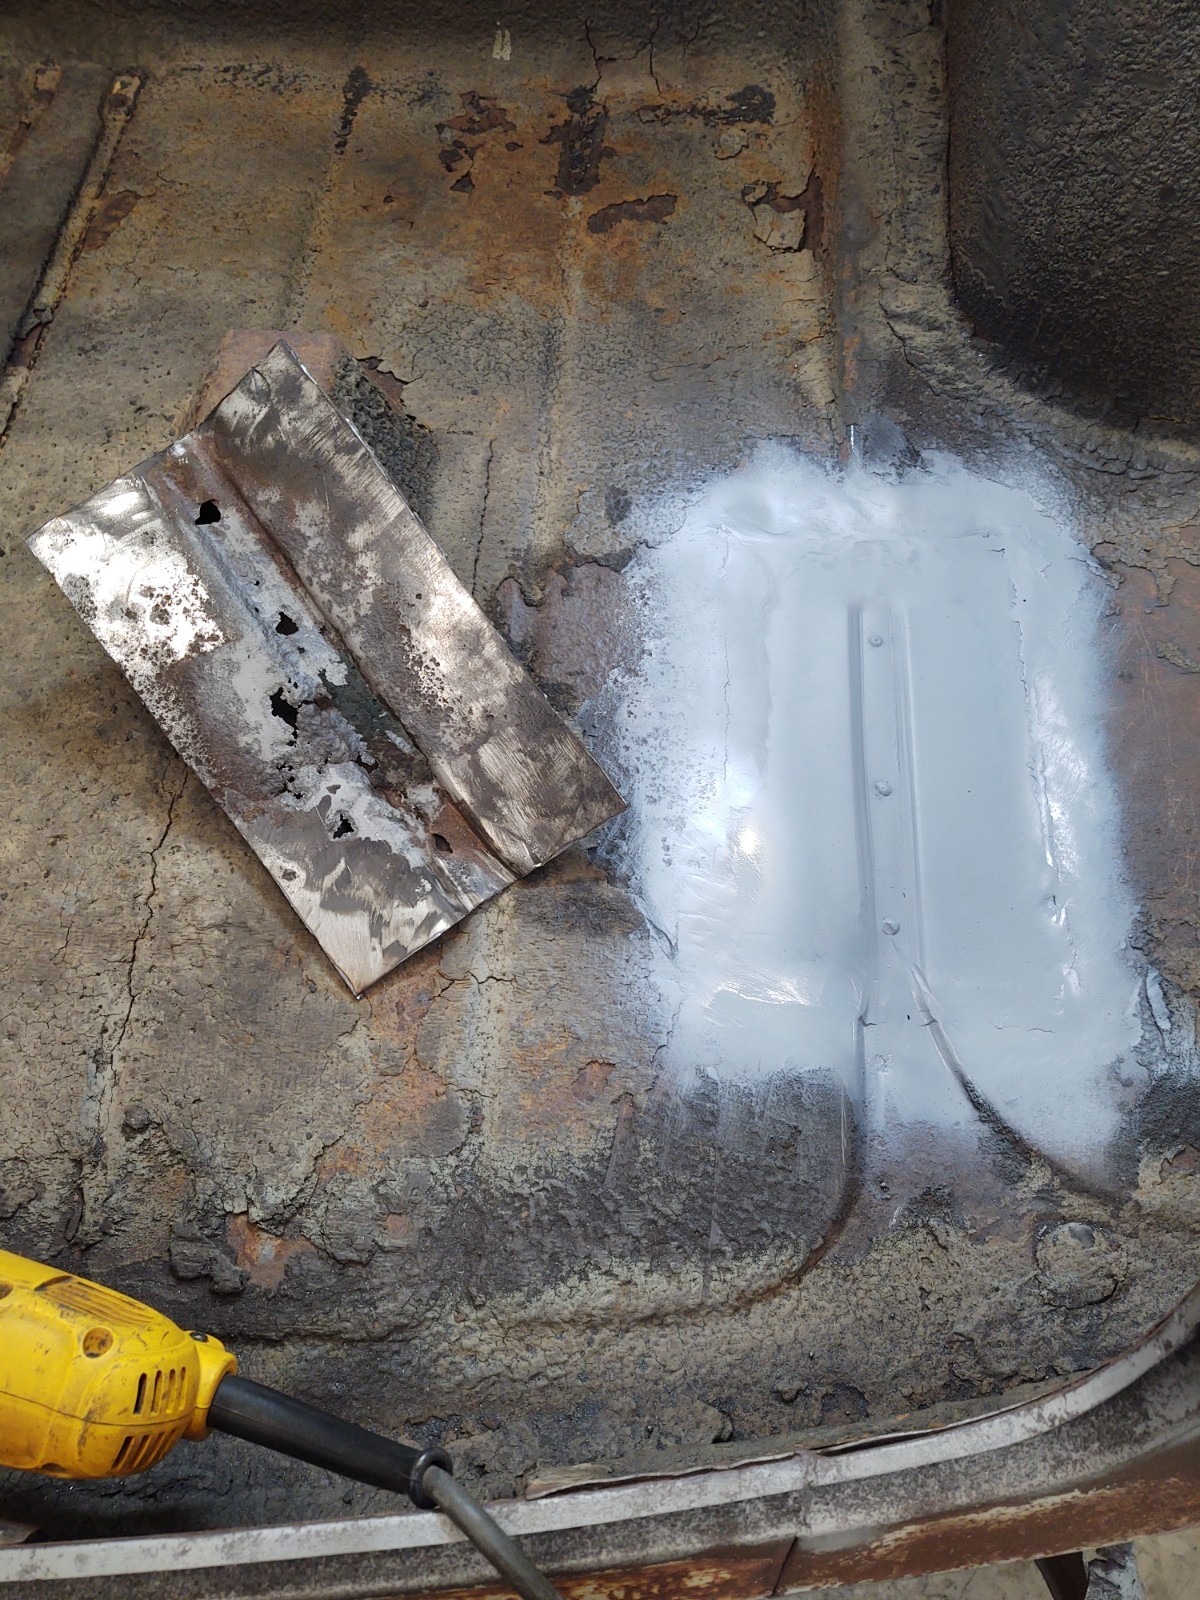
0 -
I love the short wheelbase coupes. Please keep us up to date with your progress.0
-
Rear Gear:
I did the ol jack up the rear end spin the tire twice and count the pinion turns. What I currently have in this car is a 4.10 gear. Since I live out in the country (central plains) I better get a highway gear under it.
I pulled this out of a 51 4 door with an automatic. It appears to be a 3.5 gear. I hope this will be a better all around gear for this car that will have a 308 manual with OD.
I will tear it down and make sure it isn't worn out. Can a guy get rear axle seals for these now days?
Any other suggestions before I put this under my project car?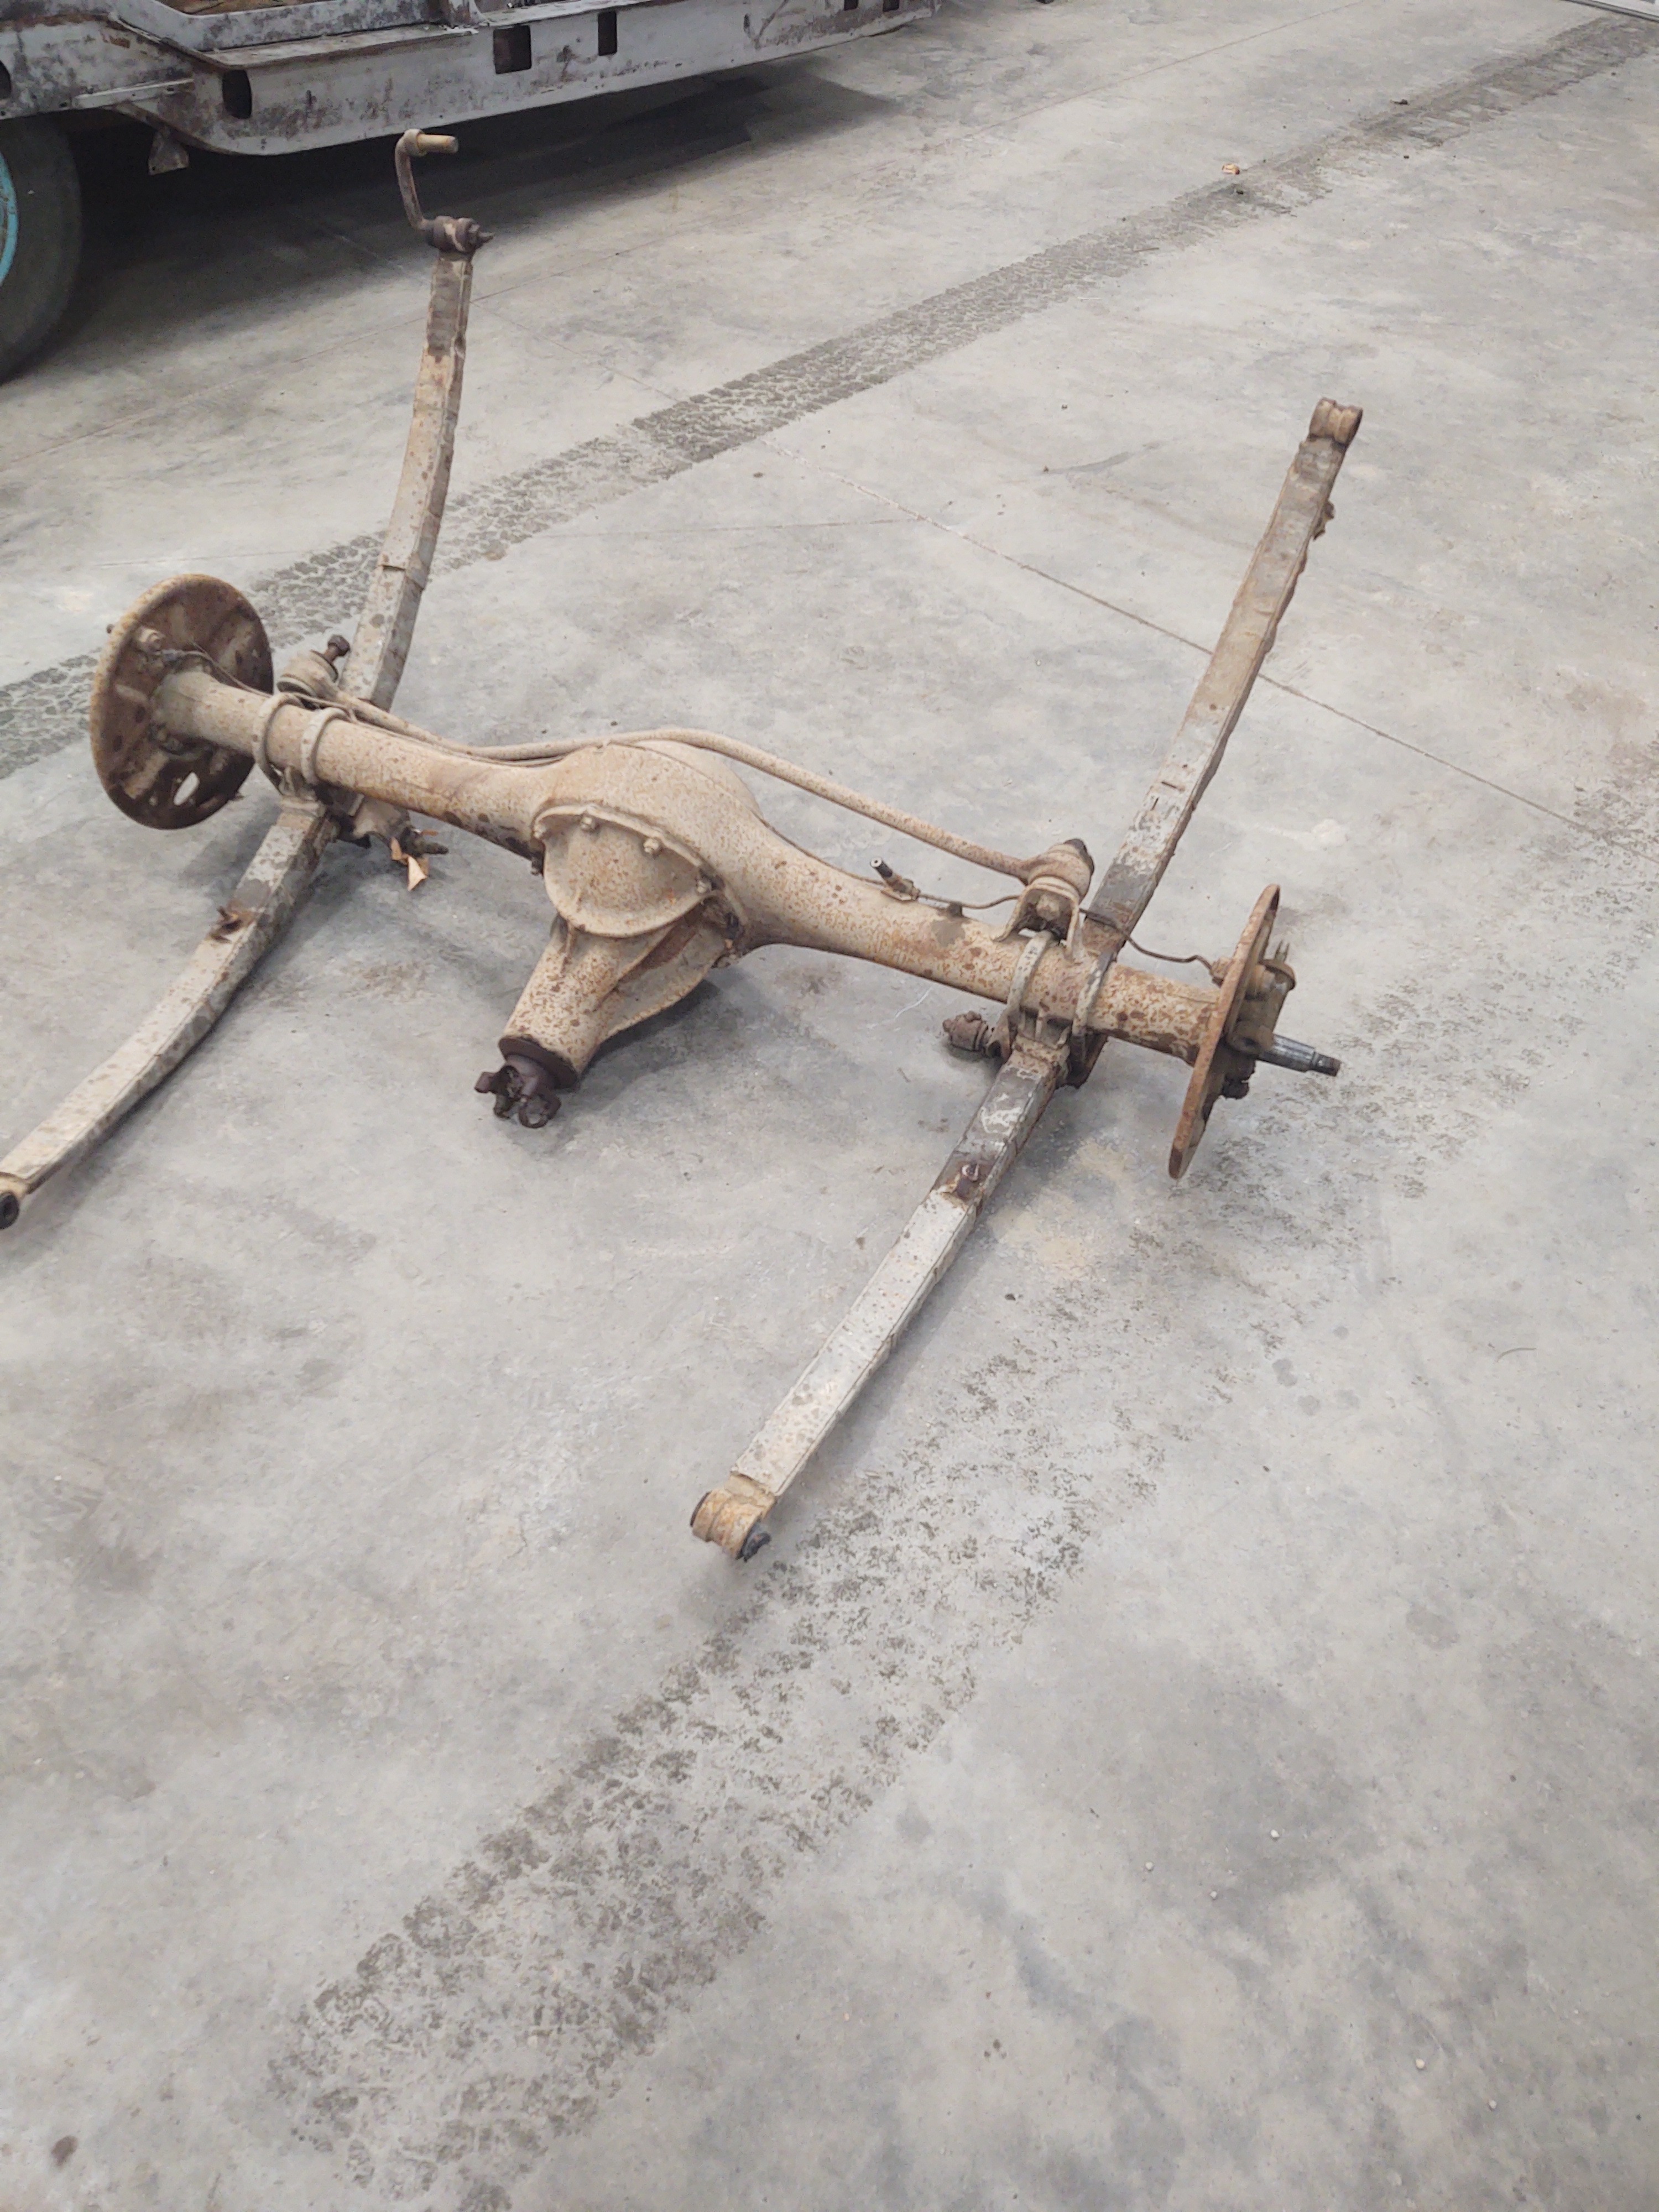
0 -
That will be a great ratio for you.0
-
I have those seals Dan.0
-
The car has a great style, I like the chopped look.0
-
I was able to tear down the rear end today. Verified the gear is 3.58 and the ring and pinion look good. No broken teeth or wore too much. Now the cleaning and painting begin. Along with new seals and checking all the bearings.
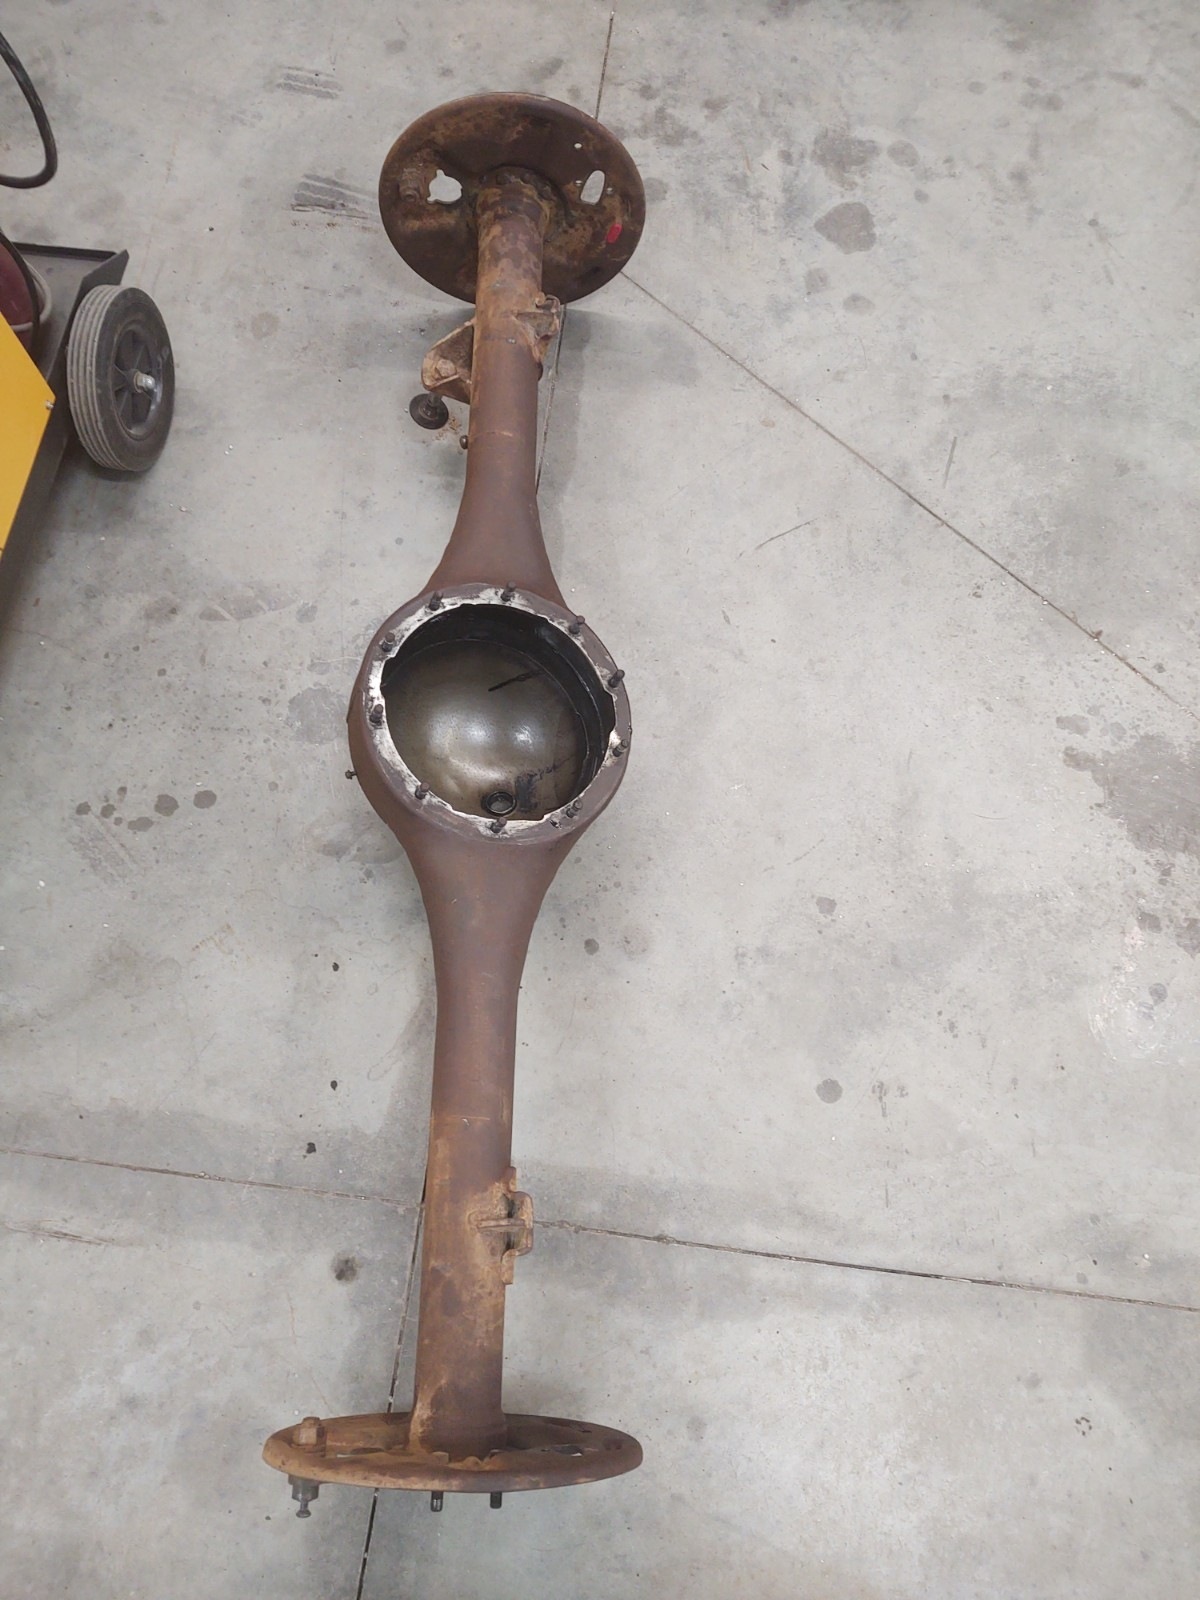
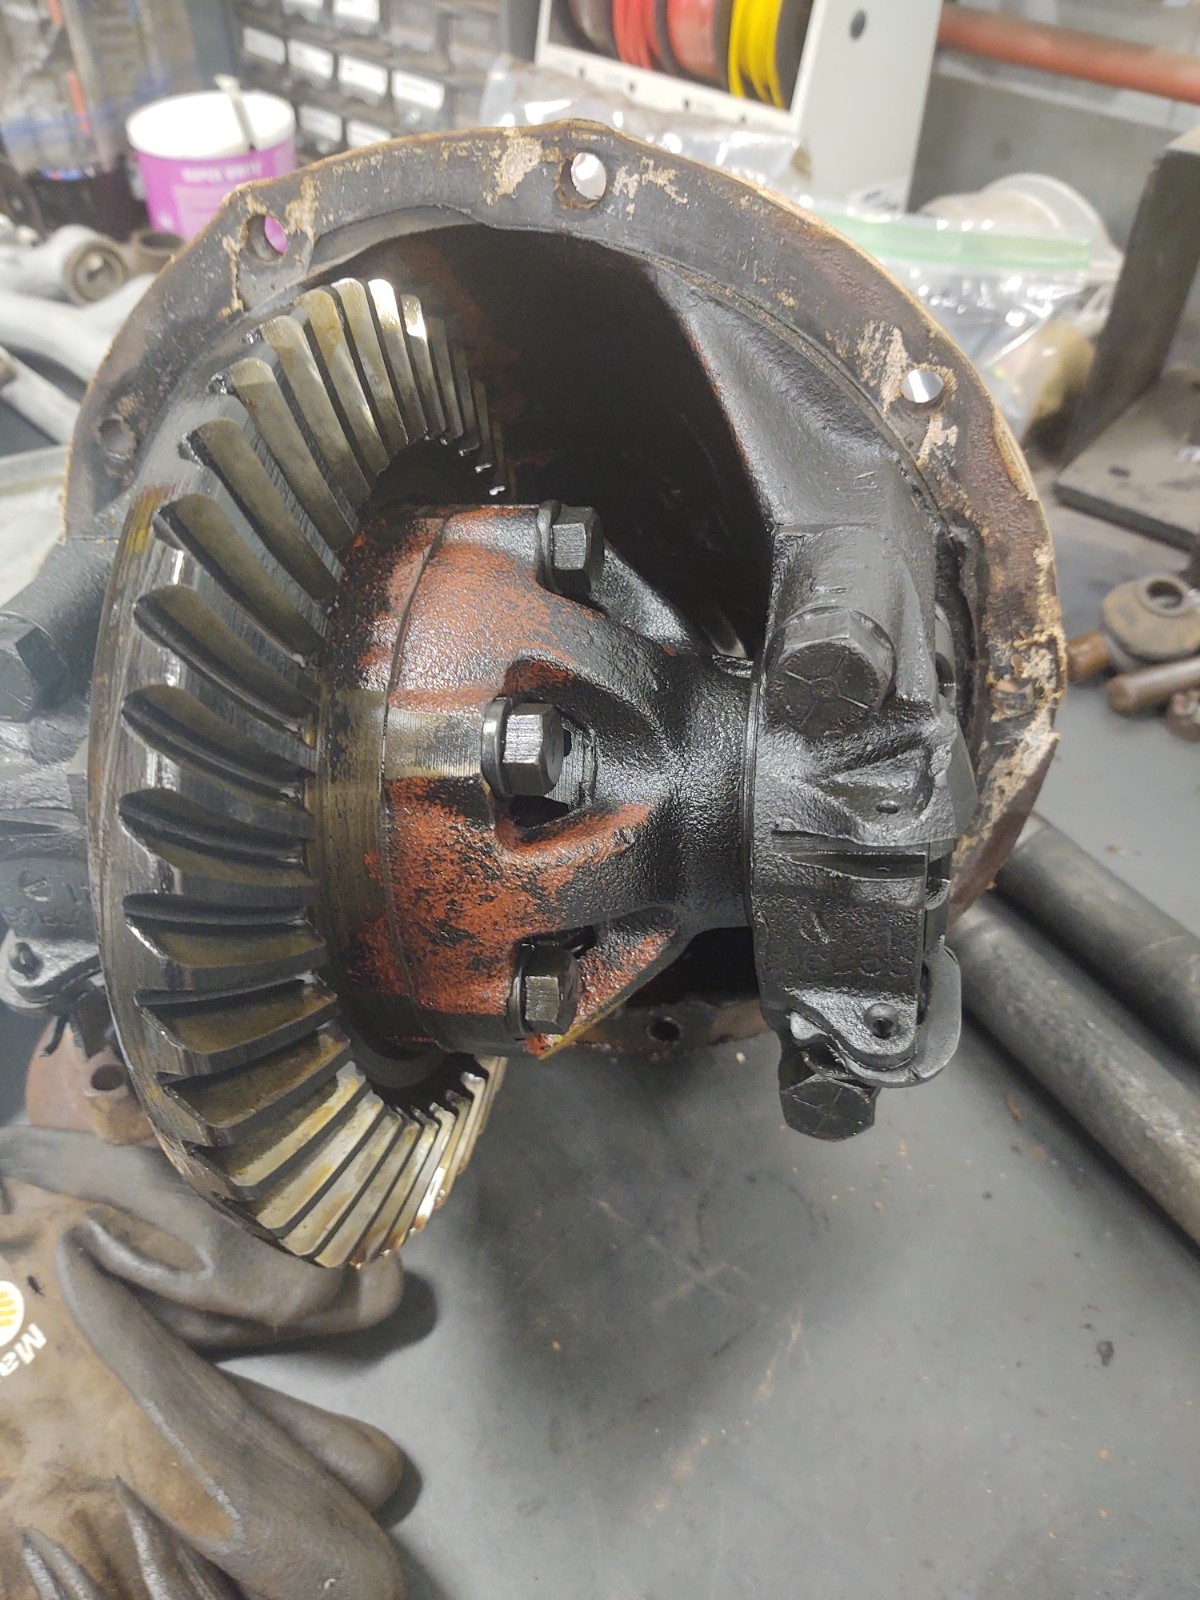
0 -
While I am waiting for front end parts I decided to build the front brakes so when the parts arrive I can just bolt them right up.
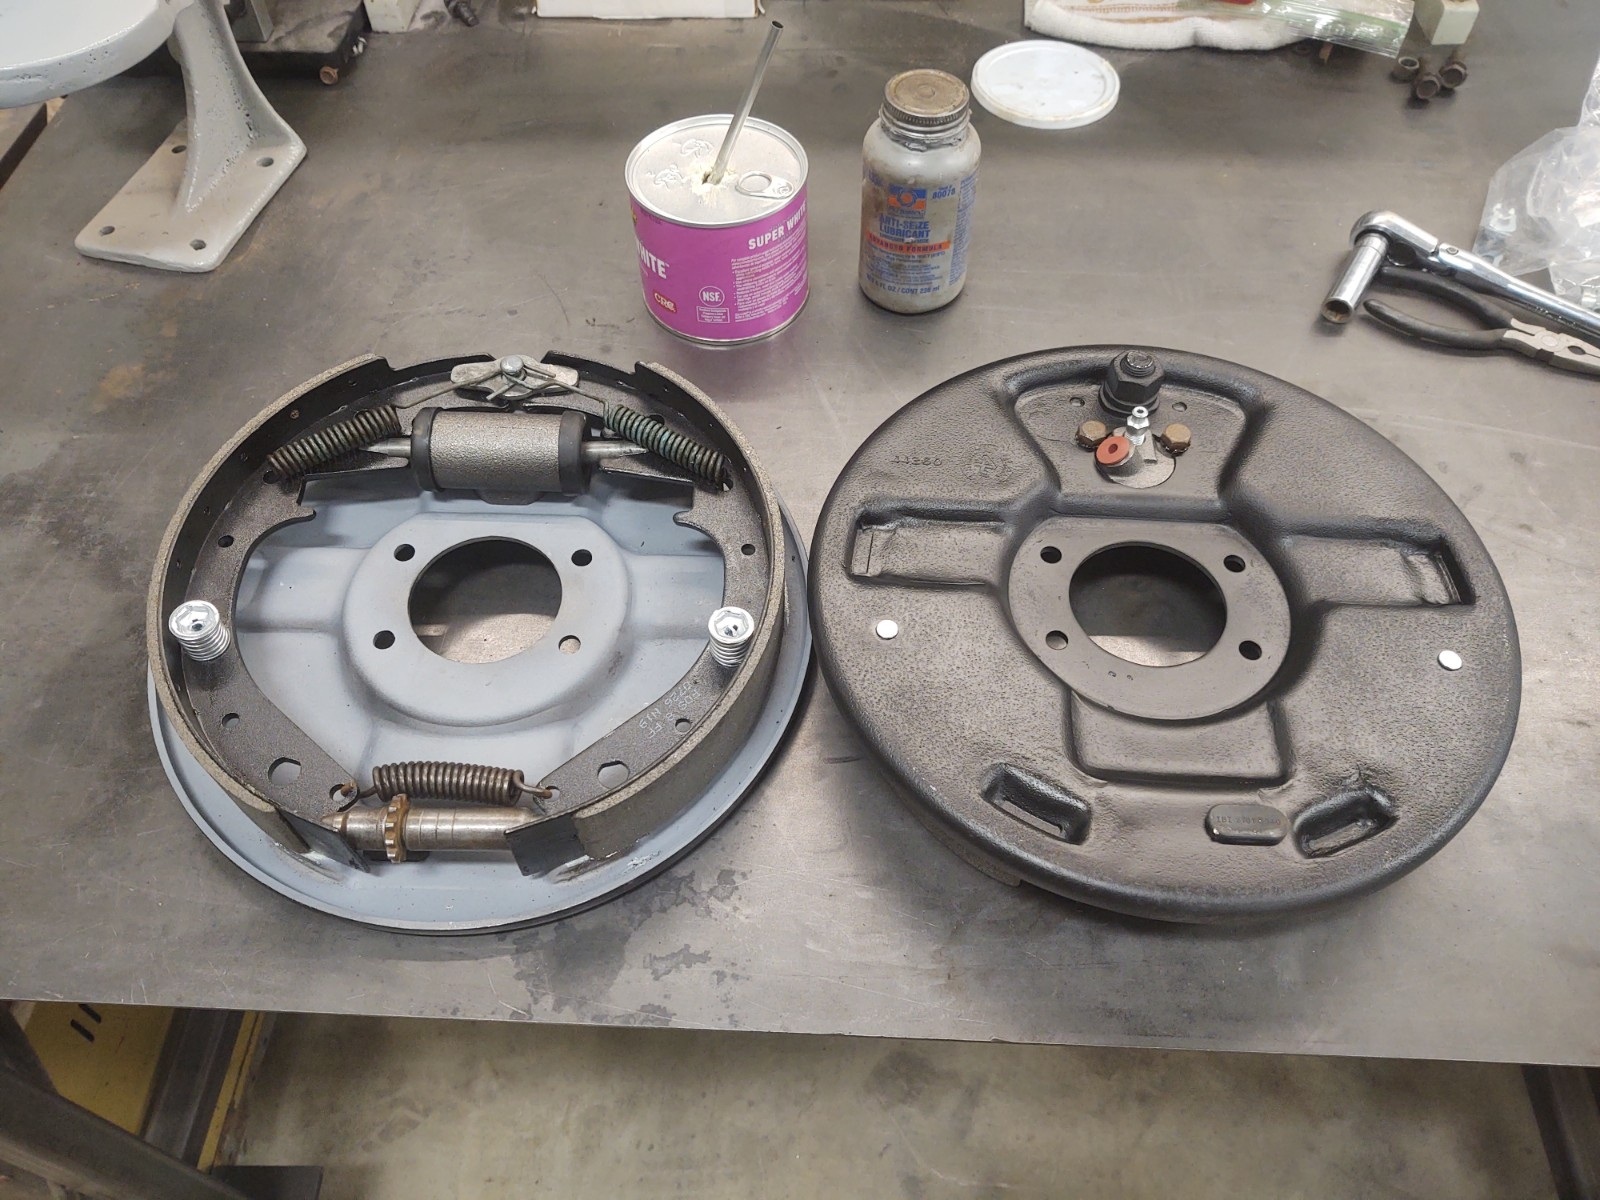
0 -
We did a similar driveline setup in my father’s’49. The engine was not bone stock and ran really good. We really couldn’t put it in overdrive until around 65 MPH. We passed everything on the road from Pa to the Indiana national meet that year!0
-
Looking for some input here in removing the antenna assembly. The set screw in the knob won't budge so now its stripped. I was going to try a small left handed drill bit and try to get the set screw out and hopefully save the knob.
Does anyone else have any tricks or ideas to try?
The antenna on the outside is broken off too so I will need to replace that down the road.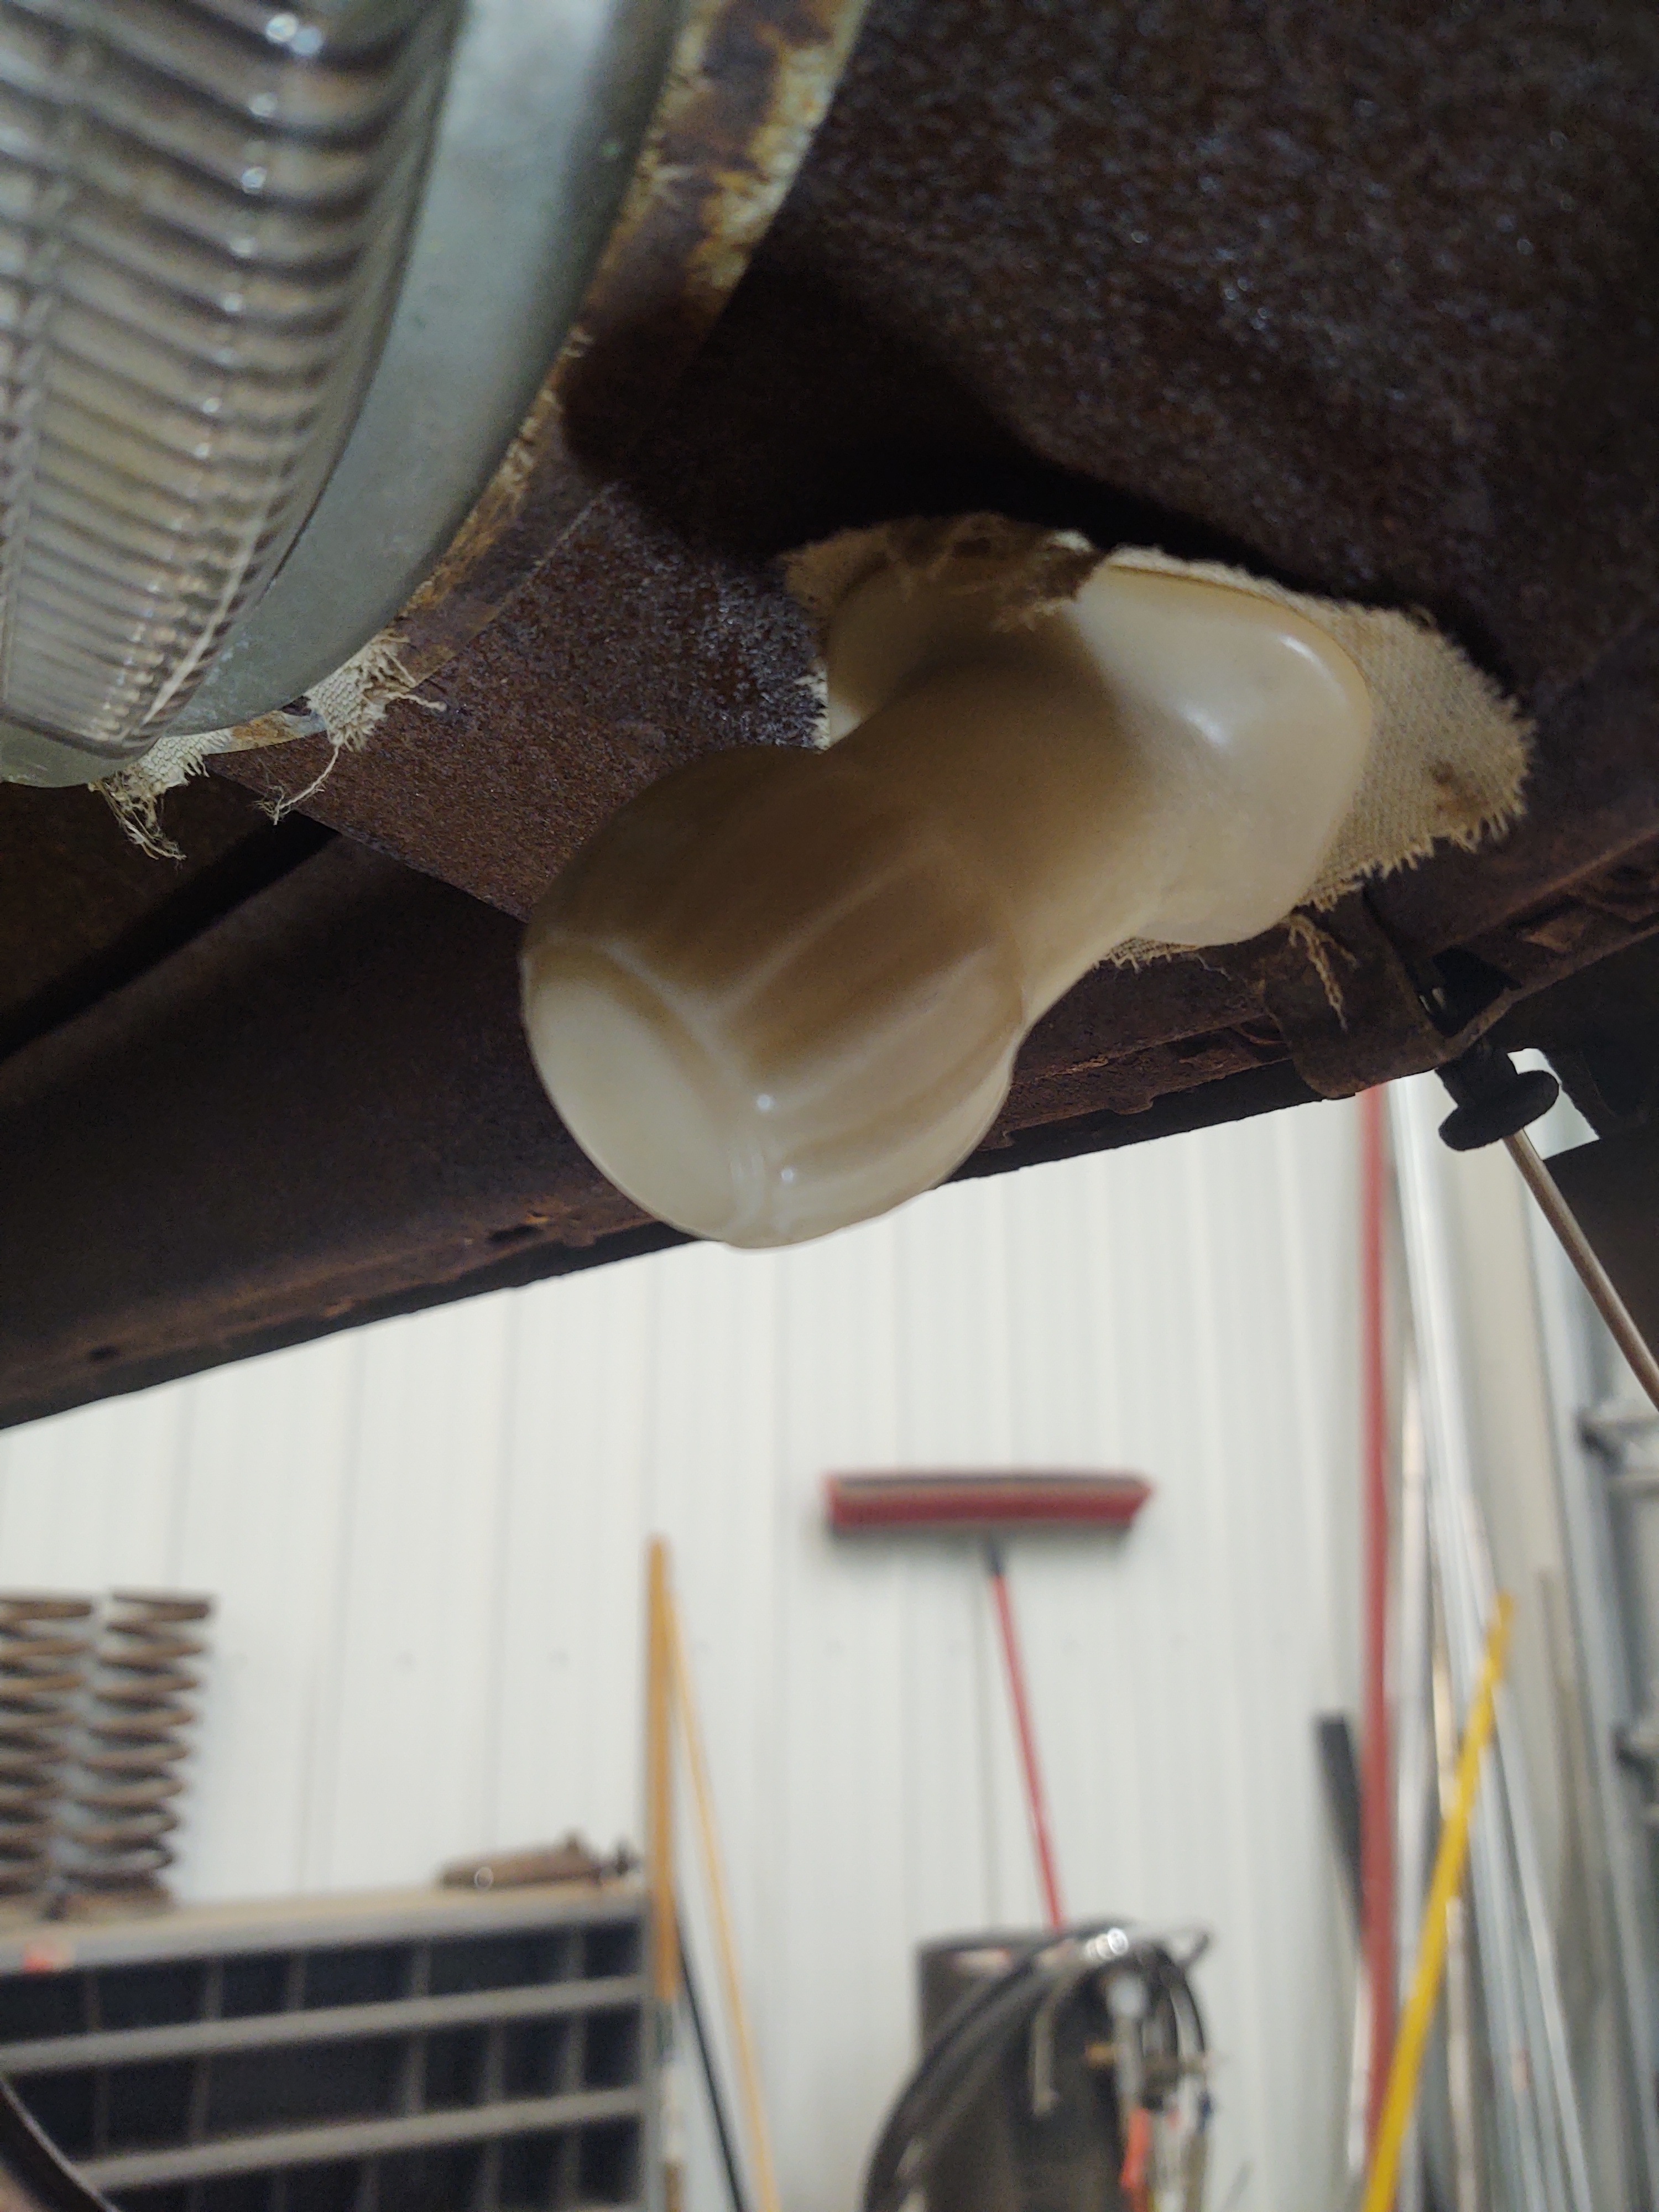
0 -
A little heat with a heat gun on low and some pb blaster a few heat cycles, grind the hex bit flat and sharp on the end and peen over slightly to expand, to bite really good into the bottom of the set screw.0
-
I was wondering if there is a seal of some sort on the shaft? I have some staining on my headliner right below my knob.0
-
Ok thank you. I do not have a heat gun so will try to find one to borrow.
It is a flat head set screw and I guess its not stripped......yet. Last time I tried I must have quit before that happened.
When I get this knob off I will let you know if there is any remnant of a seal on the underside around the shaft.0 -
When I removed my antenna knob, I took a propane torch and heated the screw driver. I then held the screwdriver on the screw for a few seconds and unscrewed it. it wouldn't budge before I tried this.
0 -
Great, I was thinking the same thing.....I do have a propane torch.
I will give that a try.
thanks0 -
Spent half of the day drilling and removing these door hinges. Talk about a fun time! Thank God it's only a two door.
I have one more half to remove from the door. Then hopefully I can pound out the old pins and fit some old valve stems for the new pins..... hopefully.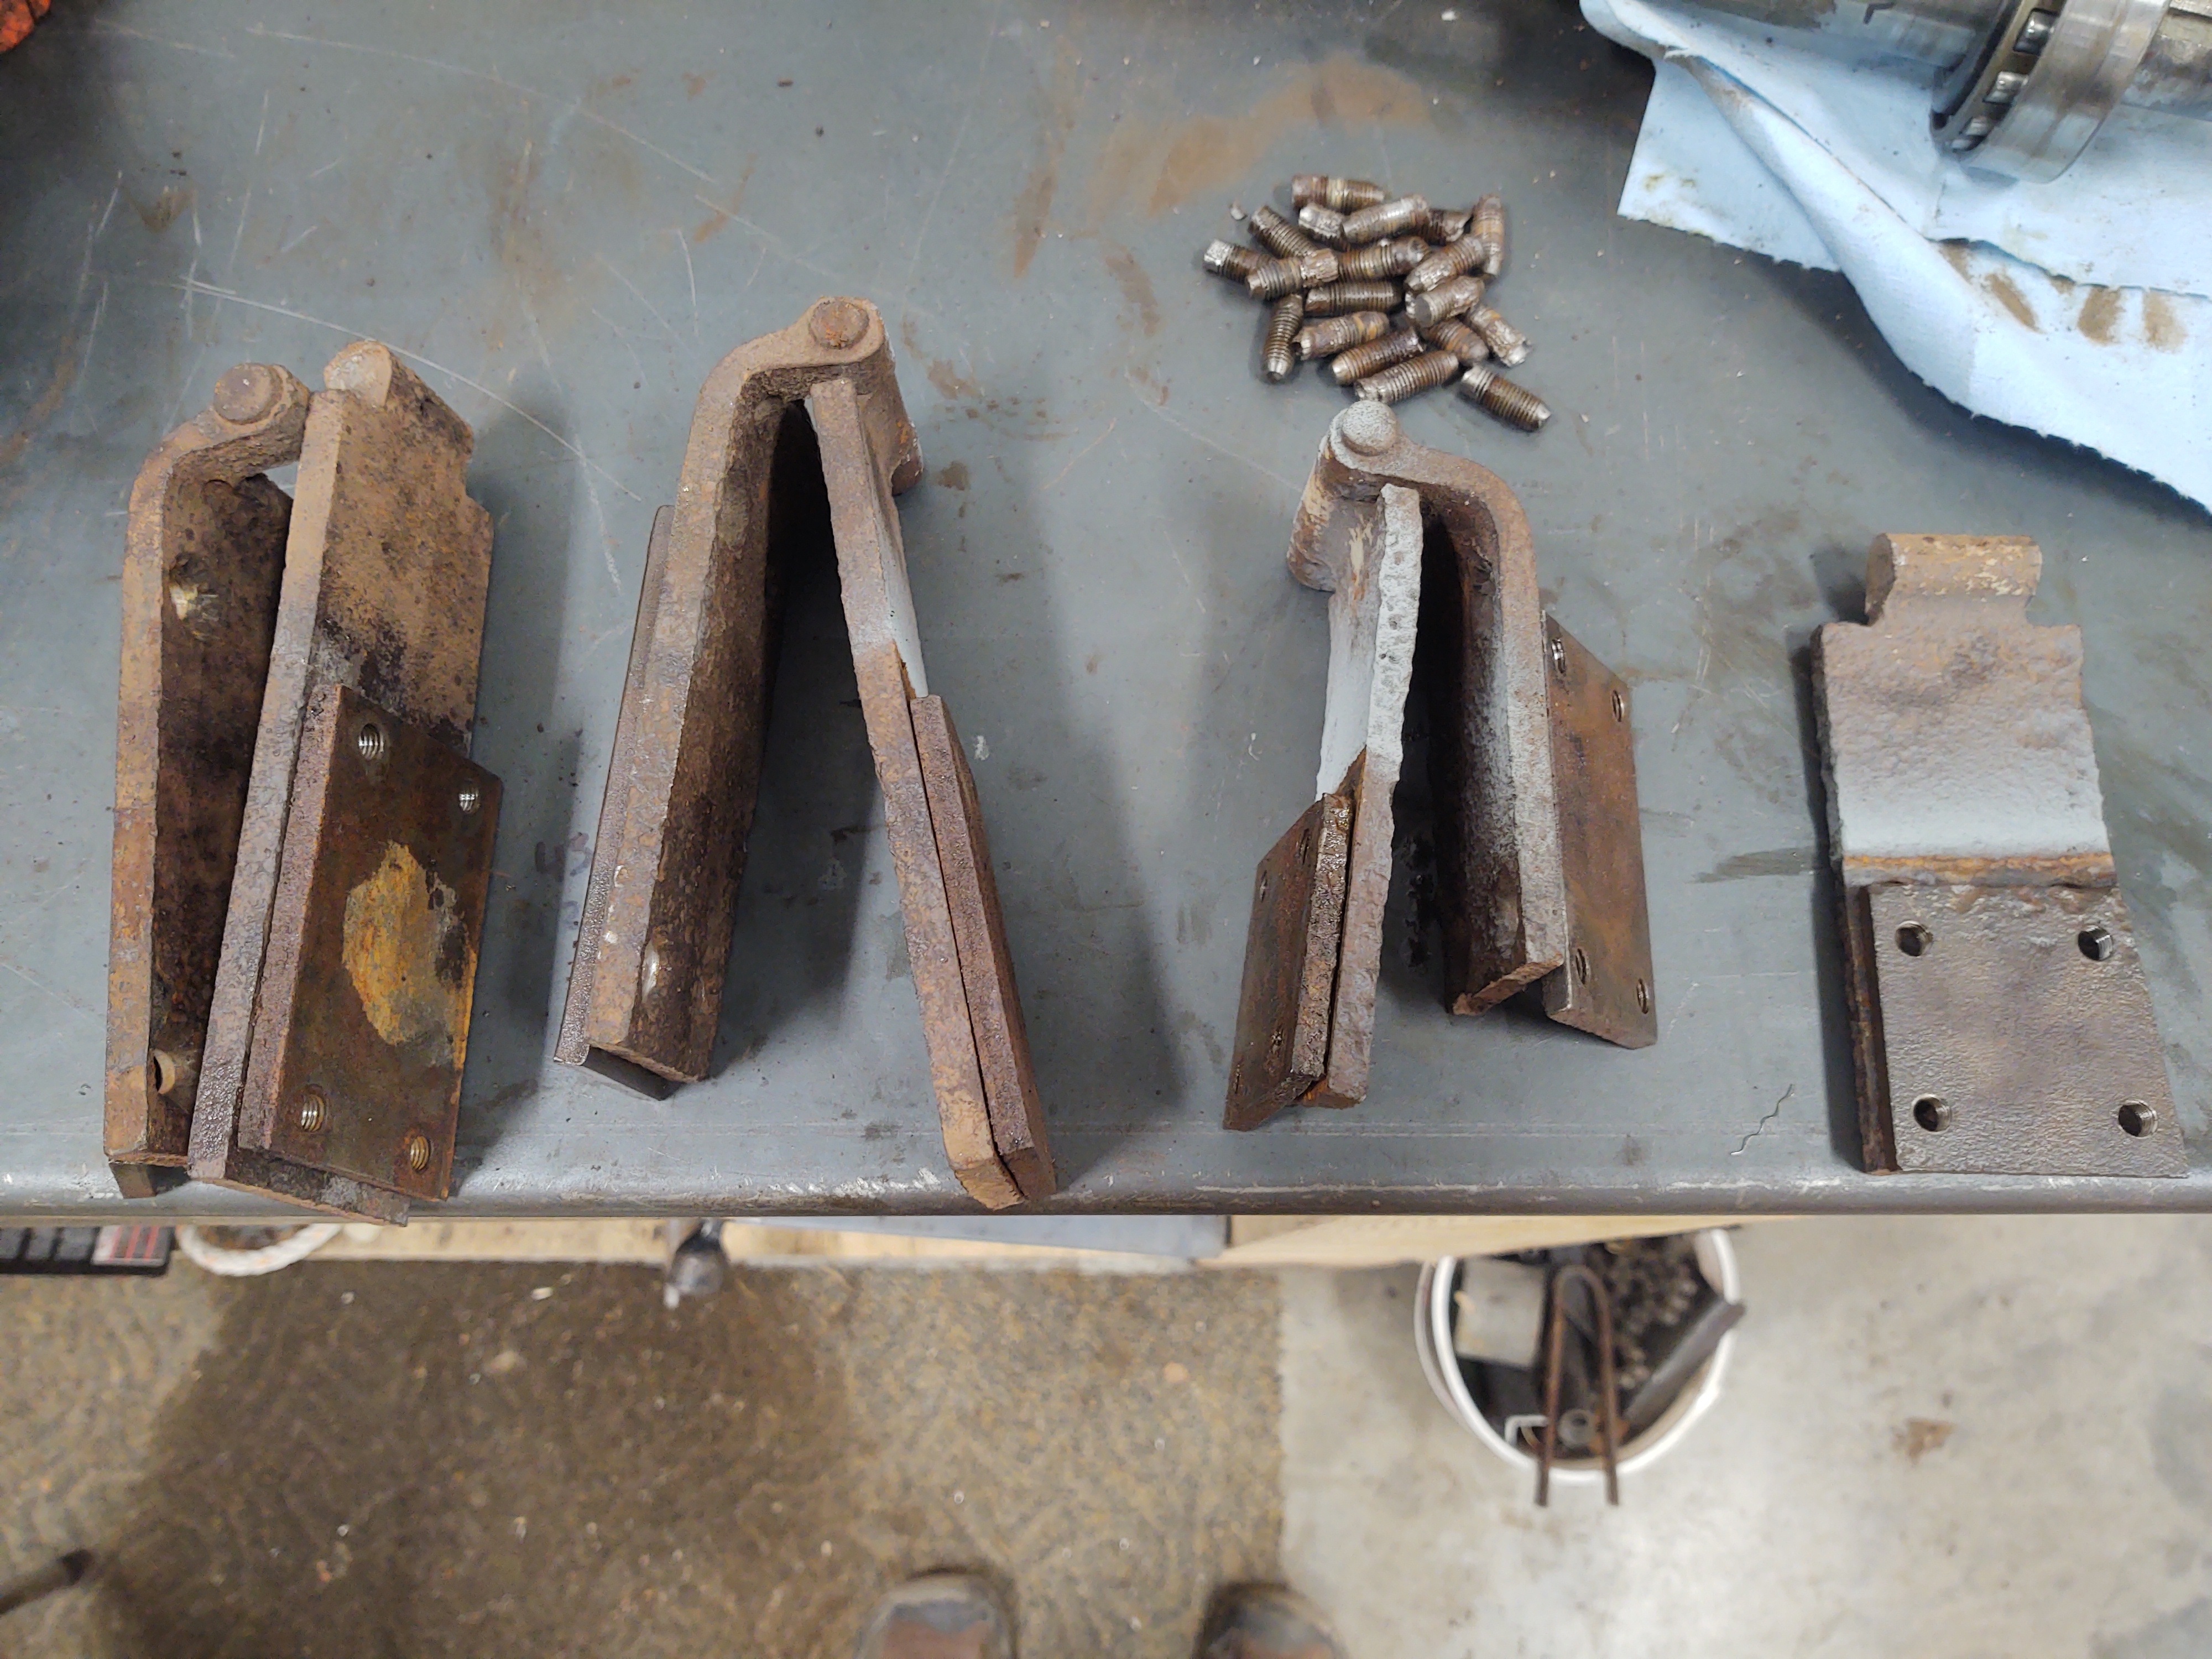
0 -
Incase someone else needs to remove hinges that are too rusty to remove traditionally.
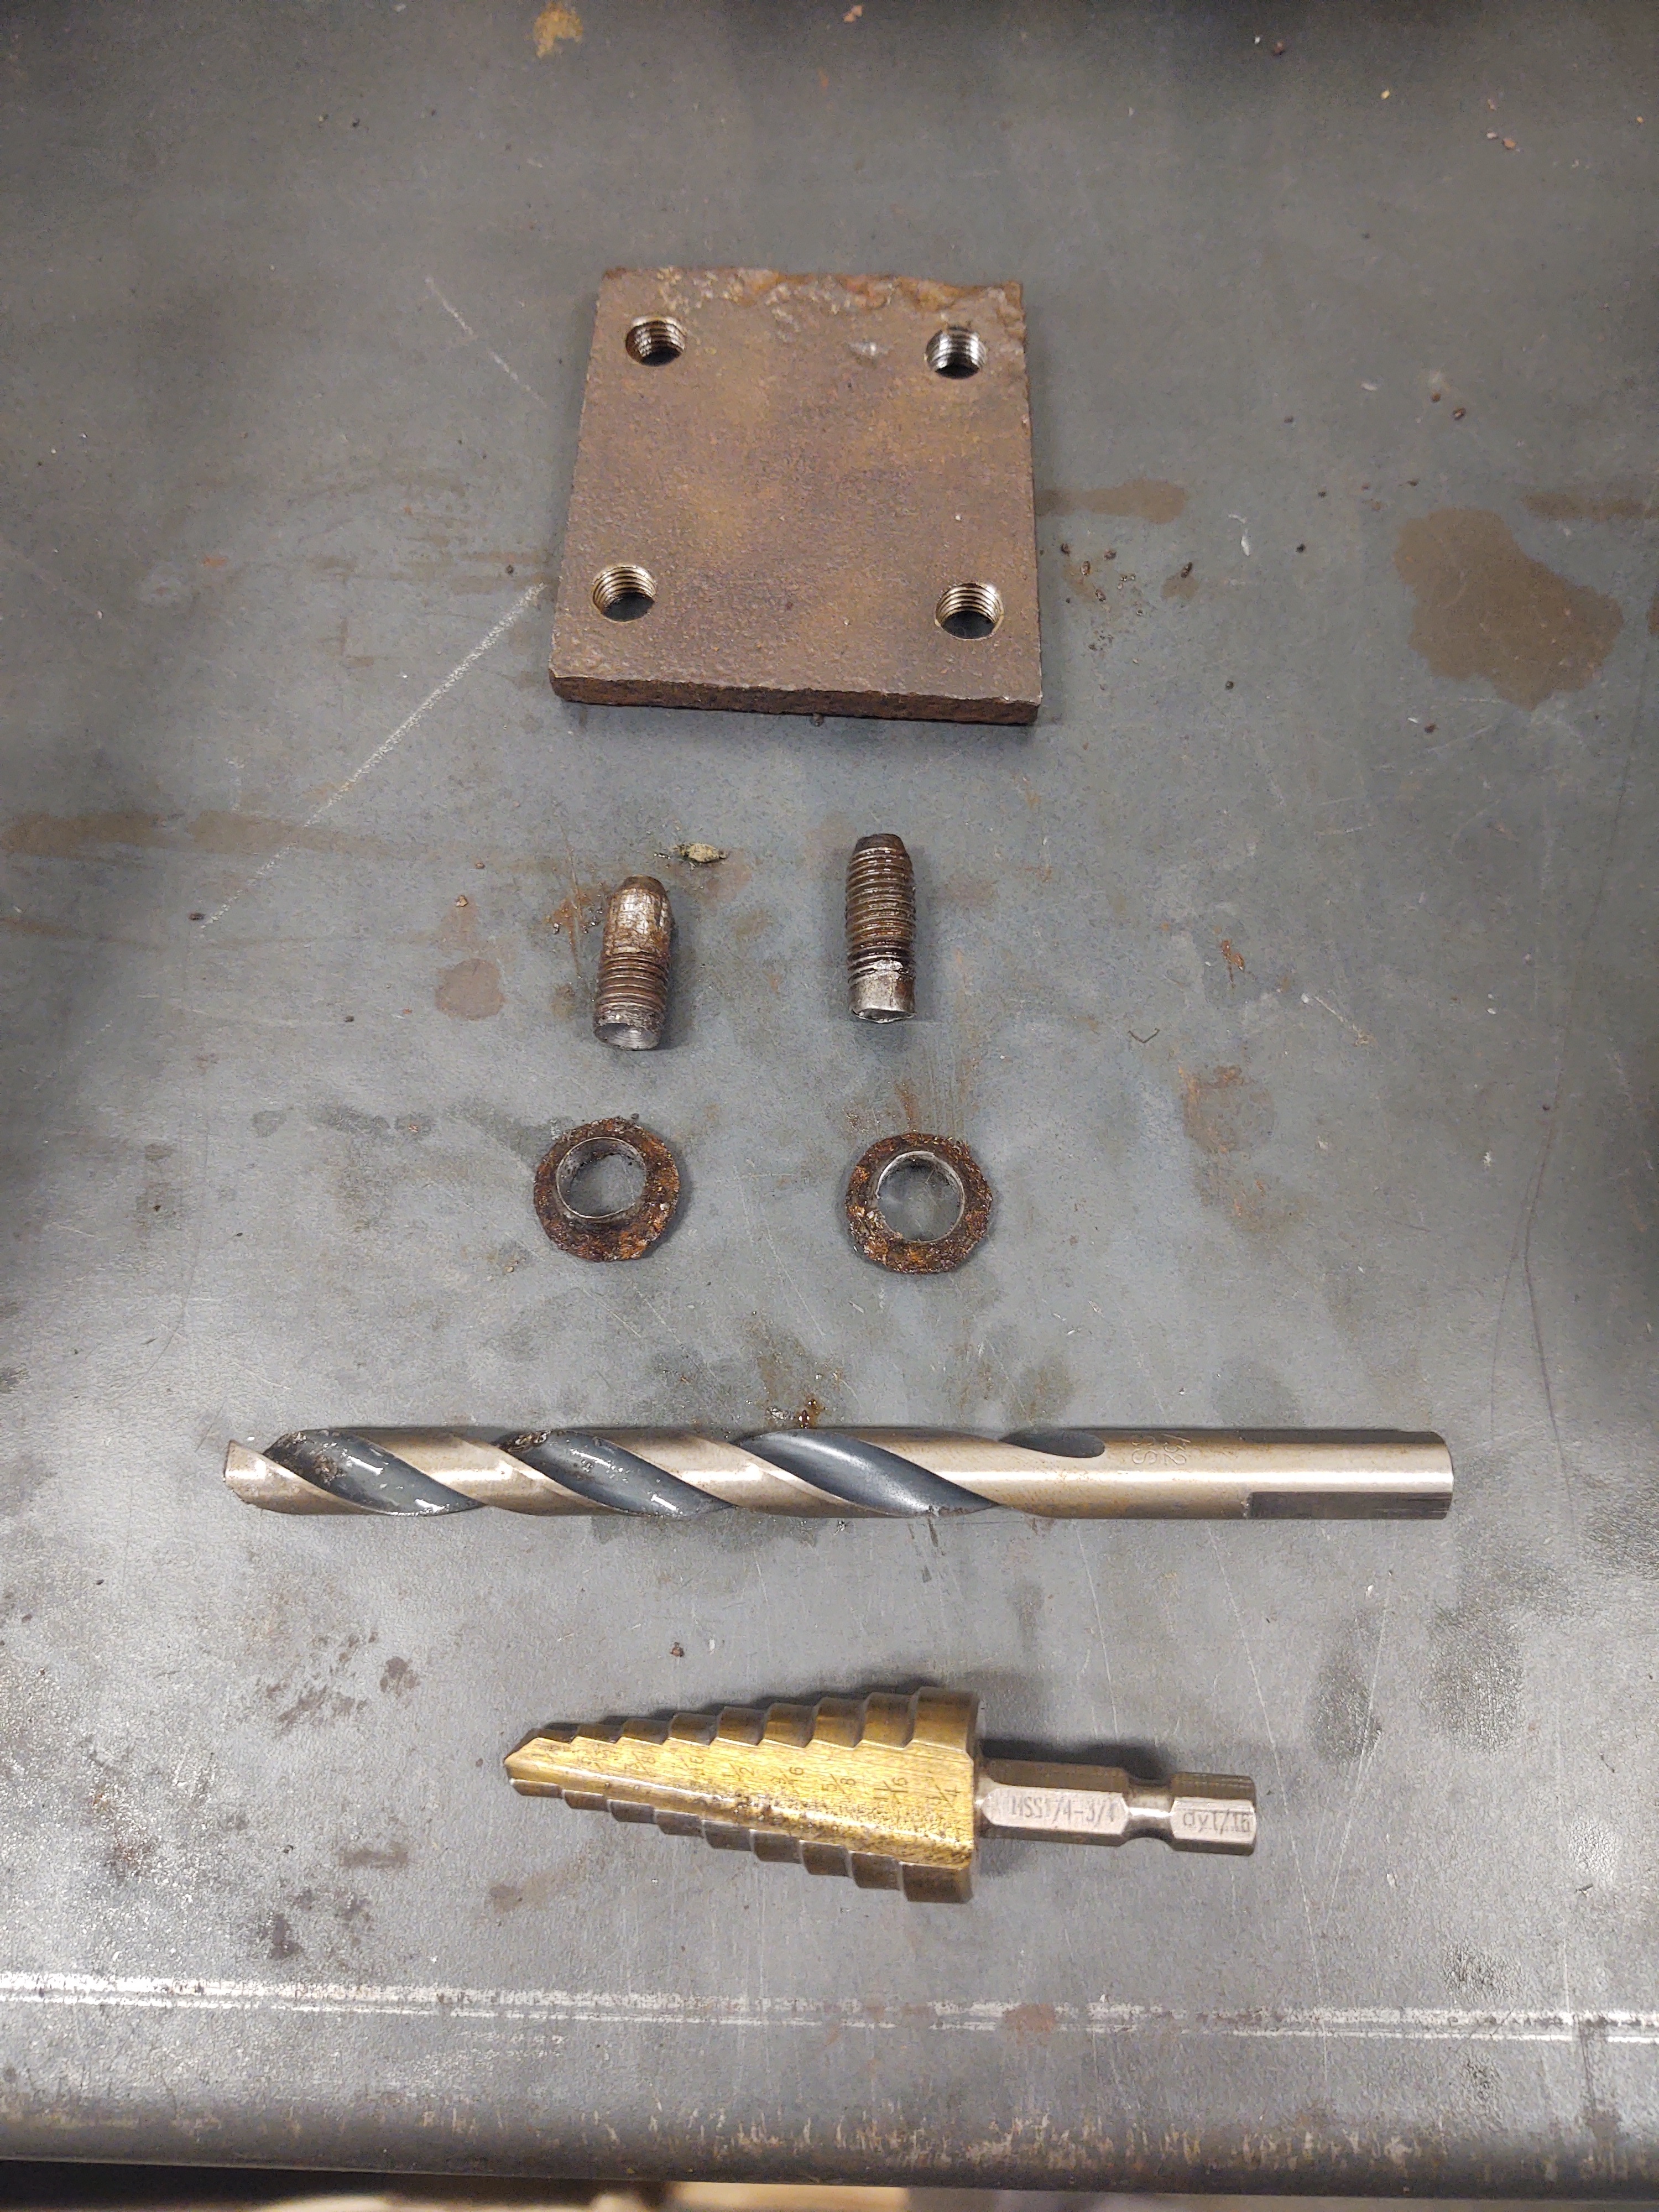
I used a step drill bit to center it and round off the Phillips head. Next I drilled and removed the head with an 11/32 bit.
Pulled the backing plate out of the door jam. Wire wheeled the back side threads. Then soaked threads with "Free All" penetrating oil. Slapped it in the vice and used a vice grips pliers to spin the old bolt out the way it went in.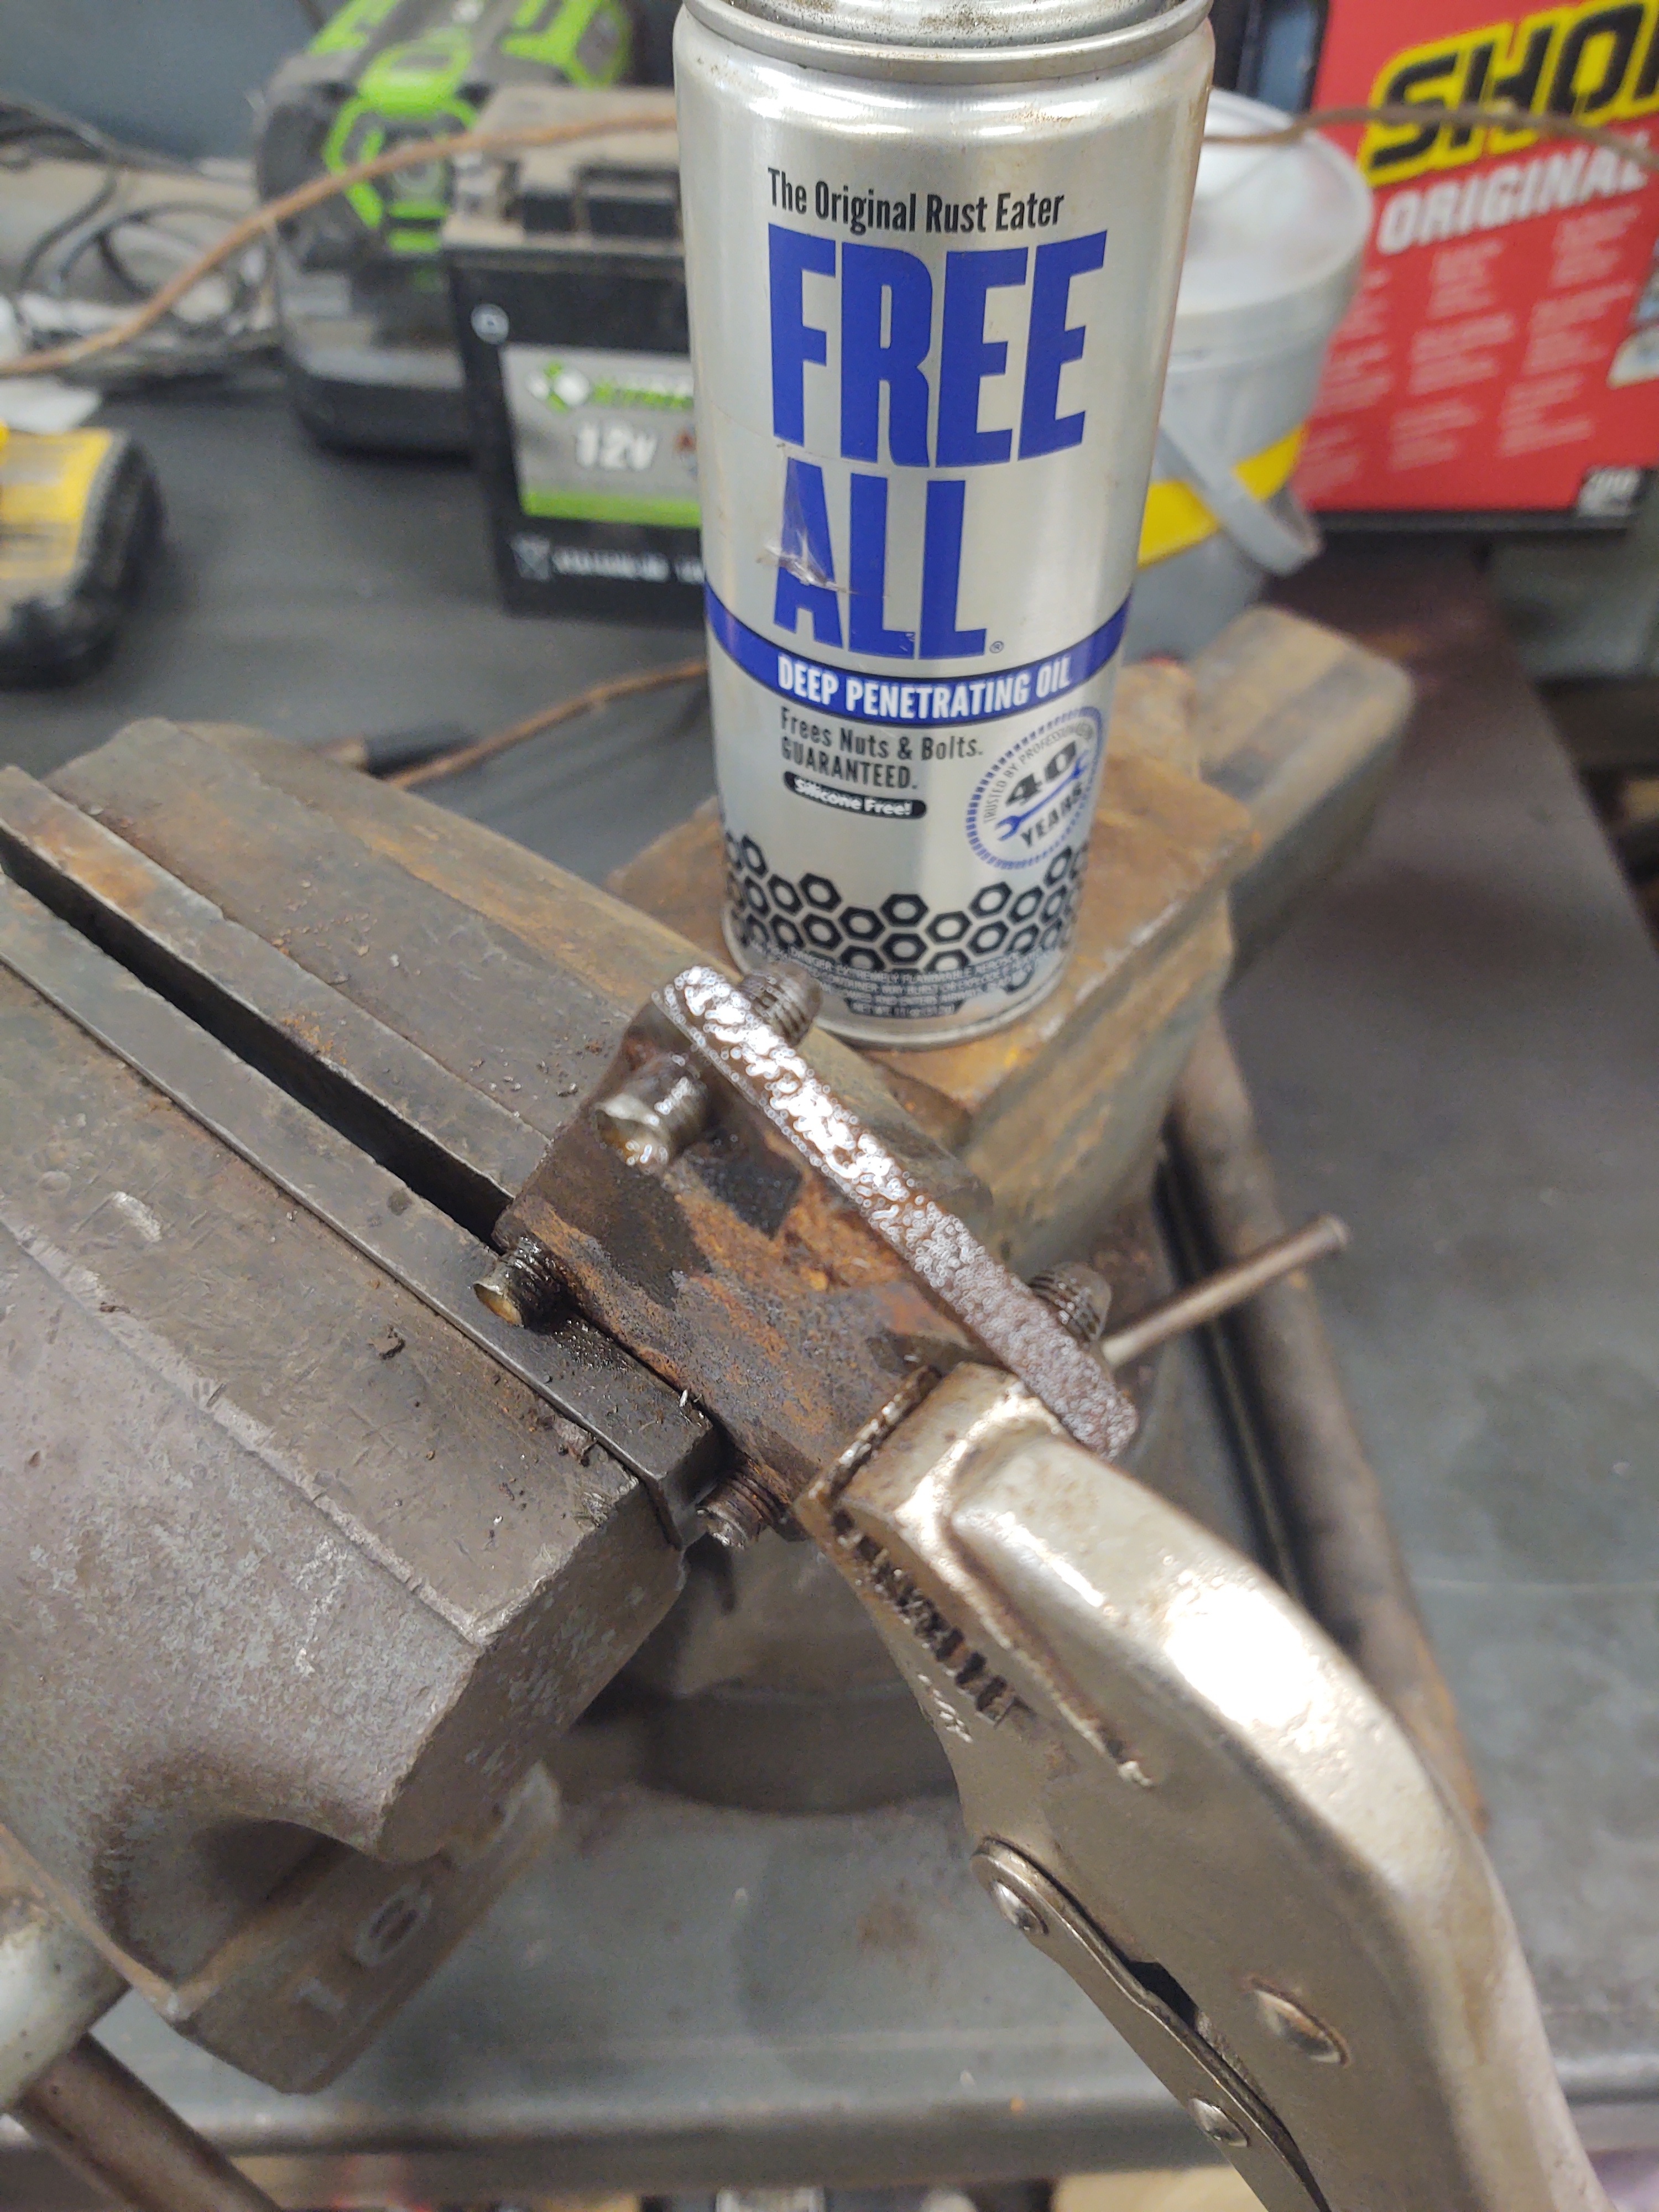
 0
0 -
I hear the screws with a propane torch first, spray with your favorite penetrant then I use my impact gun and impact screwdriver bits, to gingerly at first, break that rusty seal between the hinge and screw heads. This works 90-95% of the time even on cars that have been sitting since the late 50’s. The others I have to drill. I can post pics later if need be.0
-
I heat, not hear, the screws lol0
-
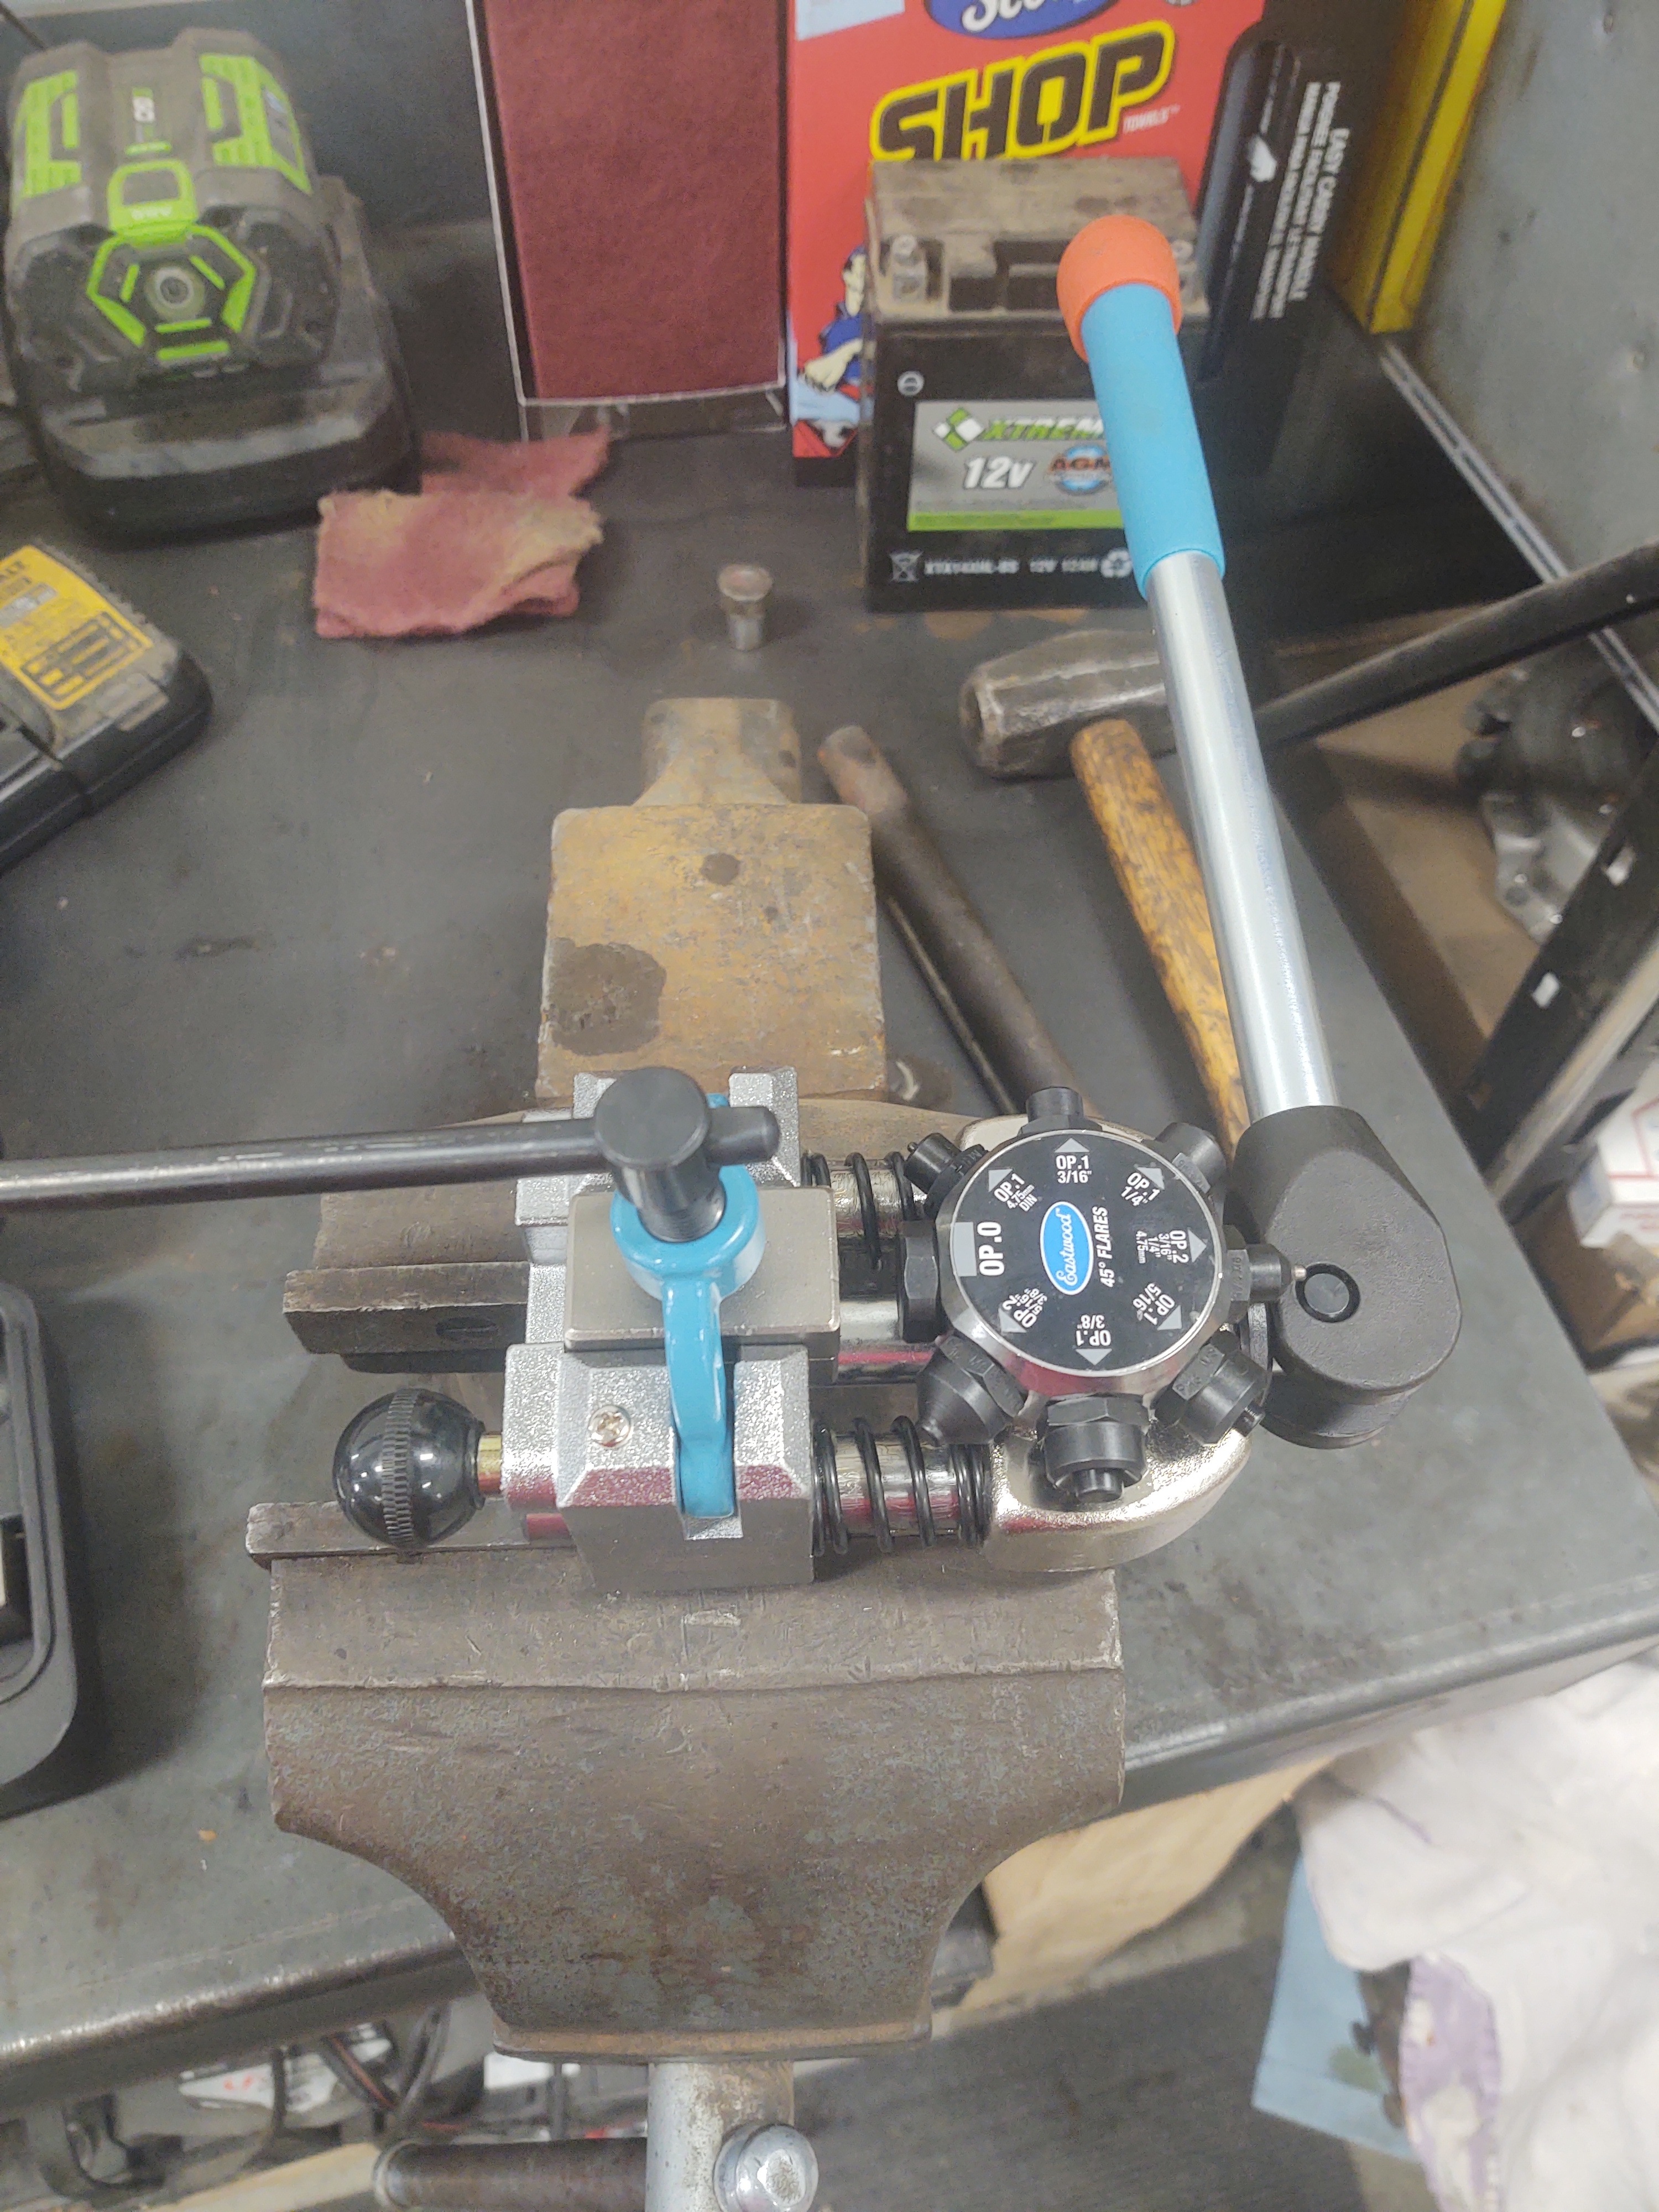
Finally got to play with my new brake line flaring tool from eastwood. It works great!
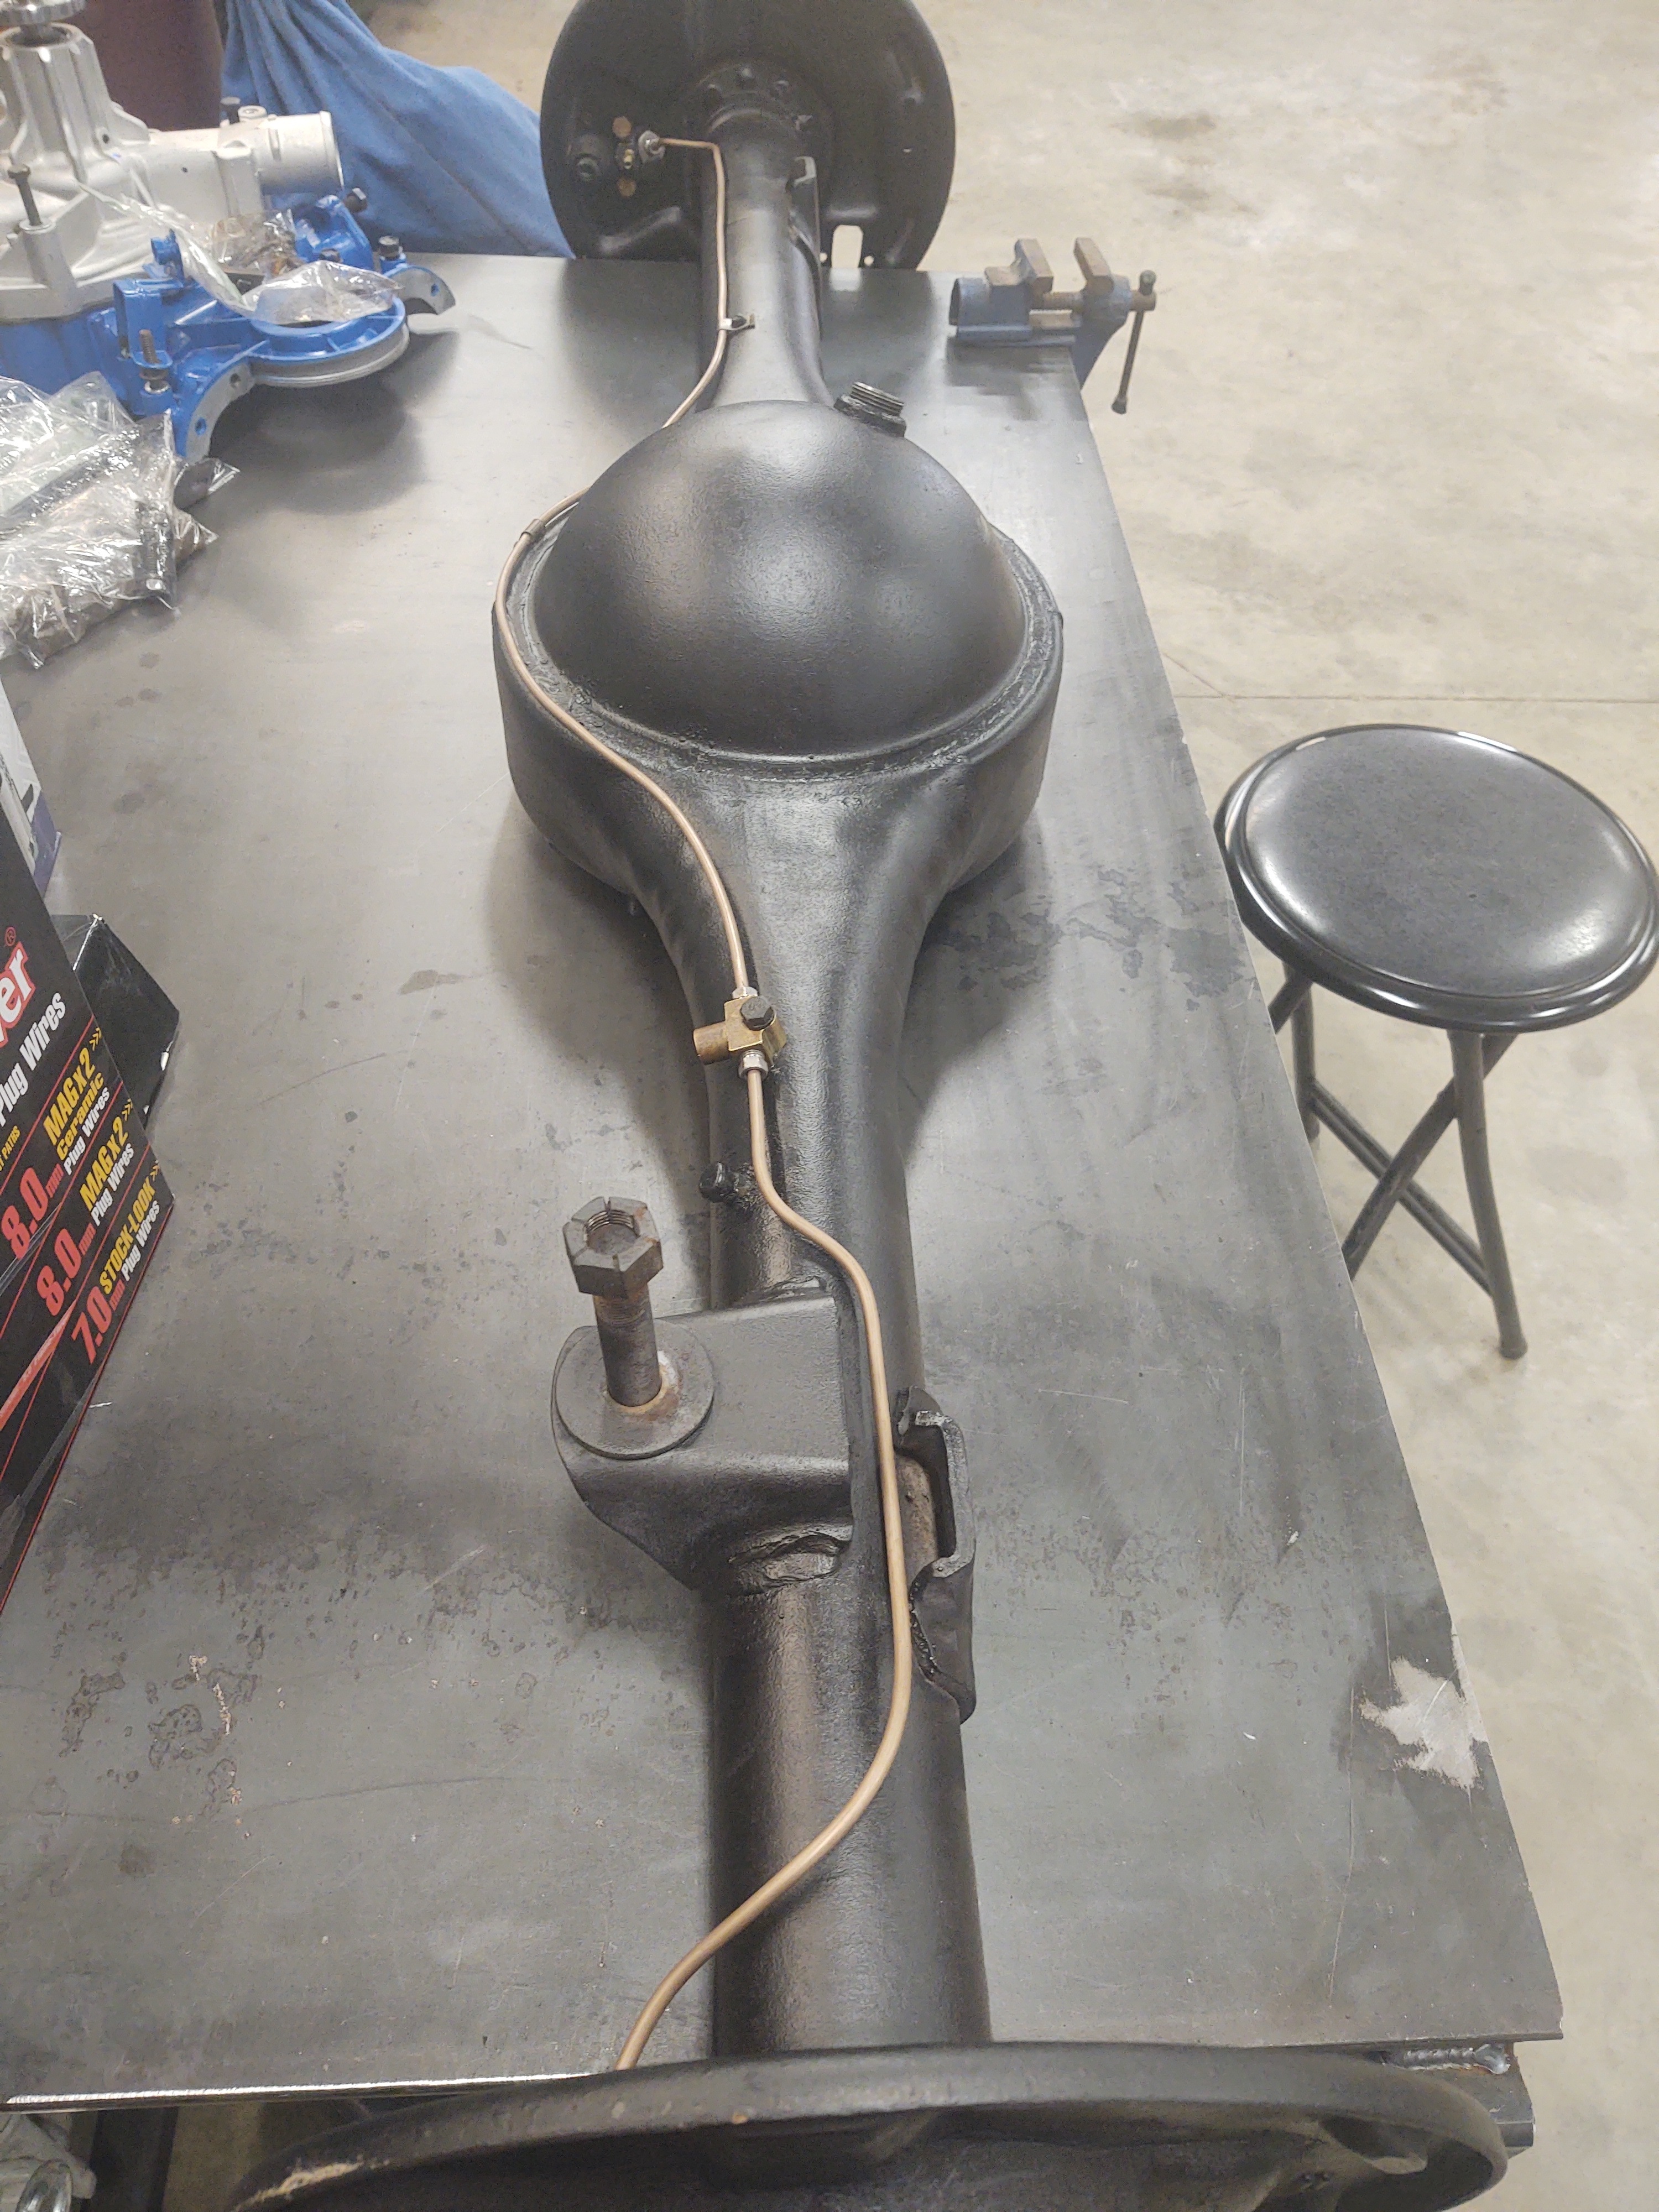
0 -
I have new door screws- 8 per hinge. They are Allen head instead of the traditional Phillips head but the pitch is correct. Let me know if you need any...0
-
Thanks, sent PM0
-
Looks like copper brake lines? I’ve always been told that copper was to soft for brake lines. I have seen copper lines used that had big bulges in them from the copper stretching under pressure.0
-
These are copper clad with nickel inside.
Awesome stuff to work with.
Read more at link below:
https://garage.eastwood.com/eastwood-chatter/top-reasons-nickel-copper-brake-line-is-superior-to-steel/
0 -
Schillaz, thank you for sharing you journey with words and pictures!
0
Categories
- 37K All Categories
- 116 Hudson 1916 - 1929
- 21 Upcoming Events
- 96 Essex Super 6
- 28.6K HUDSON
- 576 "How To" - Skills, mechanical and other wise
- 995 Street Rods
- 151 American Motors
- 181 The Flathead Forum
- 49 Manuals, etc,.
- 78 Hudson 8
- 44 FORUM - Instructions and Tips on using the forum
- 2.8K CLASSIFIEDS
- 609 Vehicles
- 2.2K Parts & Pieces
- 78 Literature & Memorabilia
- Hudson 1916 - 1929 Yahoo Groups Archived Photos

