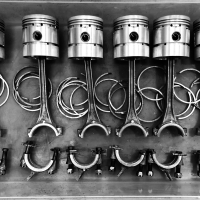
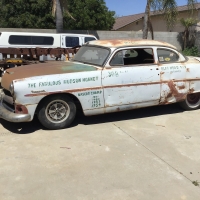
1946 Hudson truck stretch cab
bent metal
Senior Contributor
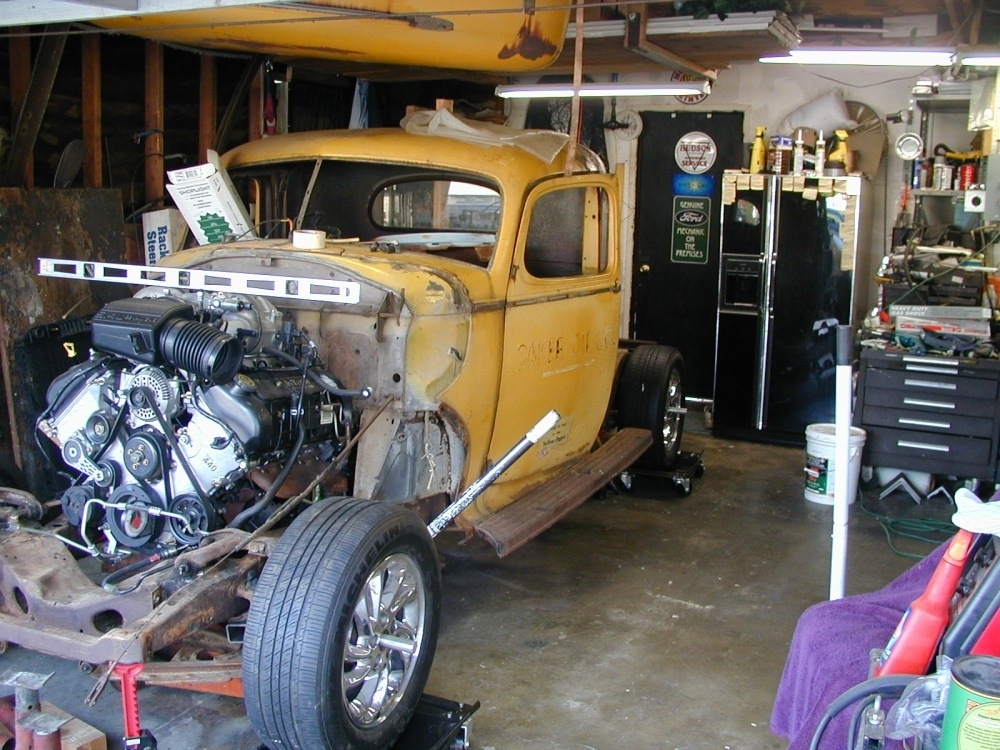
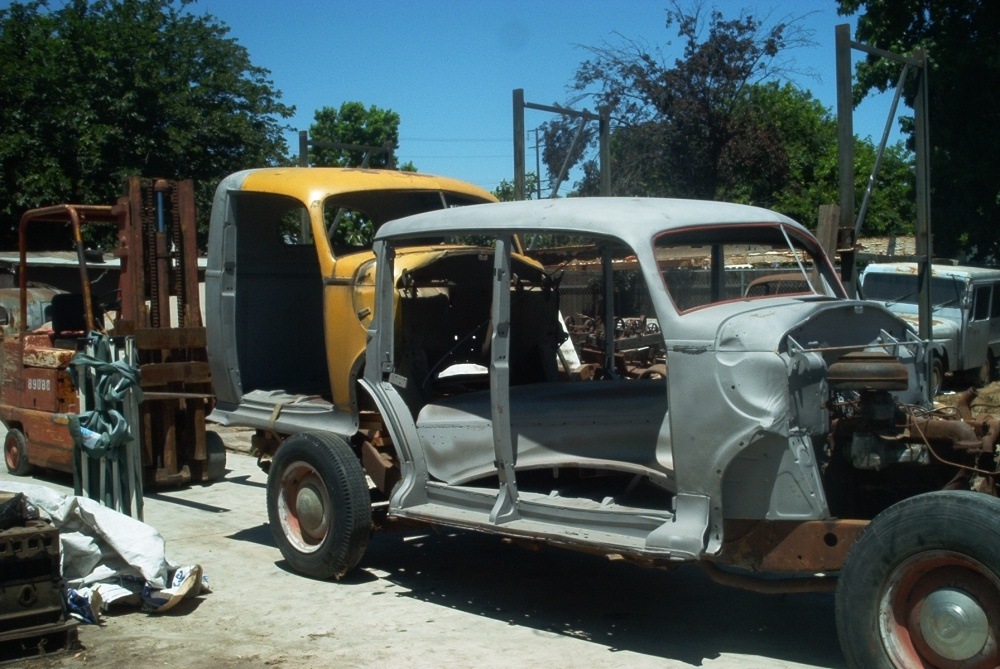
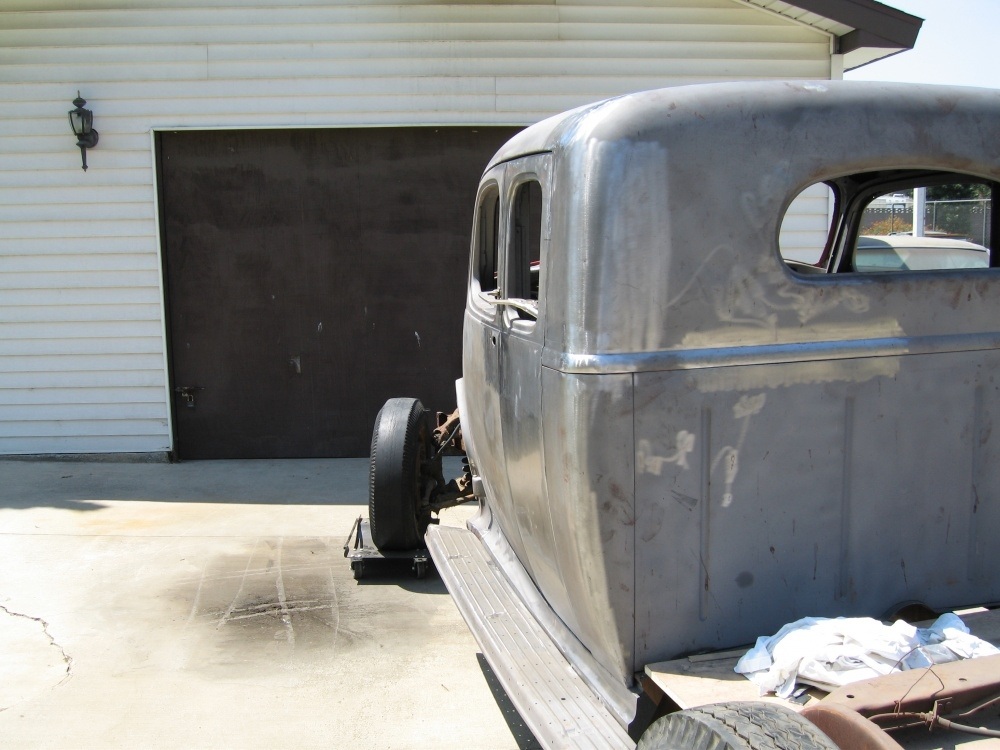
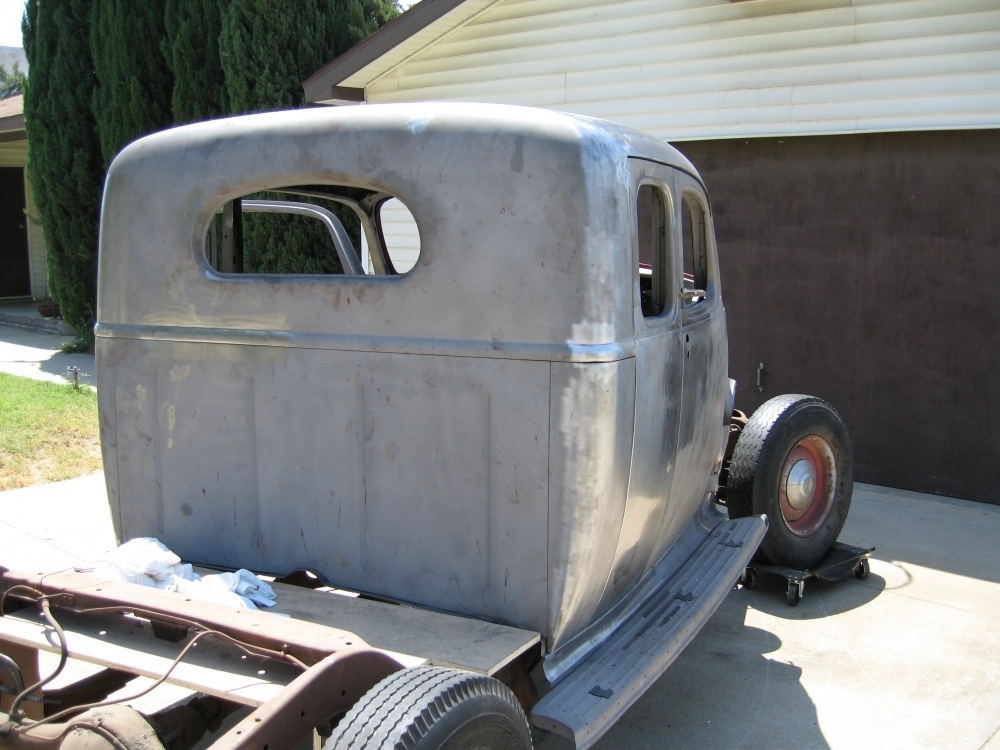
This is a stretch cab truck I did. The customer wanted a bigger cab but not longer doors. At the time, the Chevy trucks with the extra little door was popular. This truck design was influenced by those trucks and their overall look. My customer Mr. David had thought out the project very well. He wanted to use a four door sedan. Cut the car in half through the back doors. Then weld the truck cab back on the car. The total length of the stretch would be 15". The little doors would open and close independent of the front doors being open or not. We started with a truck and a four door sedan. Sent both bodies to the sand blaster so we could see what we have to work with. Hmm? I see the mail man jeep in the background that later became a 1924 Essex. ....but that's a story for another day. 


0
Comments
-
Very cool!
Cant wait to hear about the jeep.......0 -
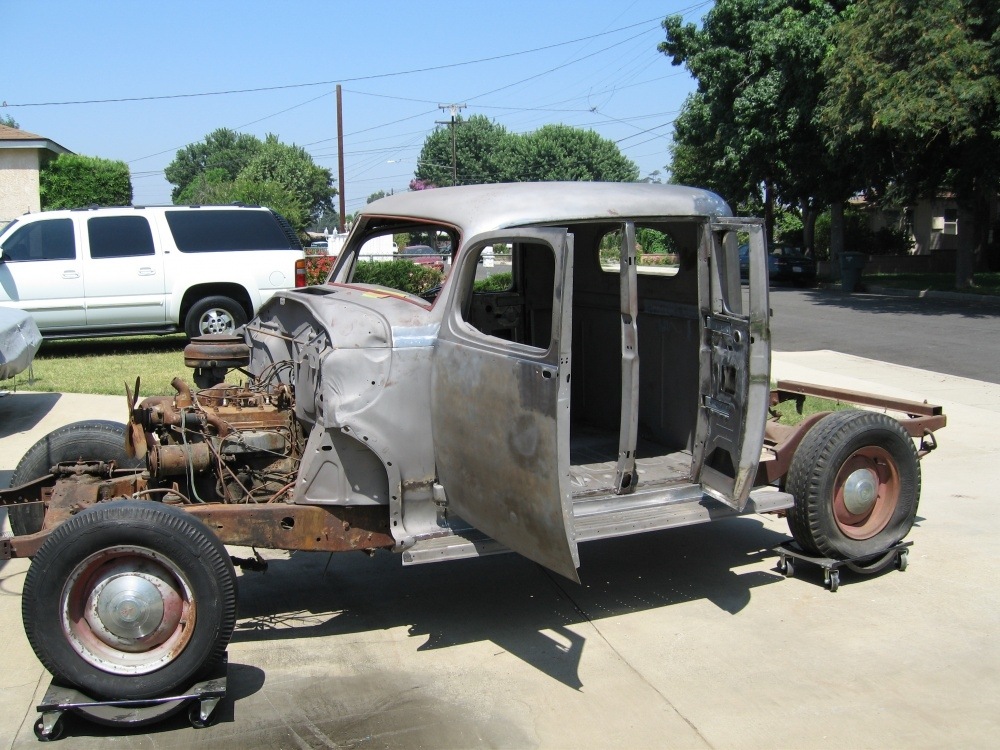
Some things worth mentioning. The wheel base will stay the same. To give room for the longer cab, the bed will be shortened. If you look at the above picture you might notice a few things. The car has internal running boards. That will have to change to rockers and outside running boards. The car has drip rails, those will have to go, to make it more truck like. So everything you see that is grey is bare metal. That is what we will use for the build. .... some one with a sharp eye will notice the wheels. Although they won't be used for this truck, they are the very rare "heavy duty" Hudson truck wheels.0
-
I have a '46 truck. Not sure if I have the heavy duty wheels - how do I tell?
Thanks.0 -
I will be interested in seeing how the bed will be shortened as mine is now about 12” shorter than original but I also shortened the frame to accommodate. I took about 6” off the front of the bed and about 6” off the back. Stake pockets gone as a result. Was able to use original mounting points and brackets. Not to hijack but several years ago when I began my 47 pickup I asked about using an earlier front end from a 40 or 41. Was told the fenders would not fit to cowl without a lot of work. These photos make it appear that the earlier fenders attach exactly the same and would interchange with the 47 cowl. Thus earlier front sheet metal will bolt on. The differences are in external running boards and the internal step. I still think it can be done. I may be incorrect
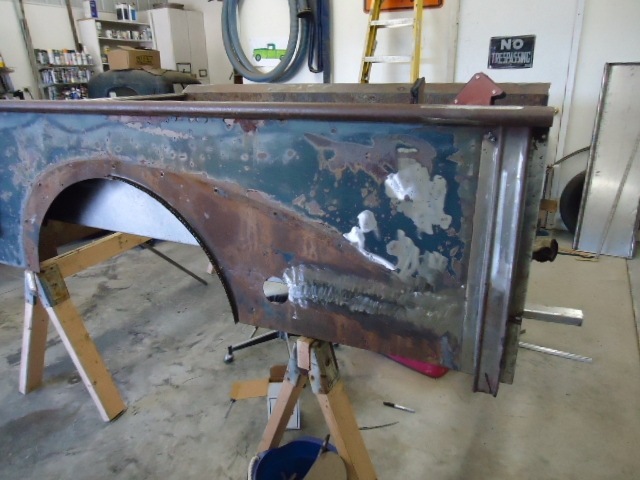
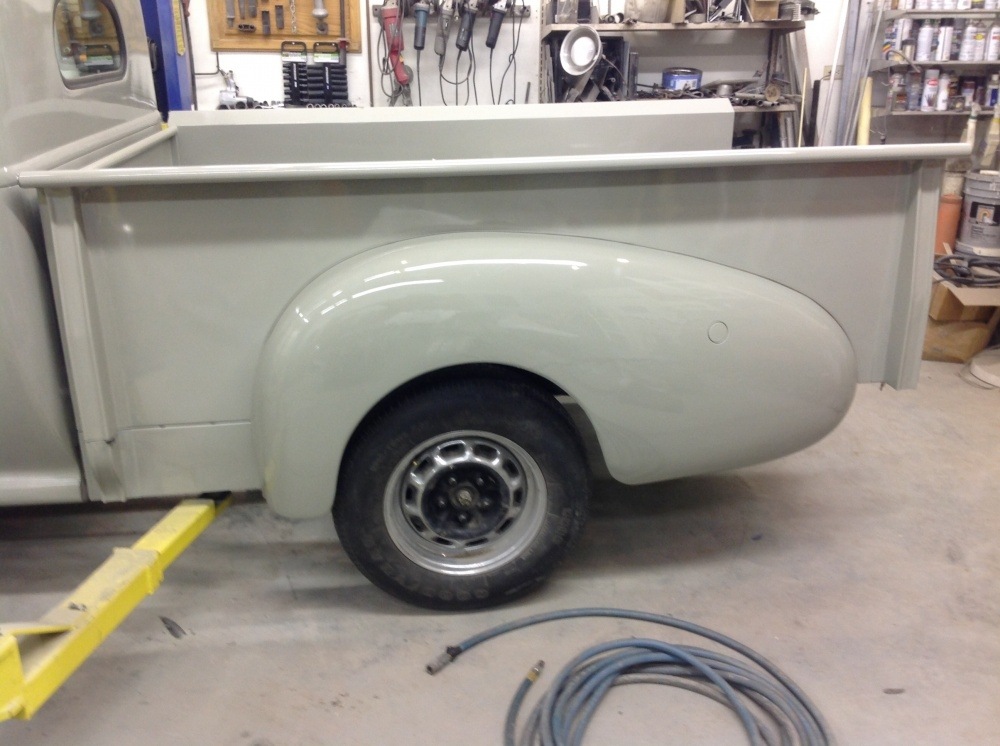 0
0 -
Great work, I’m always amazed at what you can do with metal!0
-
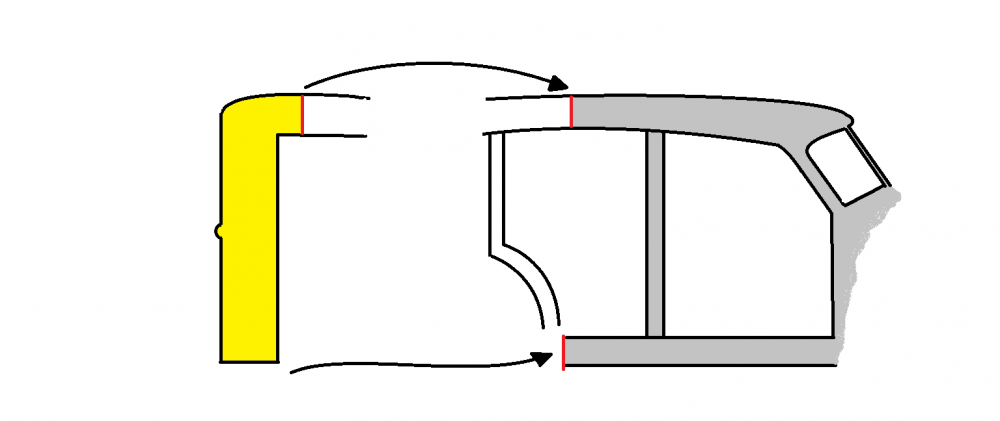
So,...this is the plan. I cut the car in half across the roof about 15" into the back door. I cut the truck roof about even with it's jamb. The floor gets cut at 15" plus whatever the truck cab thickness was. Maybe an additional 8" (?), plus an inch or two so the floor extends under the bed. Something like this drawing.
 0
0 -
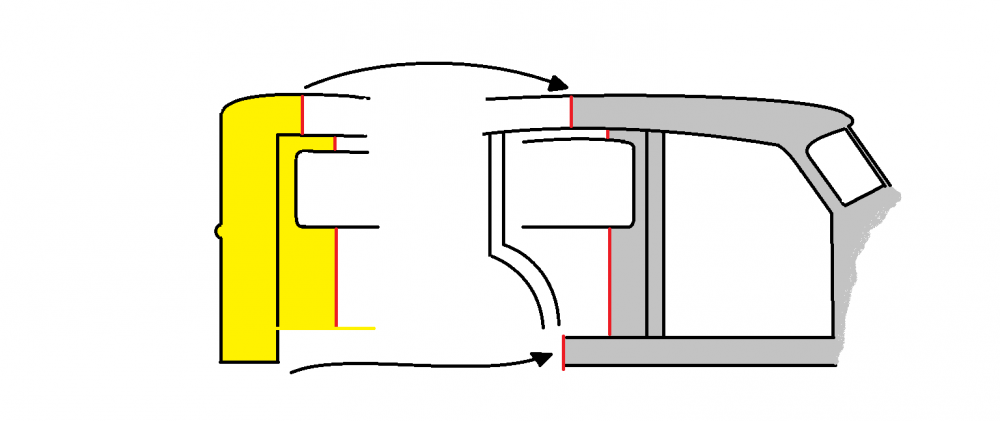
For the doors the idea was to use half of the truck door, and half of the sedan rear door and weld them together. By doing this, I wouldn't have to make as many pieces. Then too, I wouldn't have to make garnish moldings. Which take a lot of time if you have to make them.
 0
0 -
The Best Laid Plans of Mice and Men. Although it all sounded good. Like a lot of these projects, once you get into actually doing the job,...things are a little different than how they were drawn up. Here is one problem, that I didn't see until after everything was cut apart.
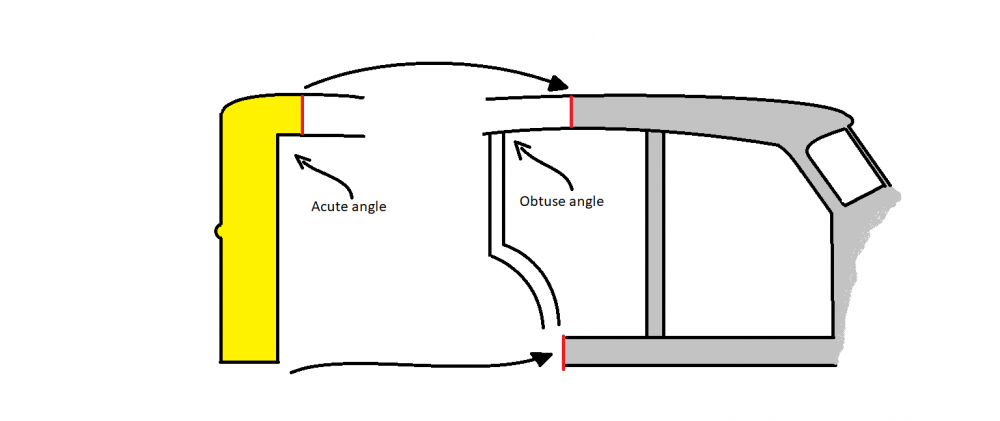 0
0 -
Then there was the roof. Looking down on the roof the cab gets wider as it goes back. So the original truck roof is narrower because it was more forward of the back doors. Also, the truck cab sides are not at 90degrees to the cab back. Because the roof width varies, gets bigger as it goes back, the sides angle inward toward the front of the car. Where I need to attach the roof in it's new position, the cab sides need to angle outward to match the contours of the body.
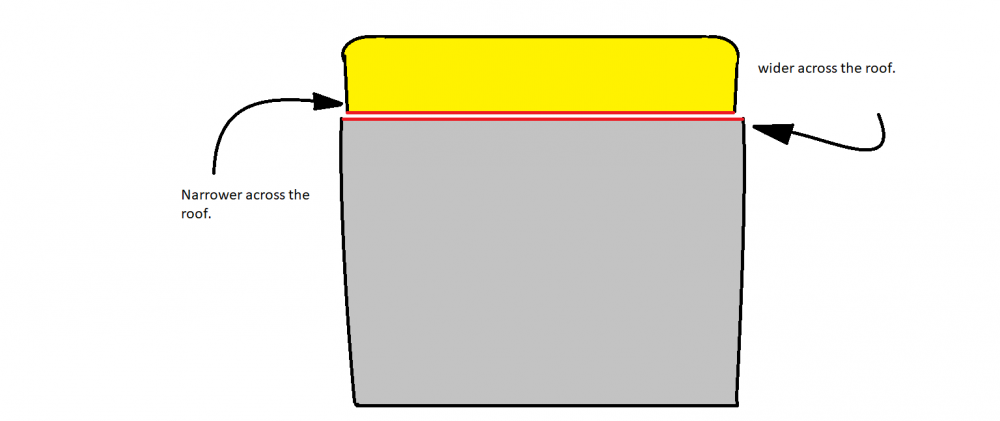 0
0 -
Then as it turns out the roof height was different too. But I'm not doing a drawing of that. You get the idea.0
-
Thanks, bent metal, for the insight. This should be of great value to anyone who is going to attempt a stretch cab. This is the only place I’ve seen this info shared by someone who has actually done it.0
-
Thanks! I hope these details of different builds get saved on the forum forever. So, here we go. Start cutting as per plan.
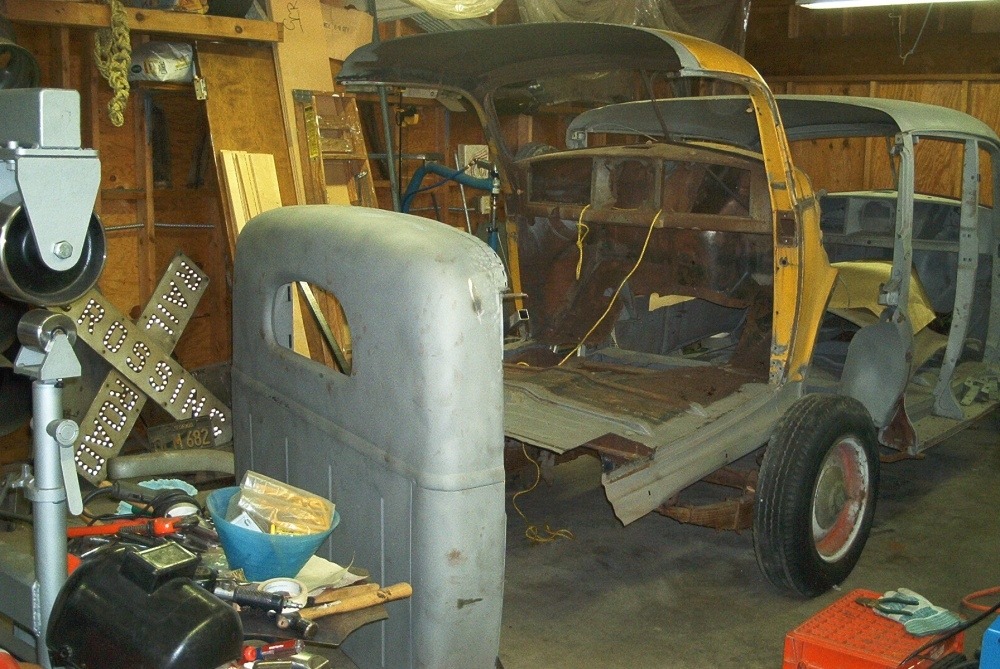
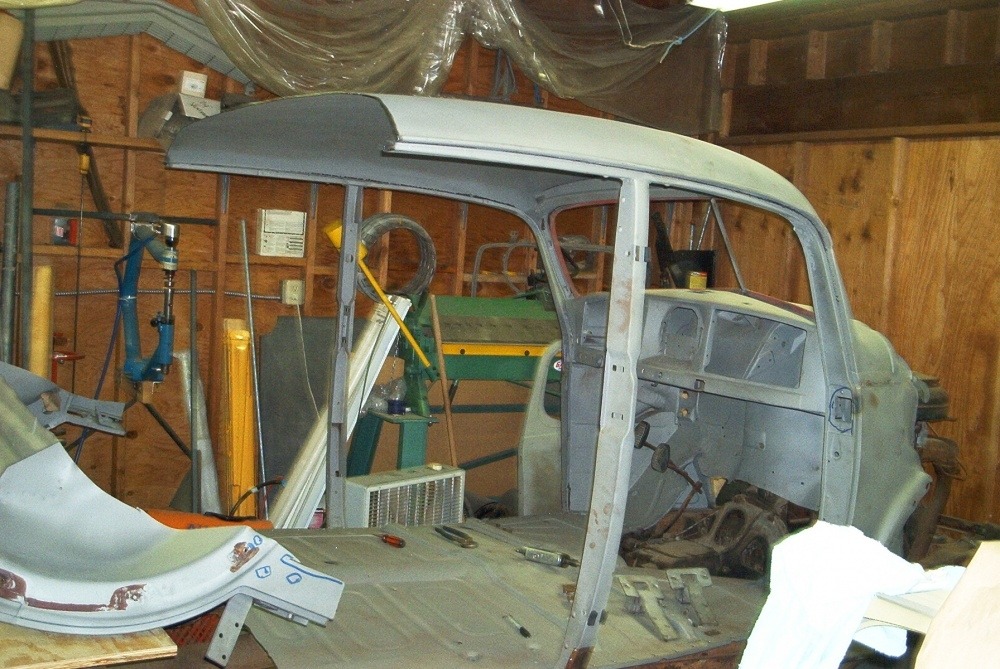 0
0 -
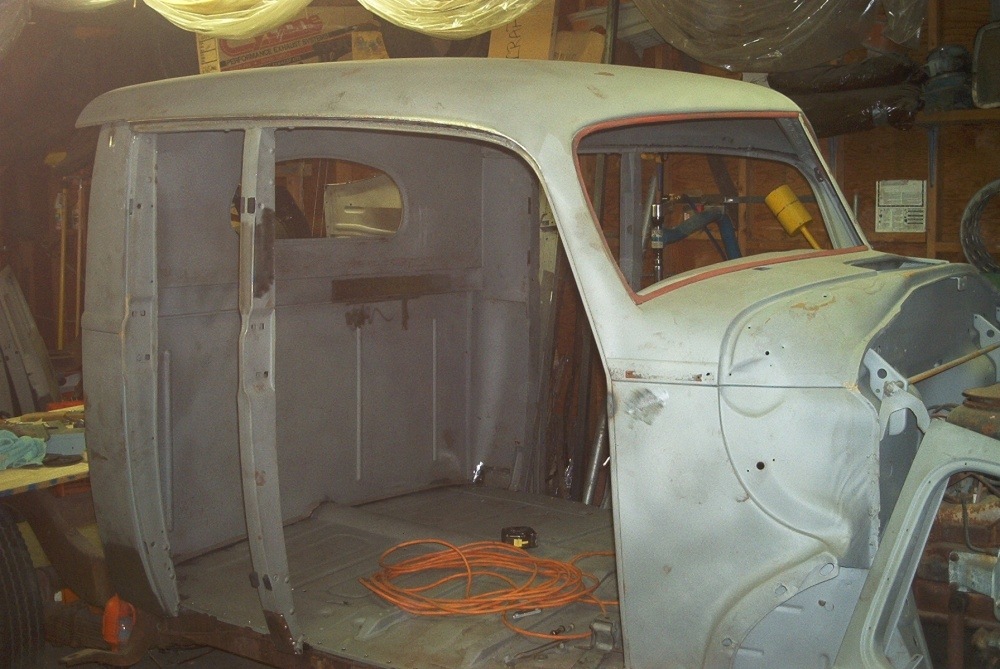
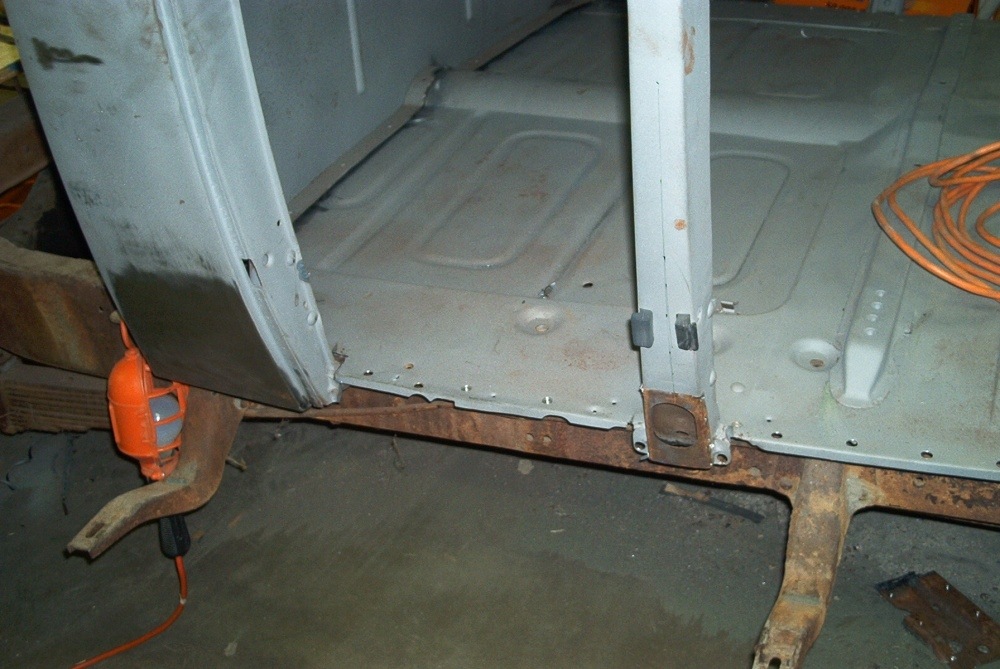 Then start putting the pieces together. Repairing rust holes as I went along. 0
 -
While I was working on the body the owner was working on the chassis.
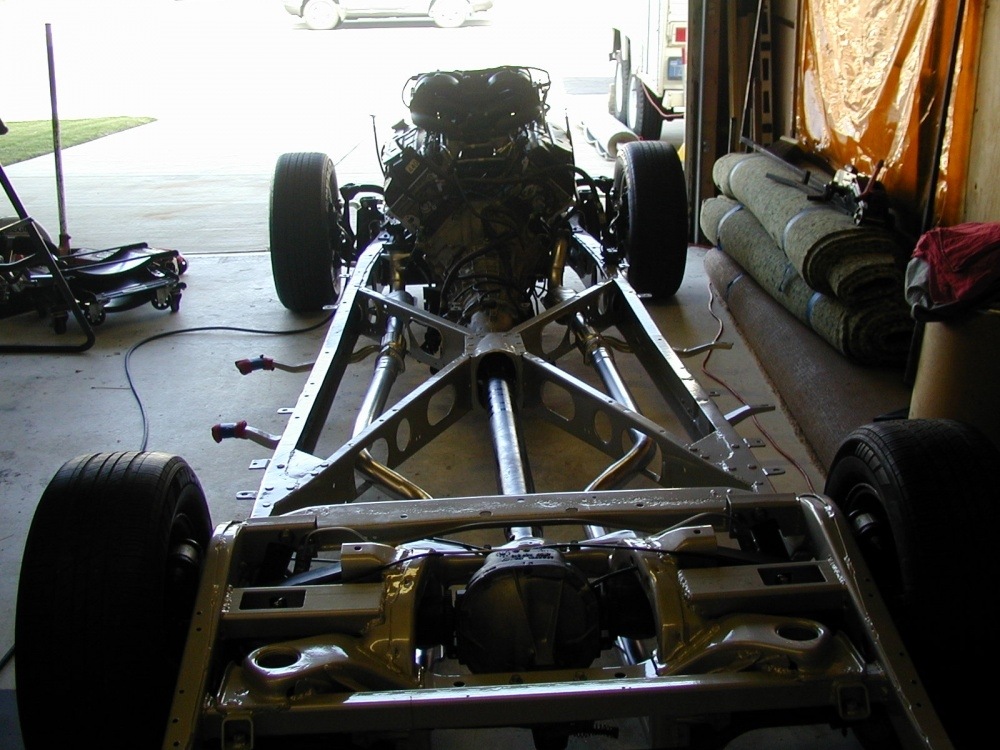
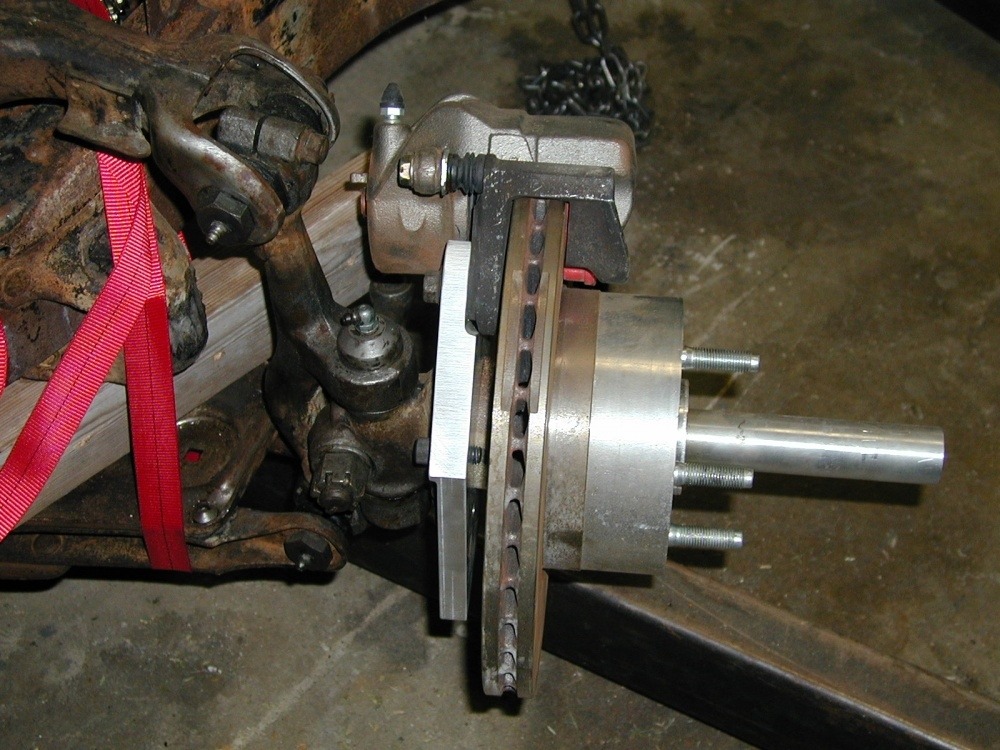
0 -
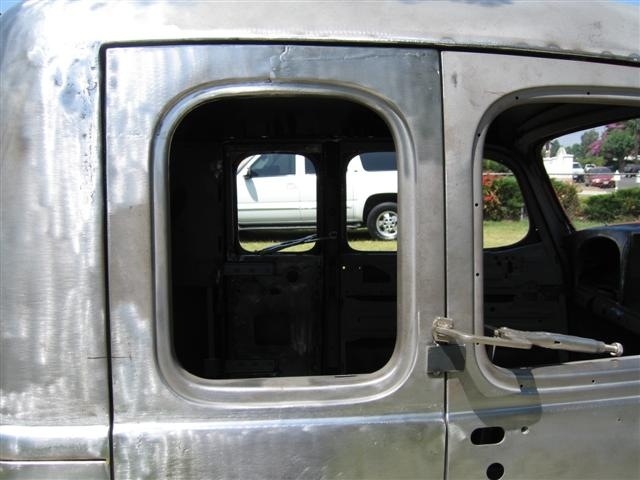
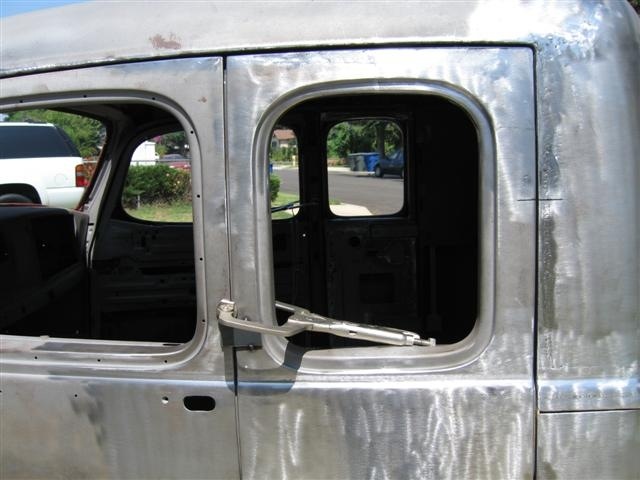
Once the cab was fit together it was time to make the doors for the rear. I don't have very many pictures of anything. Hopefully what I have is enough. I go to start putting the two door halves together and all of the issues mentioned earlier start to show up. After switching pieces from side to side like a puzzle, I get it close.
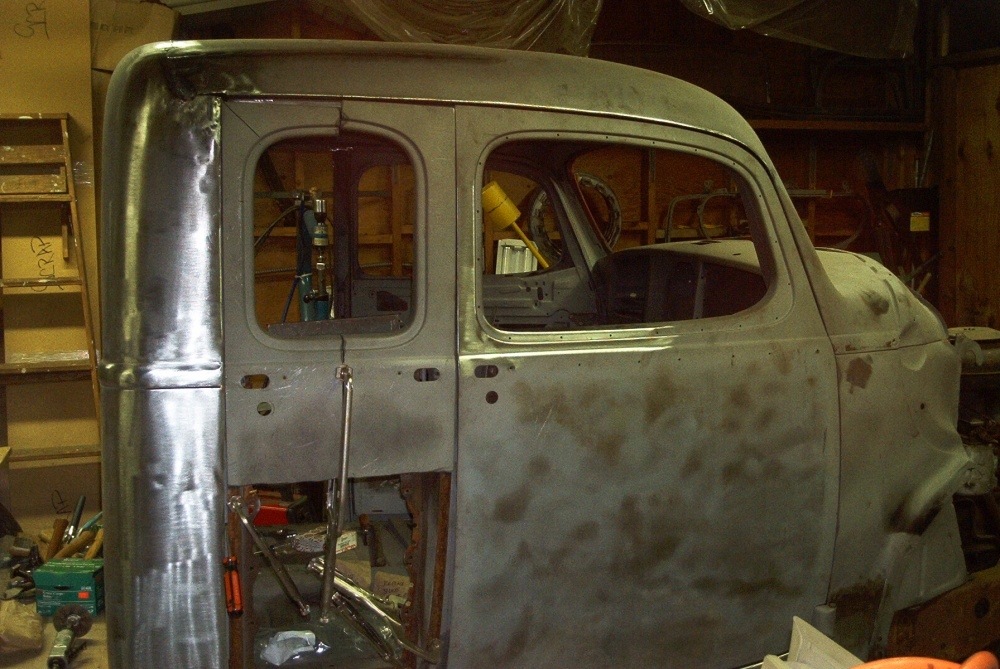
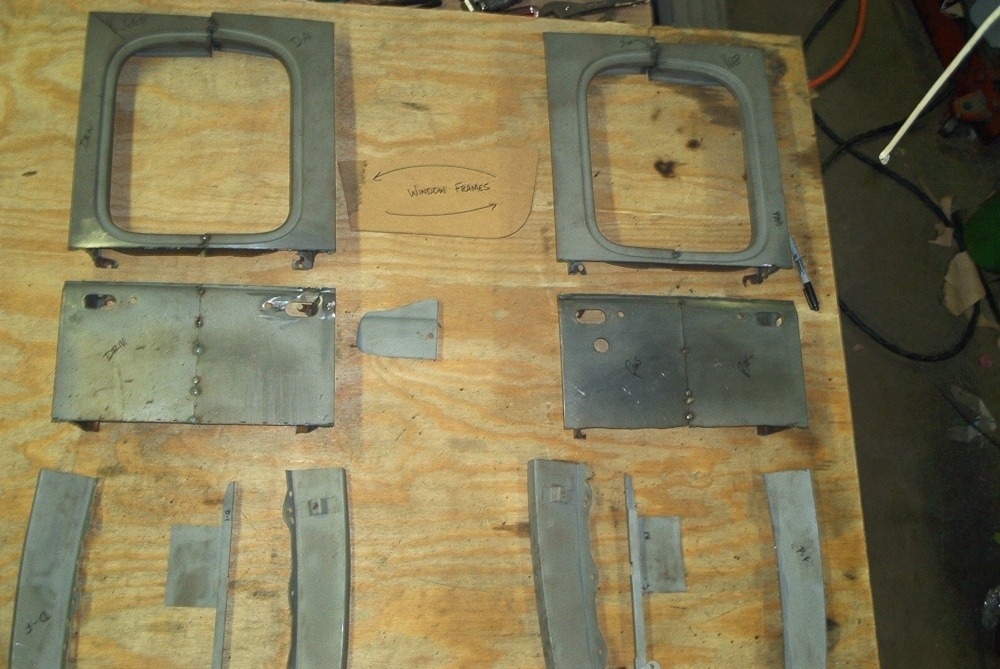
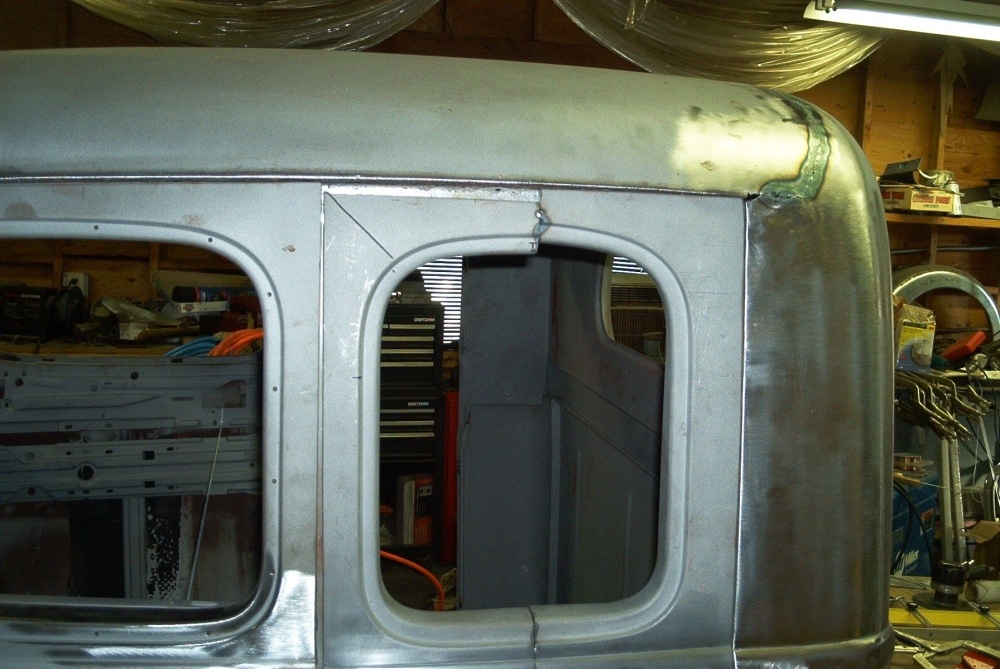
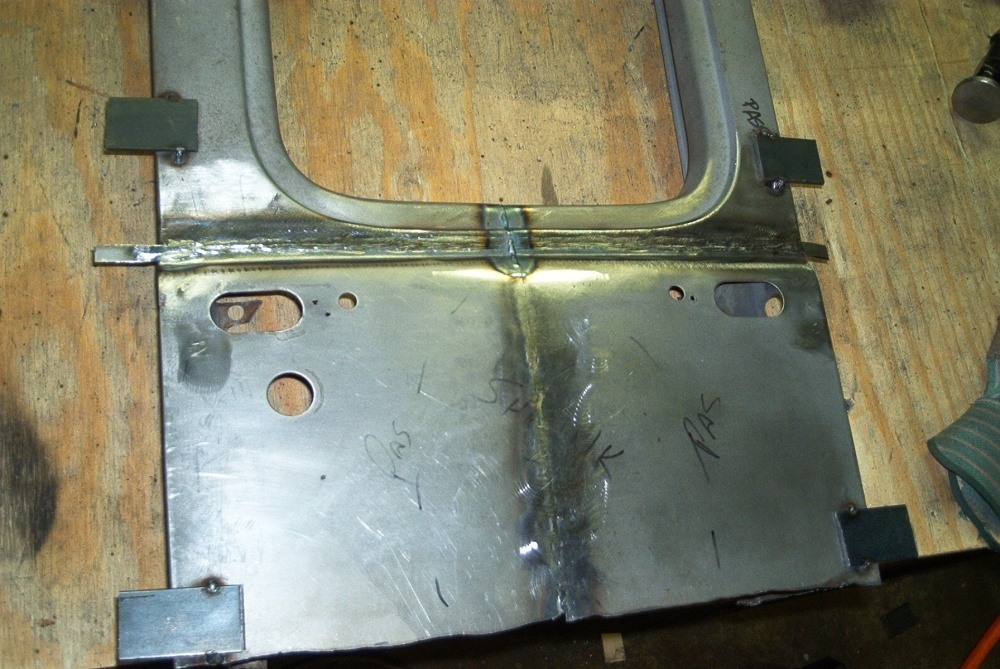
0 -
With three of the four corners of the window looking about right. I decided to make the last corner.
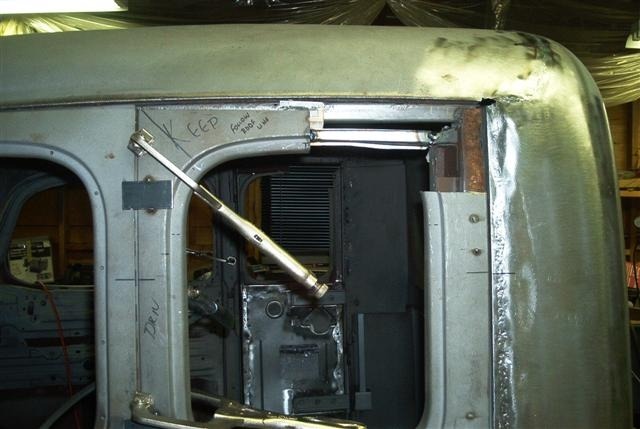
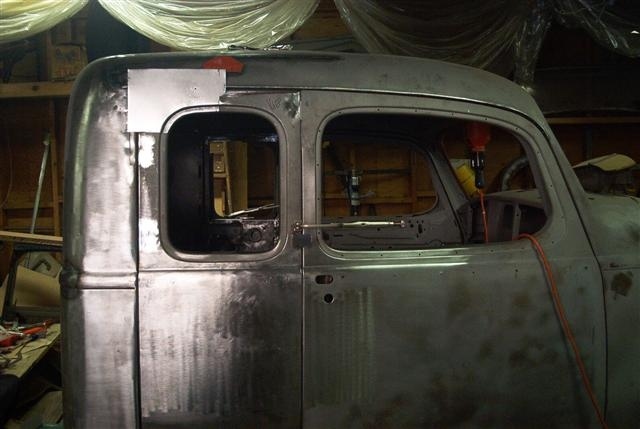
0 -
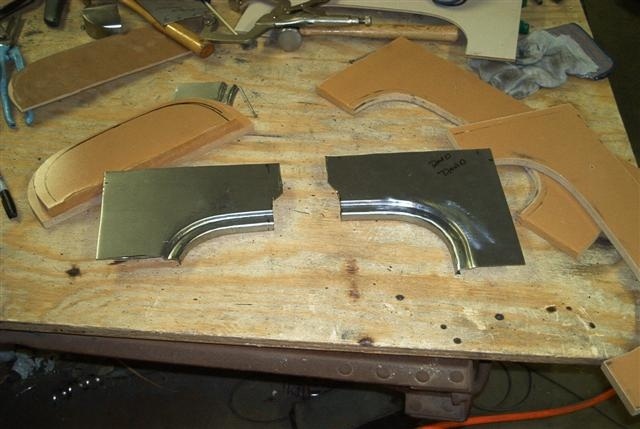
The door skin were rusted out across the bottom, had door handle holes to fill, dents to fix. They weren't really the right shape. I didn't want to weld a big vertical seam down the center. So I decided to make those new as well.
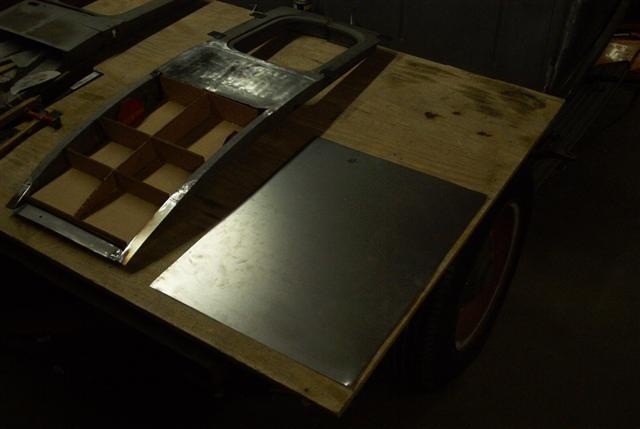
0 -
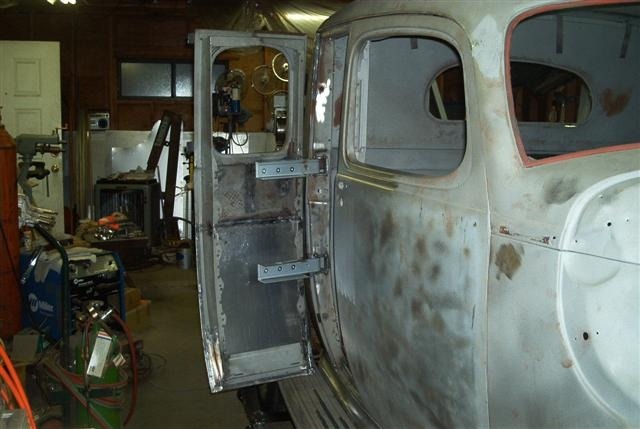
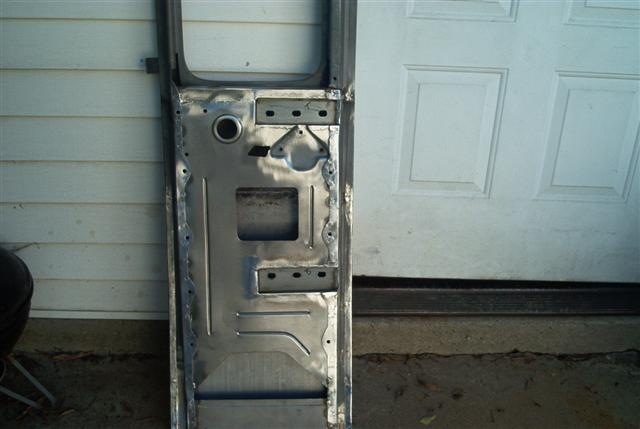
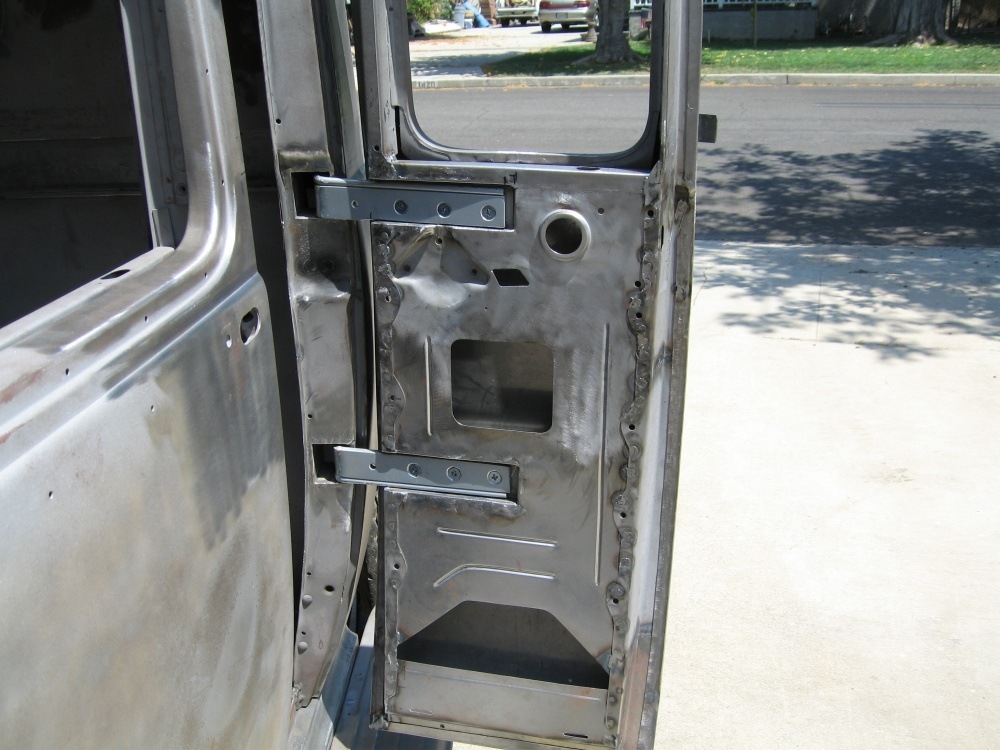
The inner structure was next. Hidden hinges, Hudson latch and handle. I also made it so the window would roll up and down. But the owner wanted them stationary, so I made them fixed. ...But I can change it back.

0 -
Garnish moldings were made from originals, cut down.
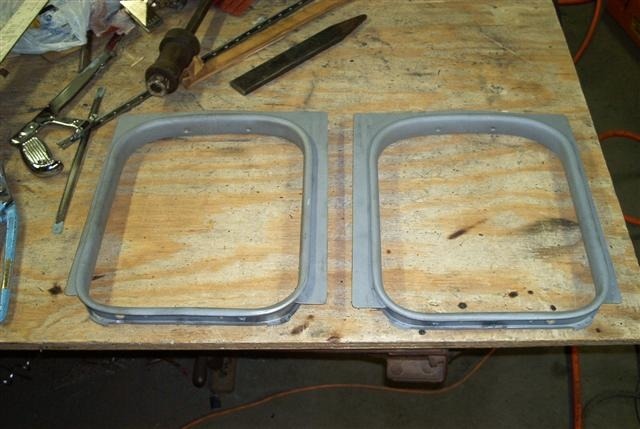
0 -
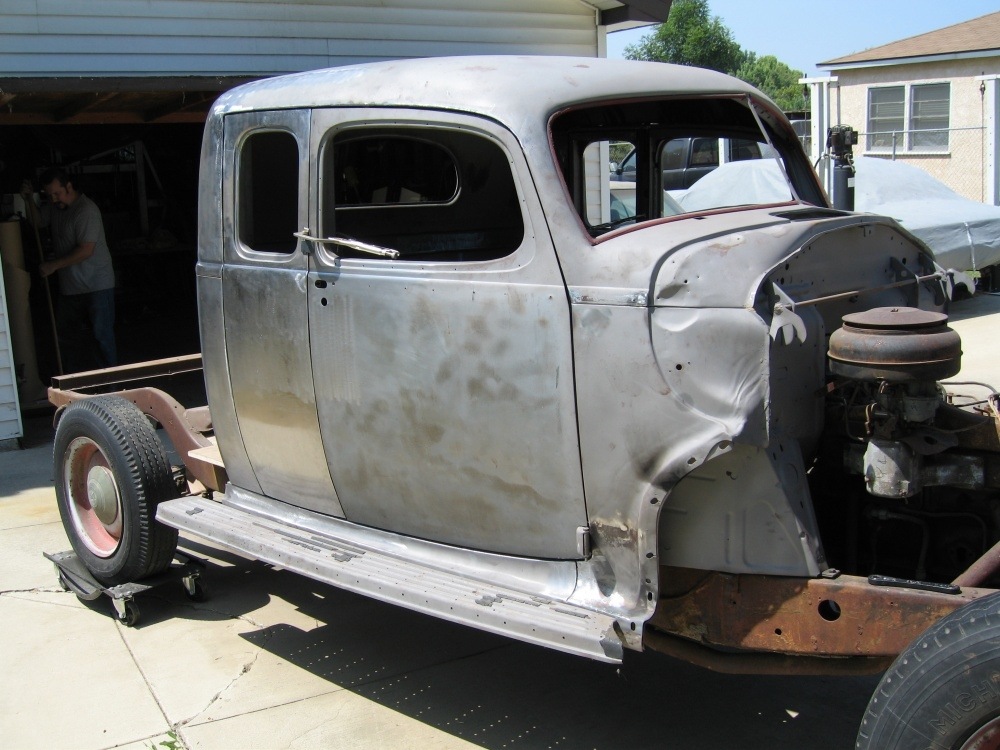
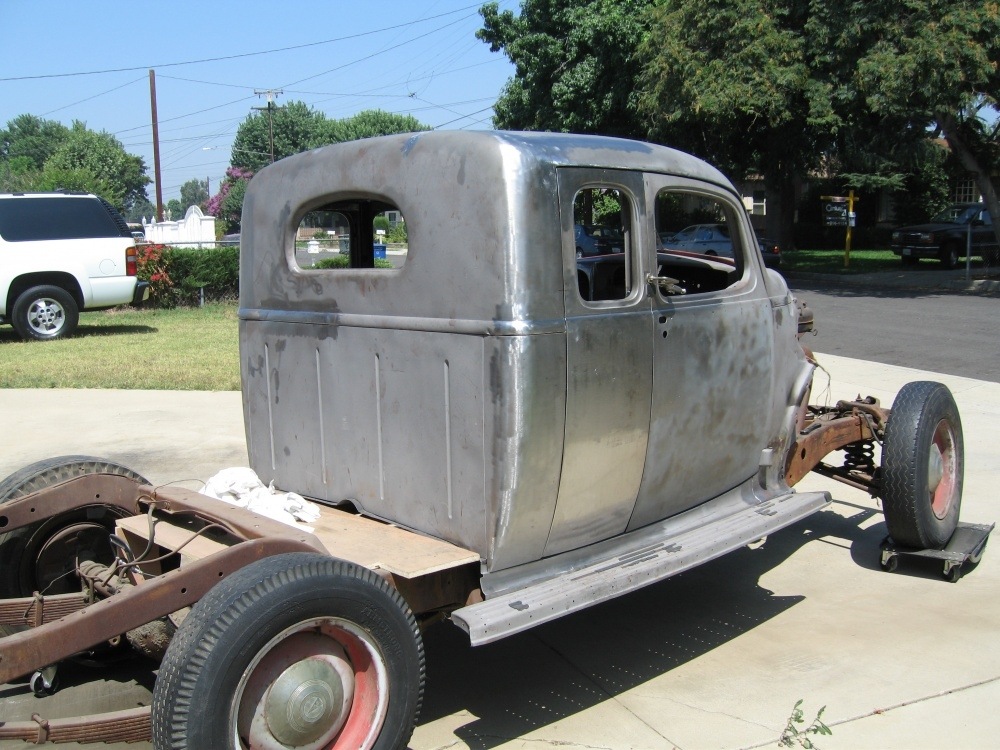
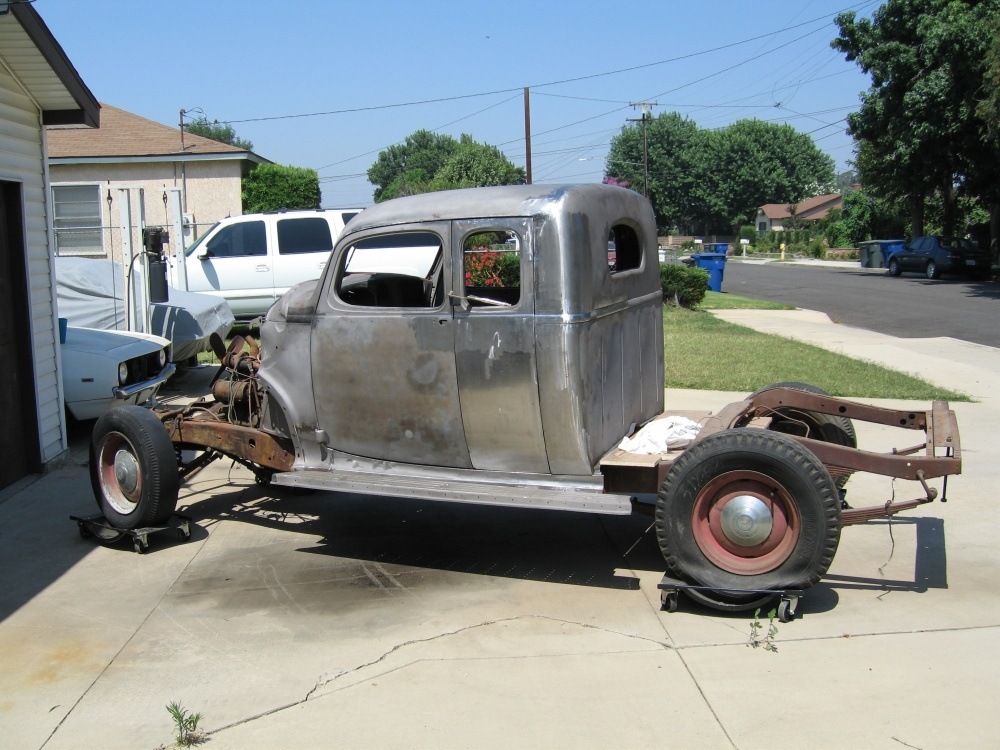
I didn't get too many pictures. So here is the cab. I never had the bed and the cab at the same time, and I never had the chassis at all. I built the cab on one of my Dad's chassis'. Notice I left the rockers a little long. Because I never had the bed and cab together, I couldn't trim that gap. I asked the owner to trim it or have the paint and body shop trim it with everything together. Of course the idiots at the body shop just trimmed the rocker off even with the back of the cab.
 Couldn't believe it when I saw it come out of paint! Very disappointing. But what can you do. Moving on.
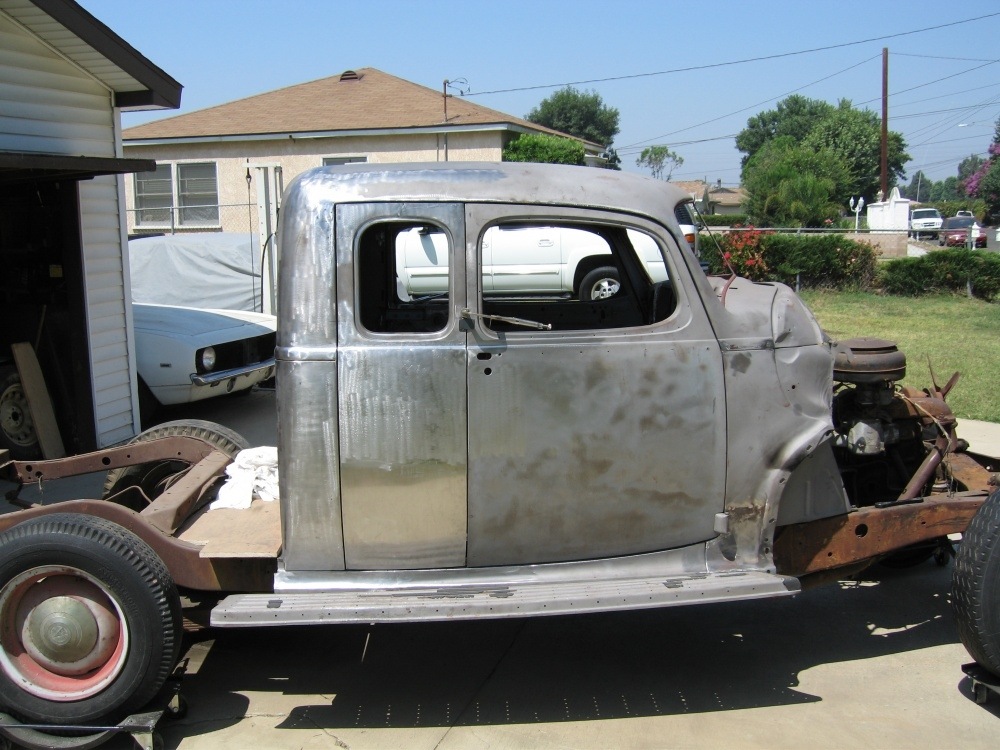
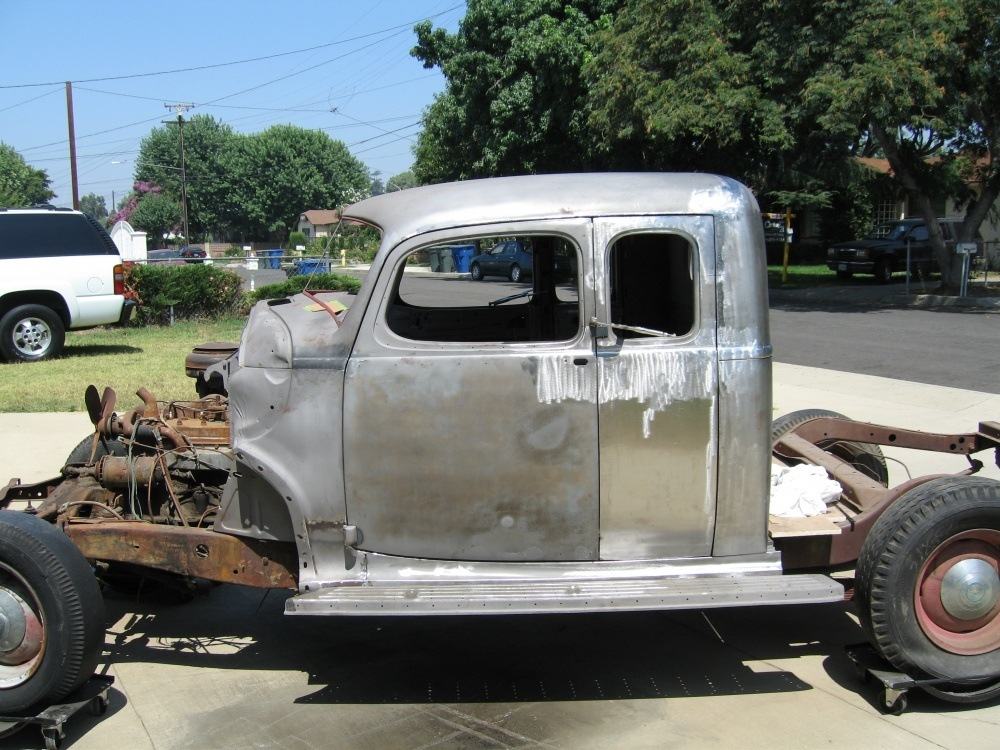
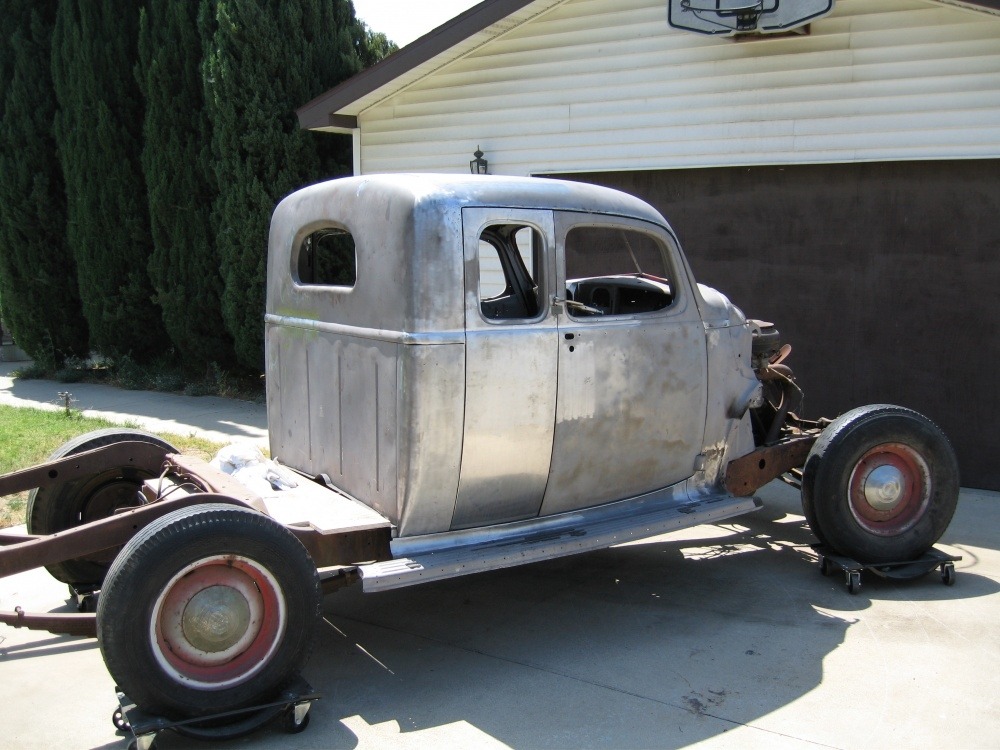
0 -
Overall lines look right. Flow down the side of the body looked good. Doors open and close good and independent of each other. ...I'm calling it "done"!
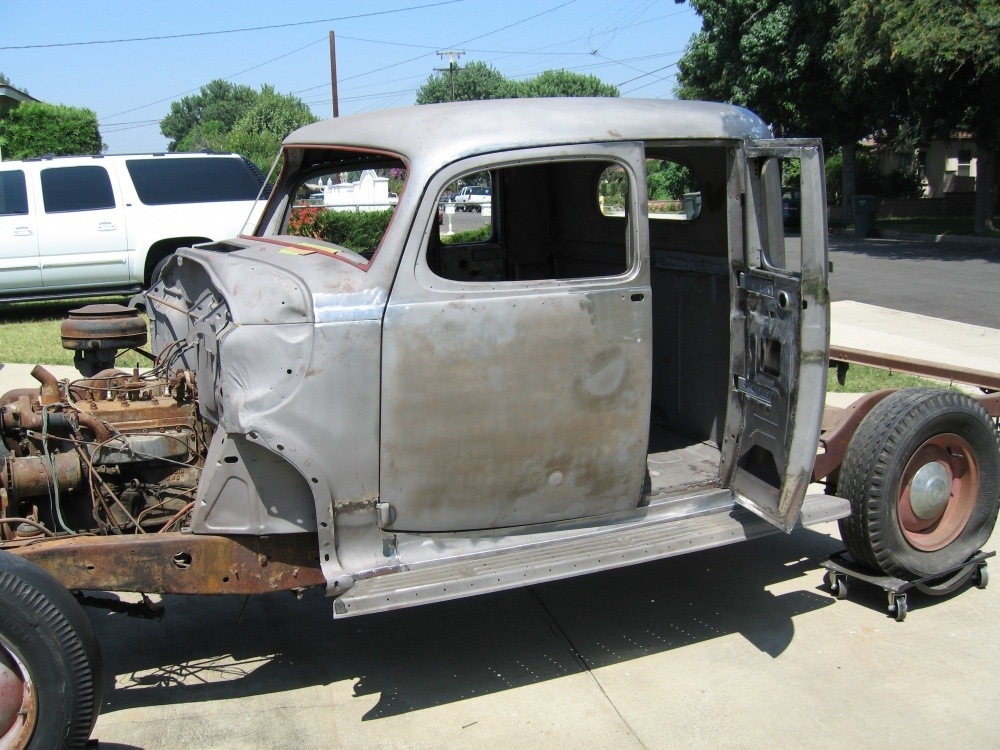
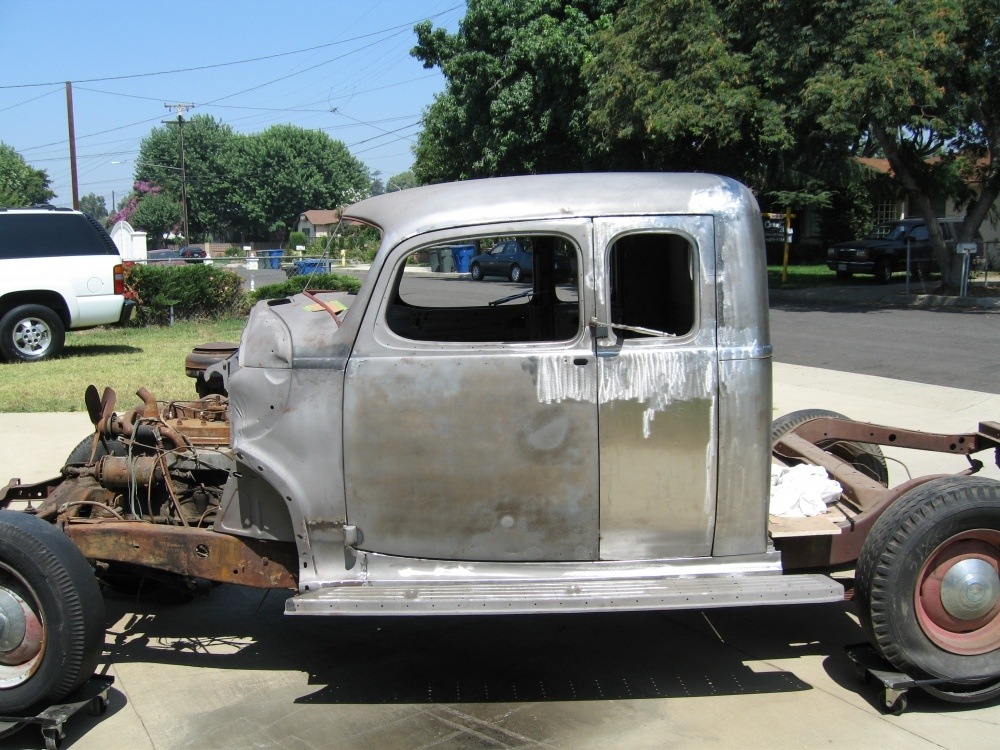
0 -
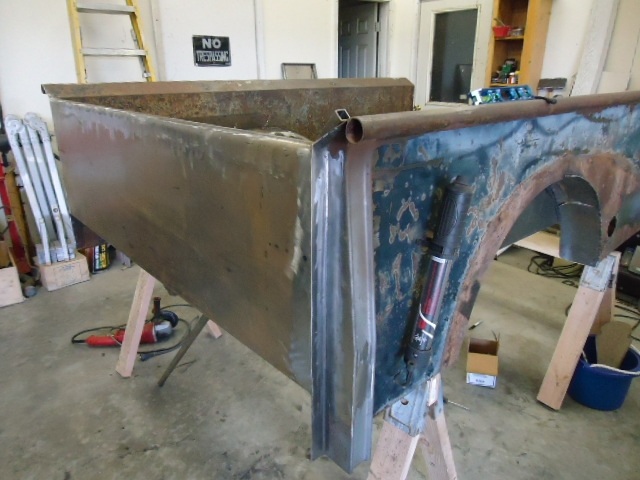
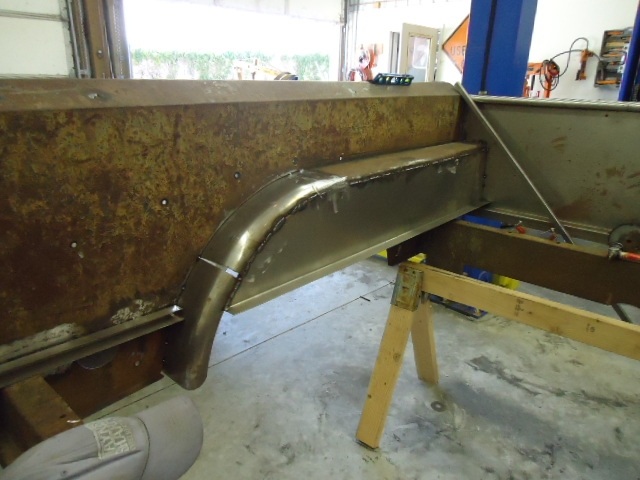
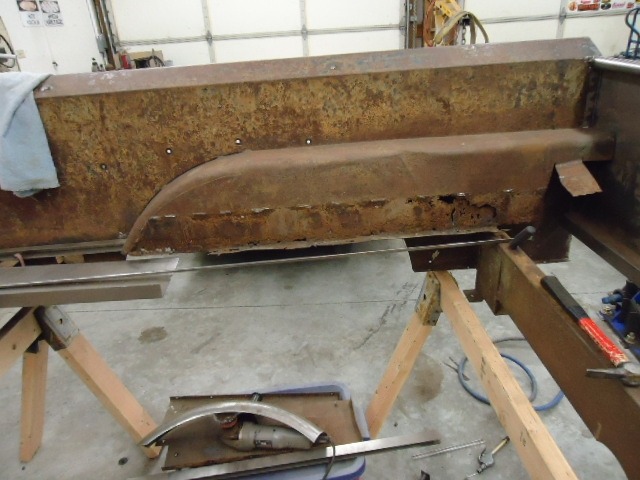
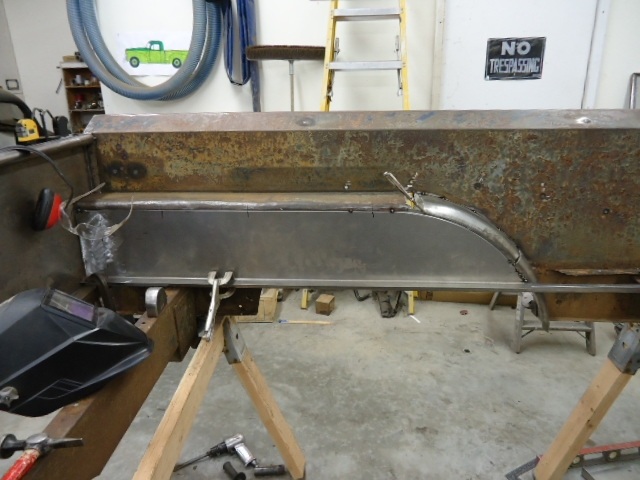
I also widened the rear fenders. Looks like I only took two pictures of those and never of them finished.
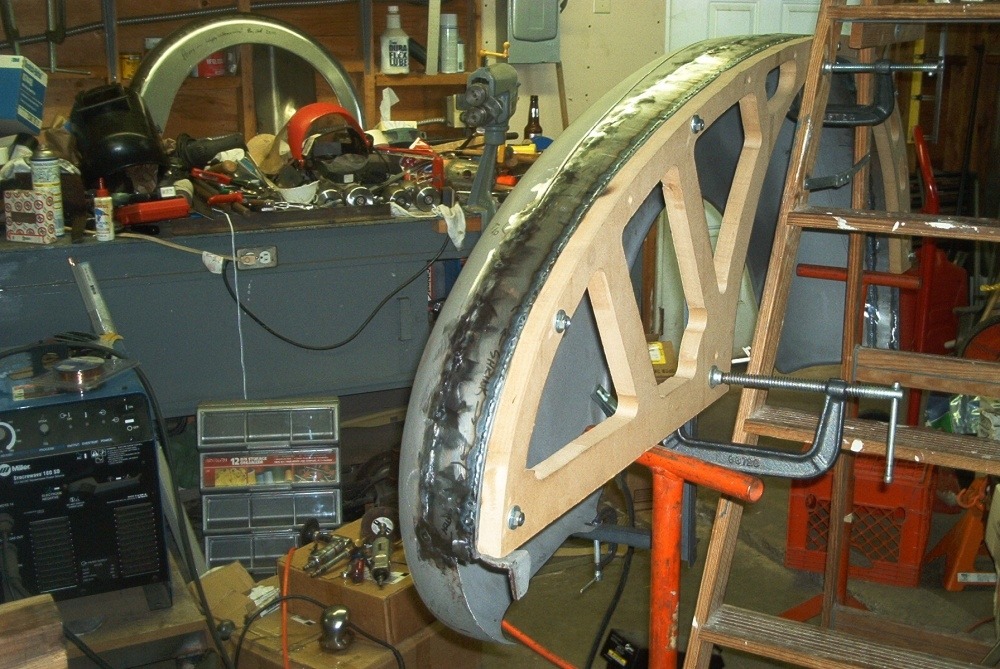
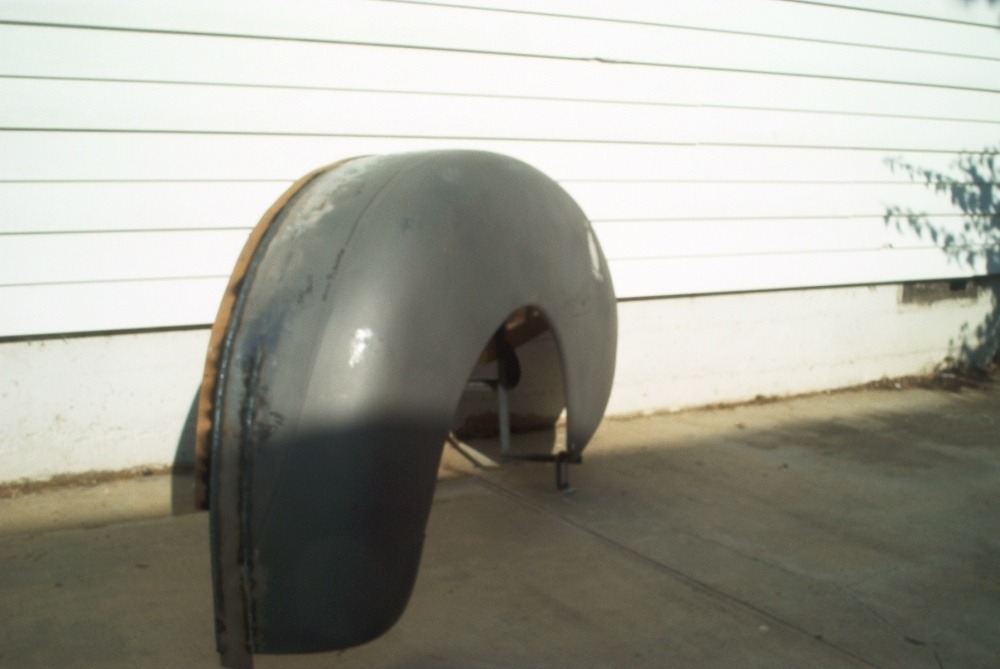
0 -
The bed was damaged pretty bad. Replaced the front and rear end panels.
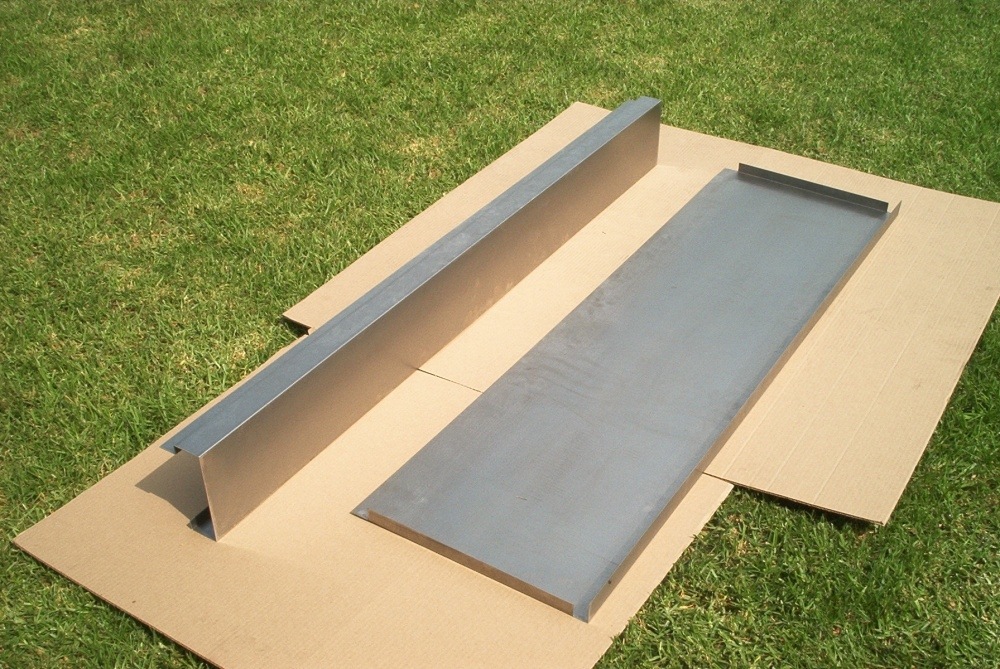
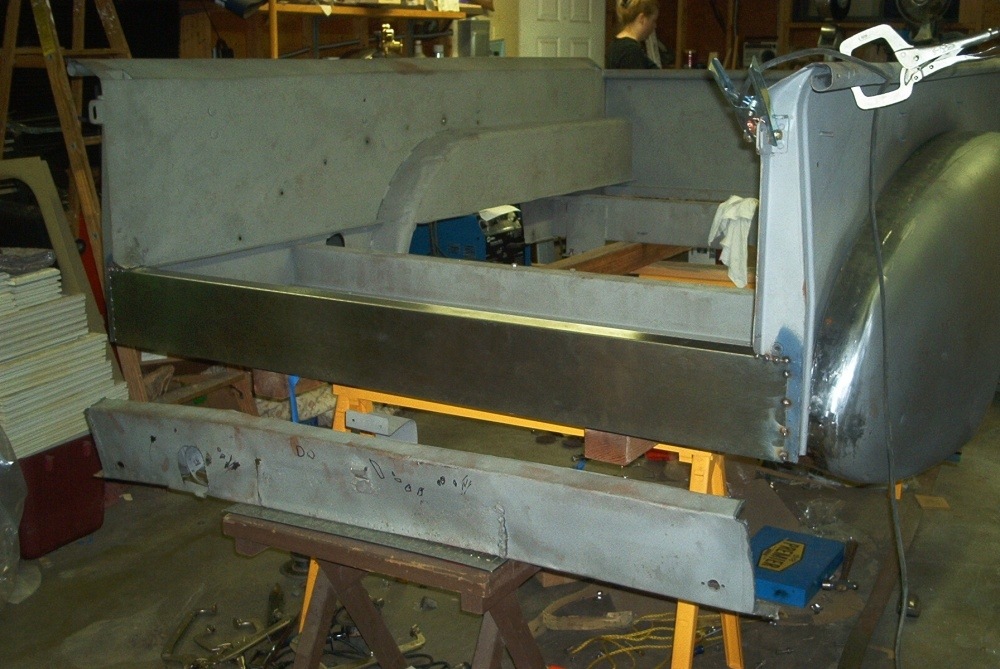
0 -
I had my Dad made the wood and I sealed and cleared it. Many many coats of clear top and bottom and the ends. Sanded in between each coat.
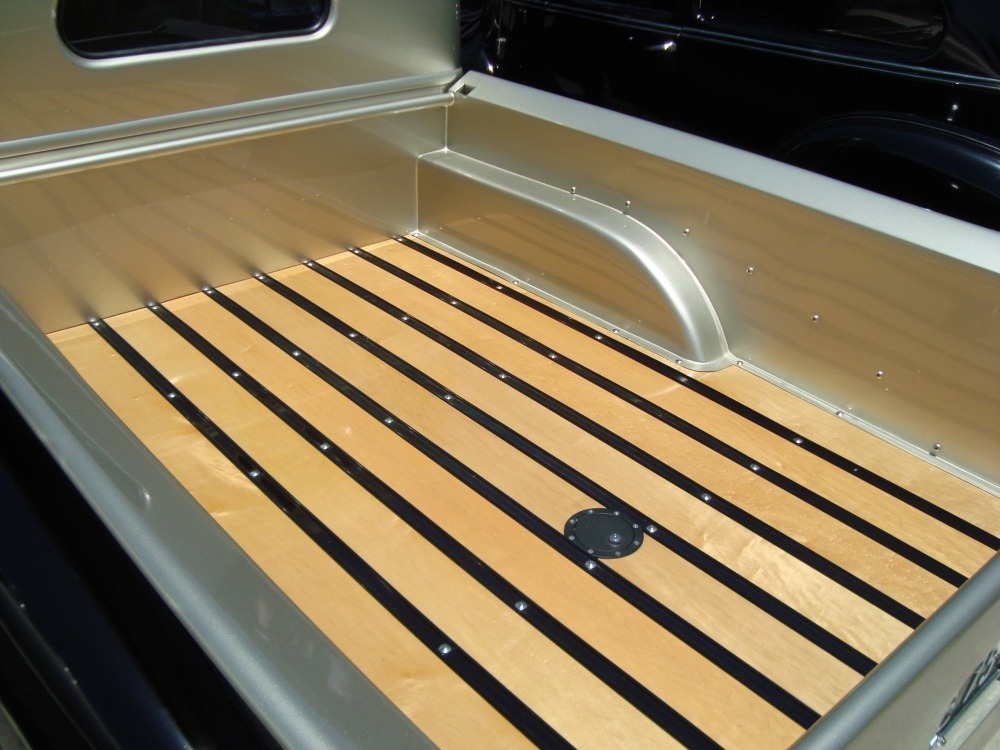
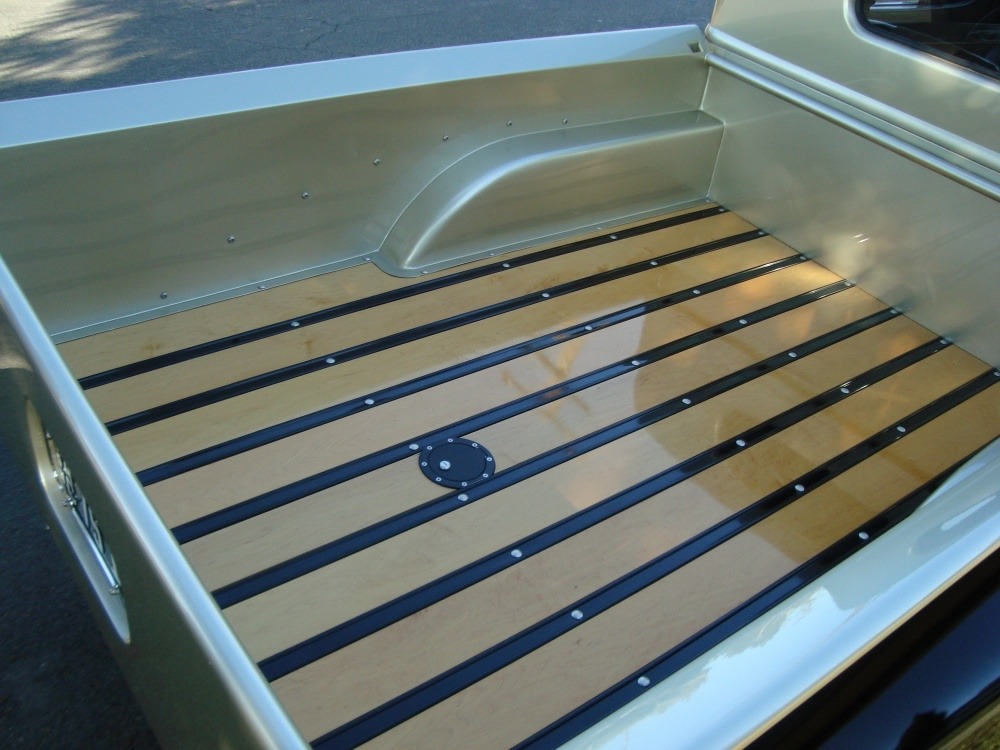
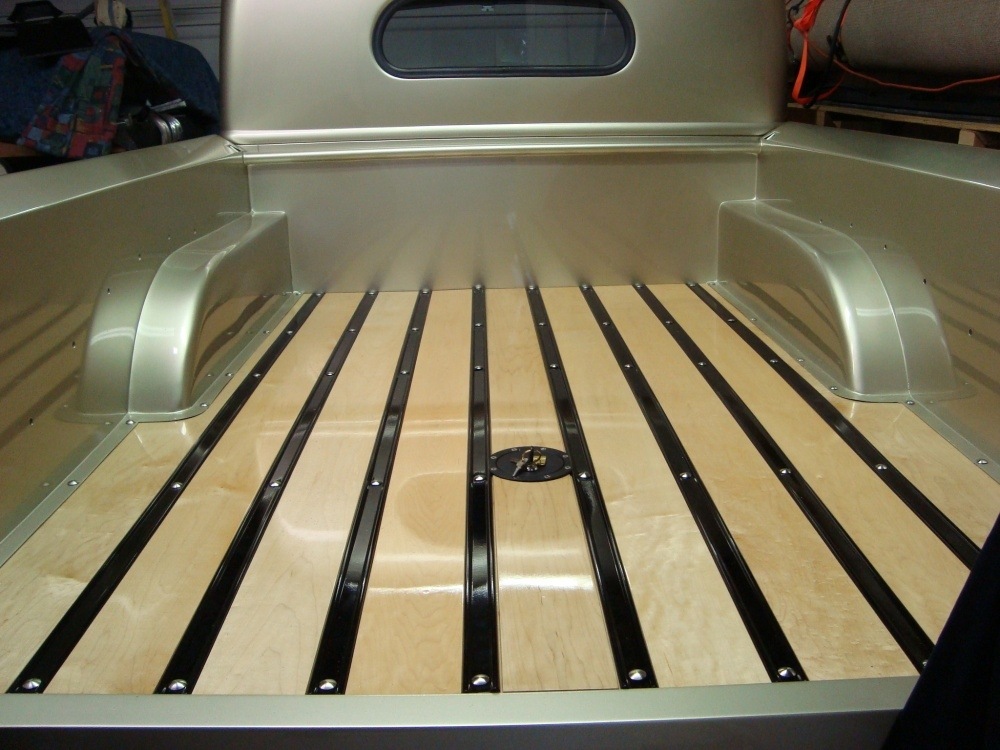
0 -
Here is the finished truck and Mr. David.
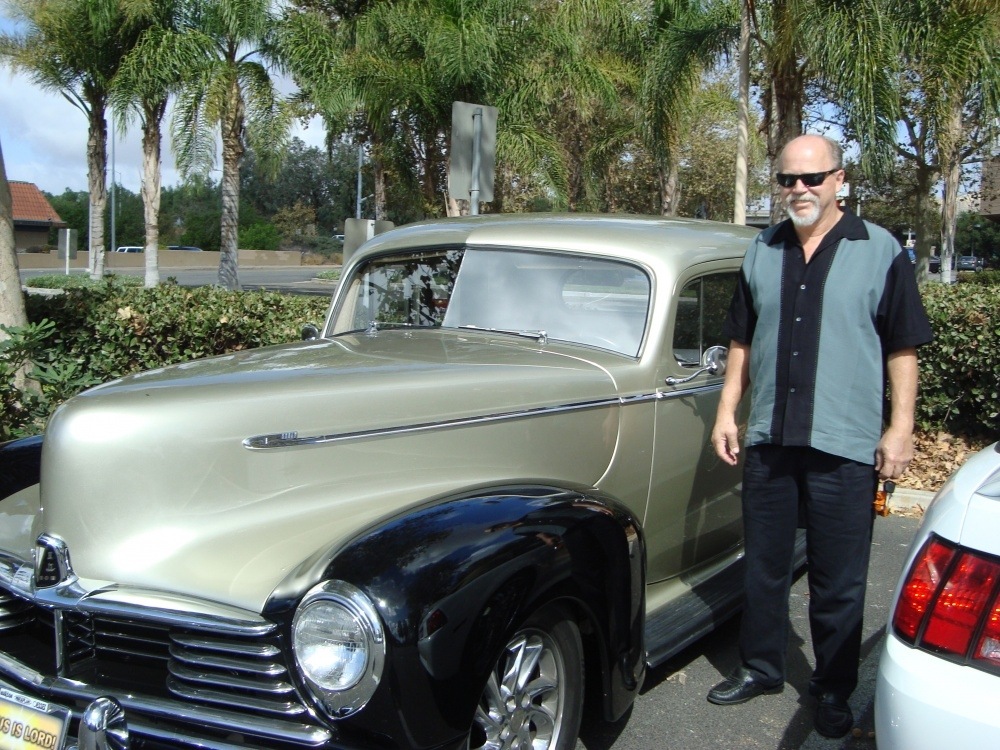
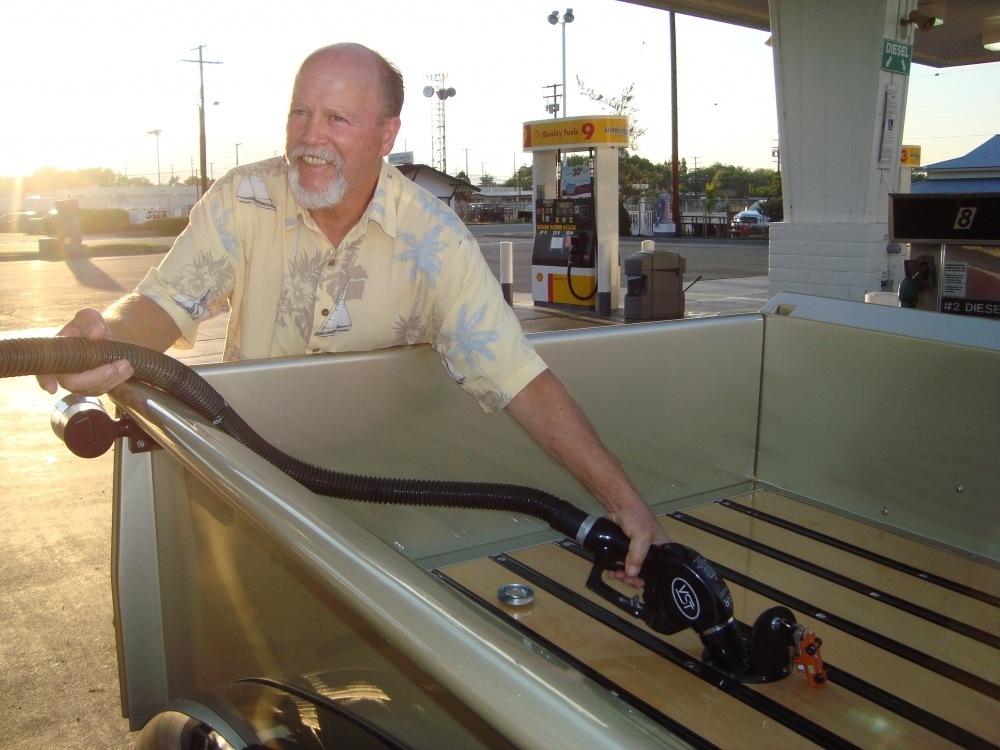
0 -
Looking back, this is a pretty special project for me. I hope you enjoy the pictures.

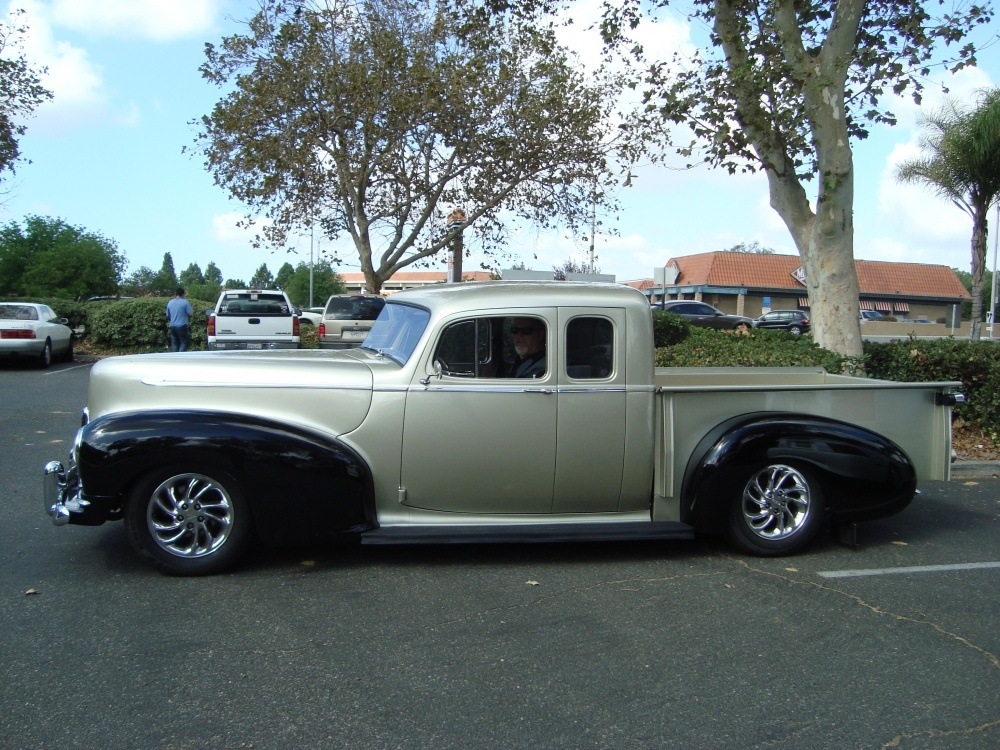
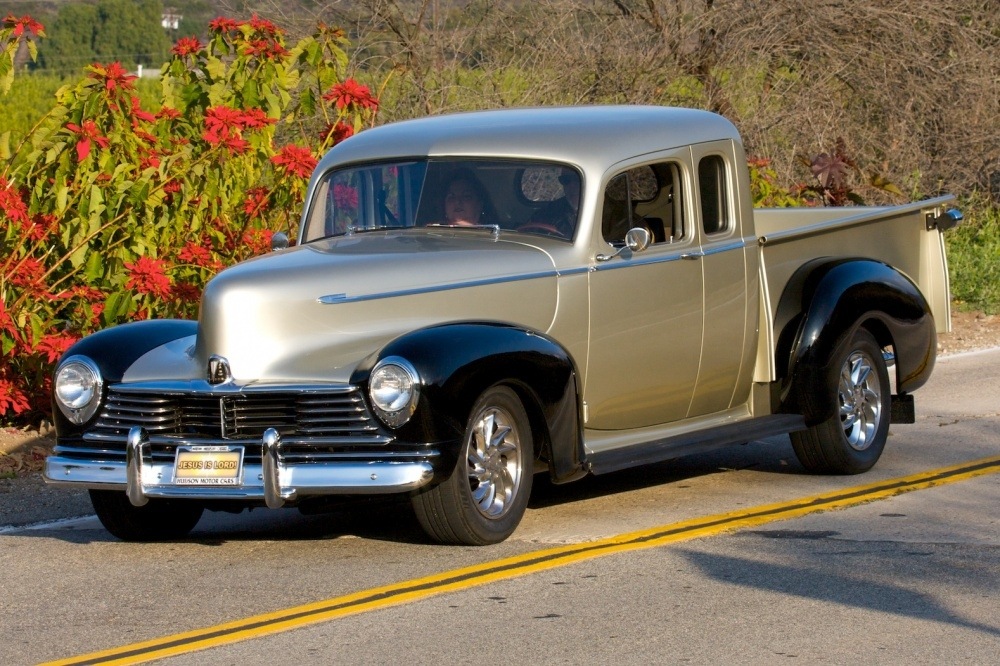
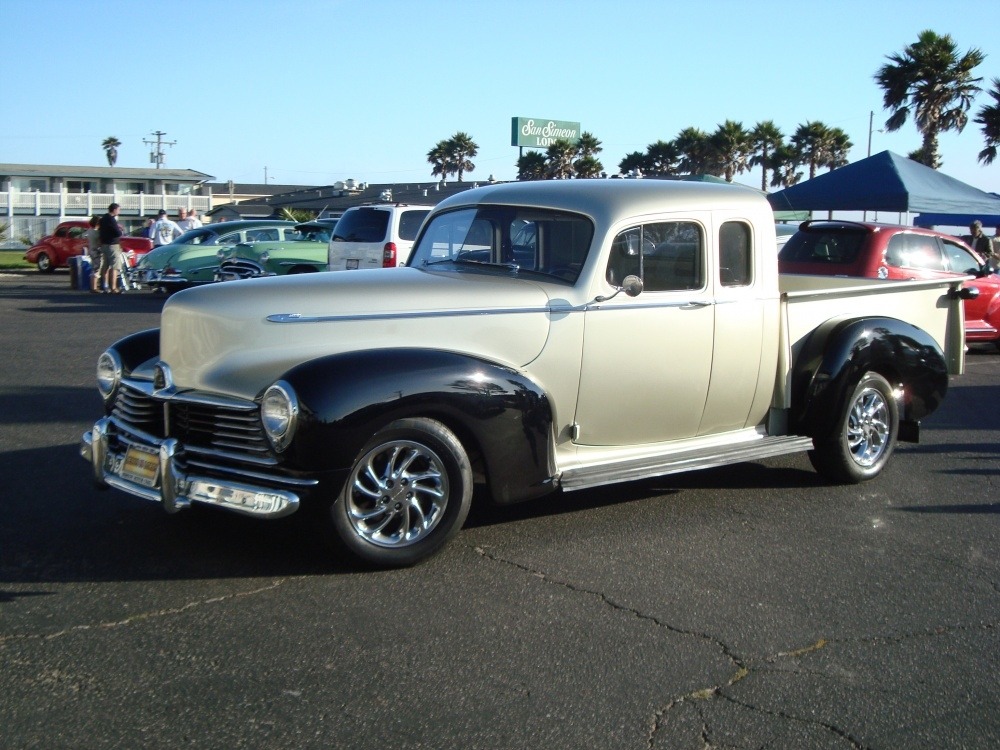
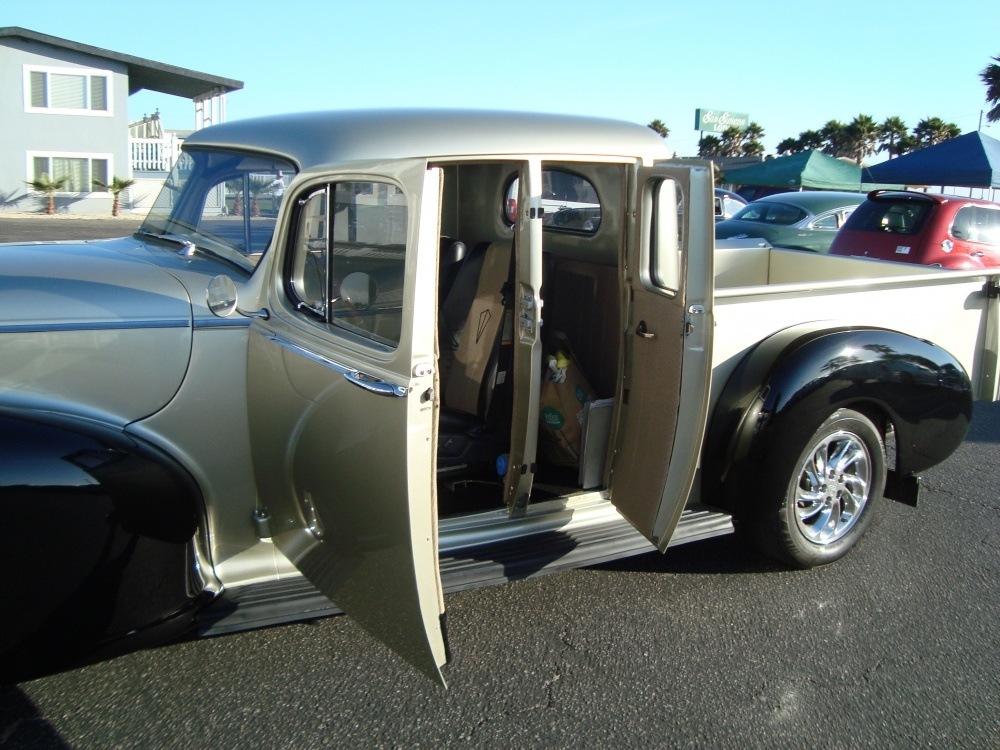
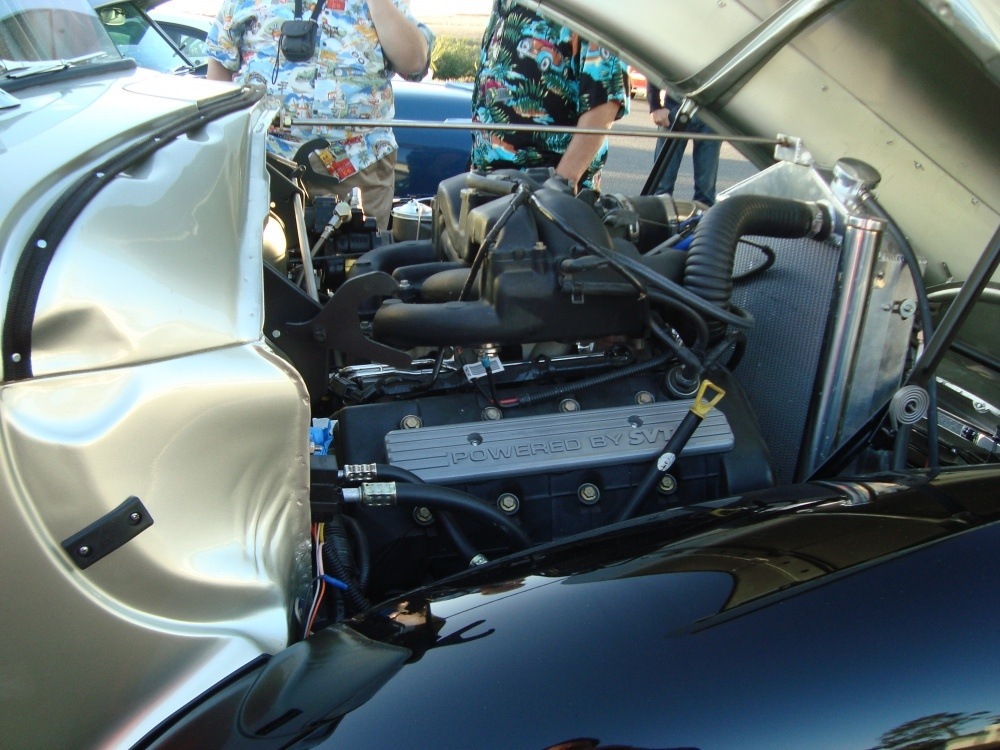
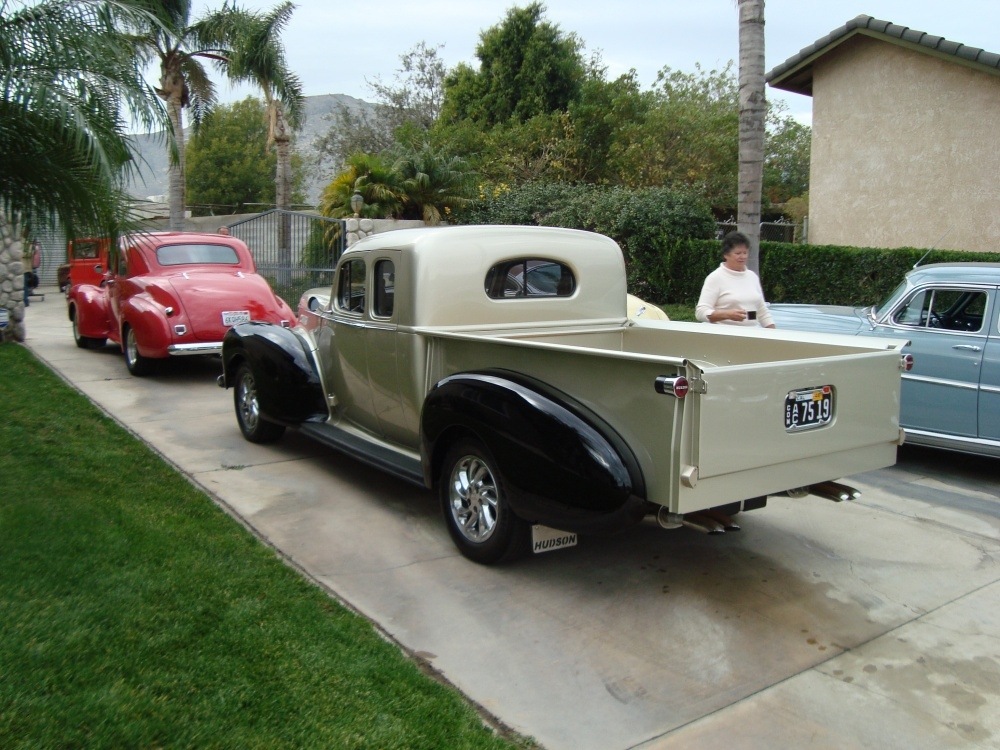
0 -
Wow, great work! Thanks for taking the time to put this out here for all of us to see. I really enjoyed it.0
-
Thanks for the details and photos. I saw it off and on when you were doing it, and seeing the pictures really brought it all back. Beautiful work. Seeing it in bare metal really shows how good your work is. Great job.0
-
THANKS!
 Glad you liked it.
  0
0 -
The color looks like the Platinum that Hudson used 48-50
Thanks for sharing, out of this world skills.0
Categories
- 37K All Categories
- 113 Hudson 1916 - 1929
- 21 Upcoming Events
- 93 Essex Super 6
- 28.6K HUDSON
- 576 "How To" - Skills, mechanical and other wise
- 995 Street Rods
- 151 American Motors
- 180 The Flathead Forum
- 49 Manuals, etc,.
- 78 Hudson 8
- 44 FORUM - Instructions and Tips on using the forum
- 2.8K CLASSIFIEDS
- 608 Vehicles
- 2.2K Parts & Pieces
- 77 Literature & Memorabilia
- Hudson 1916 - 1929 Yahoo Groups Archived Photos

