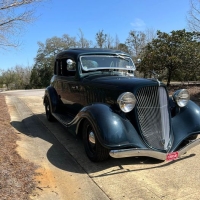
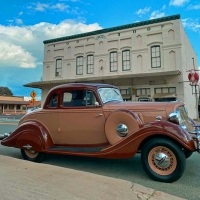
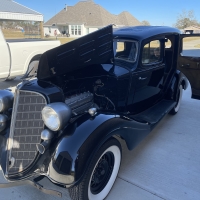
Windshield Frame Rubber for '34-'35
Comments
-
Wildricks has the gasket you need
0 -
Also available from ebay seller under the heading - 1934 - 1939 Some Mopar Hudson IHC Swing Crank Out Windshield Seal By The Foot
https://www.ebay.com/itm/351500954925?hash=item51d716ed2d:g:GGwAAOSwLVZV5zhb
0 -
Thanks all. Very helpful.
0 -
I'm not in front of the car, but in my mind's eye I see a wide-ish rubber flange attached to the windshield frame (I have the K-Gap rubber). I comment here just to remind folks that there is also a source for new windshield frames; NC Industries in PA https://windshieldframes.com/
They made one for my 34T coupe. Looks like they have the pattern listed under Hudson as "1934 Terraplane sedan."
0 -
You need one of those T-shirts that say "When I die, I hope my wife doesn't sell my spare car parts for what I told her they cost"Old Fogey UK said:I saw those NC frames after I'd had mine hand-made here in England out of brass channel that I had chromed.
I still dare not tell my wife how much it cost but at least rust won't be a problem in years to come !
0 -
35 Terraplane, I got the glass installed and have the Wildrick rubber ready to install. What adhesive did you use around the frame perimeter to hold the rubber in place? Thanks
0 -
No adhesive is needed. You have to work the small bulb end of the rubber into the groove on the frame. It's a tedious task. Start at the bottom center of the frame and work your way around. I sprayed the rubber with a little silicone lube, just 3-4 inches at a time, and waited a few minutes. It made it easier to get the rubber bulbs into the groove. Don't use to much silicone or the rubber will keep popping out of the groove. I made two blocks out of 2x4 with a double depth groove cut in them to hold the frame while installing the rubber. One groove was the depth of the frame and as wide as the frame. The second groove was on one side of the upper groove that was deep enough for the already installed rubber to extend down into and not be crushed. I used a plastic putty knife to push the small side of the rubber into the frame groove/channel. the bigger side would push in by hand.
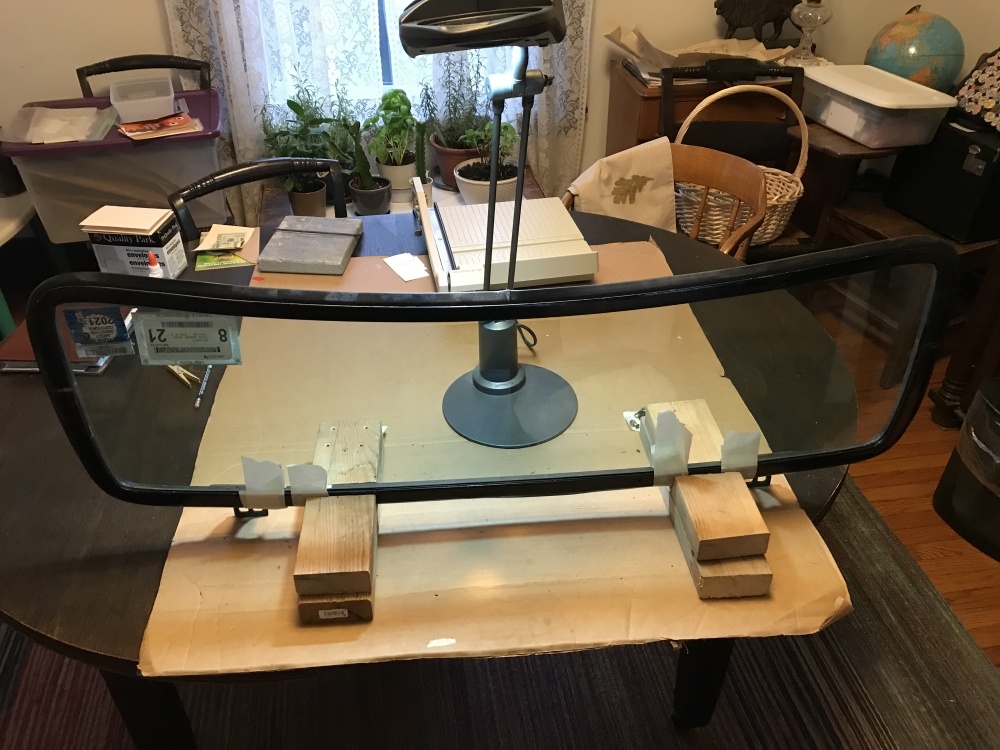
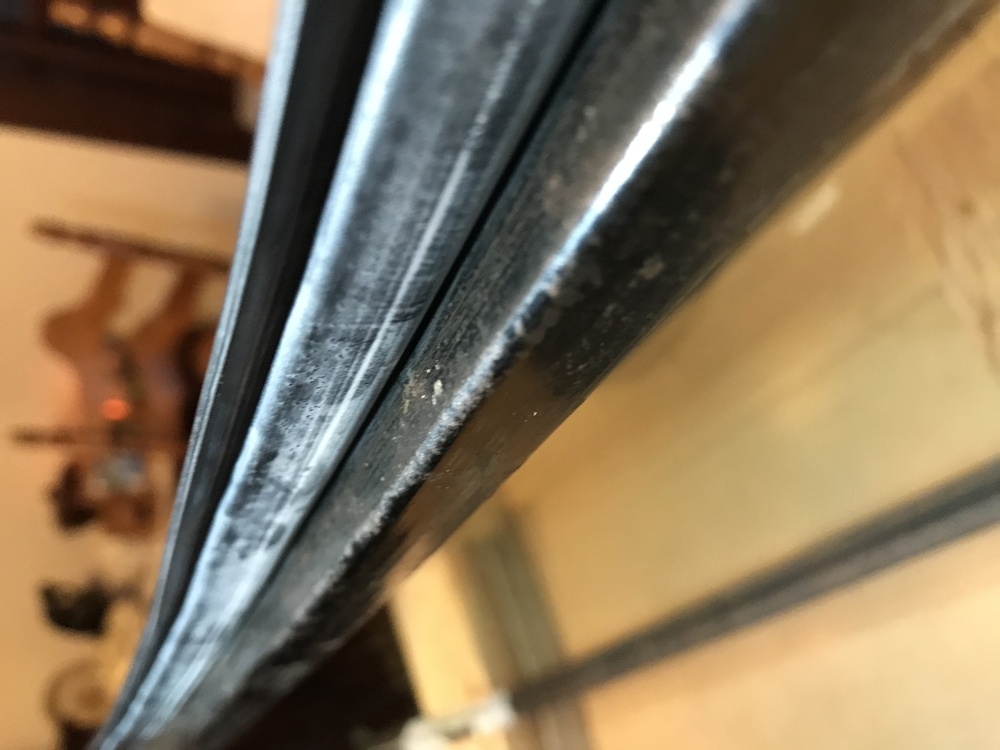
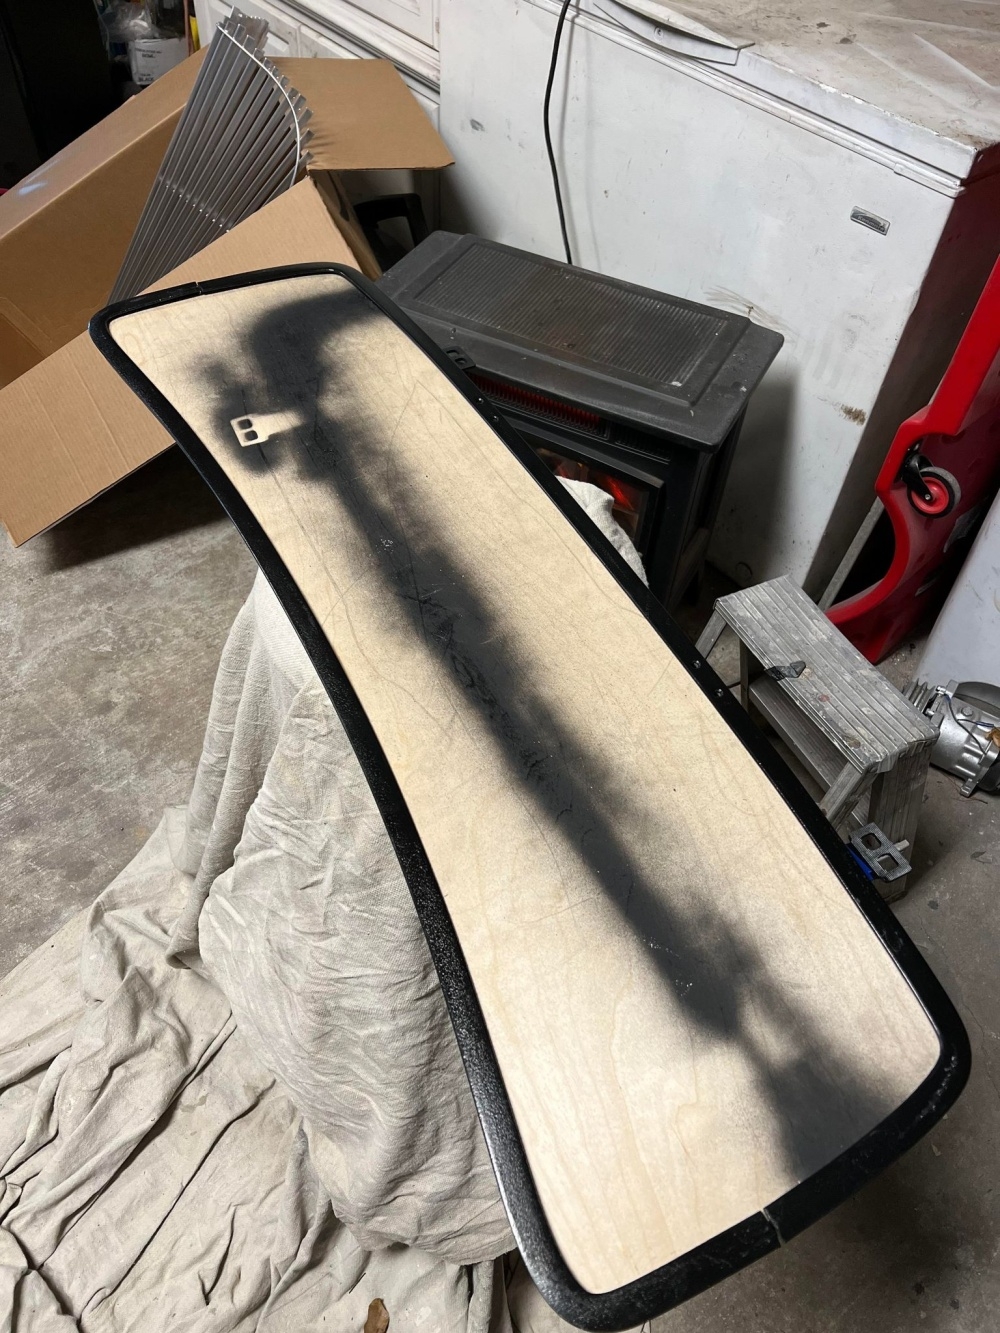
This is toward the inner part of the frame.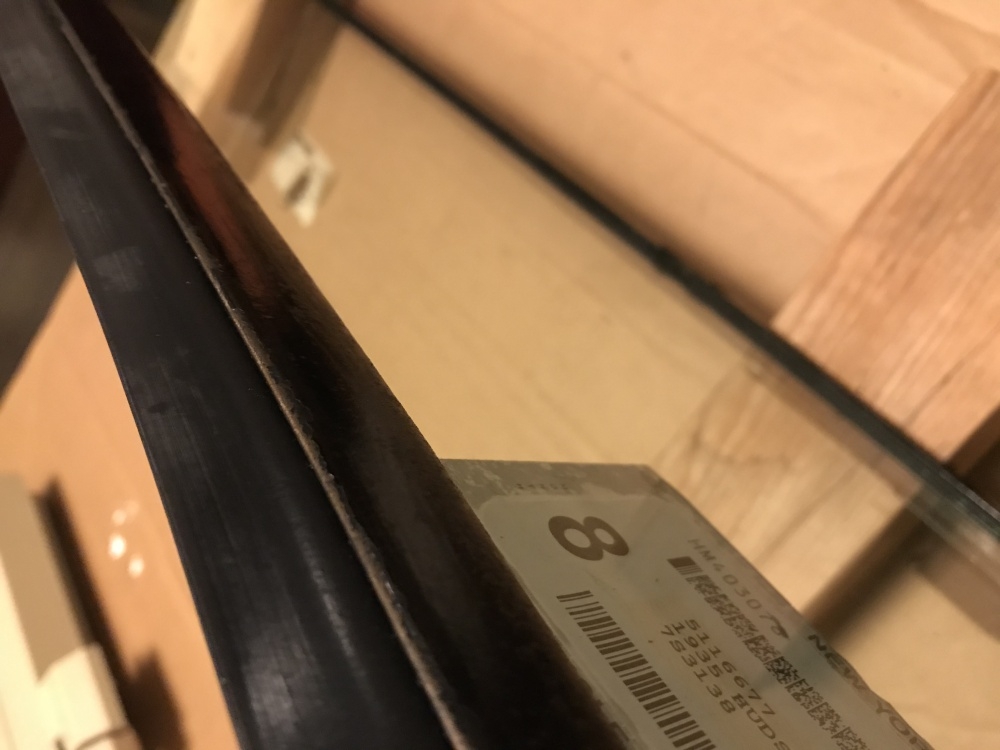
As viewed from the outside of the frame.
I glued the butt ends of the rubber with super glue.
I put my 2x4 blocks on the floor when working on the shorter normally vertical side of the frame. It took me a few days to finish as my hands could only take it for a while before I needed a break. It take a bit of force to get the small side of the bulb into the frame groove/channel. I found that taking small bites at a time with half the plastic knife blade on the portion already installed and the other half of the blade on the portion I was working into the groove/channel worked best. To big a bite and I couldn't get the whole length of the blade into the groove. I got a plastic putty with a very thin blade. I had another with a thicker blade that would not work. Take your time and work slowly.0 -
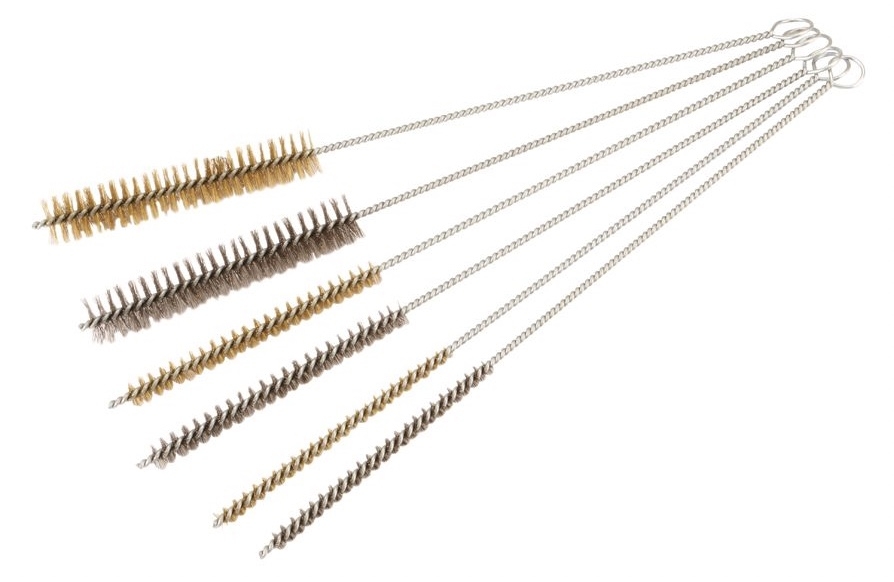
PS. make sure the groove/channel in the frame is nice and clean. I took small brass and stainless steel brushes to gently clean the groove.0
-
Thanks Tom. I know you posted this helpful information for me on the FB site, but I could not locate last night when I went to retrieve. I very much appreciate the step by step and photos.
0 -
Is the gasket for the body glued in? I have the frame seal, but the body seal behind it is almost non-existent just pieces remain so I don’t know what it’s supposed to look like.0
-
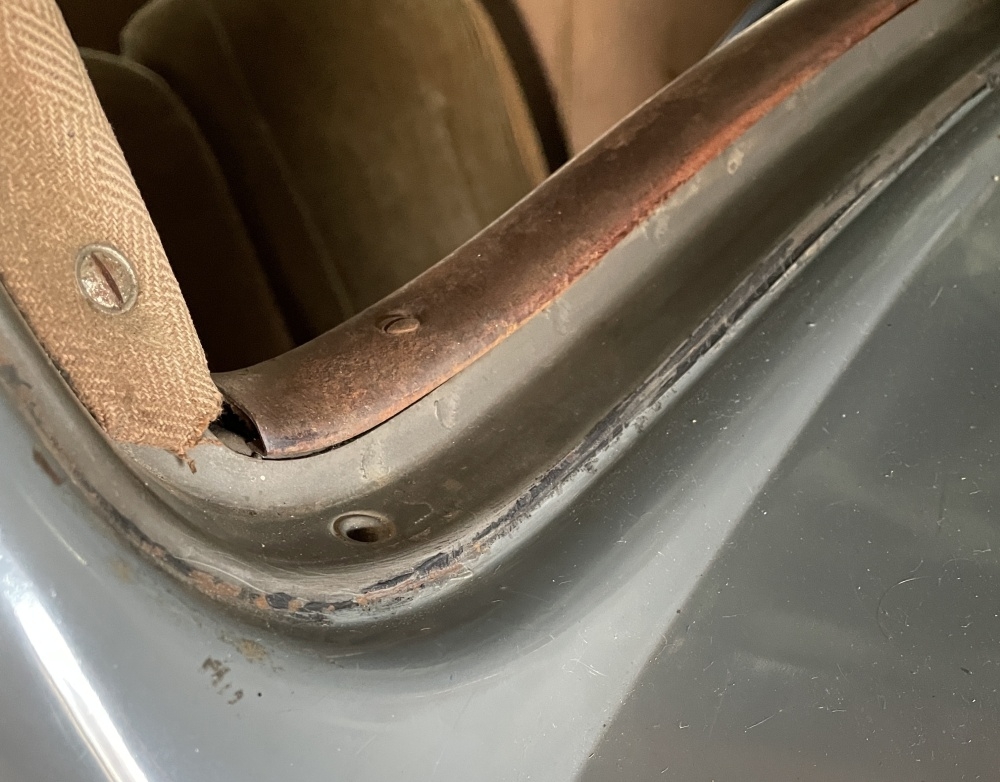
Not sure about other years but on my 35 T I think the only seal for the windshield frame is the seal embedded in the frame itself as in the pics above. It seals against the embossed relief in the outer body. The attached pics shows what I think are remnant's of the original seal embedded in the frame that adhered to the body from sitting for years. Haven't clean it as I don't want to damage the original paint. This pic is as viewed from the passenger side. There is a rubber drain hose slipped over a nipple protruding down from the corner inside the car. I replaced the hose as the original was kinda crusty.
 0
0 -
David, did just that. Bought a set of cheap wire brushes at Harbor Freight that worked the treat.
 0
0 -
Thanks for all the excellent info.
0
Categories
- 37K All Categories
- 116 Hudson 1916 - 1929
- 21 Upcoming Events
- 96 Essex Super 6
- 28.6K HUDSON
- 576 "How To" - Skills, mechanical and other wise
- 995 Street Rods
- 151 American Motors
- 181 The Flathead Forum
- 49 Manuals, etc,.
- 78 Hudson 8
- 44 FORUM - Instructions and Tips on using the forum
- 2.8K CLASSIFIEDS
- 609 Vehicles
- 2.2K Parts & Pieces
- 78 Literature & Memorabilia
- Hudson 1916 - 1929 Yahoo Groups Archived Photos
