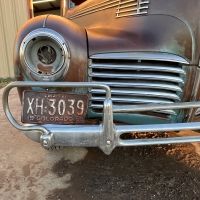
‘51 Pacemaker —Removal 3 Speed/OD Transmission
I have to pull the engine and tranny out of the car. First time I’m tackling a 3 speed +OD.
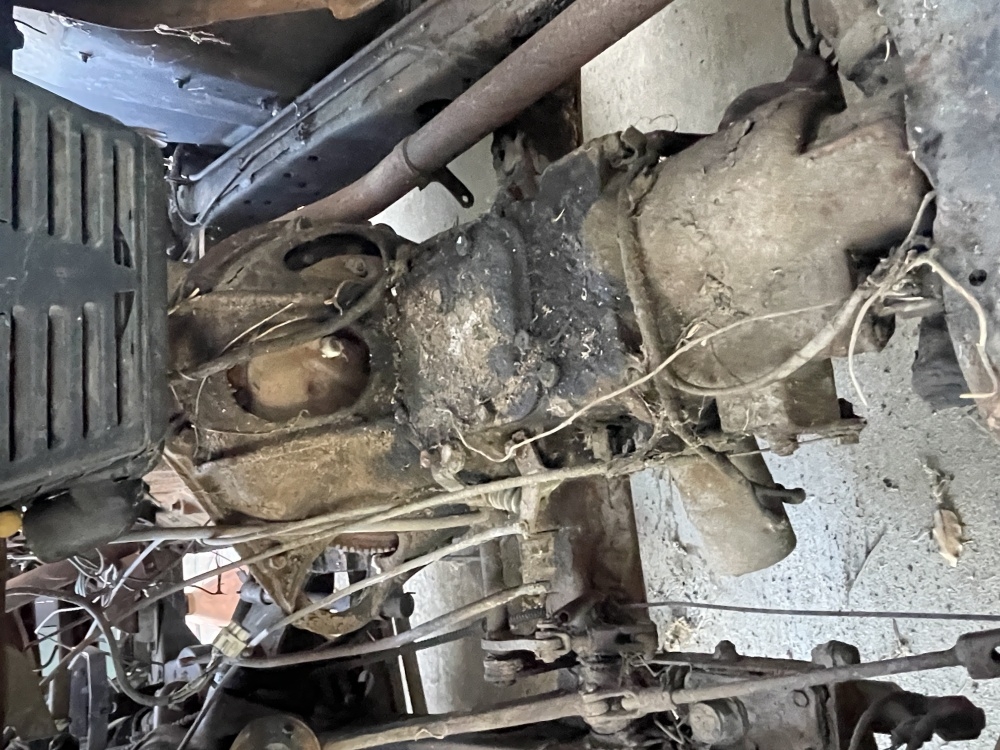
Looking for tips from those of you who have already done this job. Can the subject car’s engine and transmission be pulled out as a unit? Or should I disconnect the transmission and drop it first?
Looking for tips from those of you who have already done this job. Can the subject car’s engine and transmission be pulled out as a unit? Or should I disconnect the transmission and drop it first?
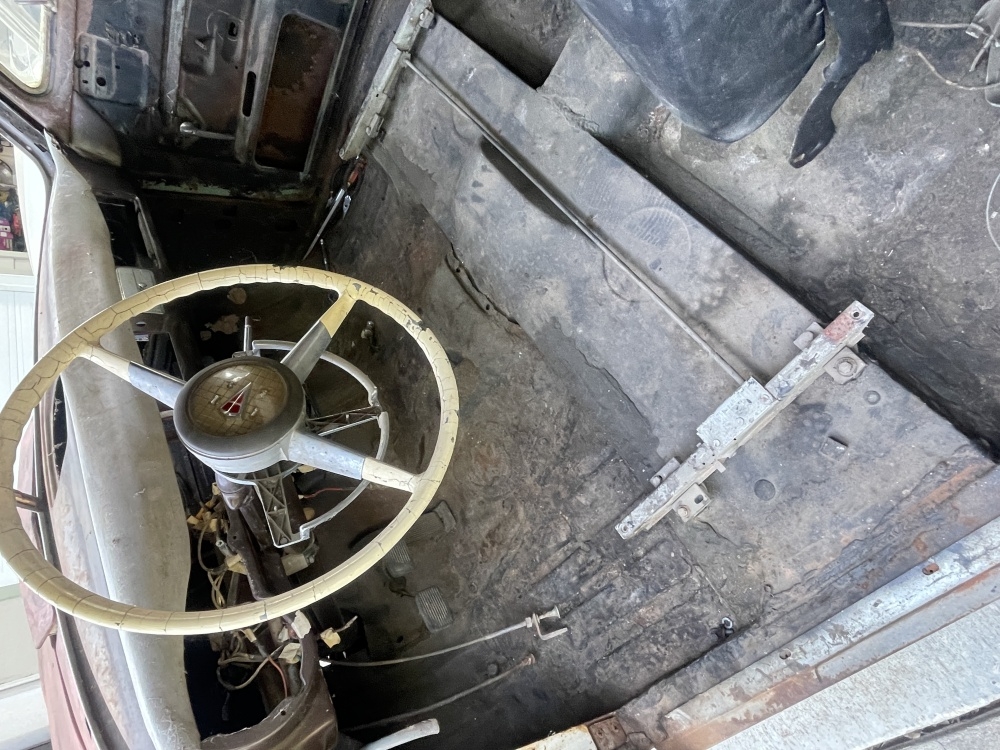
I’m surprised how tight the top of transmission rides up against the floor board. Is it advisable (or is it a must) to remove the floor cover tunnel?
0
Comments
-
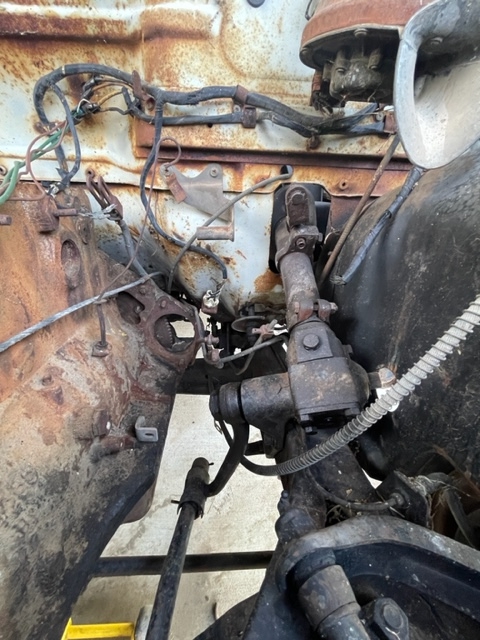
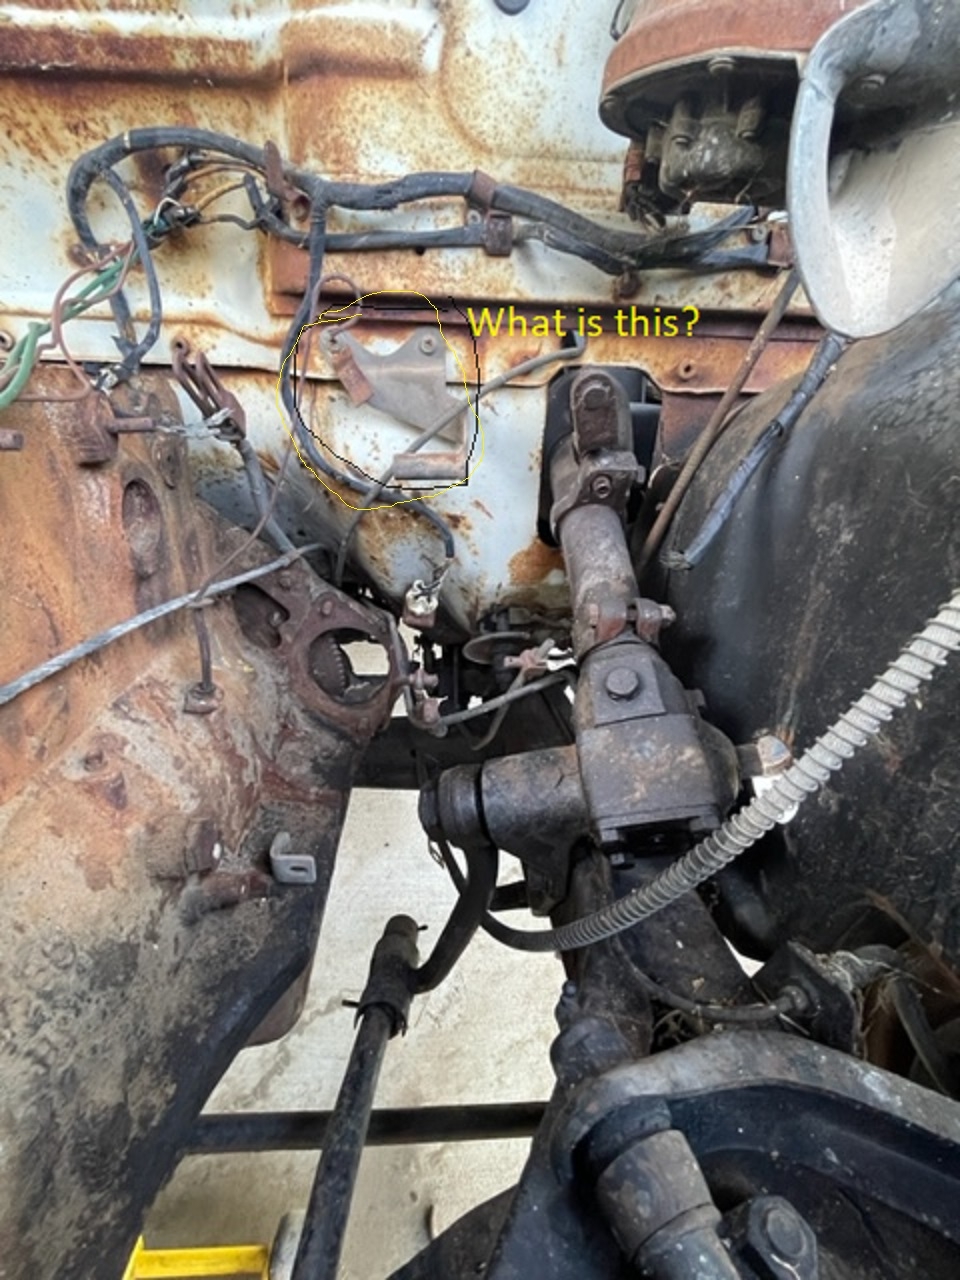
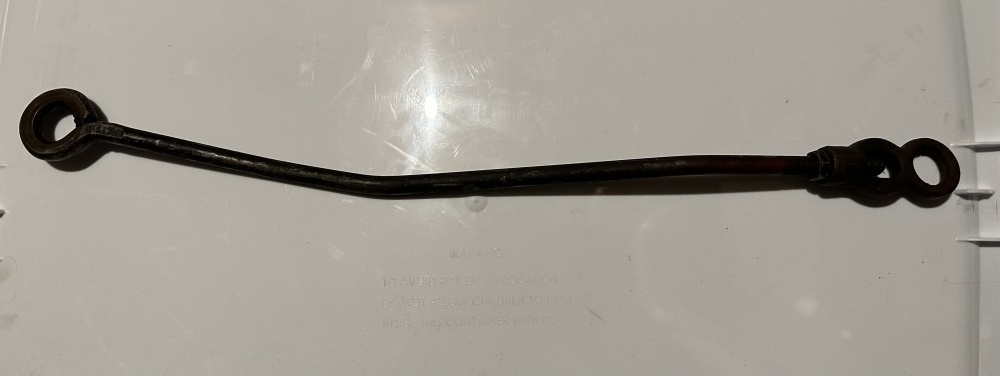
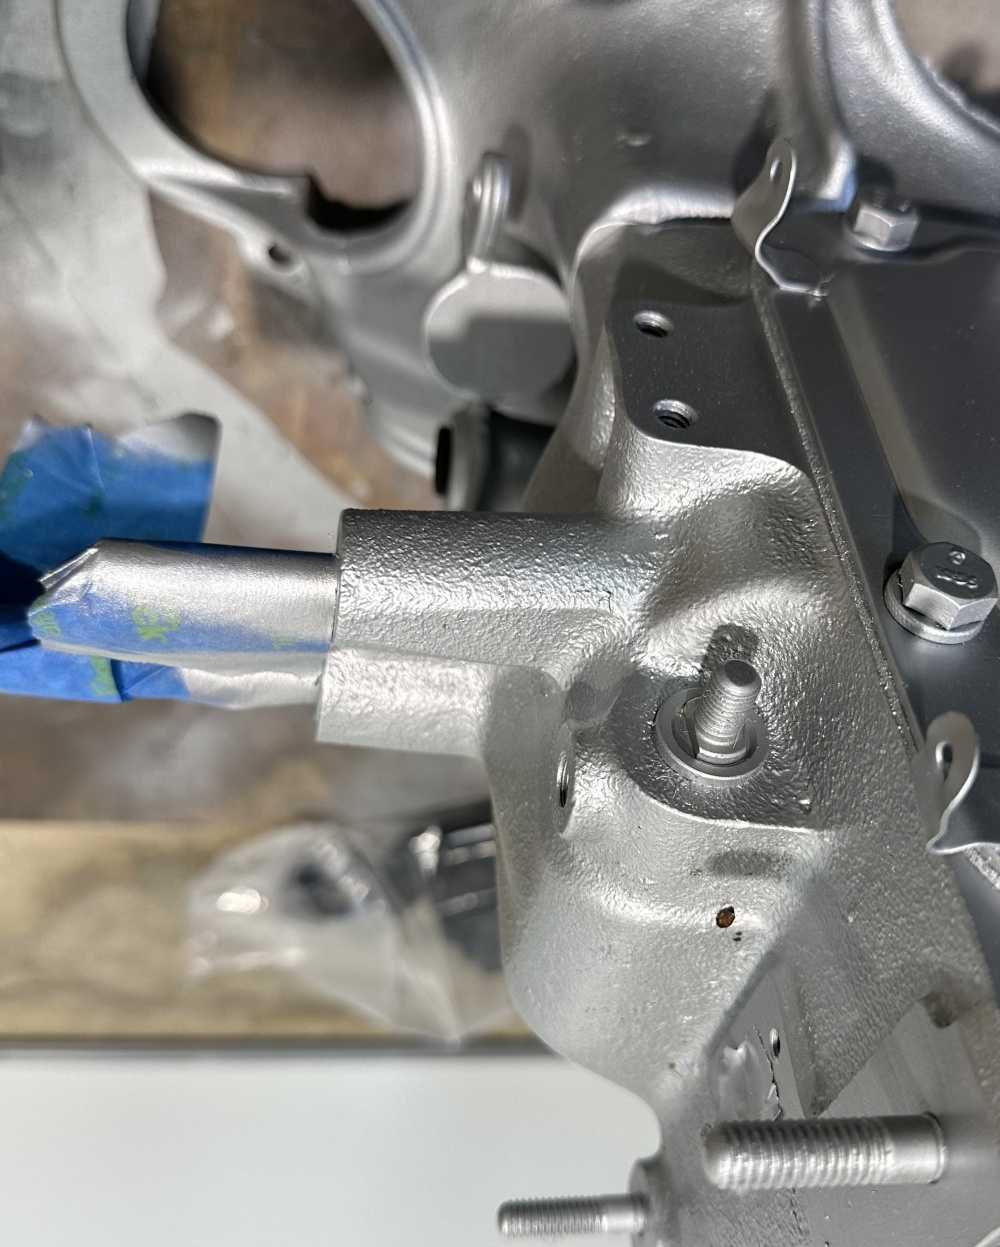
I'm also missing transmission linkage bits and pieces. Problem is I don't know which ones. Below are some pics. Can someone with a 3 Speed OD post pictures of how the shifter shaft (above the steering column) connects to the linkage assemblies?What is the cable in the second picture? Where does it connect?
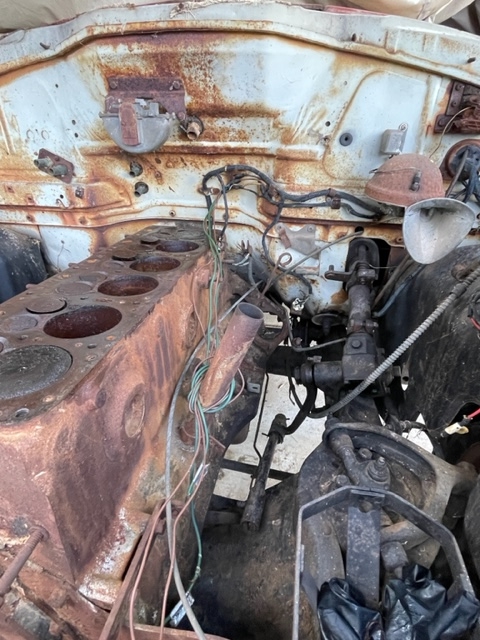
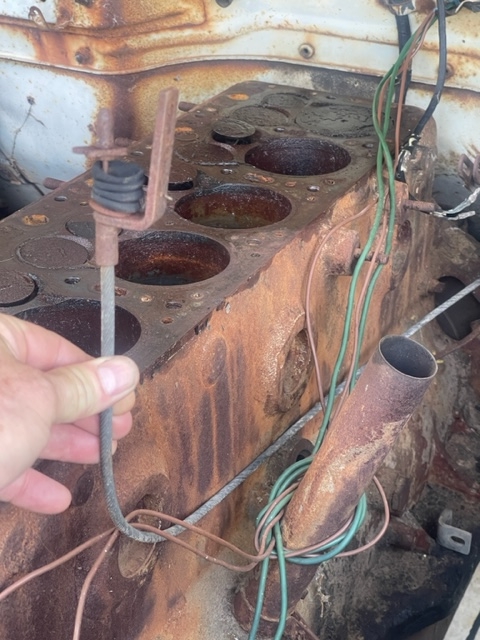
 0
0 -
Easiest to take out as a unit. Just disconnect everything (wires, cables, pipes, rods), undo the engine mount bolts, drive shaft, clutch linkage etc. Remove the radiator and side panels. Angle the whole unit upwards at the front to make it easier to lift over the grille. The cable you show connects to the bottom of the shift shaft and the bell crank on the transmission lid. There is a rod that links to the lever on the shift shaft and the transmission side lever.0
-
Also take out the floor section for better access to everything.0
-
Thanks for the tips and info thus far offered. I sure hope someone will take a few pictures of their shift linkages and post them here. “A picture is worth a thousand words!” I’ll post pictures as the engine and tranny are removed.0
-
Updates:
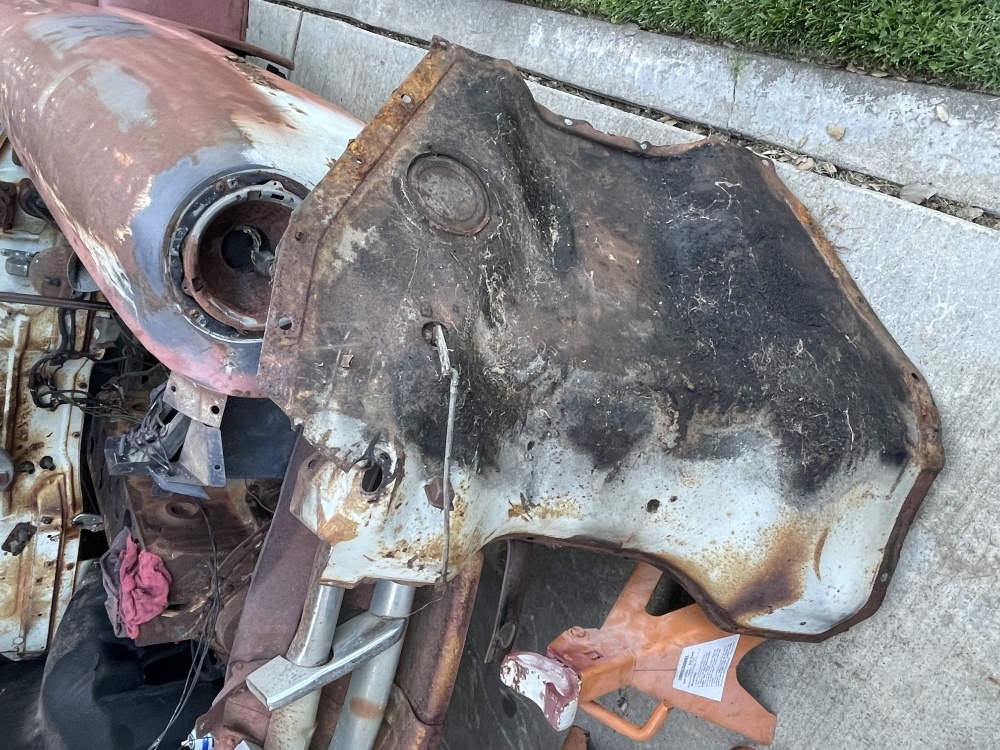
0 -
More:
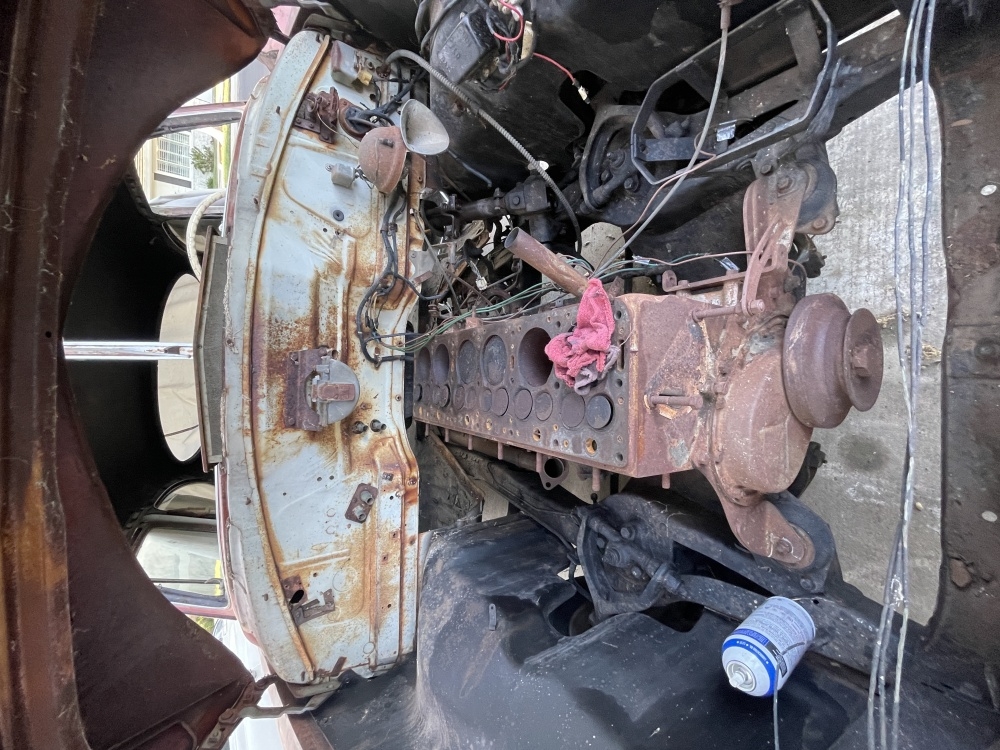
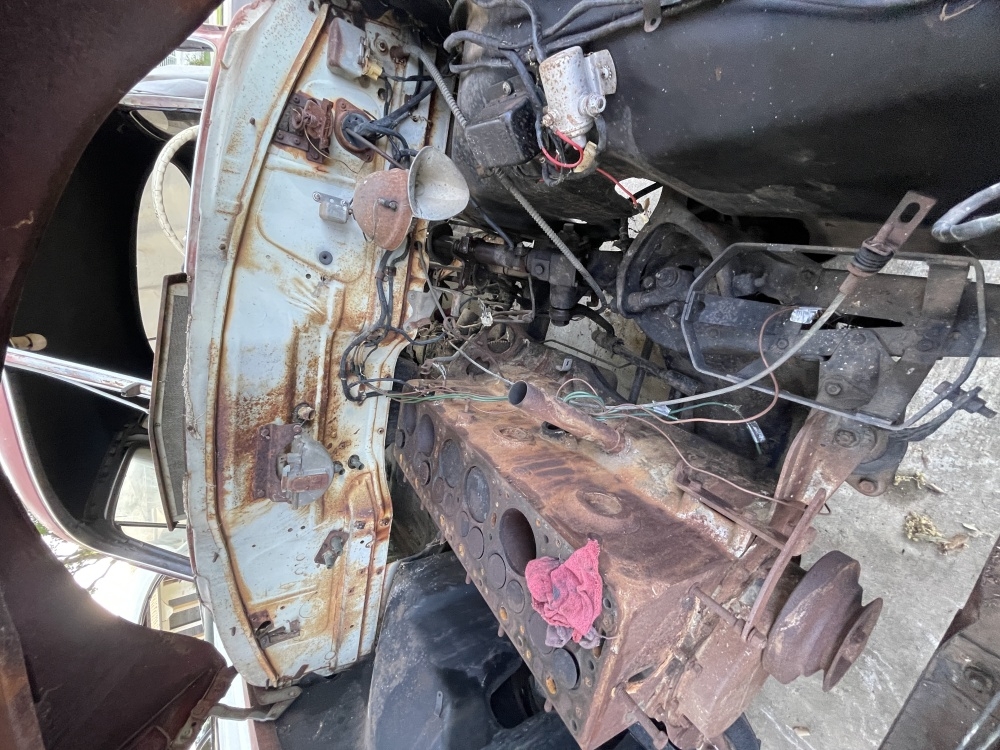
0 -
This is my 46. The shift linkage is virtually identical. The cable connects as shown on the steering column. There’s a control rod that connects on the steering column above where the cable terminates. That’s the second picture. Third picture shows the top of an OD trans. The two bolt holes are where the anchor for the shift cable is secured The shaft in front of it is where the cable connects to that shaft with a lever. The cable controls the 1st/Reverse and 2nd/3rd shift positions. The rod connects to the gear selector shaft on the trans. Note that it has rubber bushings and washers to keep it tight
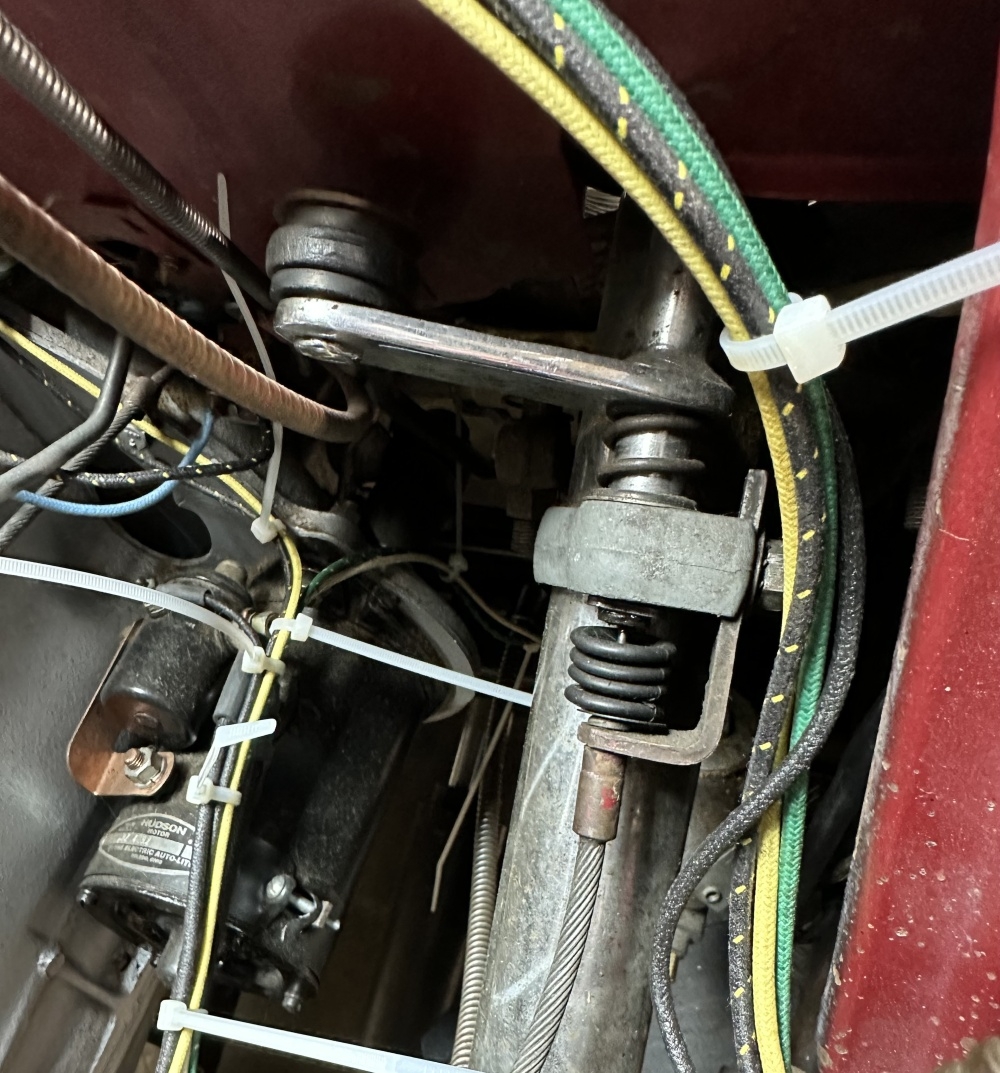
 0
0 -
Toddh,
Thank you very much for taking the time to post the pics and for the explanation. I don’t think I have the control rod in the second picture above. But maybe it’s there amongst the other 3 to 4 rods/cables that connect to the tranny. I’ll sort through them tomorrow. I imagine one or more of these rods interconnect to the throttle linkage which went completely AWOL years ago….I’d really appreciate you checking back on this thread in a day or two. I’ll post pics of these other rods/cables and maybe you could shed bright light on them too?I’m trying to resurrect and piece back together this “age-old parts car” and really appreciate all the help I can get.Thanks!0 -
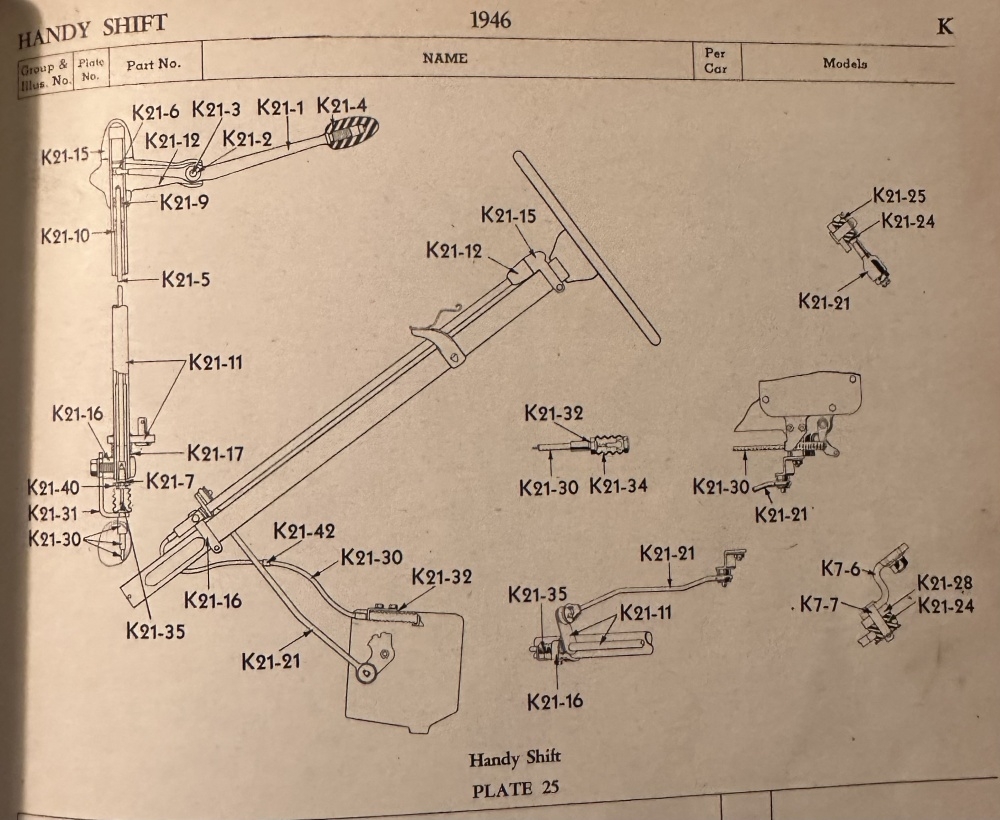
In the mechanical procedure manual and parts book, there’s a diagram showing the various parts and pieces and how they go together. If you don’t have a mechanical procedure manual and parts book for your year, you can download one here: http://hudsonterraplane.com/tech/tech_index.htm
0 -
Toddh--I didn't get to the car this past weekend. Thanks for the diagram above.
0
Categories
- 37K All Categories
- 113 Hudson 1916 - 1929
- 21 Upcoming Events
- 94 Essex Super 6
- 28.6K HUDSON
- 576 "How To" - Skills, mechanical and other wise
- 995 Street Rods
- 151 American Motors
- 180 The Flathead Forum
- 49 Manuals, etc,.
- 78 Hudson 8
- 44 FORUM - Instructions and Tips on using the forum
- 2.8K CLASSIFIEDS
- 608 Vehicles
- 2.2K Parts & Pieces
- 77 Literature & Memorabilia
- Hudson 1916 - 1929 Yahoo Groups Archived Photos

