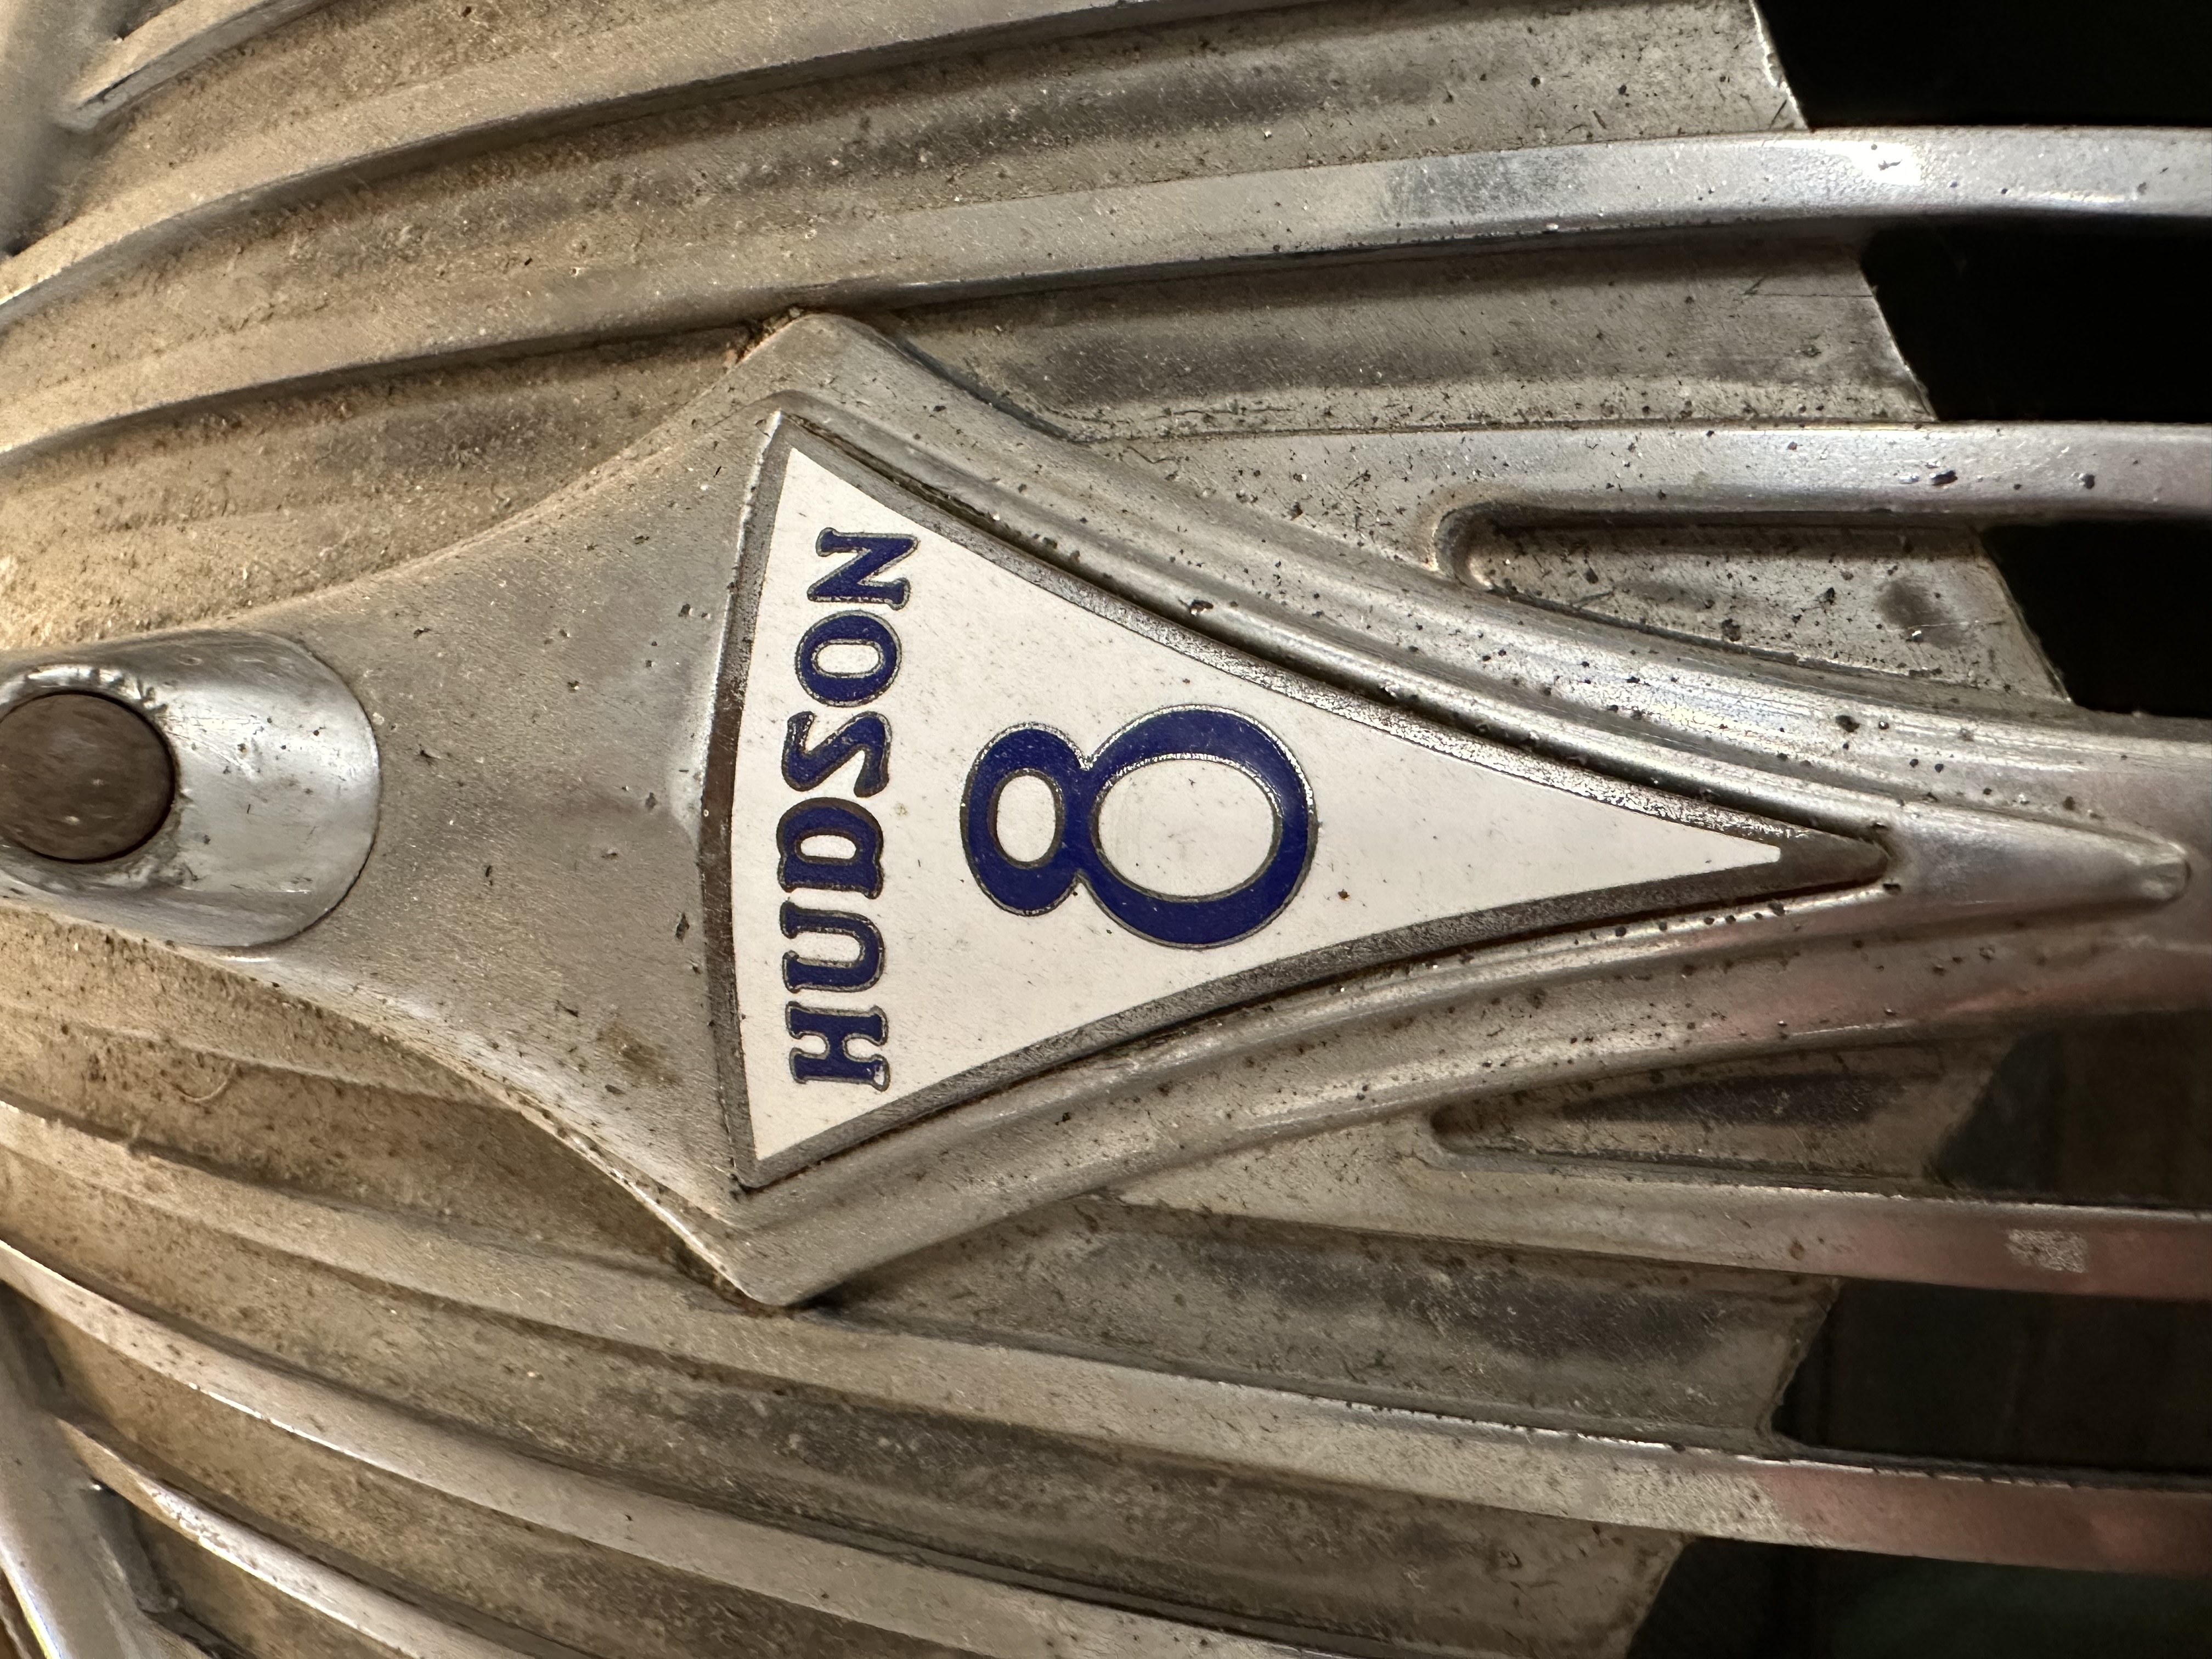
1936 DeLuxe 8 restoration
I started this journey January 23rd, even though I’ve owned the car for 12 years. It’s been through three moves and seen a lot of life pass by. But now I’ve jumped in with both feet and thought I’d document my successes and failures here, for everyone to see.
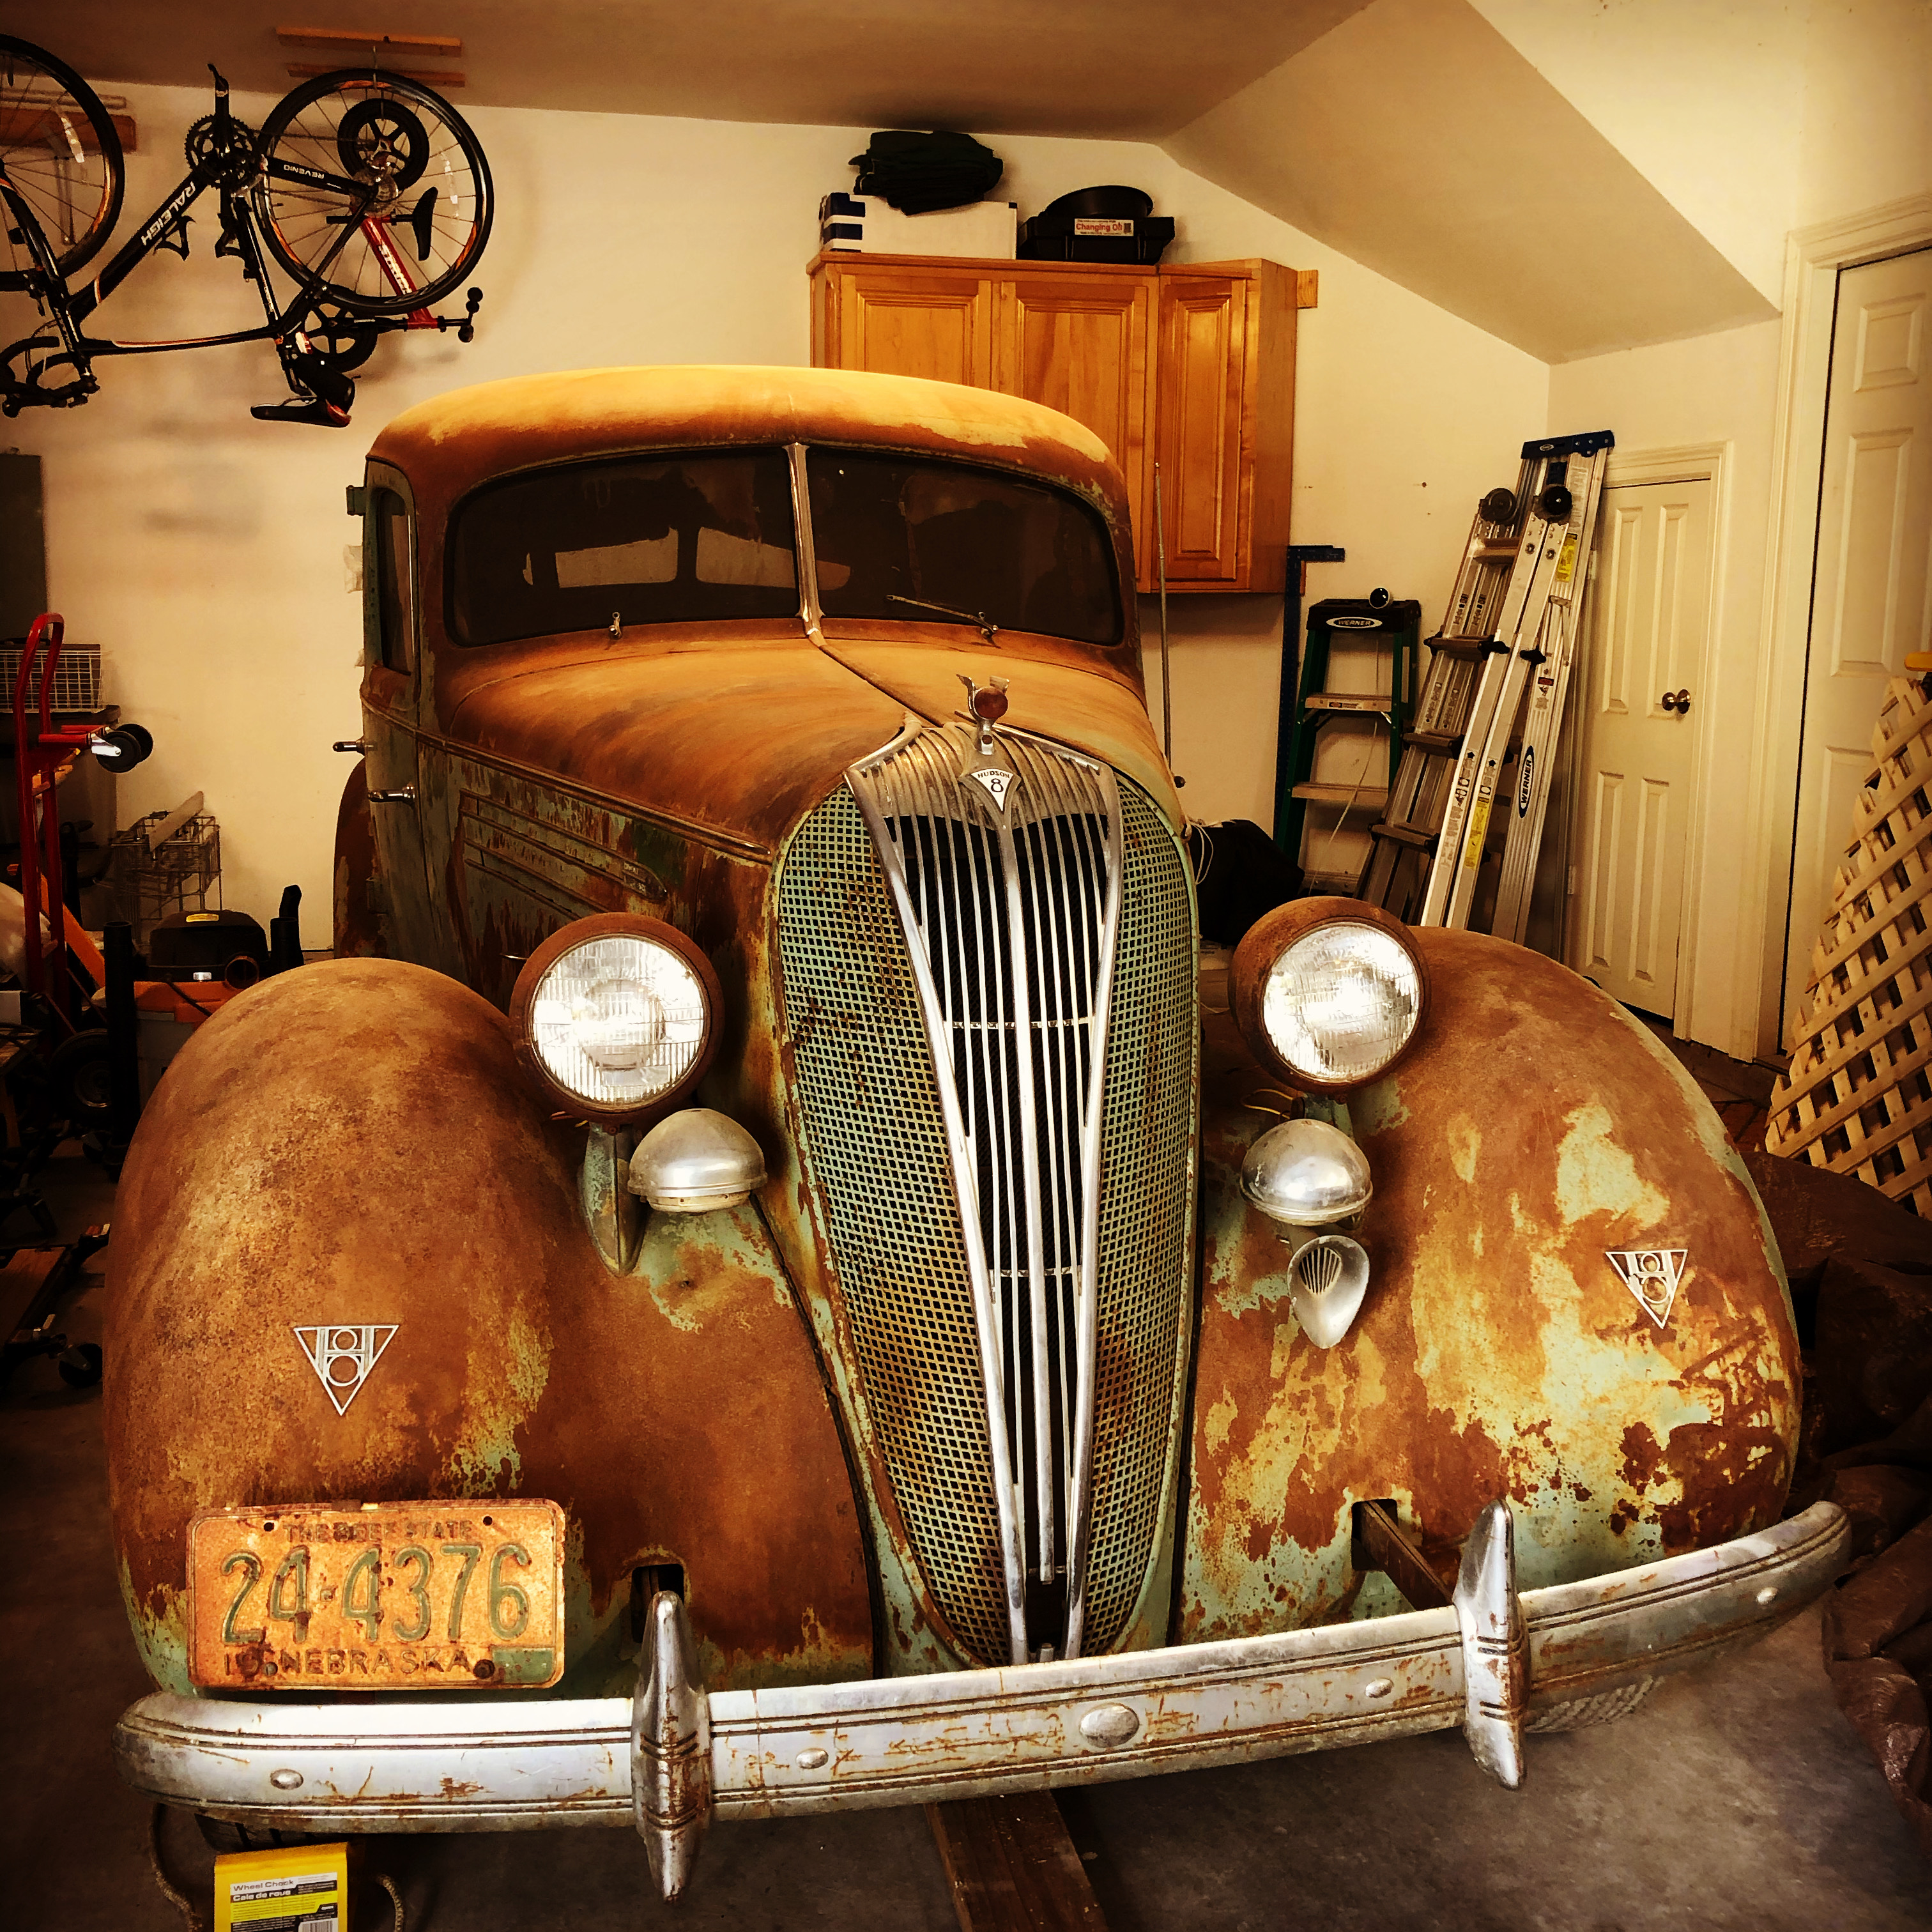
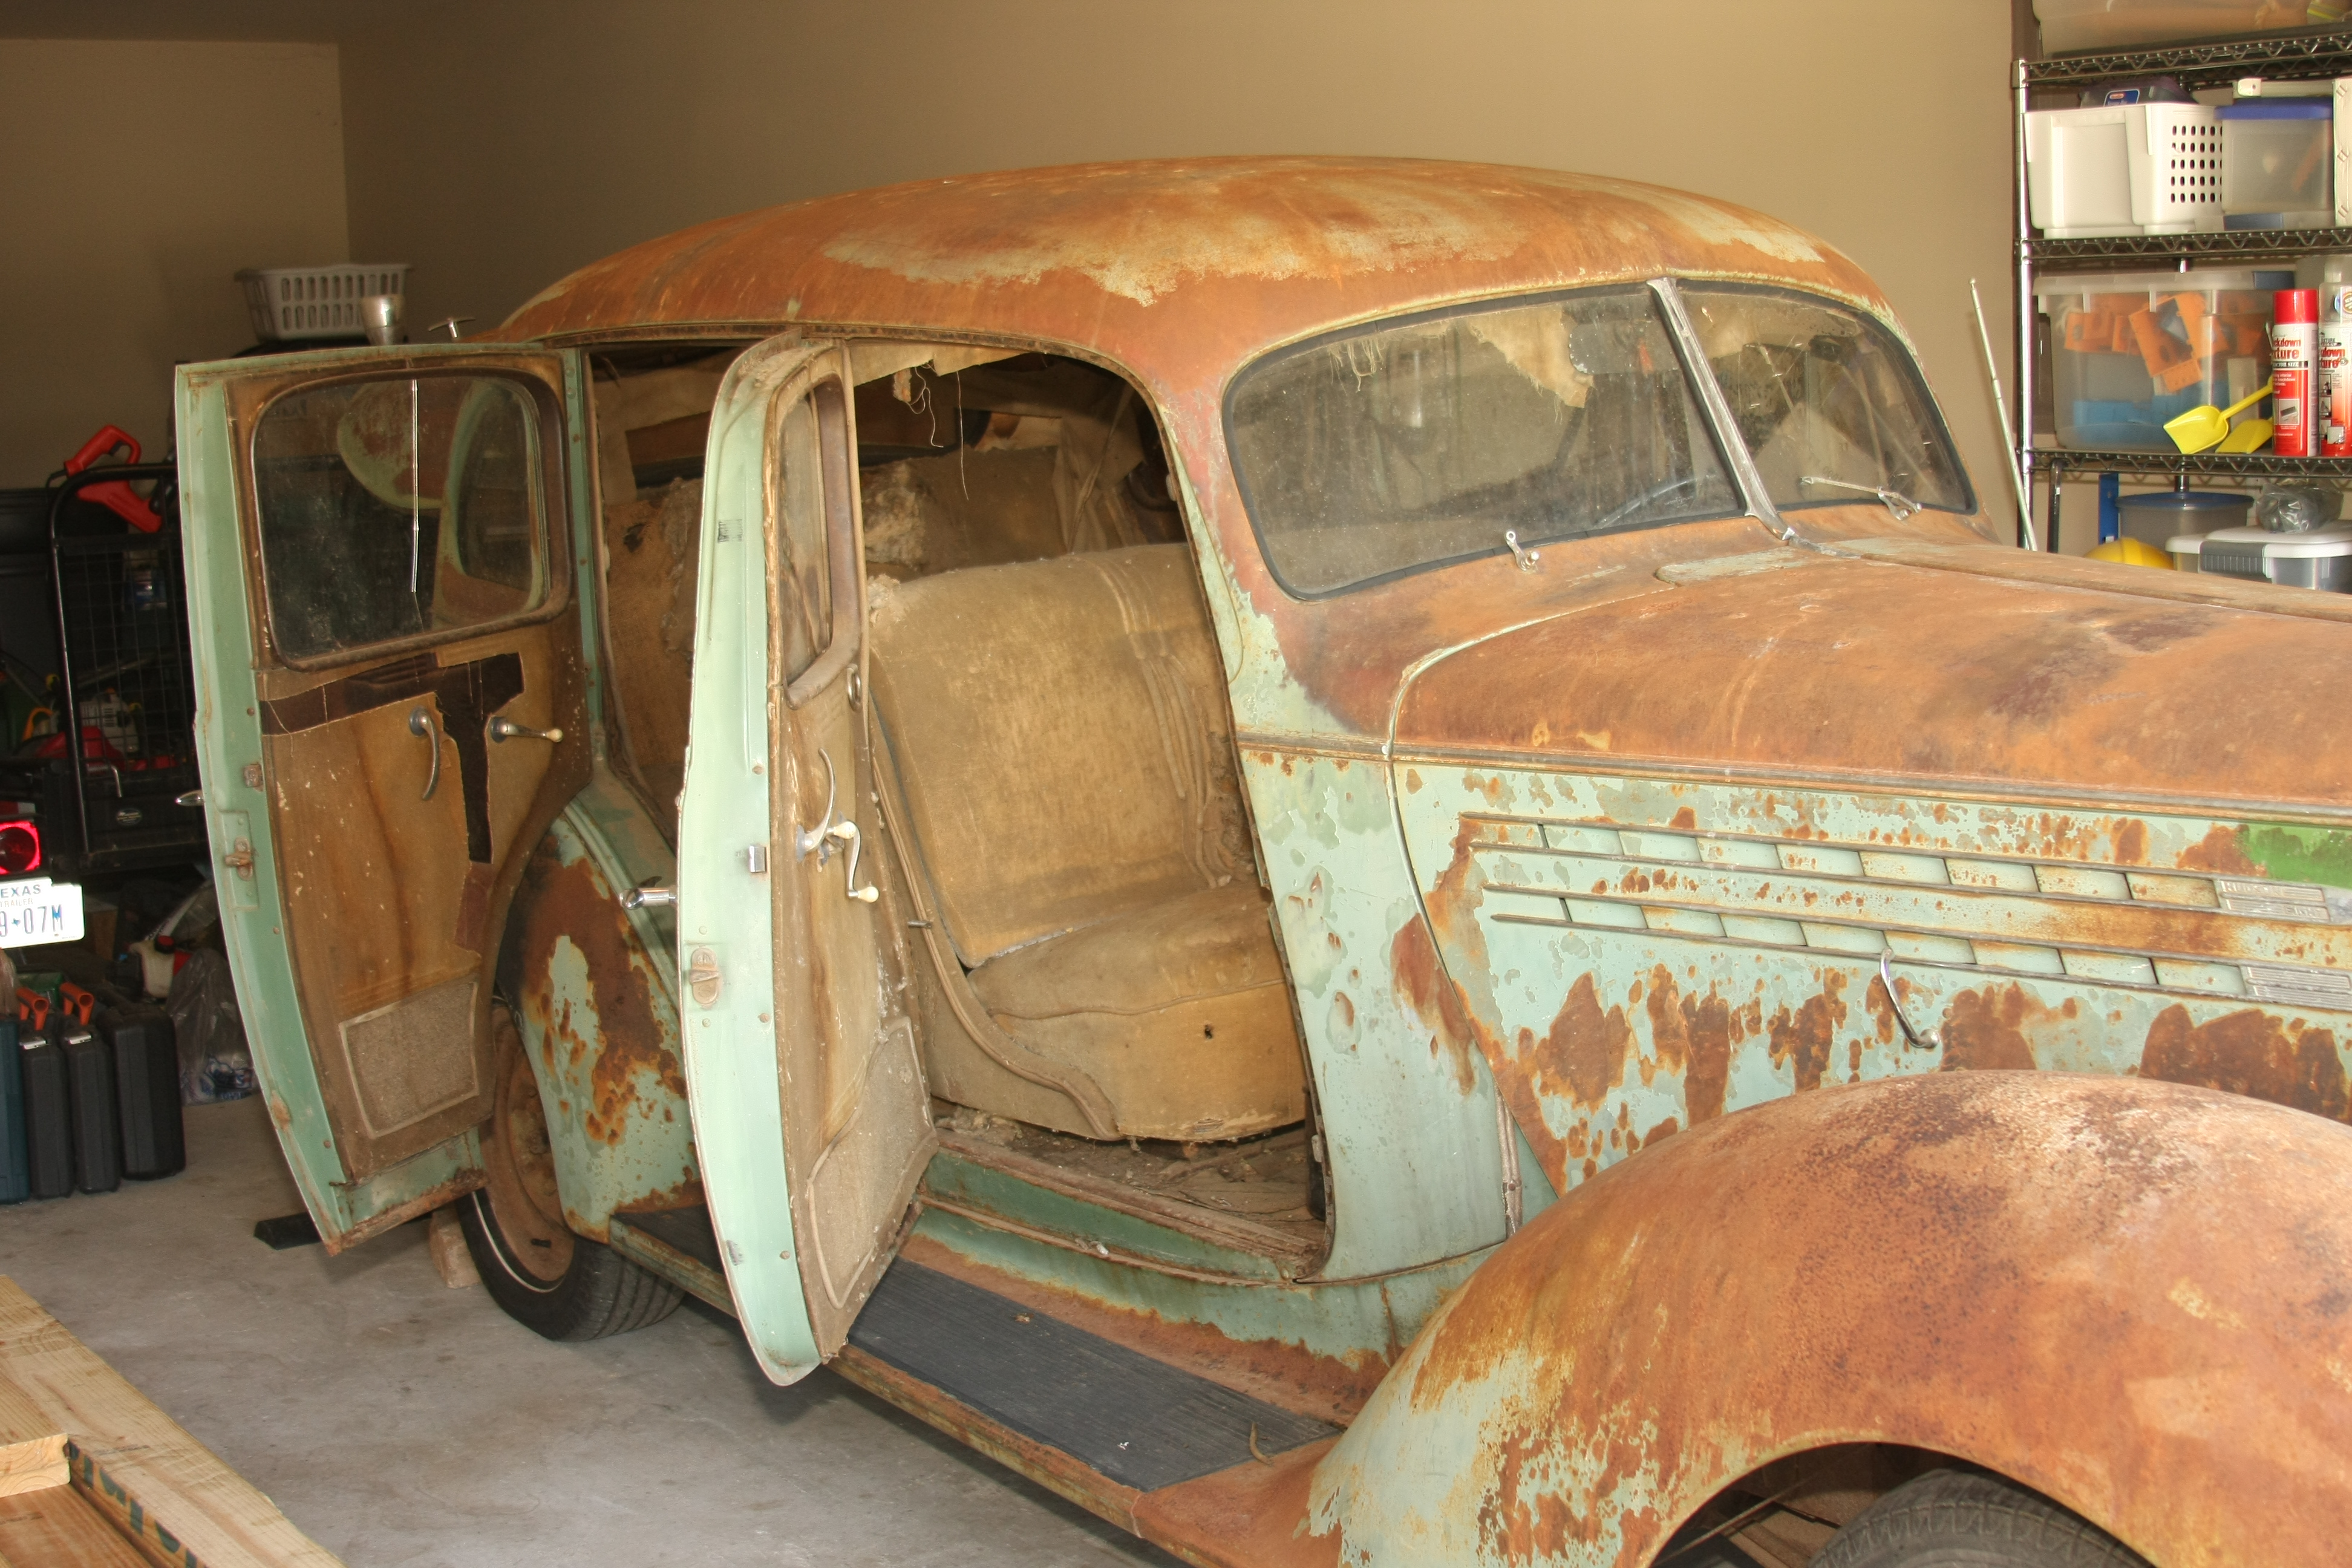
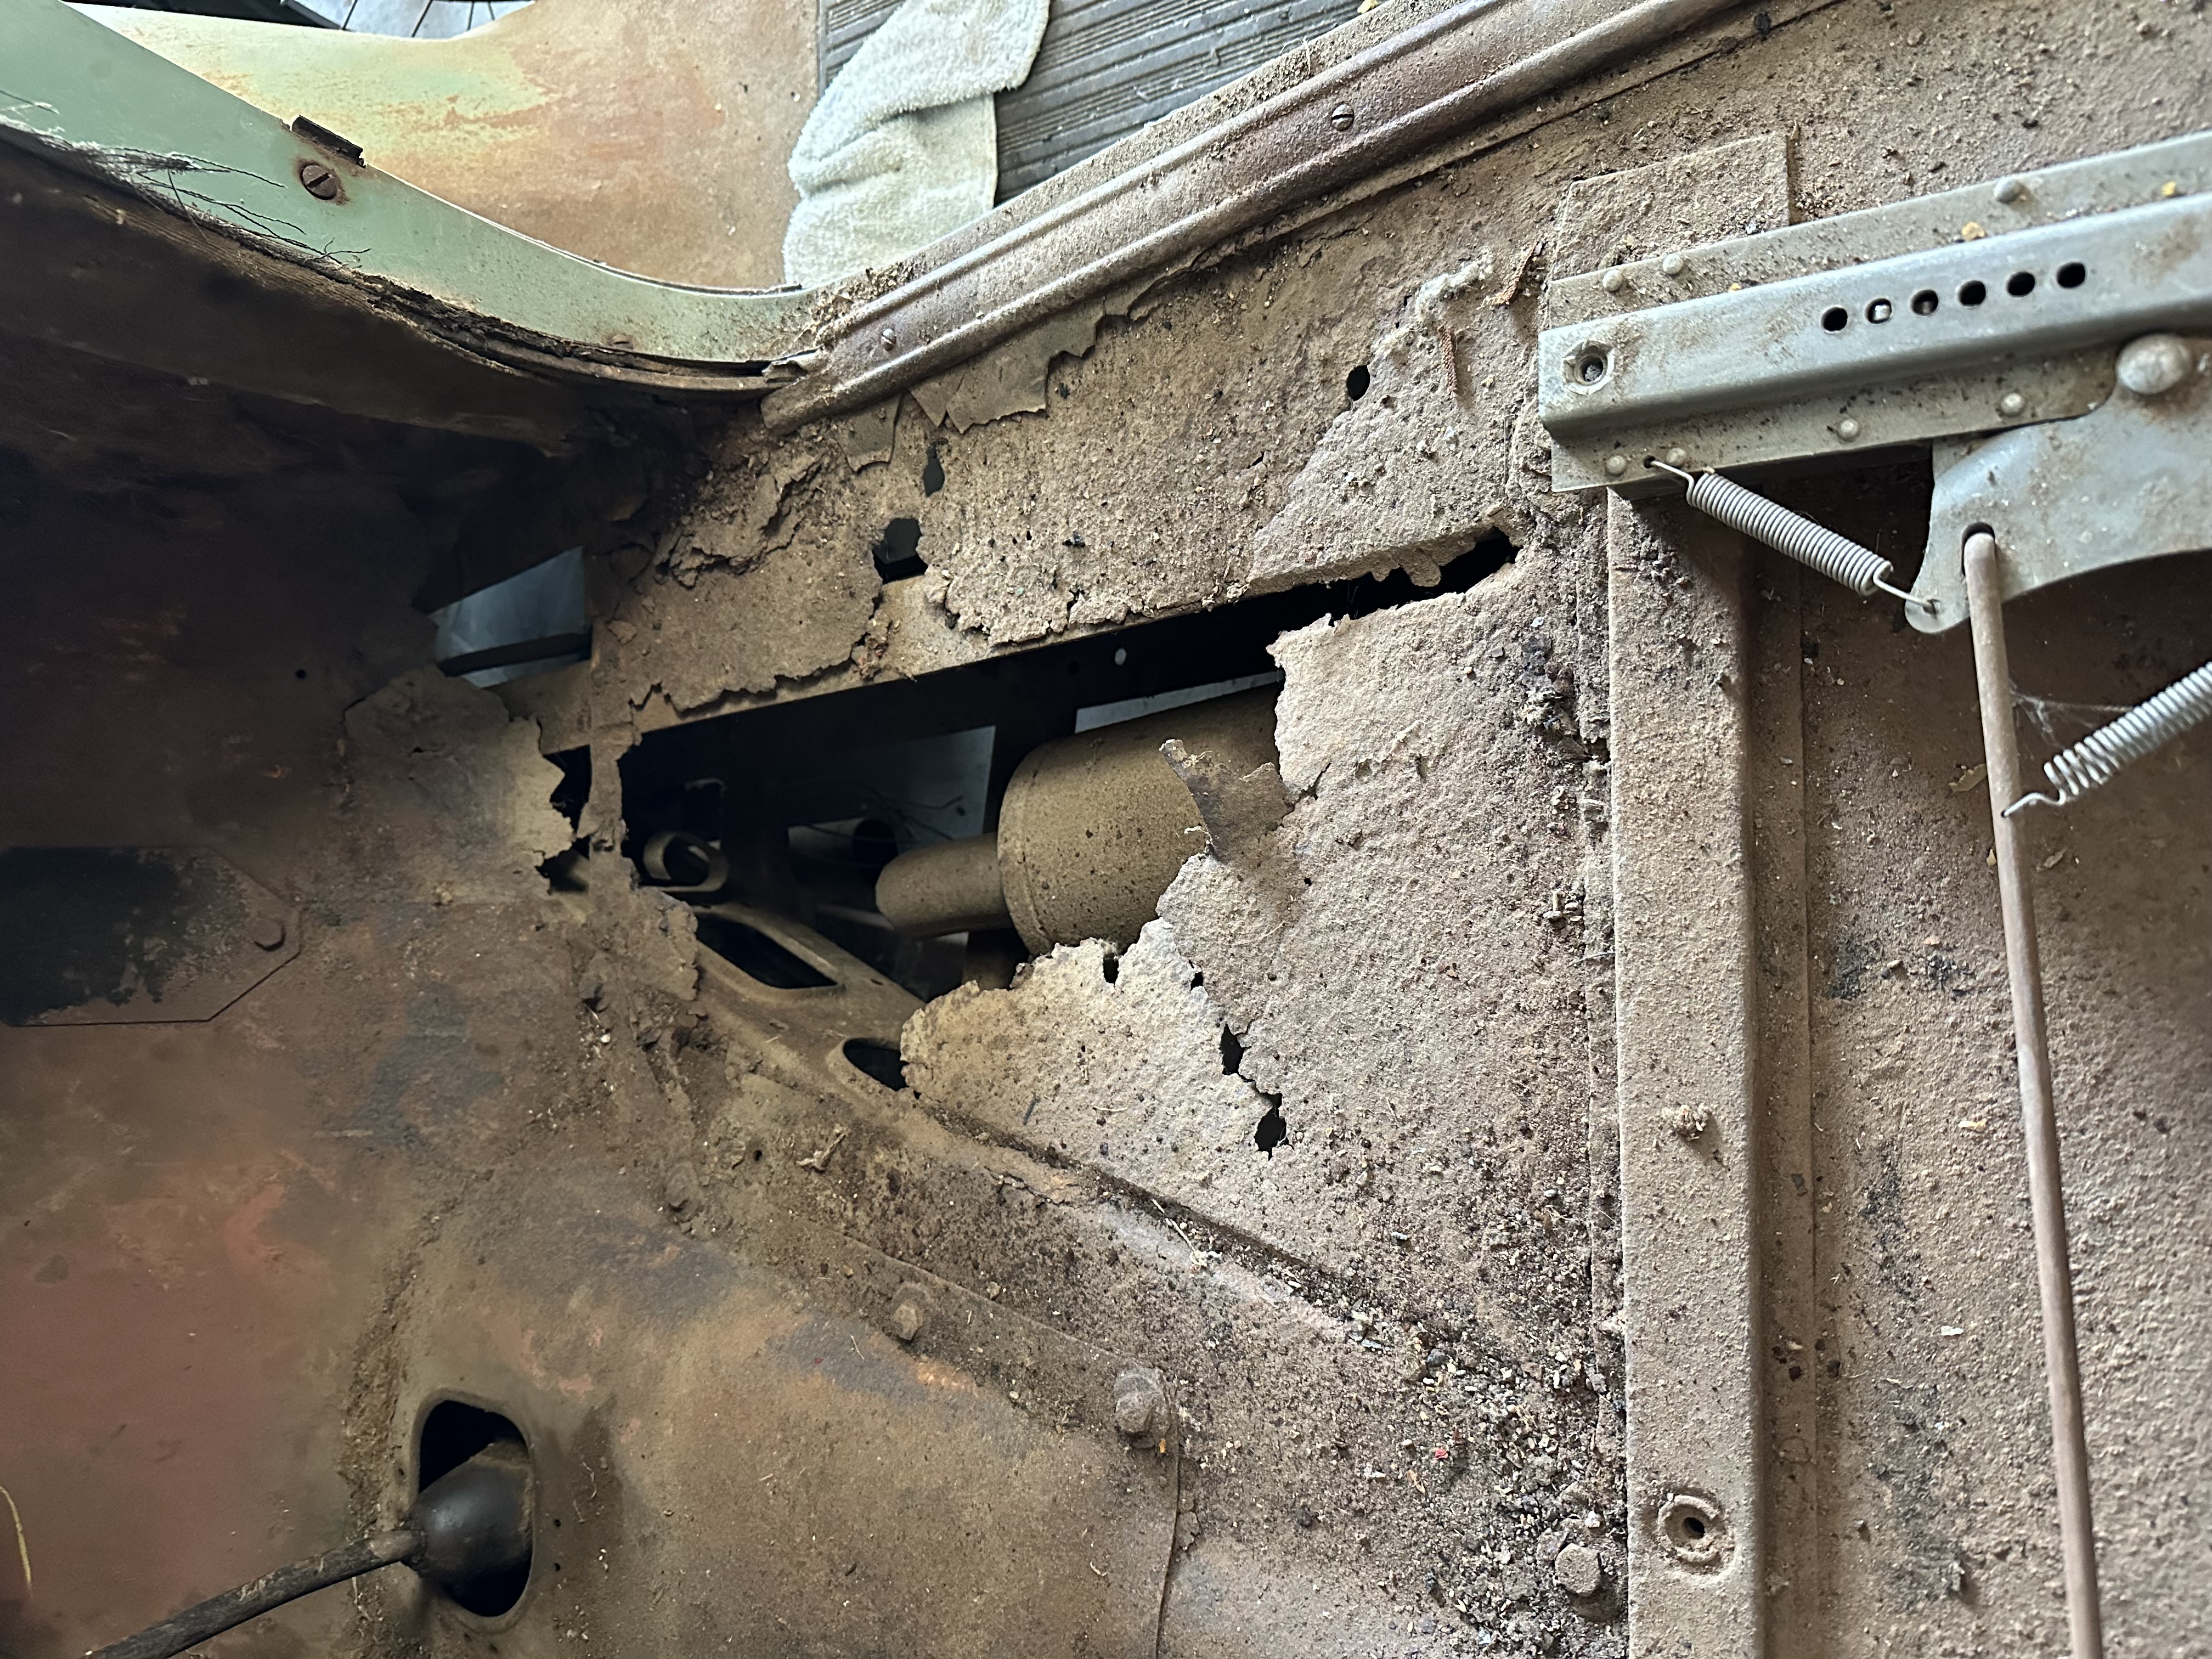
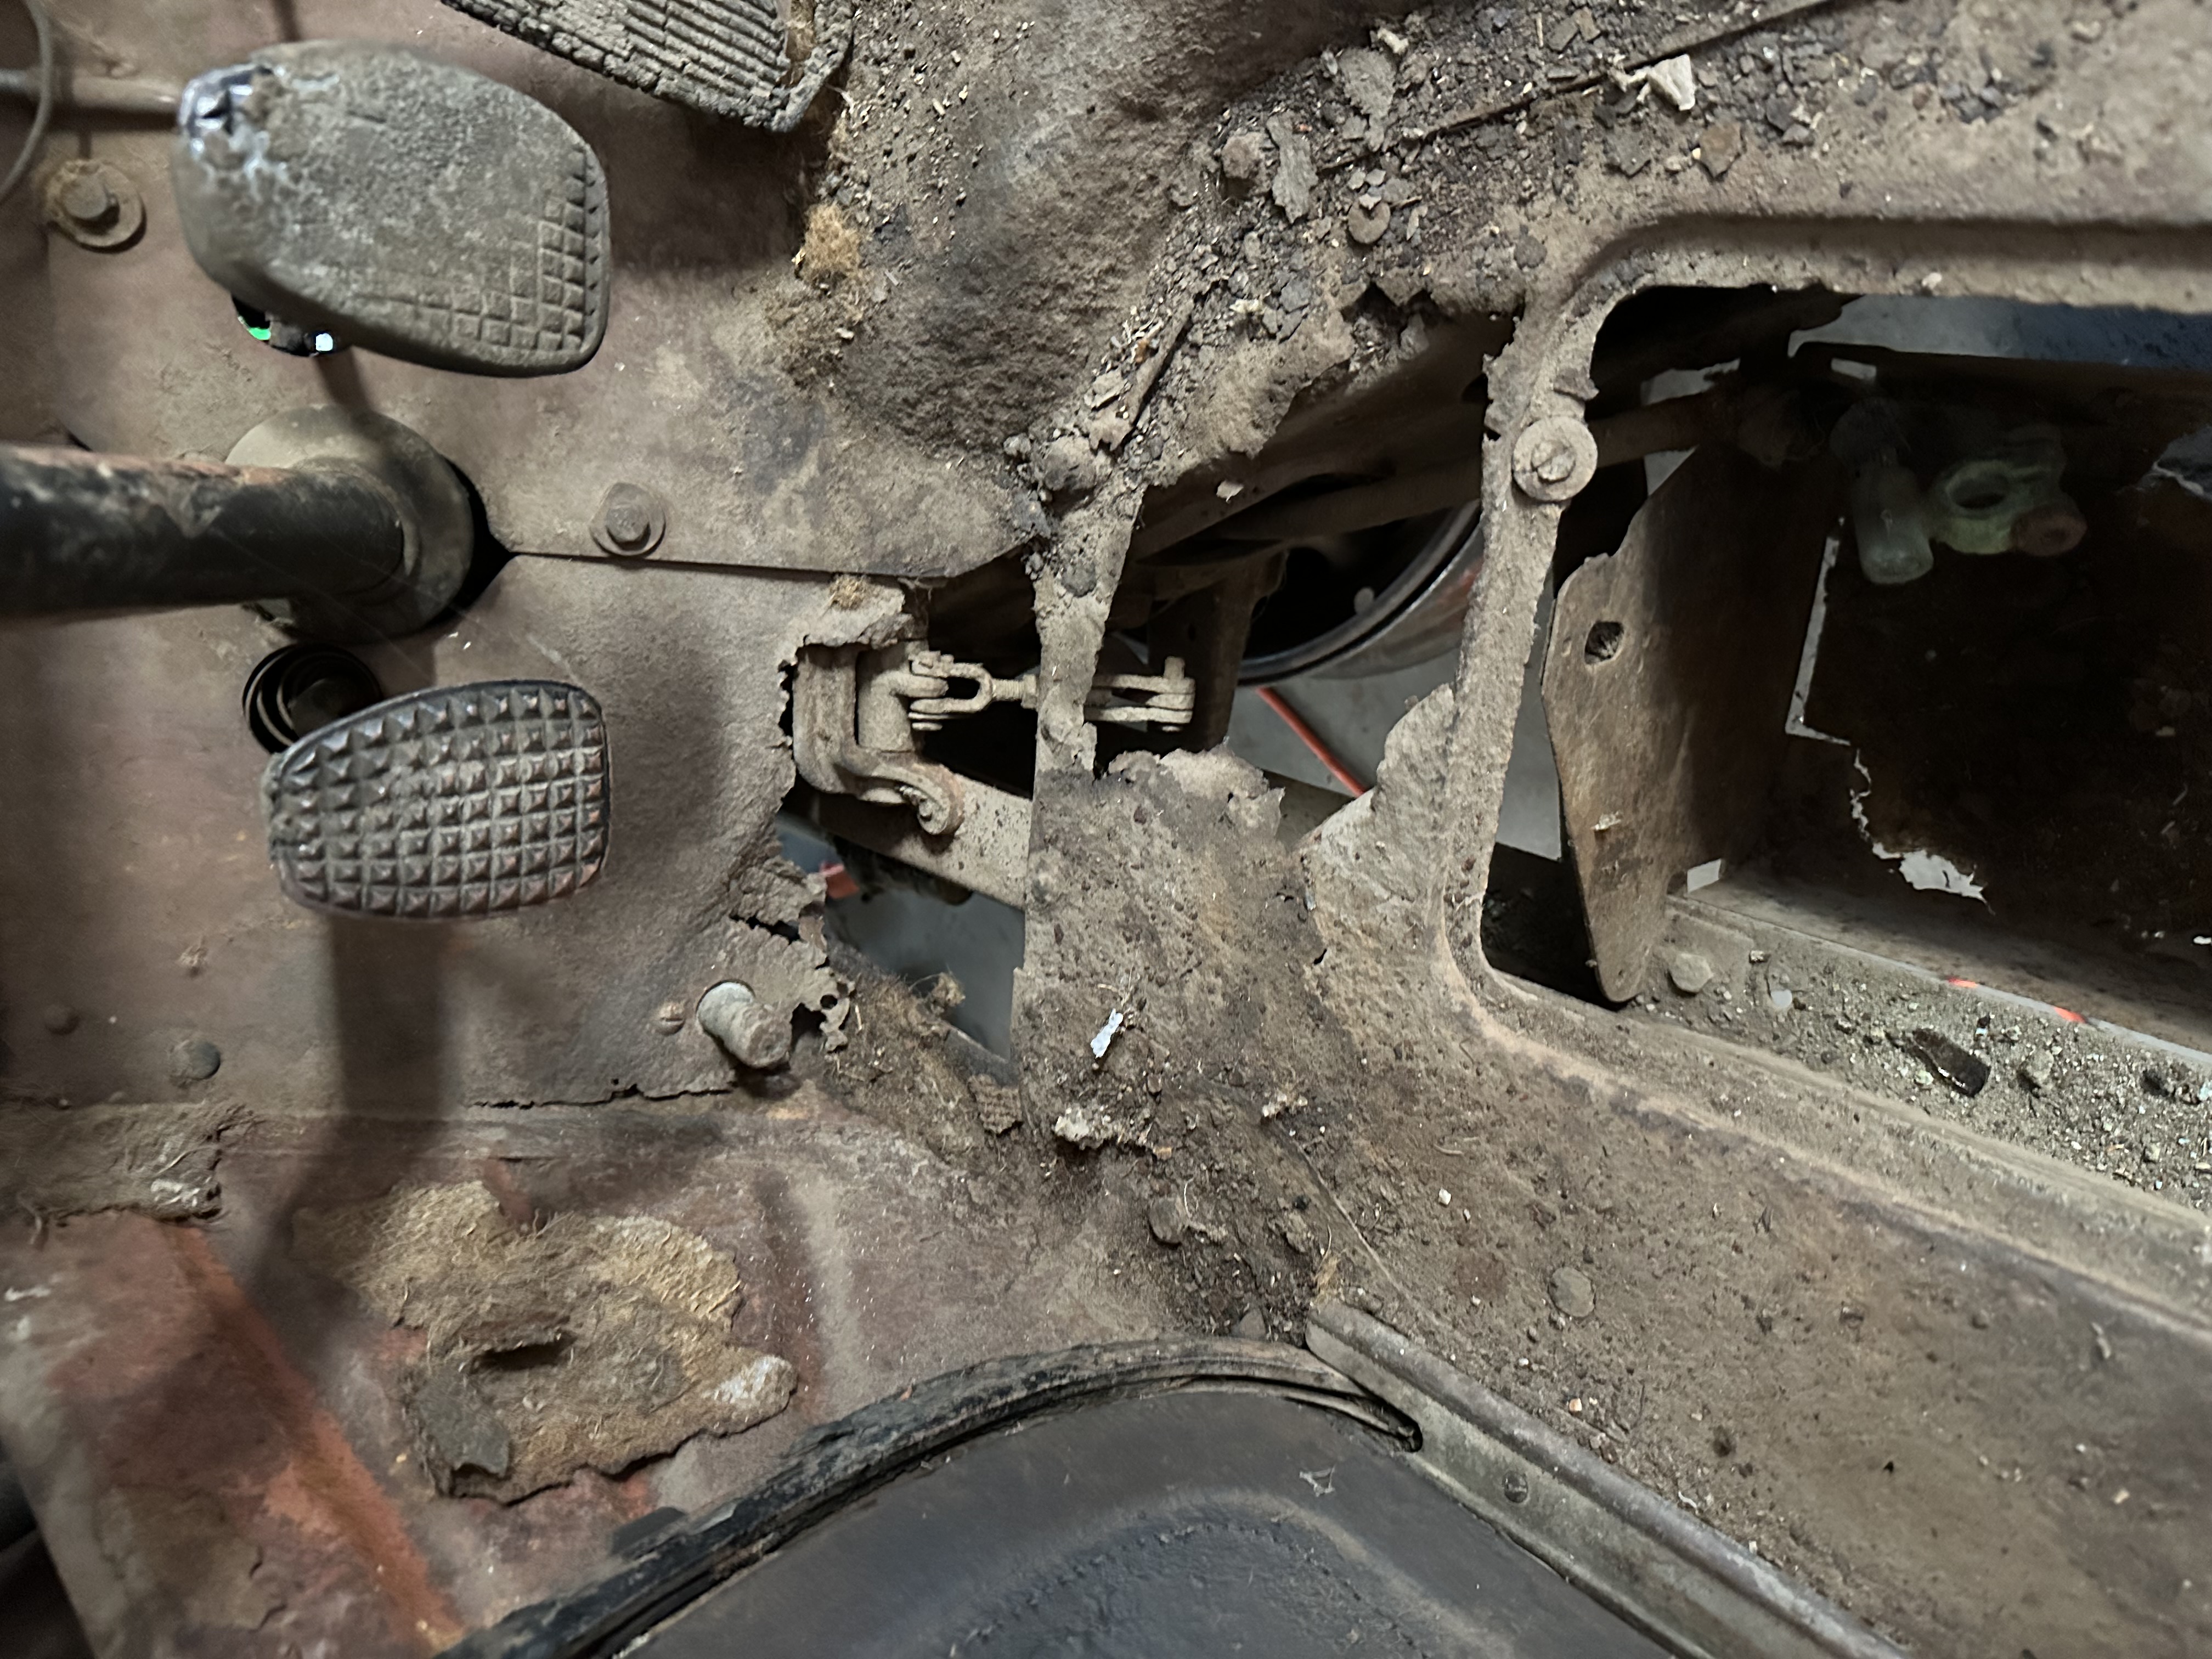
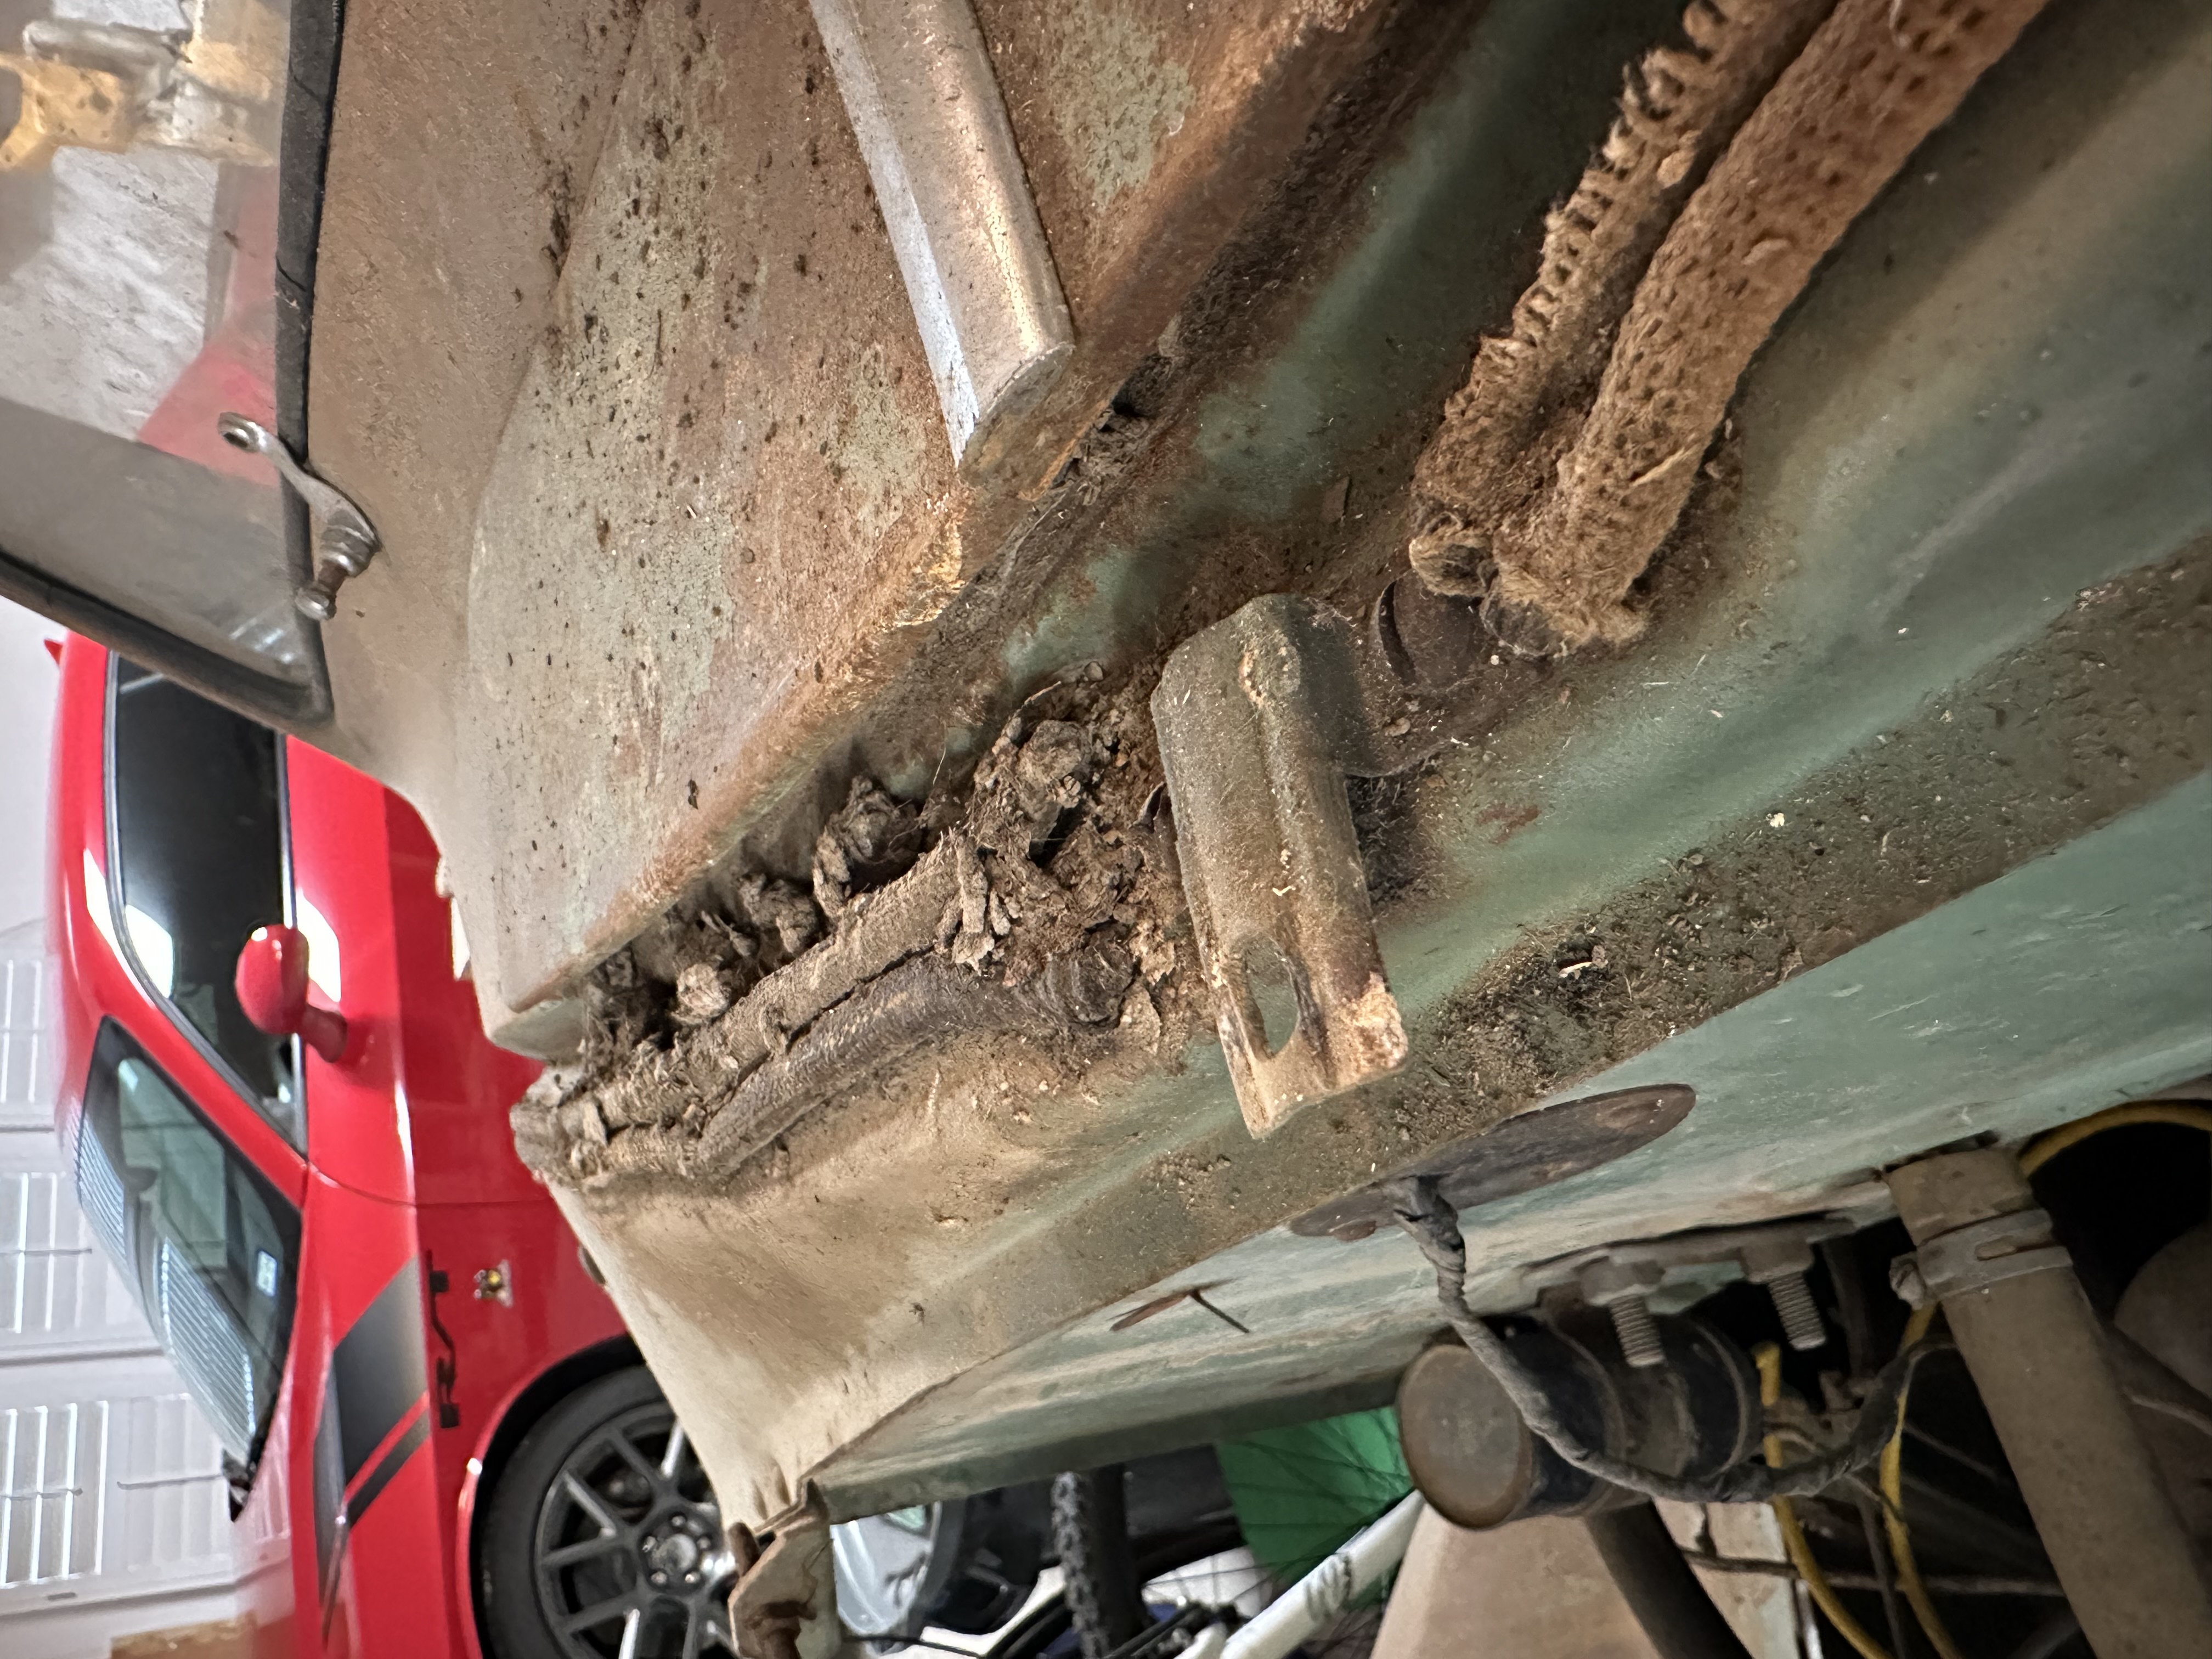
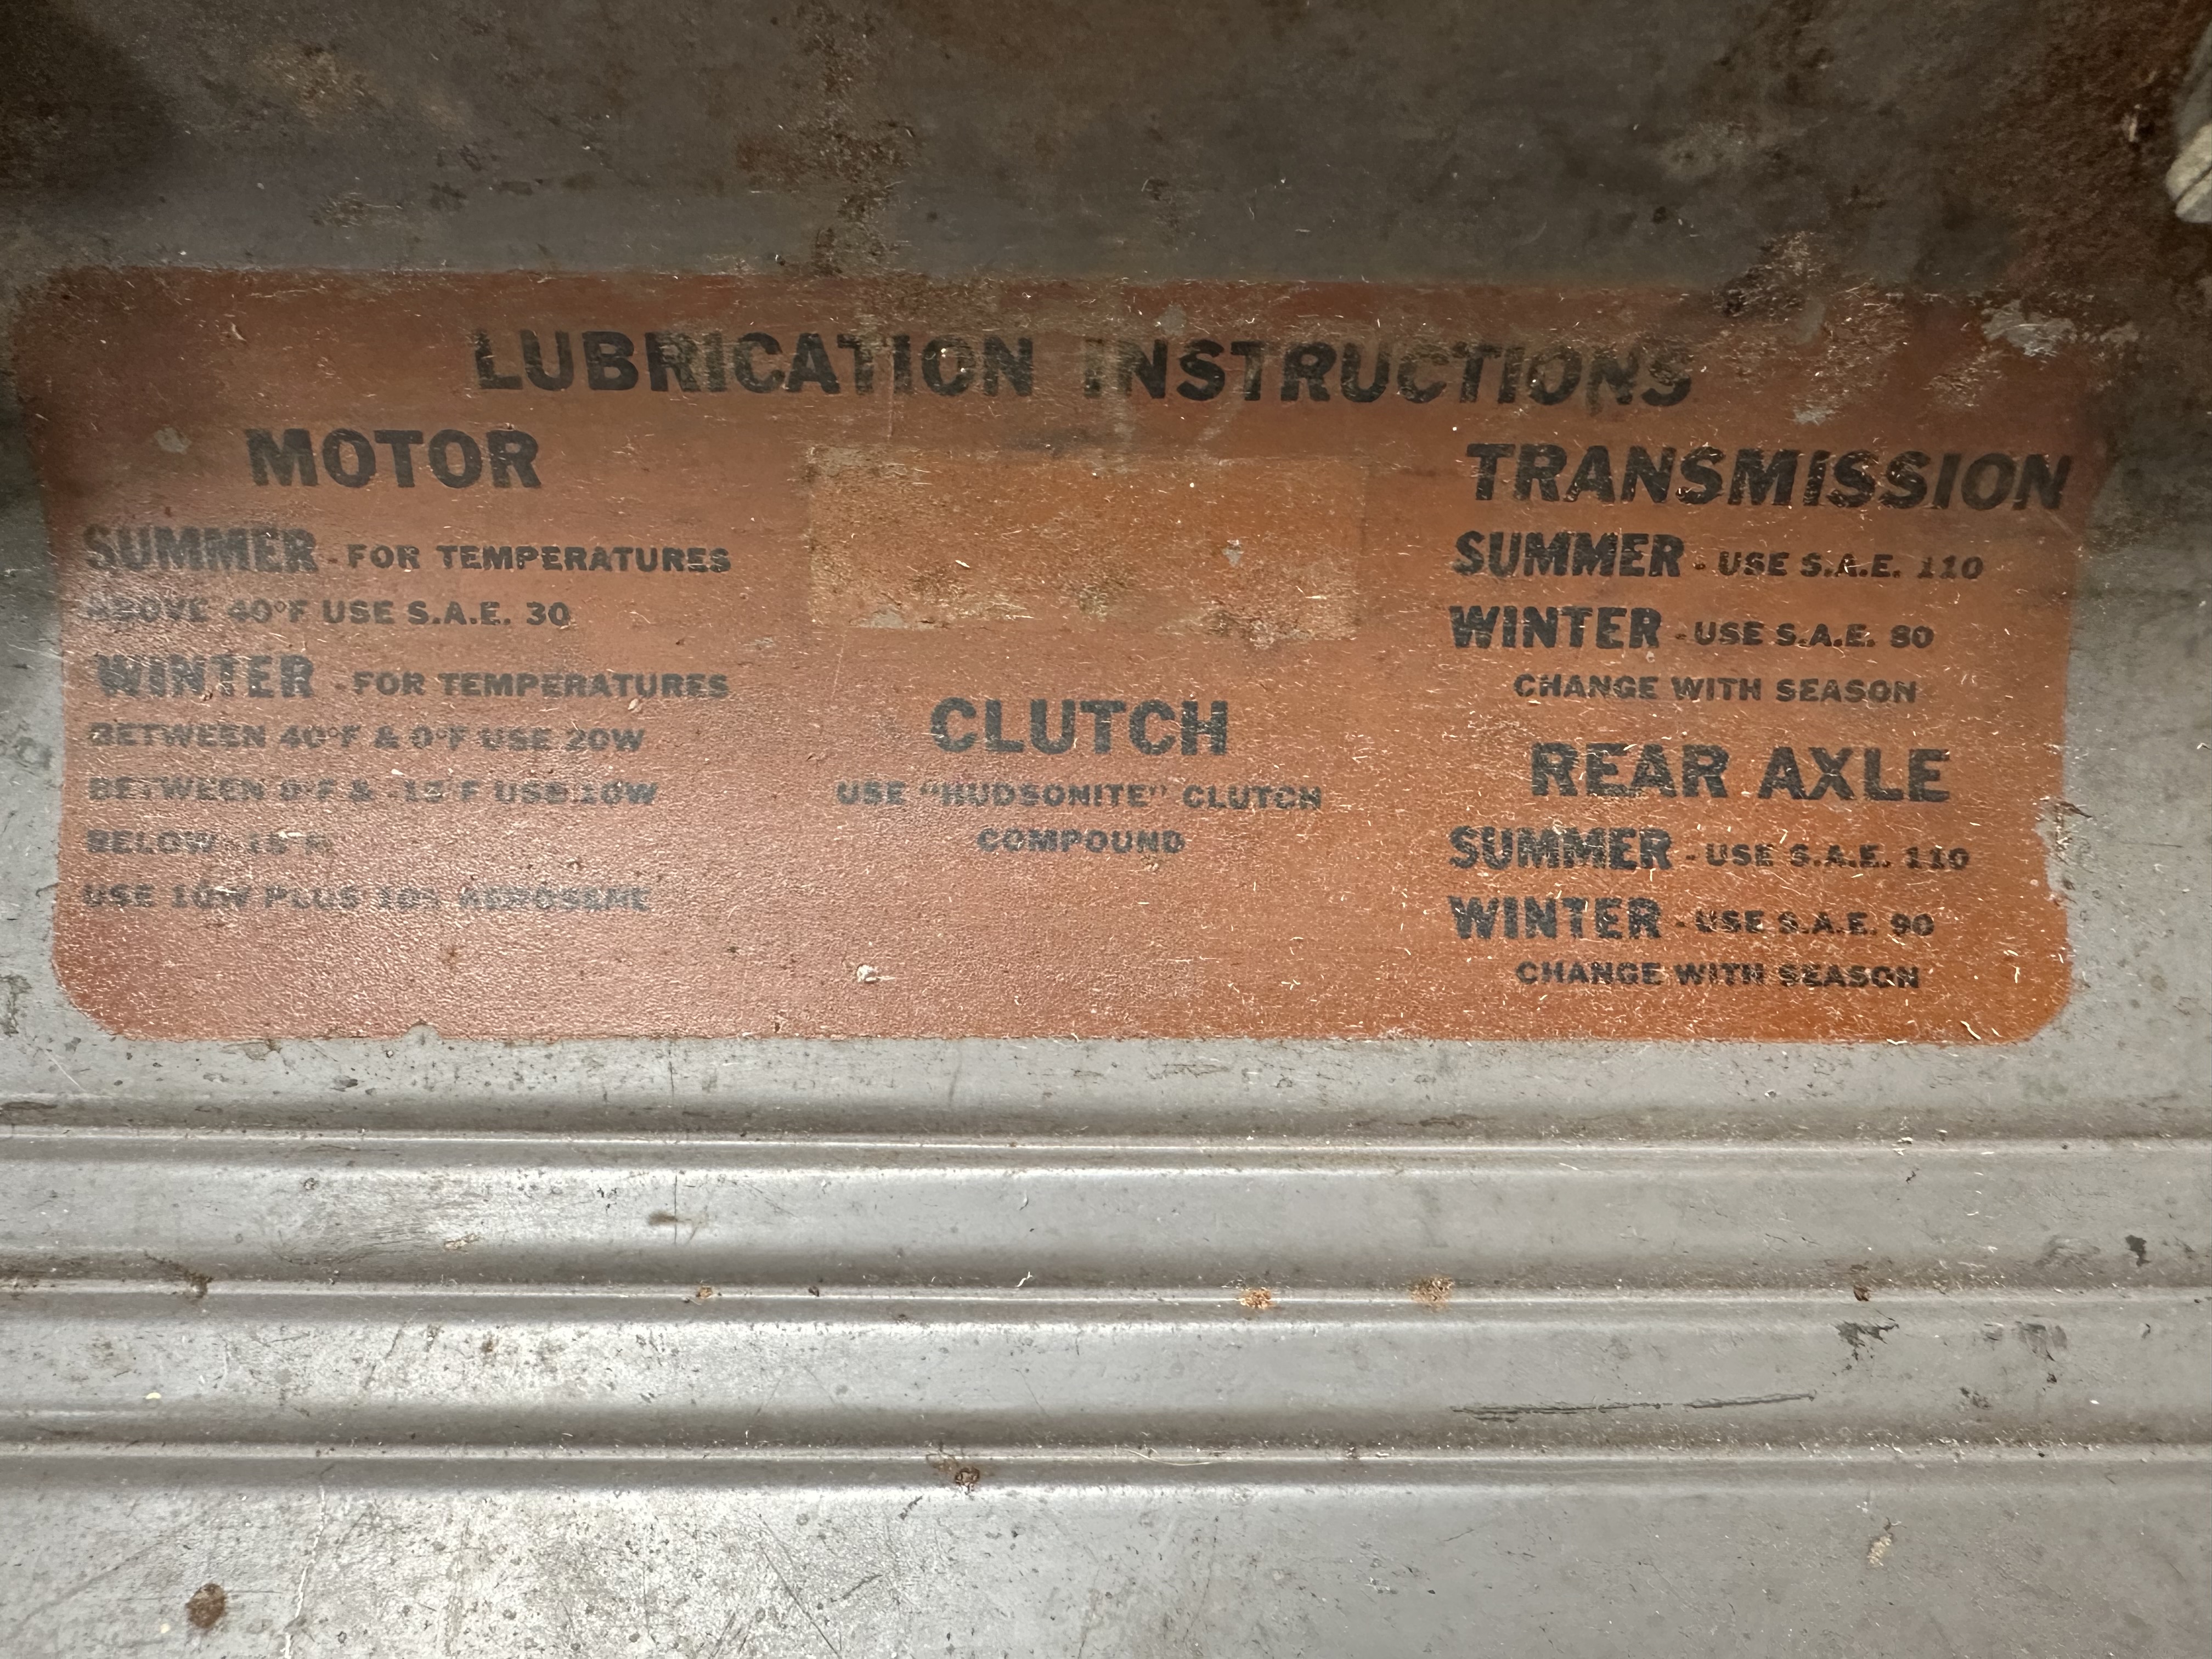
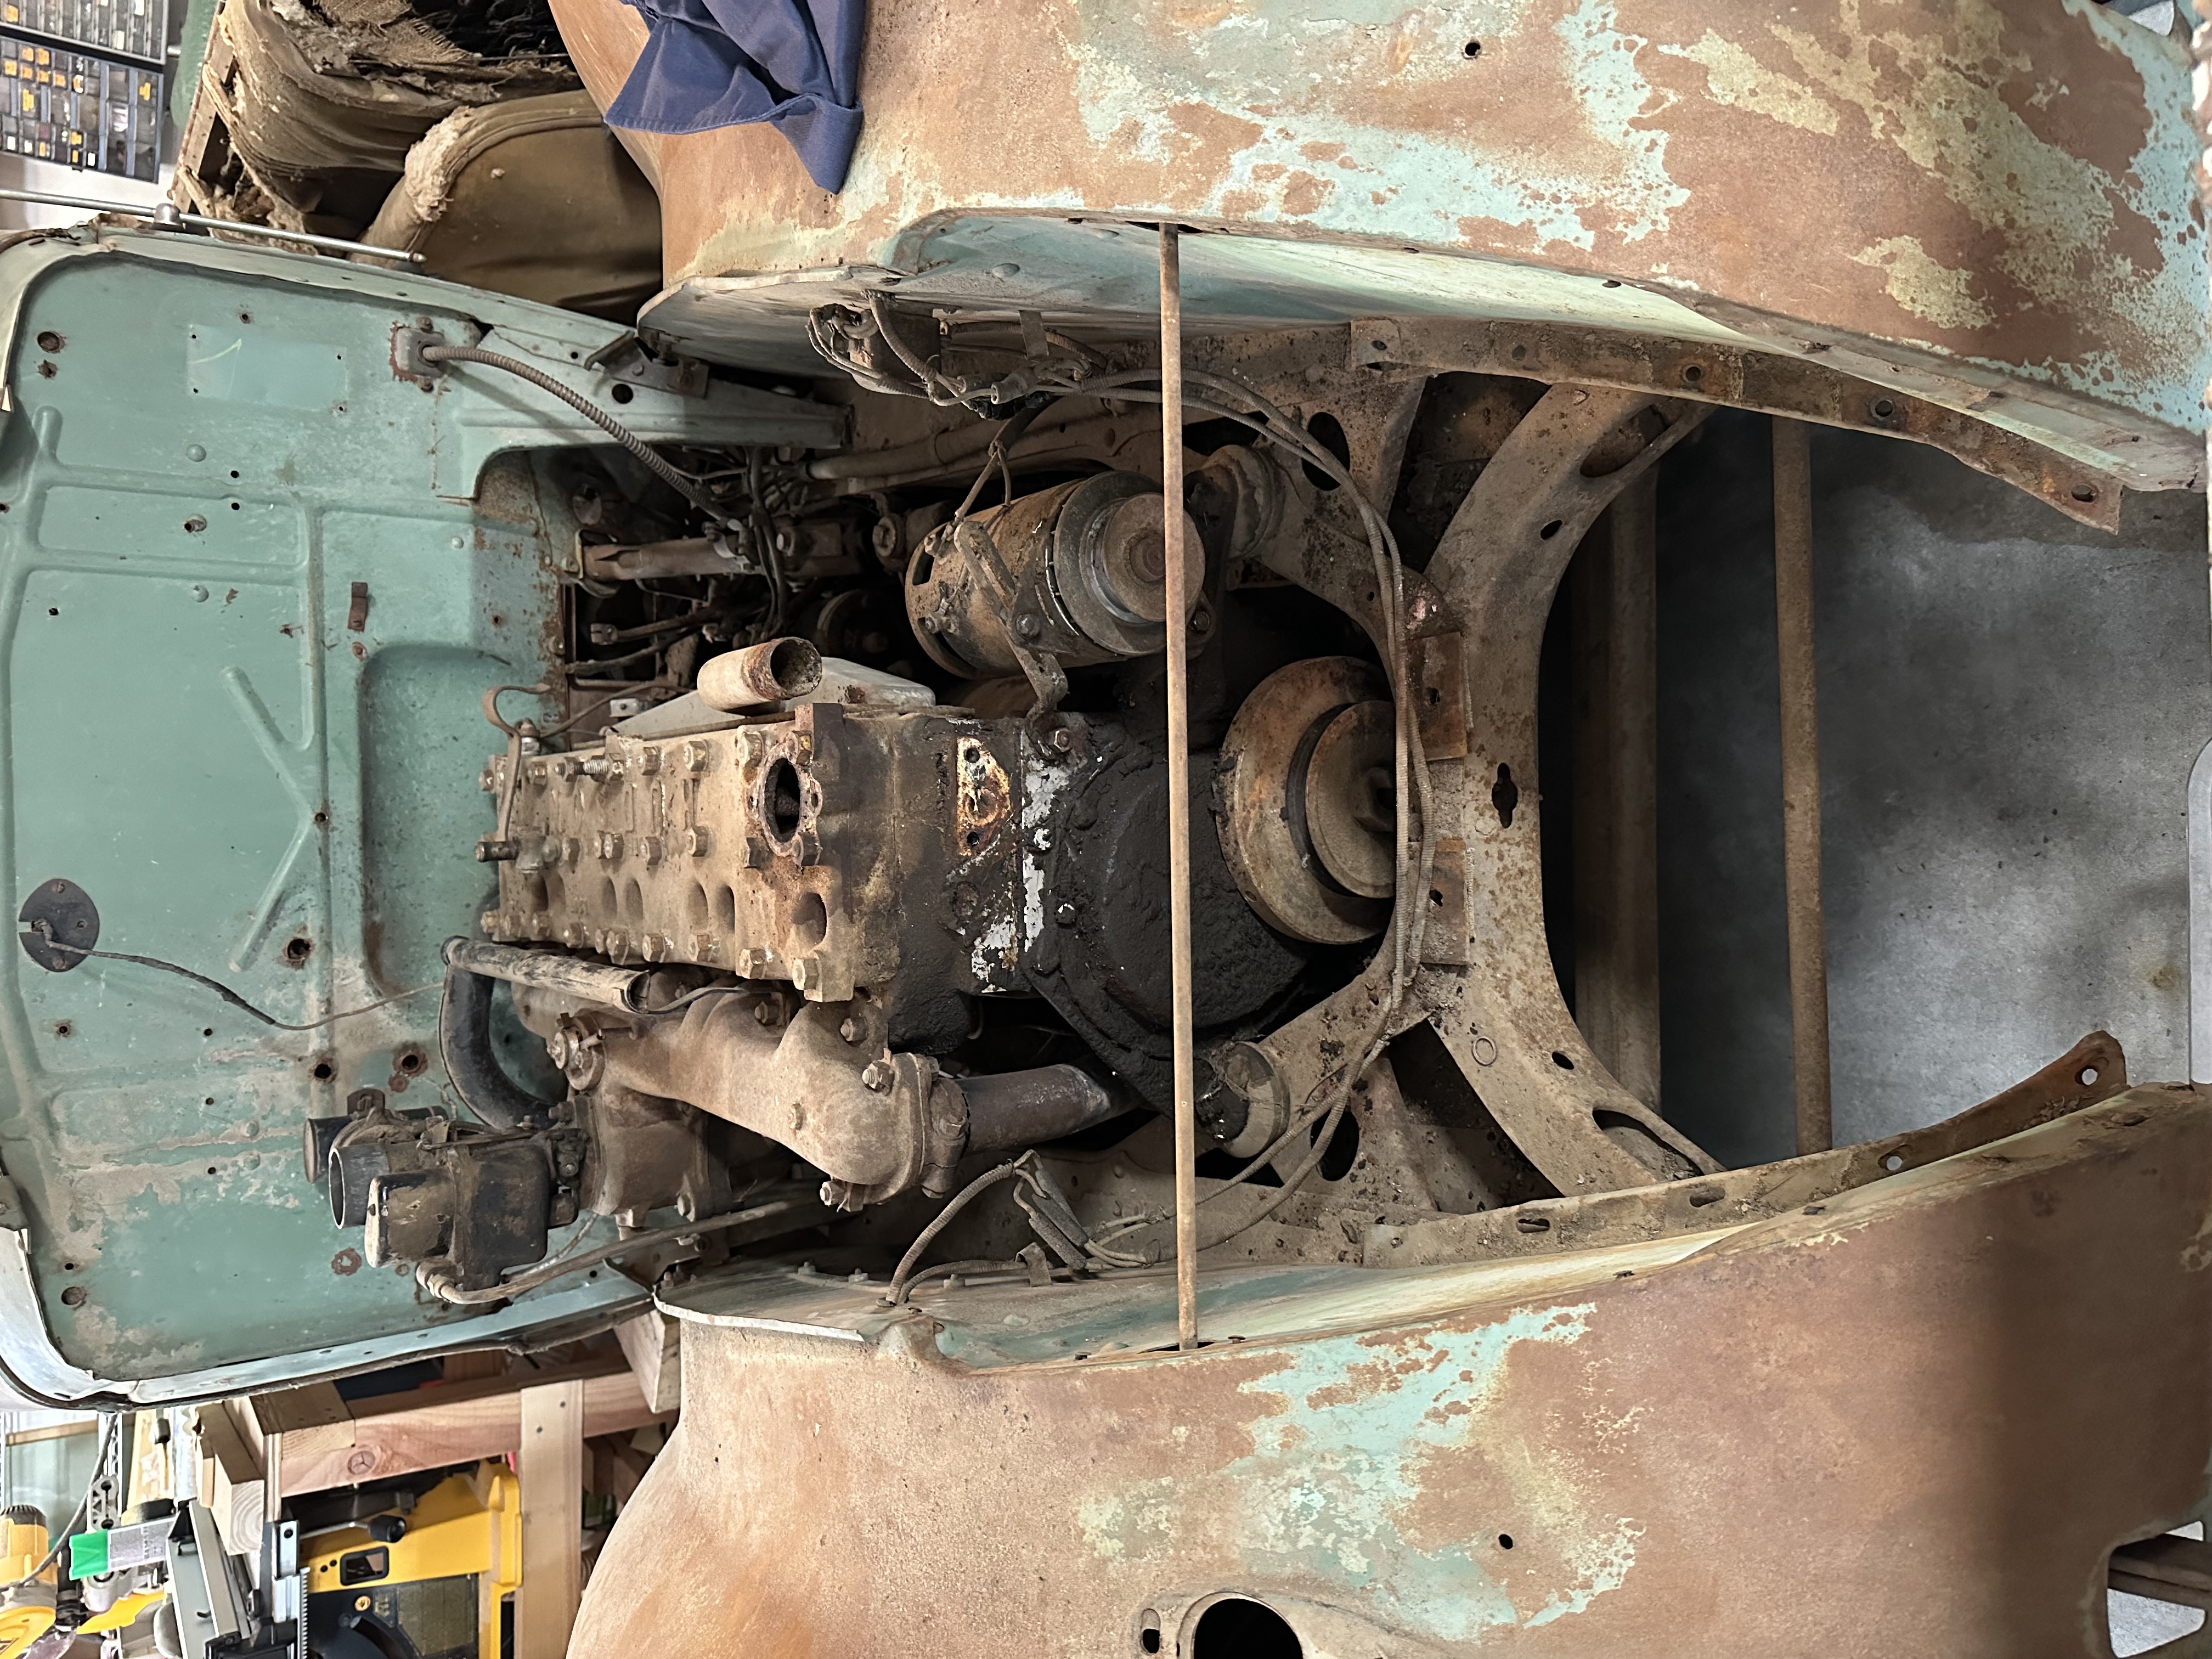
This is how it looked. As far as I can tell everything is original except for the headlight buckets. From the outside it doesn’t look too bad and advice I got was don’t tear it down, just fix the brakes, and get it running. But closer inspection revealed oil leaks from the engine and rear end, a broken exhaust system, rust through the front floor (right over the separated exhaust!)
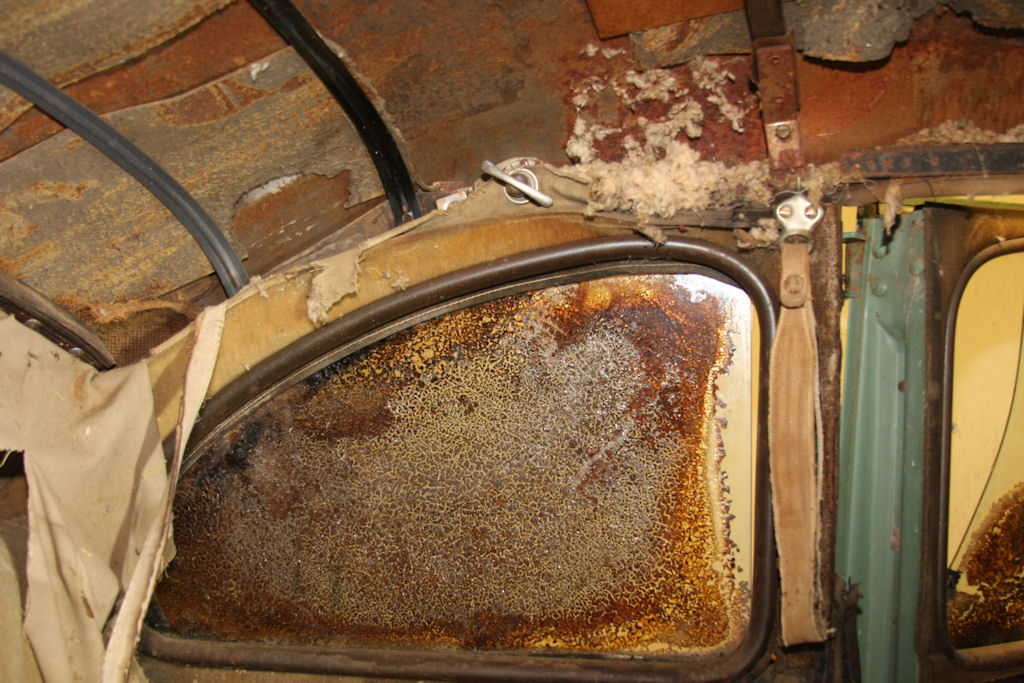
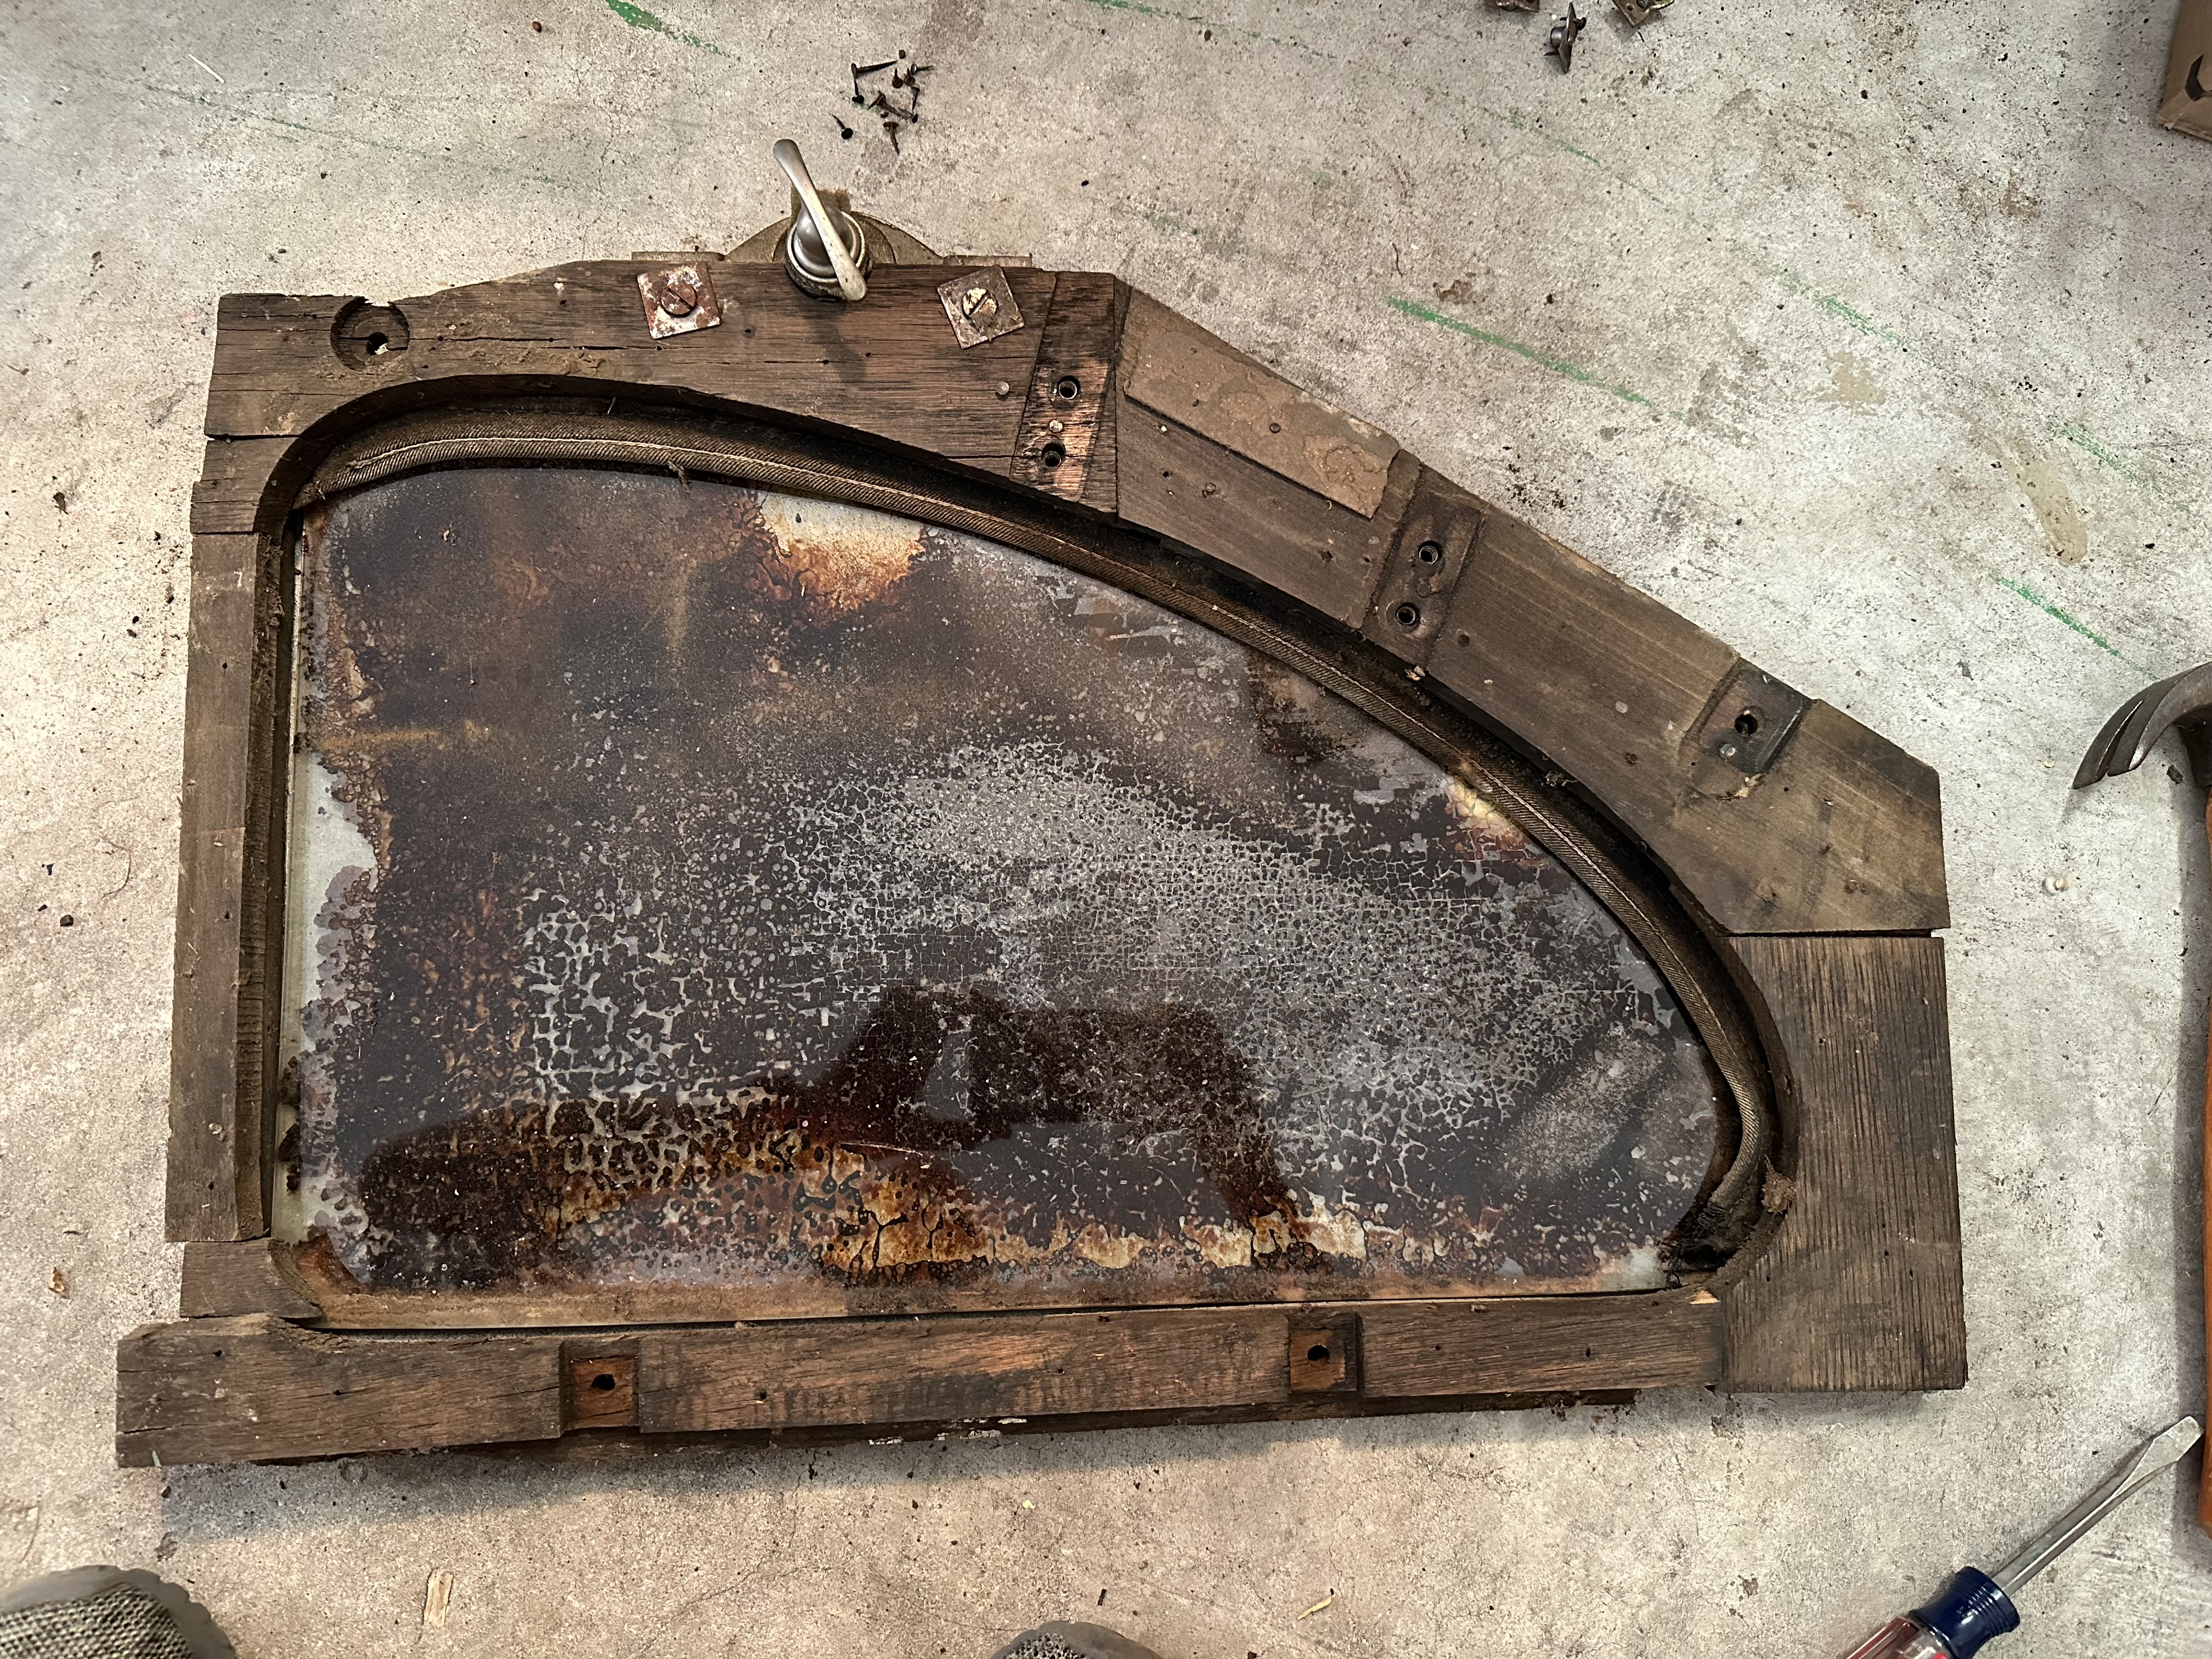
Plus the inside has been home for a family of mice and smelled absolutely awful. The seat fabric was ripped, chewed, and full of dirt, a quick bump would send up a cloud of Nebraska dust. But most of the pattern is there and should be easily reproducible. All the side windows have the brown gunk in between the layers and wouldn’t go up and down without considerable help.
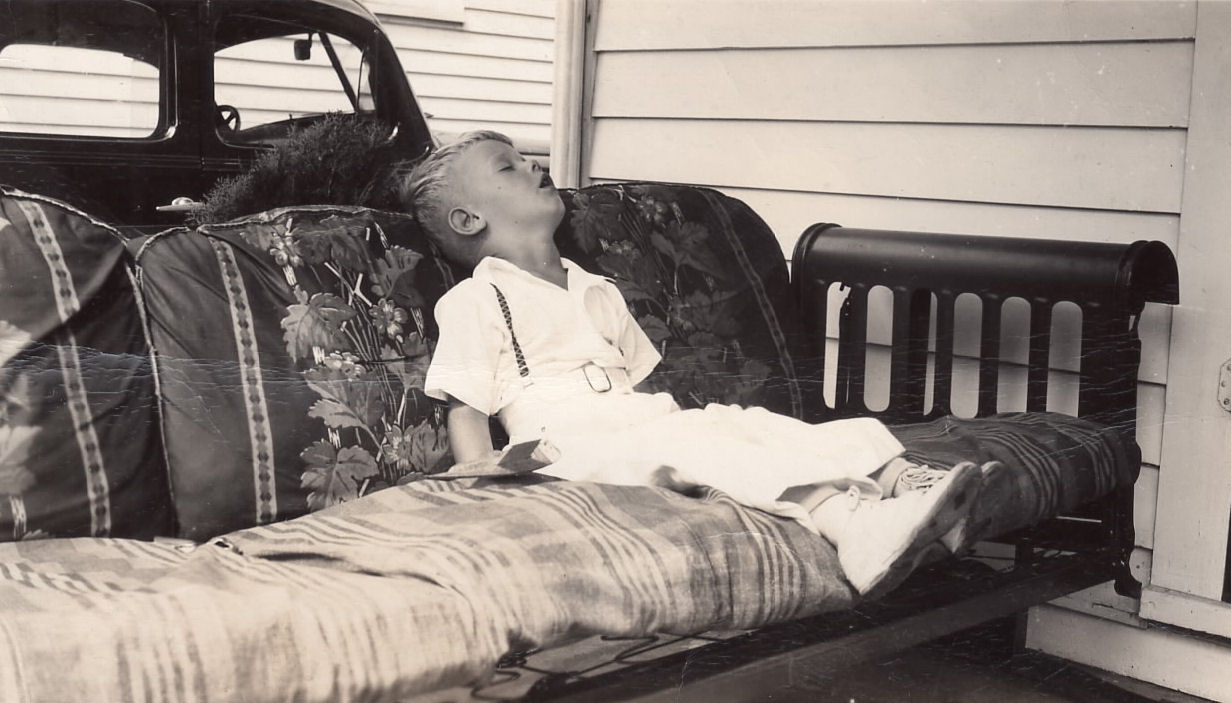
So, with no restoration experience whatsoever, I started in. Before anybody jumps on me and questions my resolve, let me assure everybody that I am completely dedicated to seeing this through! My grandfather had a ‘36 Terraplane, which is why I chose this car to begin with. And restoration is the closest anyone can get to time travel and I want to drive this thing so bad as close to how it drove 88 years ago. It’s my chance to connect with my past just a little bit.
My dad with the family terraplane in the background. (Taken about 1940/41)
As I take the car apart, I’m documenting with photos and self narrated videos, bagging bolts in labeled ziplocks, and storing grouped sections together (interior door panel, windlace bracket, window/door mechanism) in the garage attic. I’ve also set about cleaning bolts for reuse (evaporust is amazing!).
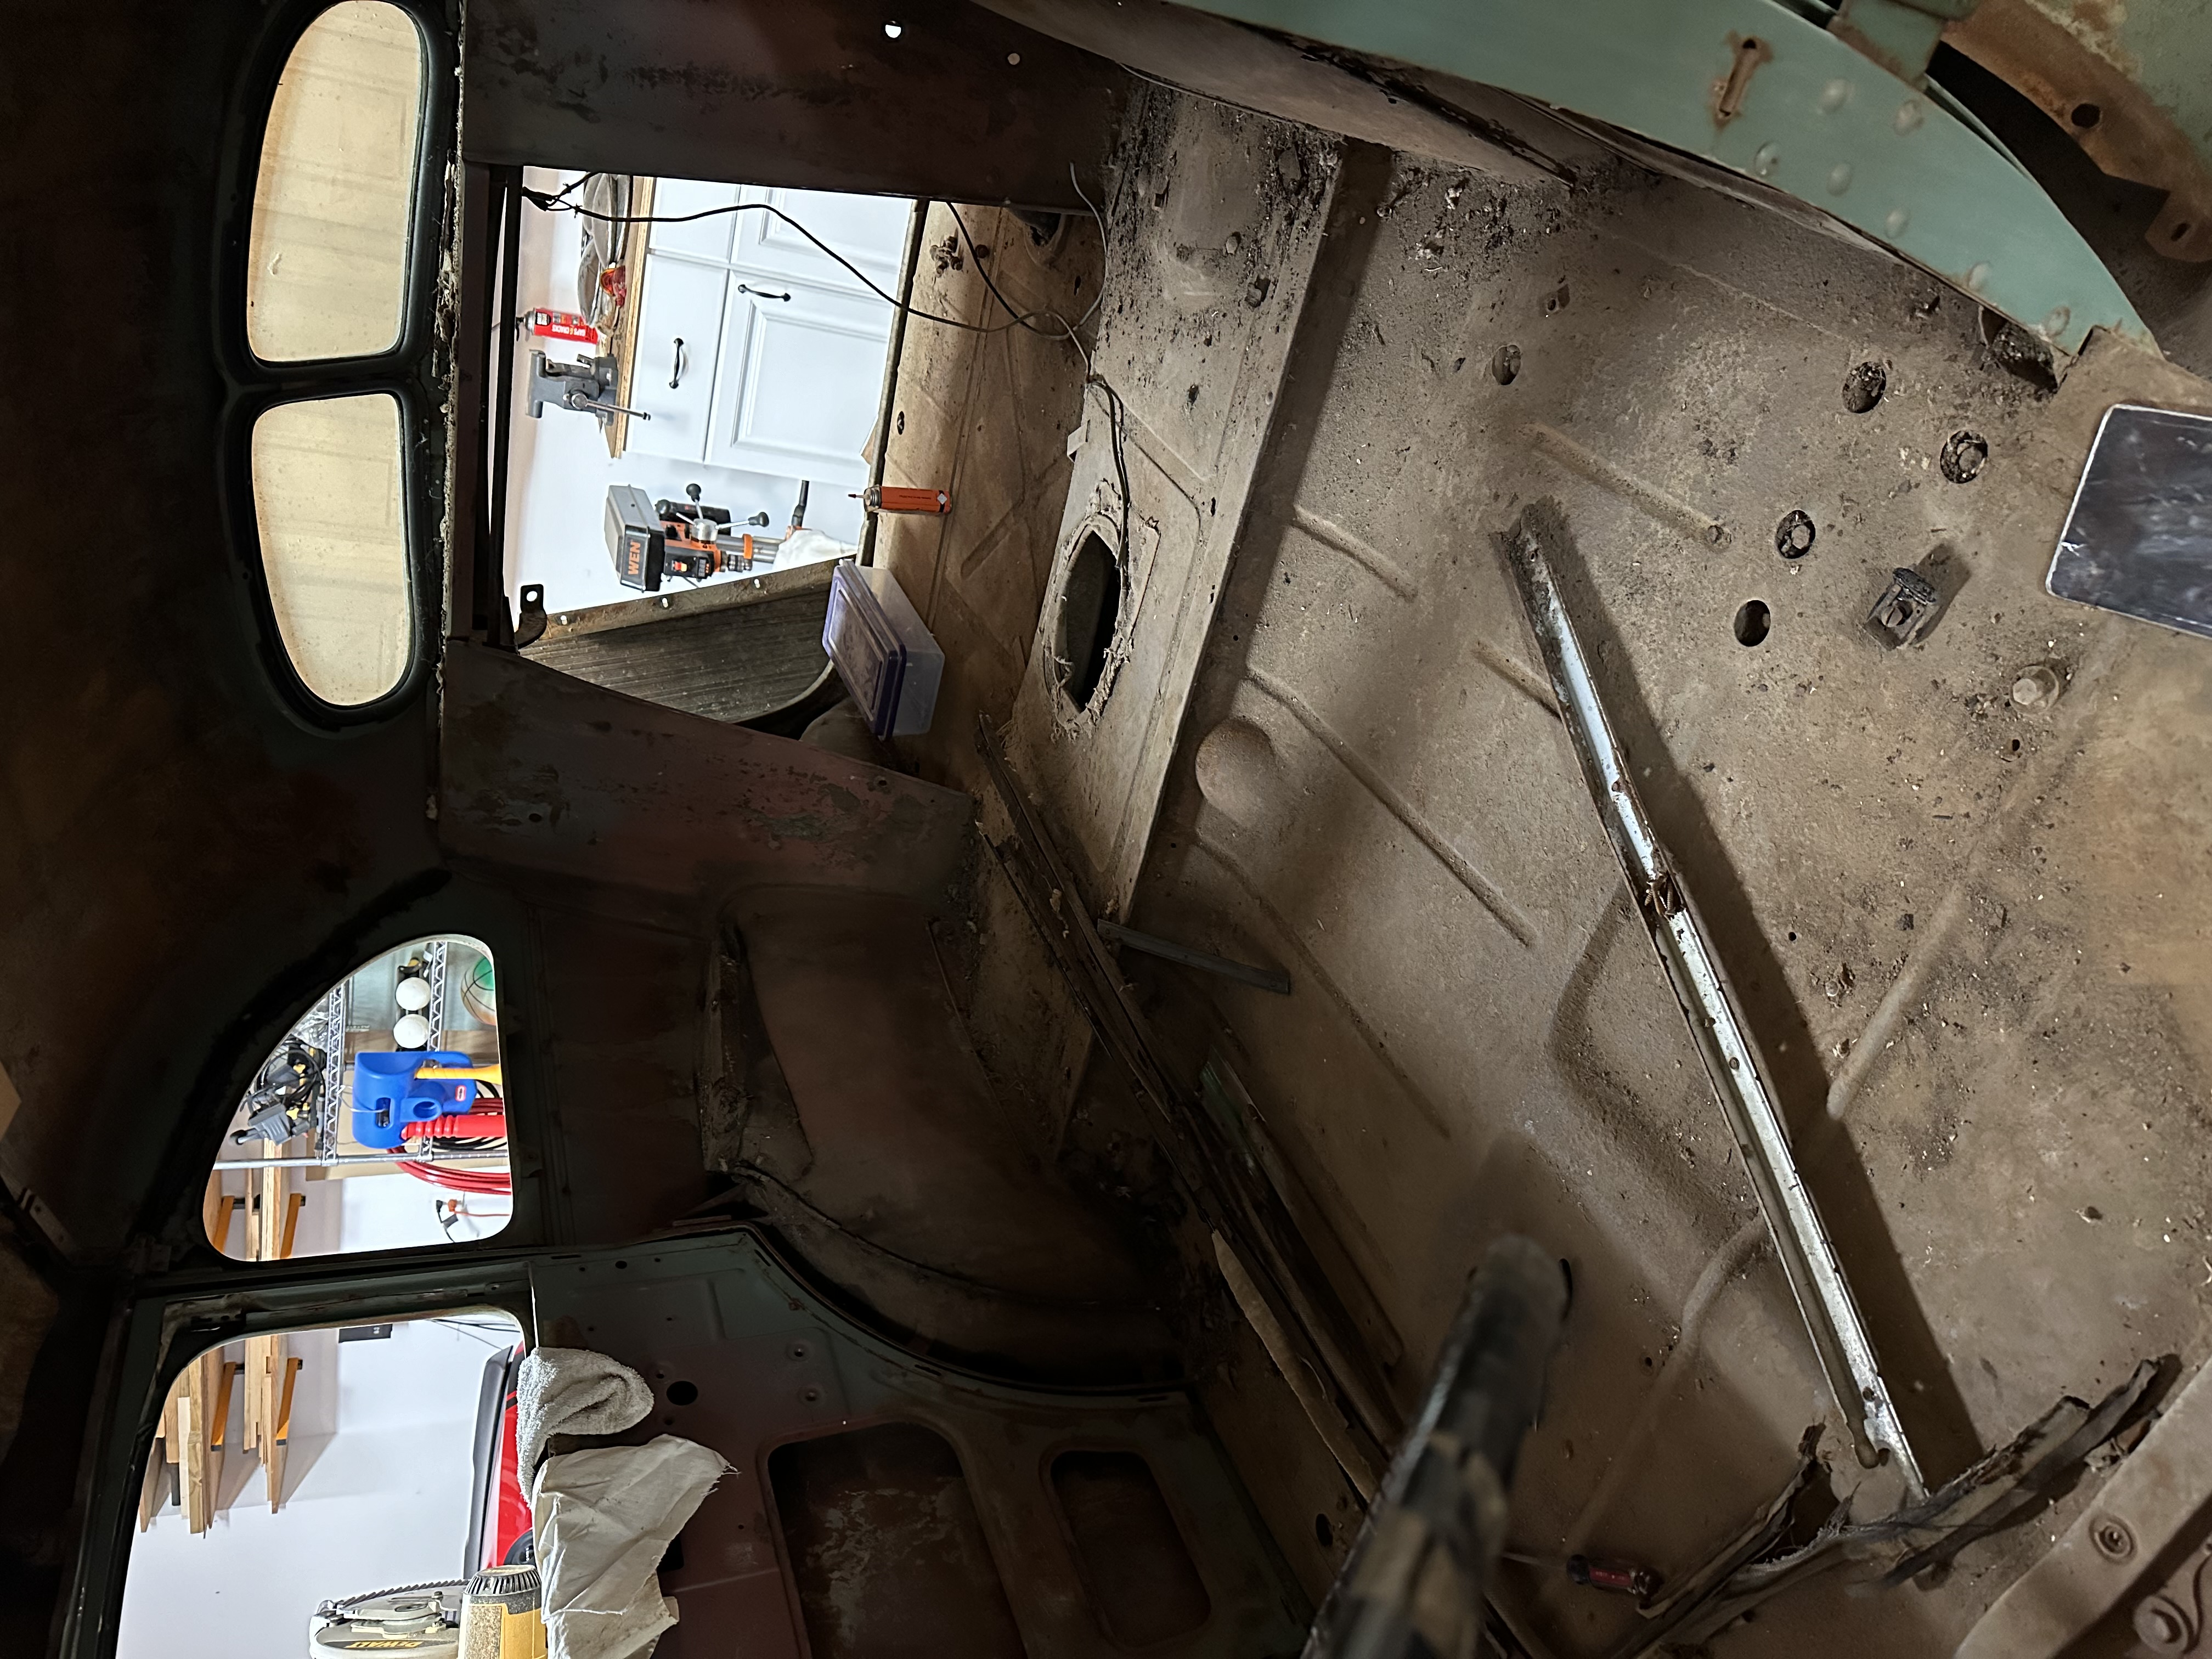
As it sits now, I’ve removed all the interior except the dash, all side windows and door guts, both front doors, the trunk lid, and the hood.
One quarter window frame seems intact enough to duplicate both, I hope. I found a local custom furniture maker who works out of his garage to tackle the B pillar wood trim, and then if he feels confident he’ll work on the quarter window frame.
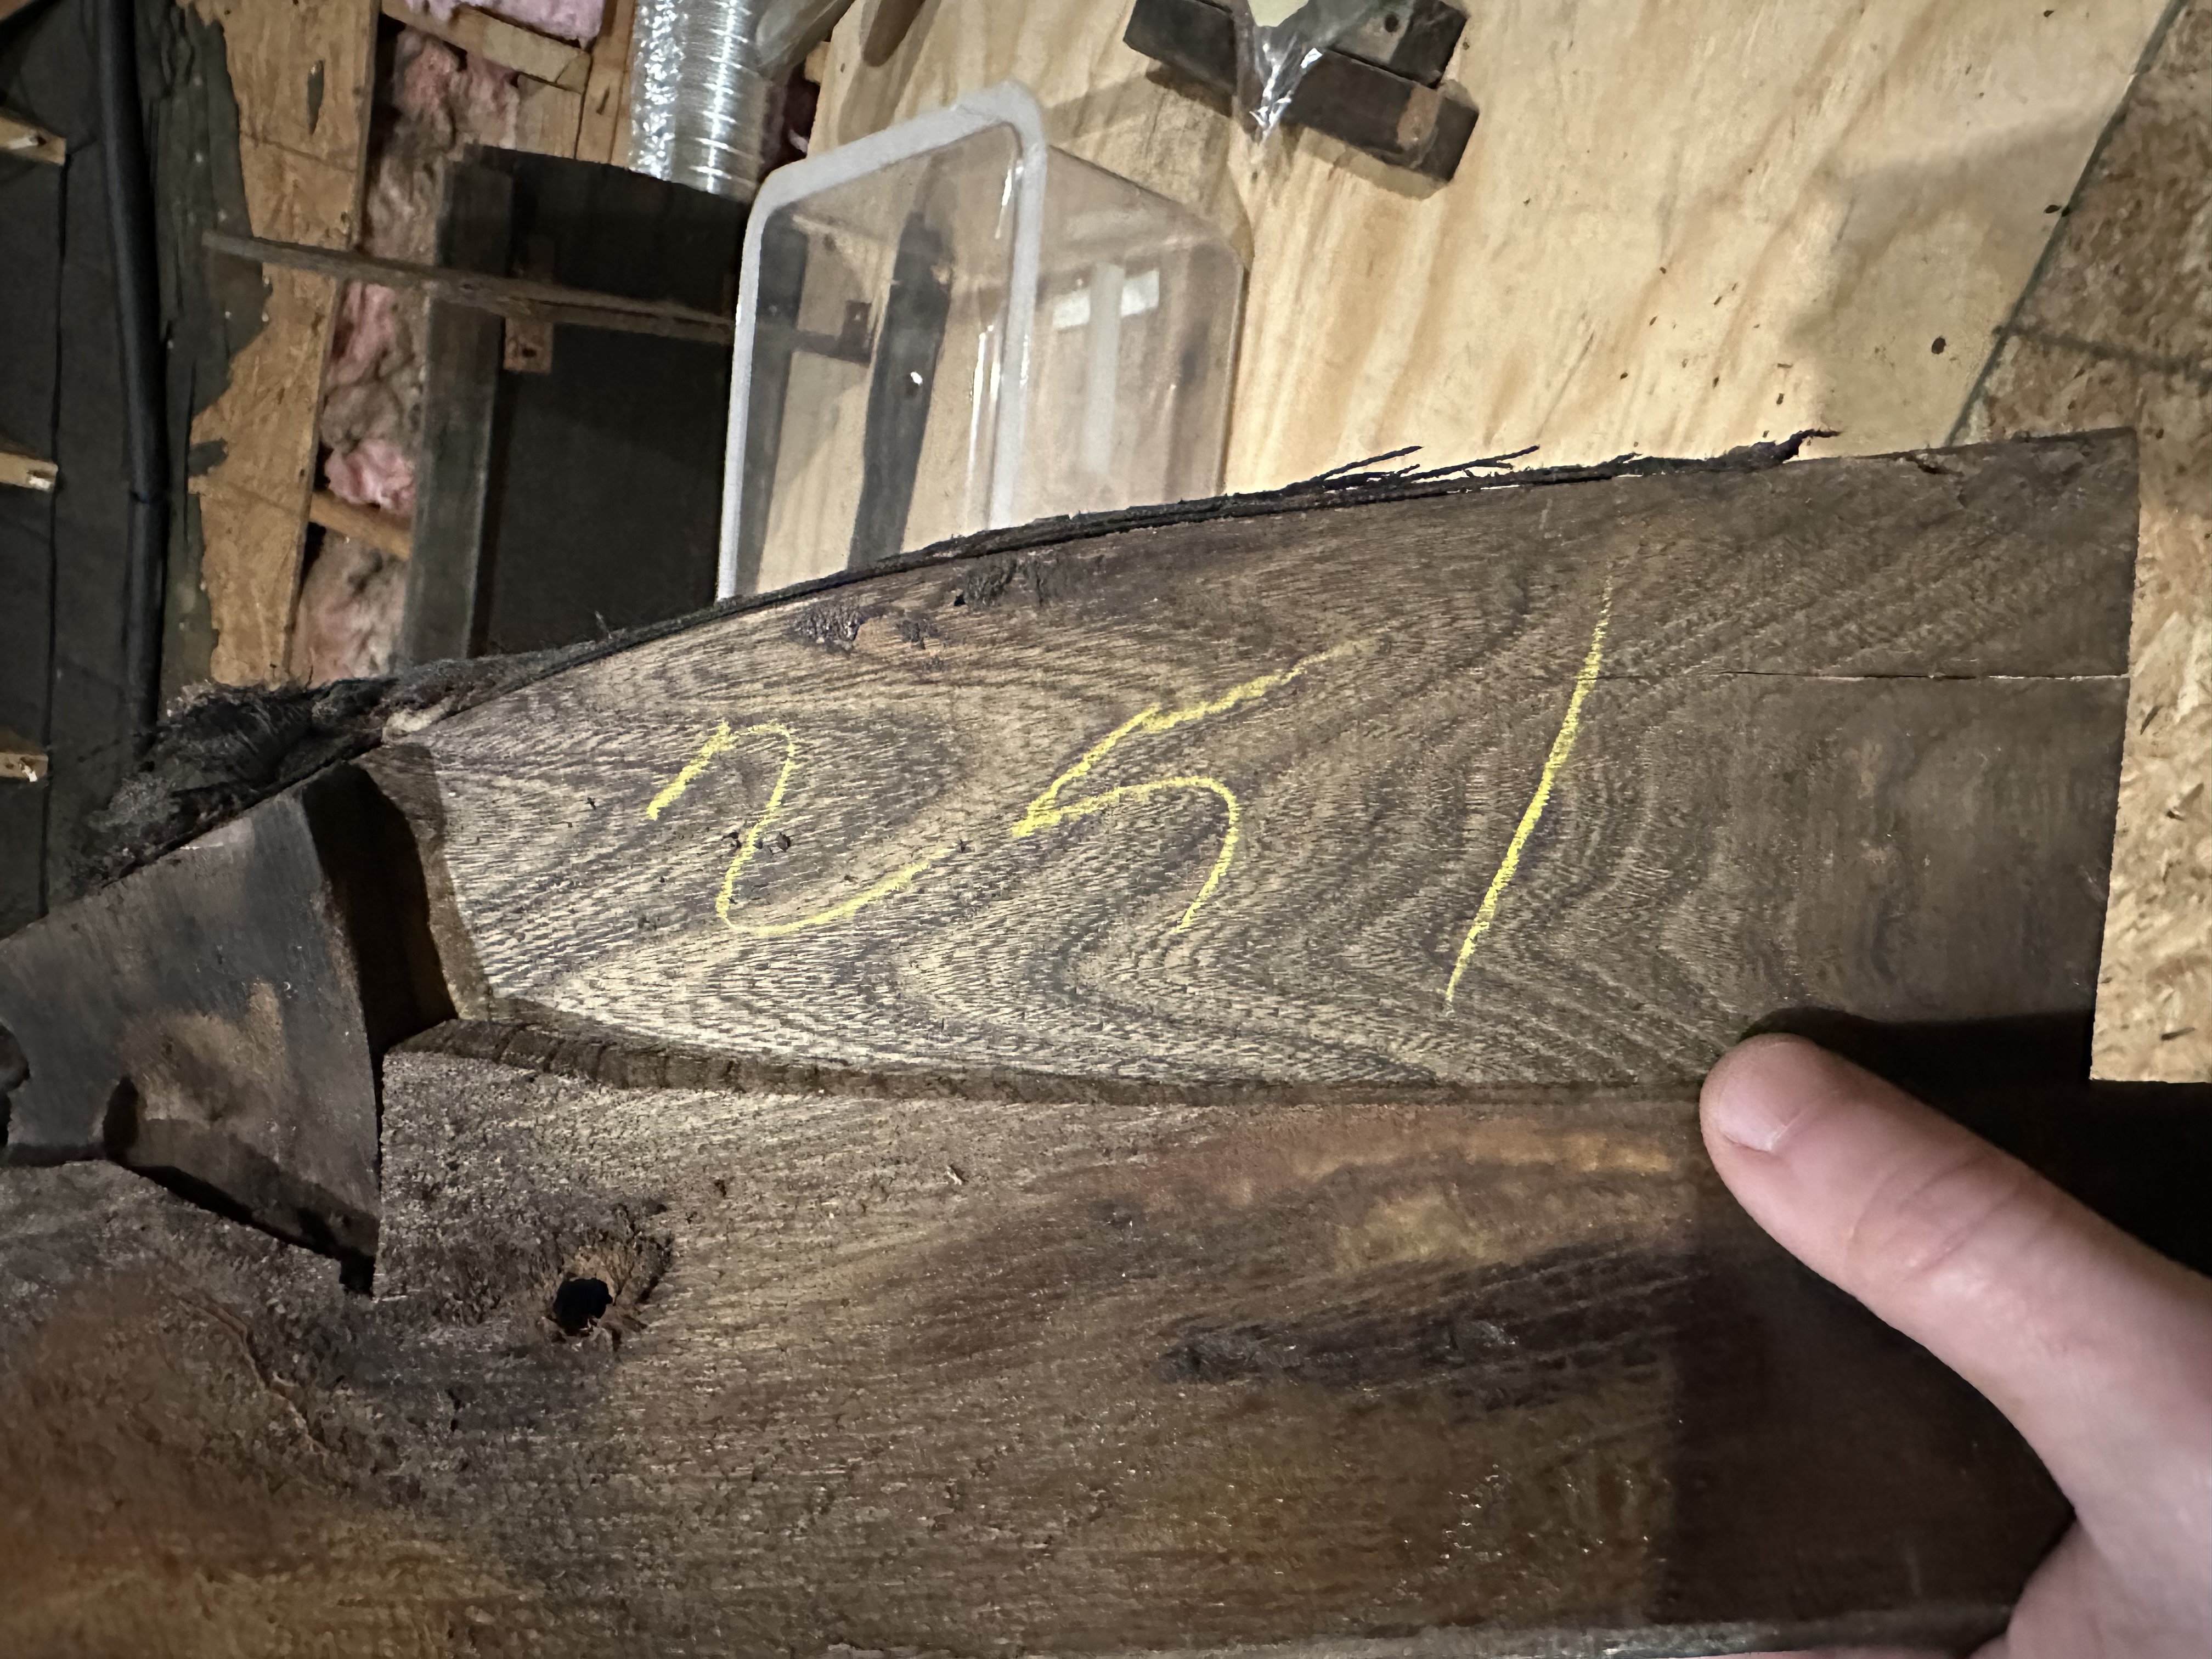
So many original details remain it makes this fun. Original chalk markings remain in several places. This is the underside of the rear armrest.
Next step is to vacuum the inside and get the body bolts exposed. Then tackle the windshield and rear windows. Some of the rusty screws are slowing me down. And life is too, I’m 49, working full time, and have two kids (8 and 6 years old), so some days the old car gets neglected.
One foot in front of the other,
Jeremiah
Comments
-
Great to see your determination. I have a similar project, in about the same condition as yours, currently on hold, but will get more done shortly. I have done the mechanicals, next is to clean out the interior, and cut out the rust. Keep up the good work.
0 -
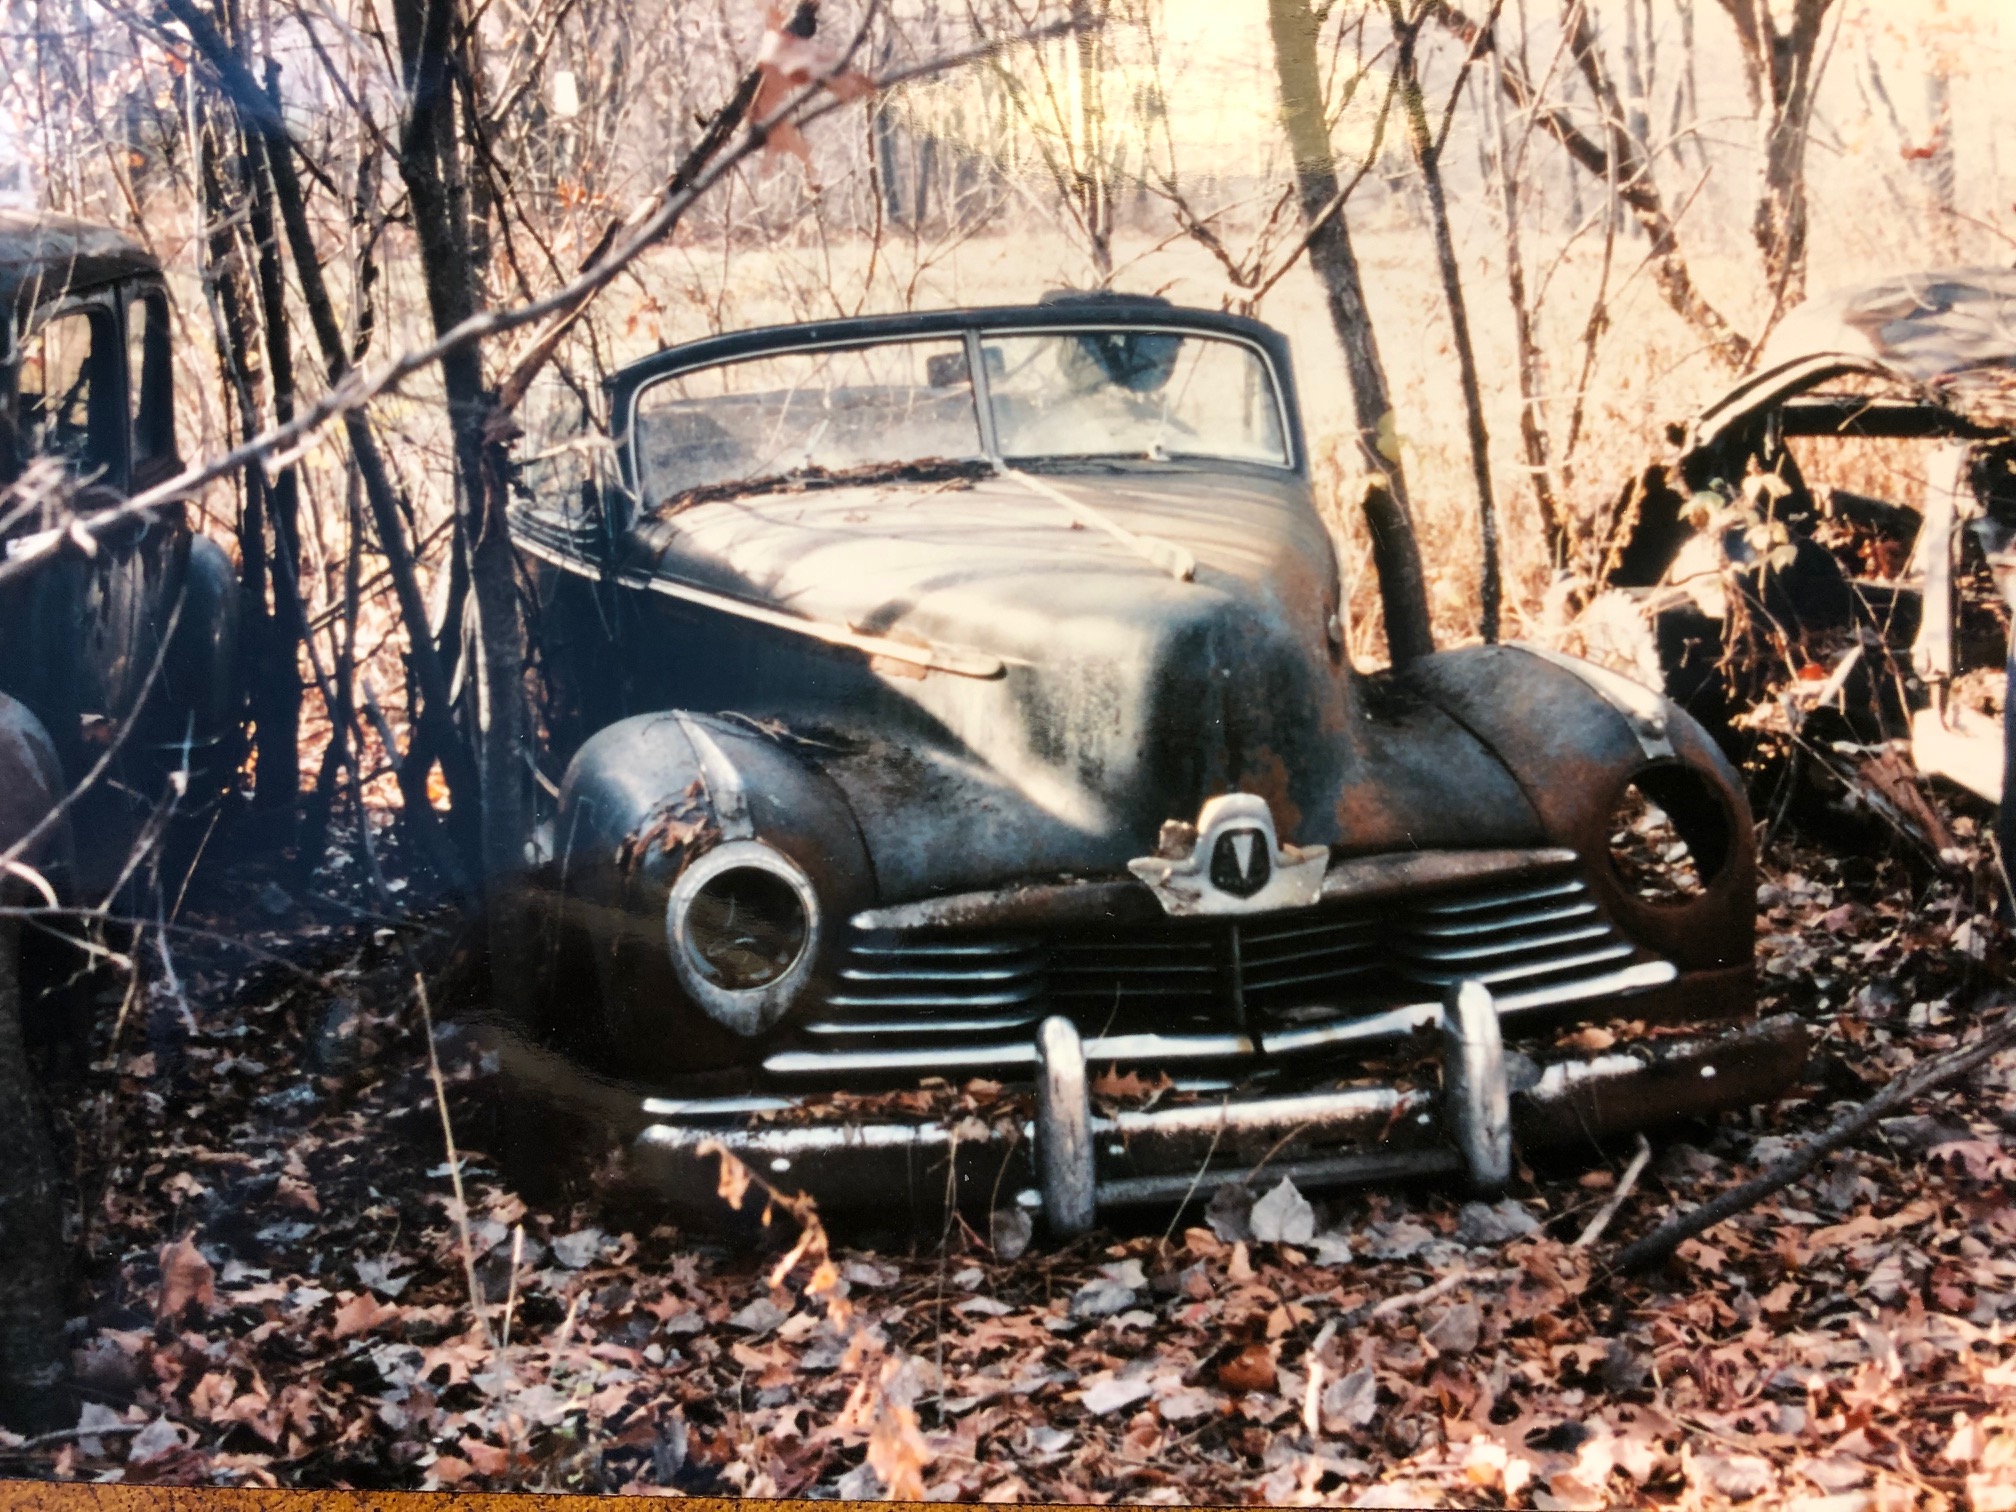
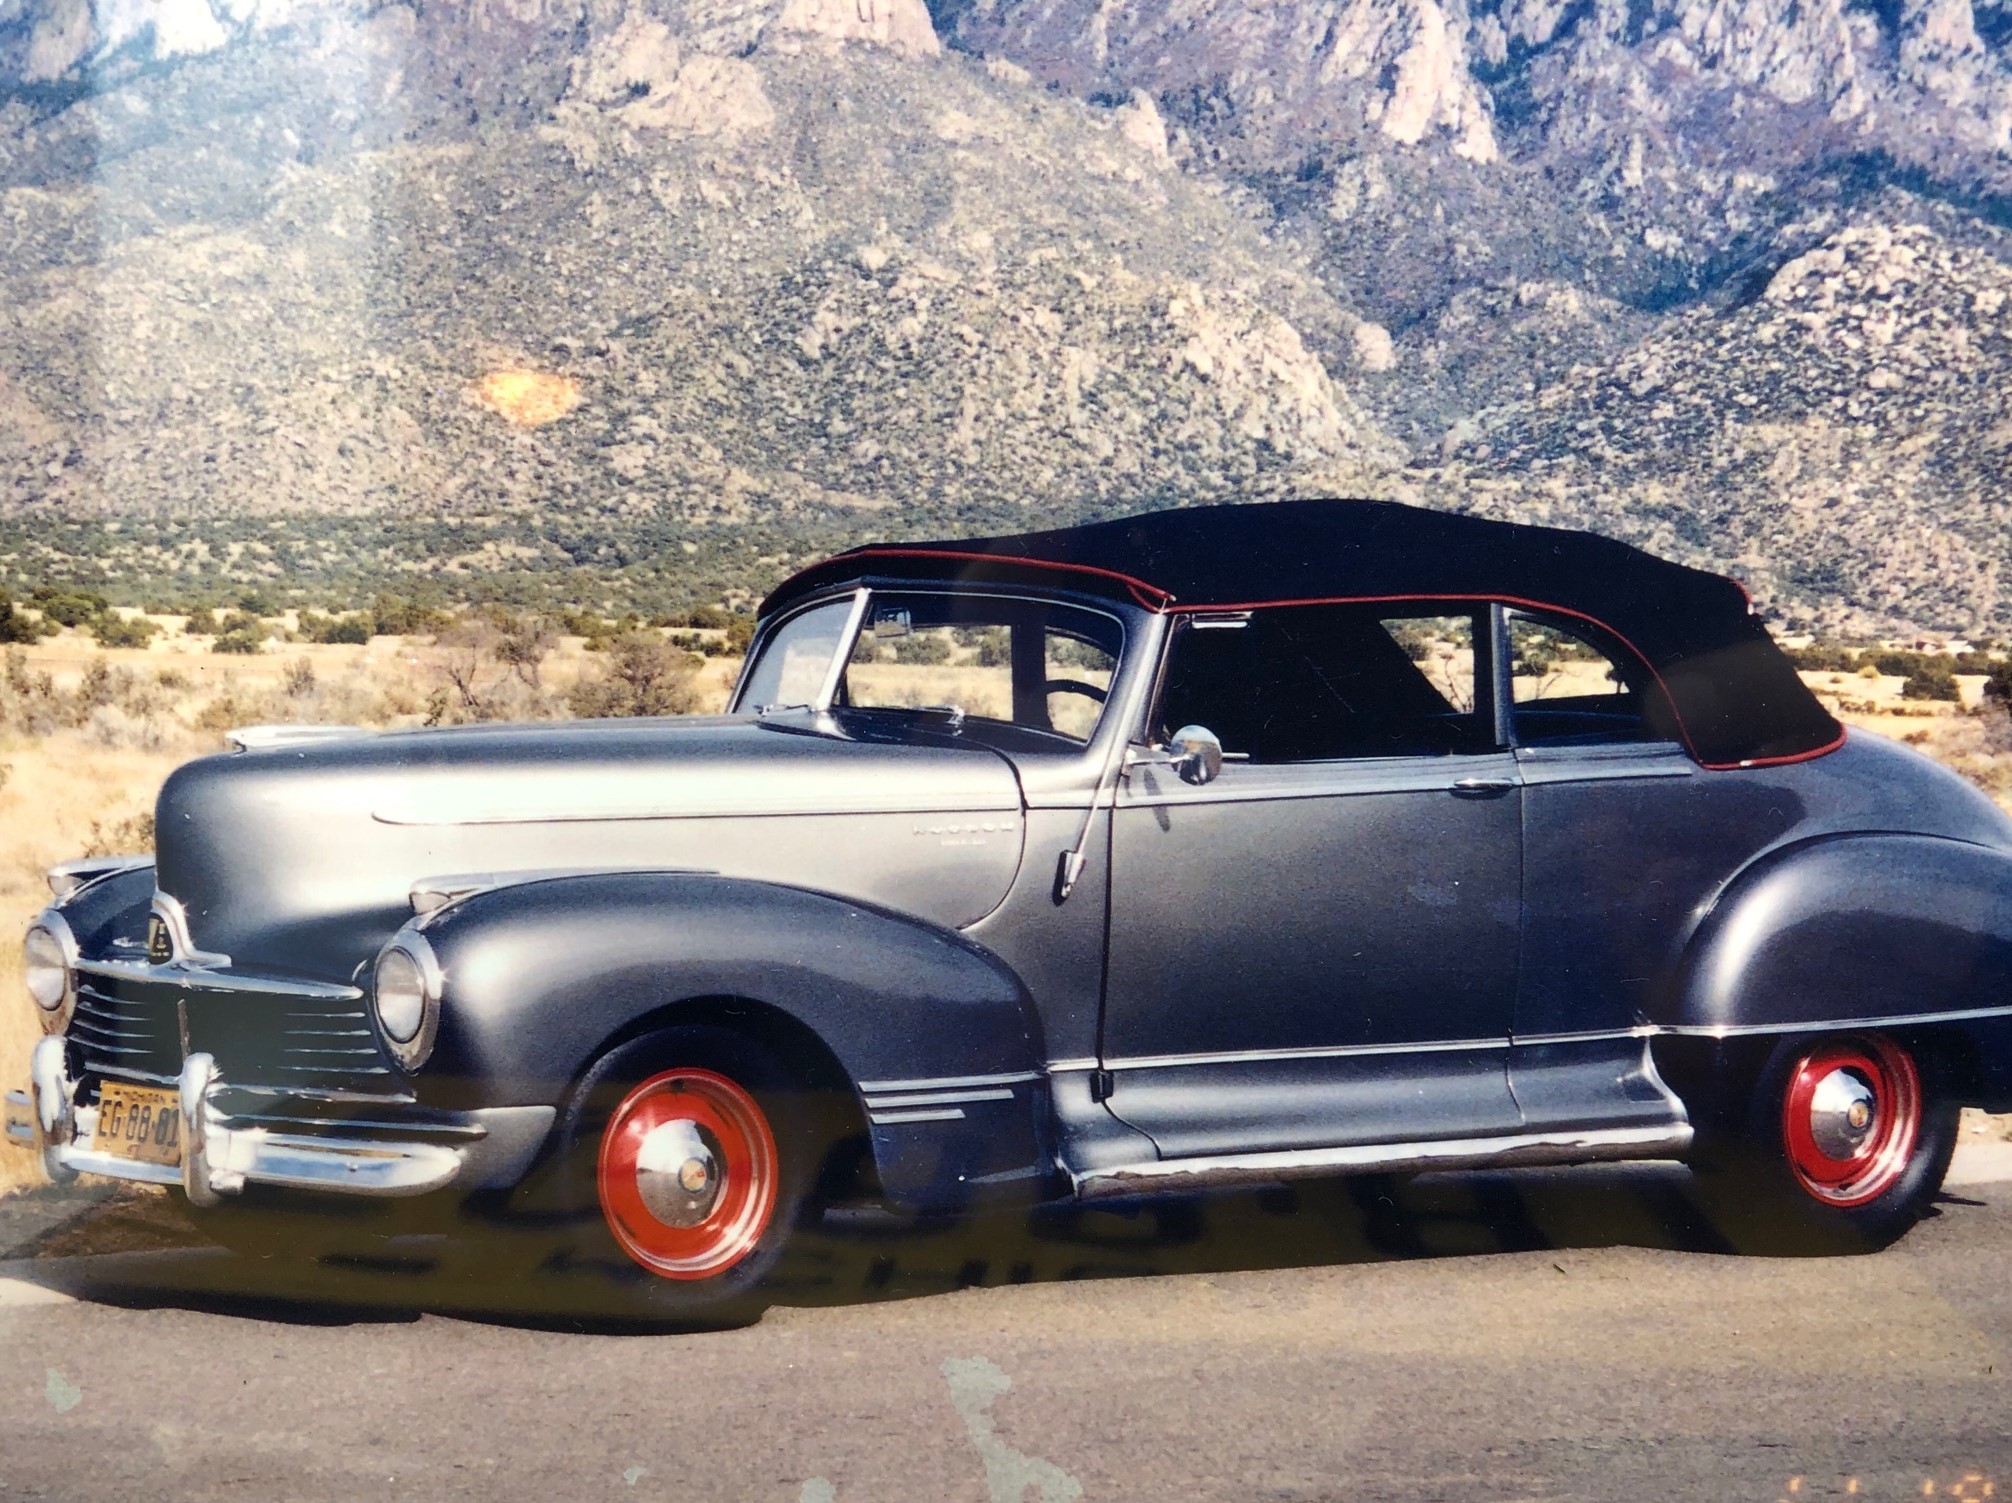
Don't give up! Took me 18 years to turn first photo into second.
1 -
Thanks for sharing! You have a relatively solid and complete car, which makes all the difference. Document with photos and notes. For example, document the ORDER in which the front clip components come apart. Even then, reassembly will be more difficult than disassembly. These cars were assembled using bolt slots, not bolt holes, so there's almost too much adjustability - and you will do lots of wiggling, shimming and probably cursing during reassembly. You will come to realize that it will require 75% patience and 25% knowhow. But you'll get it done, because to you it's not just a car - it's a car with personal meaning.
0 -
Just remember to keep the glass.. the're handy for templates...keep them after you get new ones ...a template stored away always comes in handy cheers ken
0 -
You're off to a great start, looking forward to seeing further progress here.
0 -
Best wishes to you, as you embark on this ambitious adventure! From the photos it appears that the car is in fairly solid condition and that it's pretty complete. The rusty floor pans are (relatively) easy to fix. I think one or two people are making sheet metal patch panels for 1930's Hudson floors. (They may not be an exact fit, but could be cut to fit.) Frame rust would be a more serious concern, if you have any.
I'm glad to hear you're carefully documenting things as you dismantle the car. I hope you're wearing a breathing mask while you clean out the mousey dung!
As you probably know, the Club maintains registries listing the owners of '36's. If you haven't done so already, work up a list of '36 owners living near you ask if they'd be willing to answer technical questions from you, from time to time. (Better yet, they may allow you to come over to inspect their cars, and take photos and dimensions.) They may also be able to give you the names of companies or individuals who may have '36 Hudson parts for sale, and can recommend local shops that specialize in work that you'll need done (body work, painting, chroming, upholstery, etc.). Also, I assume you may know that the Club Library has technical literature which members can download from its website.
As to drive train parts like engines and transmissions, keep an eye out for street rod-related websites with classified ads for parts that are being removed from street-rodded Hudsons. You might get lucky enough to find a perfectly good engine for not a lot of money.
Good luck, and feel free to bring your questions to the Open Forum!
0 -
The 47 super six convertable in the before picture was my fathers car, Mike Corless ended up with it and the restored picture is what he restored it to. I don't know who MickyB is , but he didn't restore it. Definately a big job, the car was really rough.
0 -
Best wishes on the resto! FWIW, I have pretty much restored a 37 Terraplane coupe that I've had since 1973. I've been working on it off and on, mostly, off, since about 1980. But hey, it runs, stops and gets looks when I drive it down the street. My suggestion, FWIW, is to get it mechanically done, running gear, brakes, etc, and work on the cosmetic parts of it later. Also, rather than try to re-use some 85 year old parts, like brake line connectors, brake lines, etc, just buy new ones. The old ones will be shot.
0 -
According to the club roster, MickyB IS Mike Corless (same email listed here and in the roster)
0 -
Yep, it's me Cal....Remember when you visited Albuquerque and got to sit in the car at the car show?
0 -
Thank you everybody for the encouragement and sage advice, and not just because my car is green. 😉
I saved the windows for templates, hadn’t considered saving them beyond that. Nice!
I going to reuse many bolts and fasteners for body panels and interior, but anything that poses a safety risk (brake system) will definitely be replaced or rebuilt with new parts and internals!
I went through the latest club roster and didn’t find any 36’s in Texas. I even searched Louisiana too (I’m in Houston). However, I did connect with Tom Lynch (Rocket) by phone and email and he gave me a few other names to reach out to for help.
Through the years I acquired five dog dish Hudson Eight hubcaps and four full size Hudson Eight covers. A few months ago I contacted Press Kale and he told me he’s stopped doing hub caps due to his age but he shared some of his tips and techniques. I’ve removed the five dog dish skins from their bases and have begun the slow and careful process of removing dents and creases from the inside.
I’ve discovered this project to be very stress relieving and satisfying after a rough day at work, no matter how little I achieve, even the patience of waiting a day after applying Kroil before turning wrenches. That joy has been the biggest surprise to me.
One foot in front of the other,
Jeremiah
0 -
Yes I remember that Mike. Hadn't realized you changes your user name. Are you going to erie?
0 -
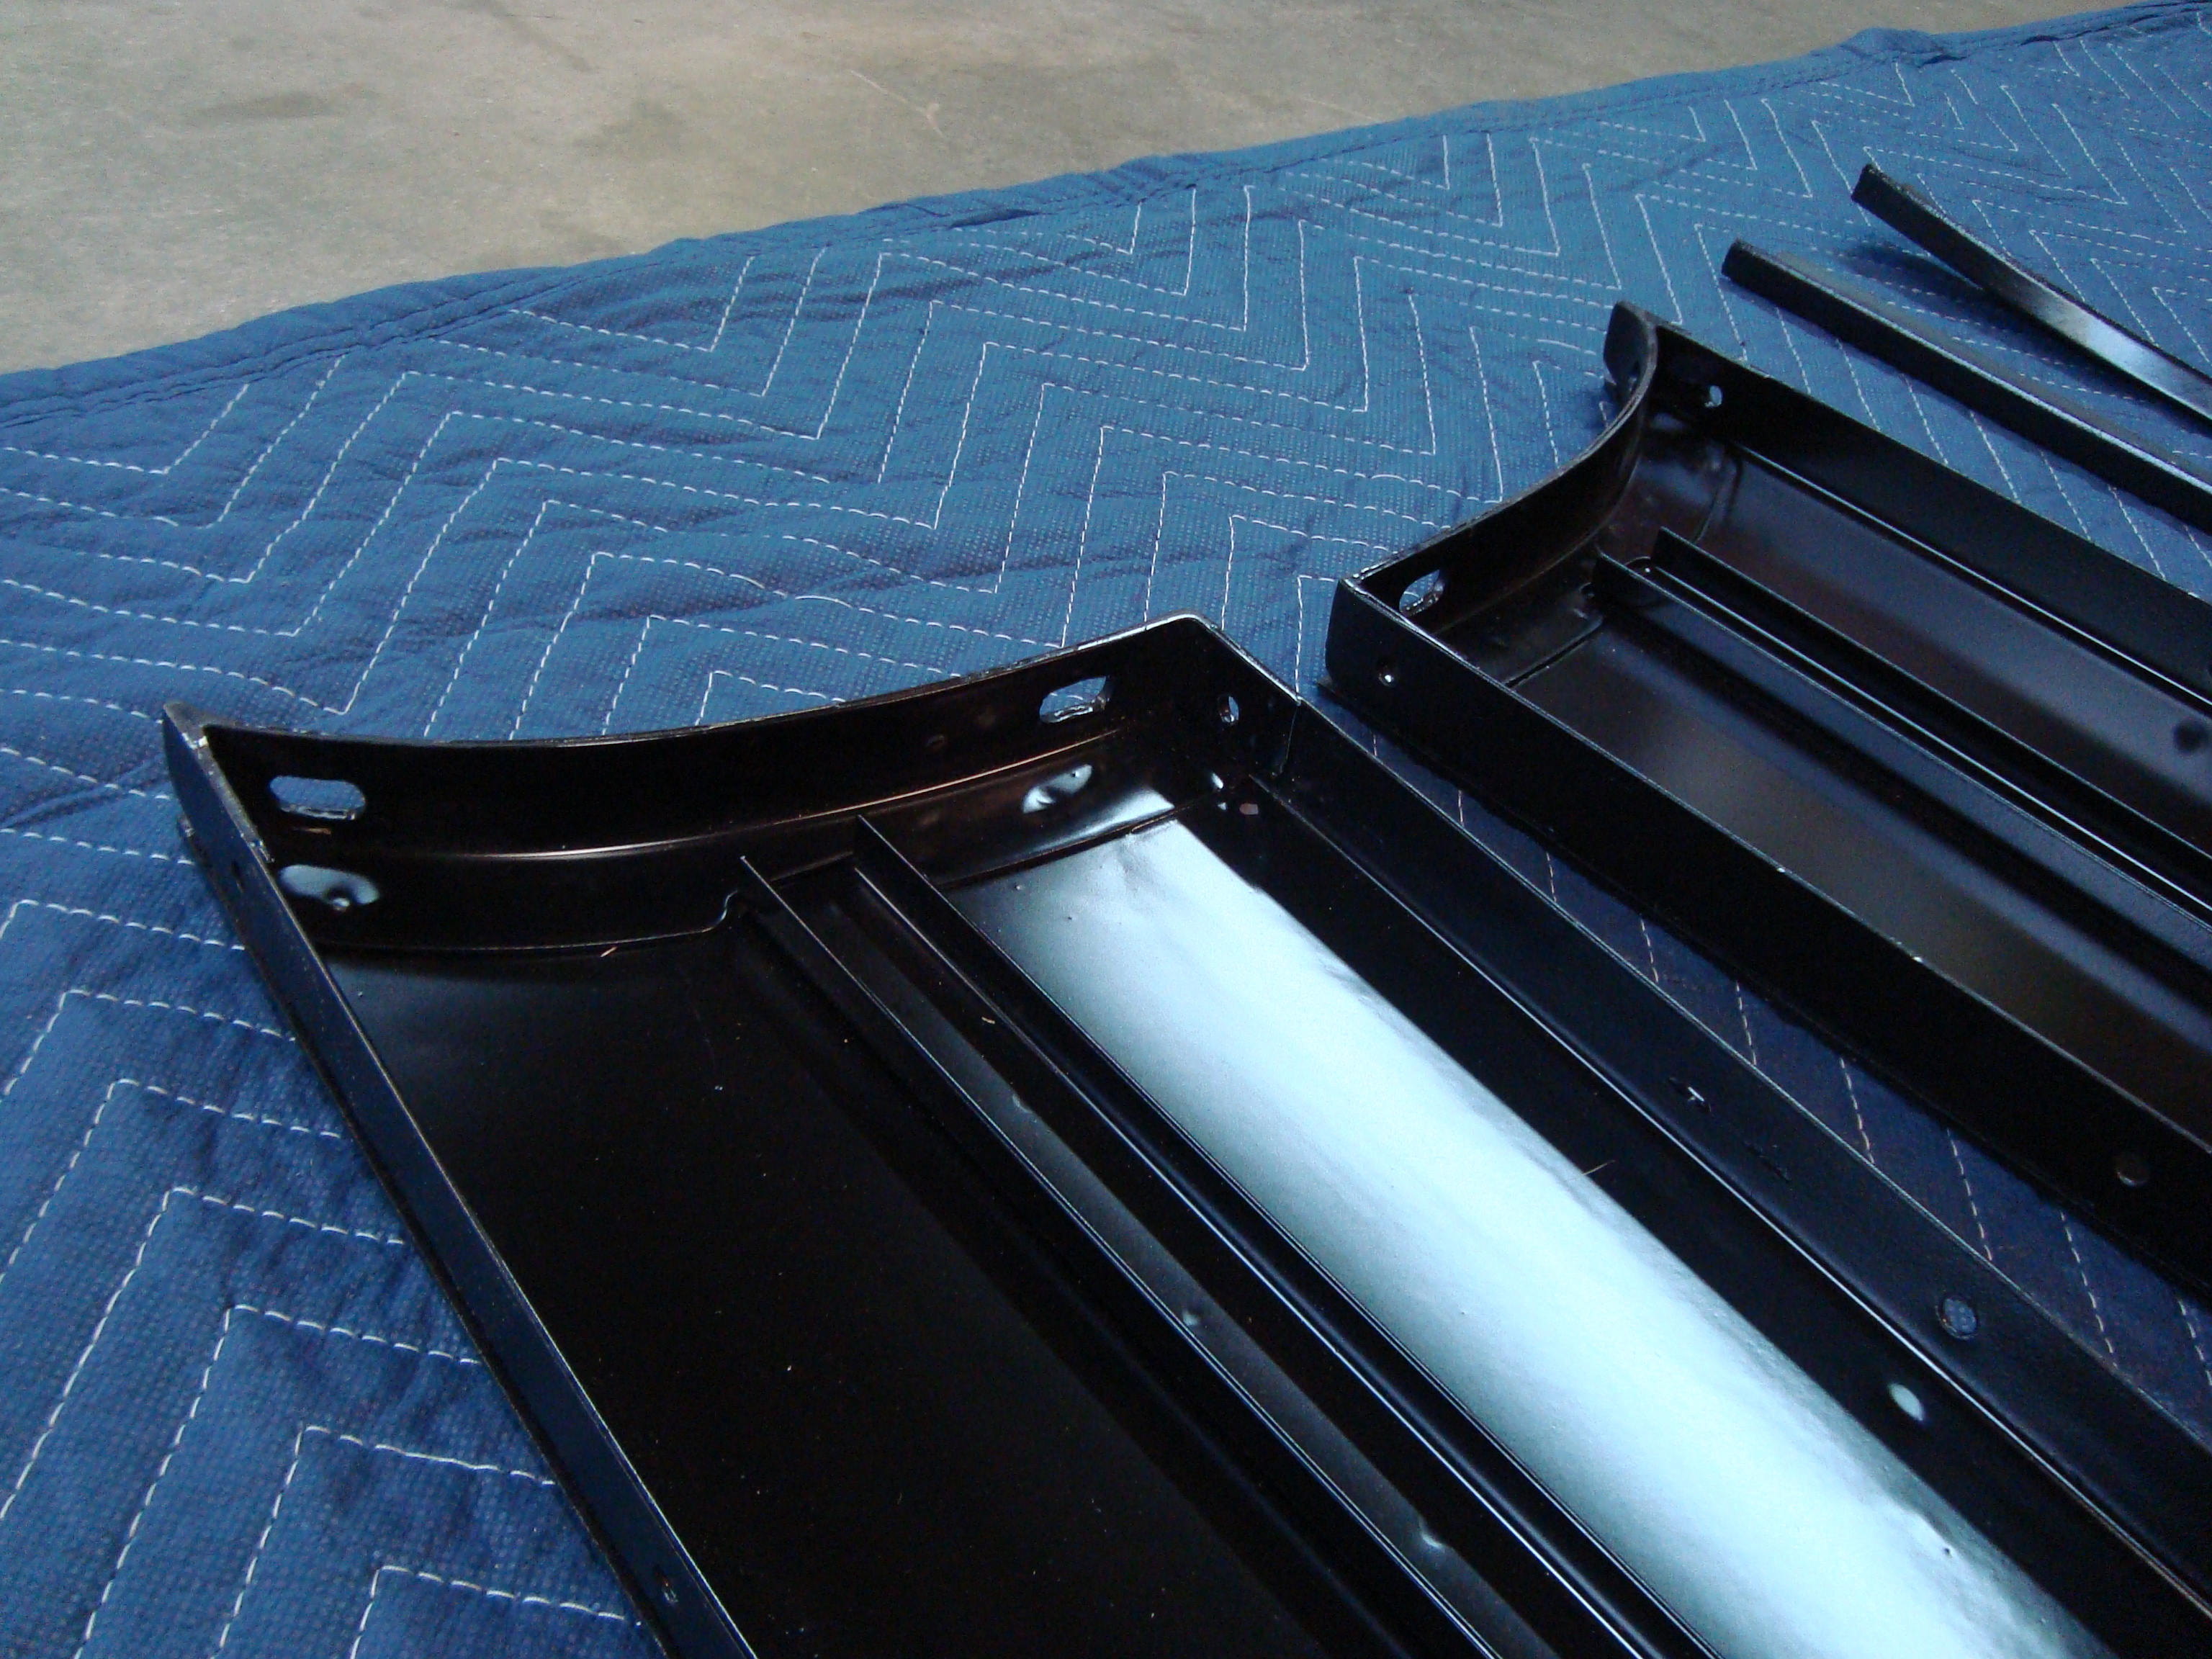
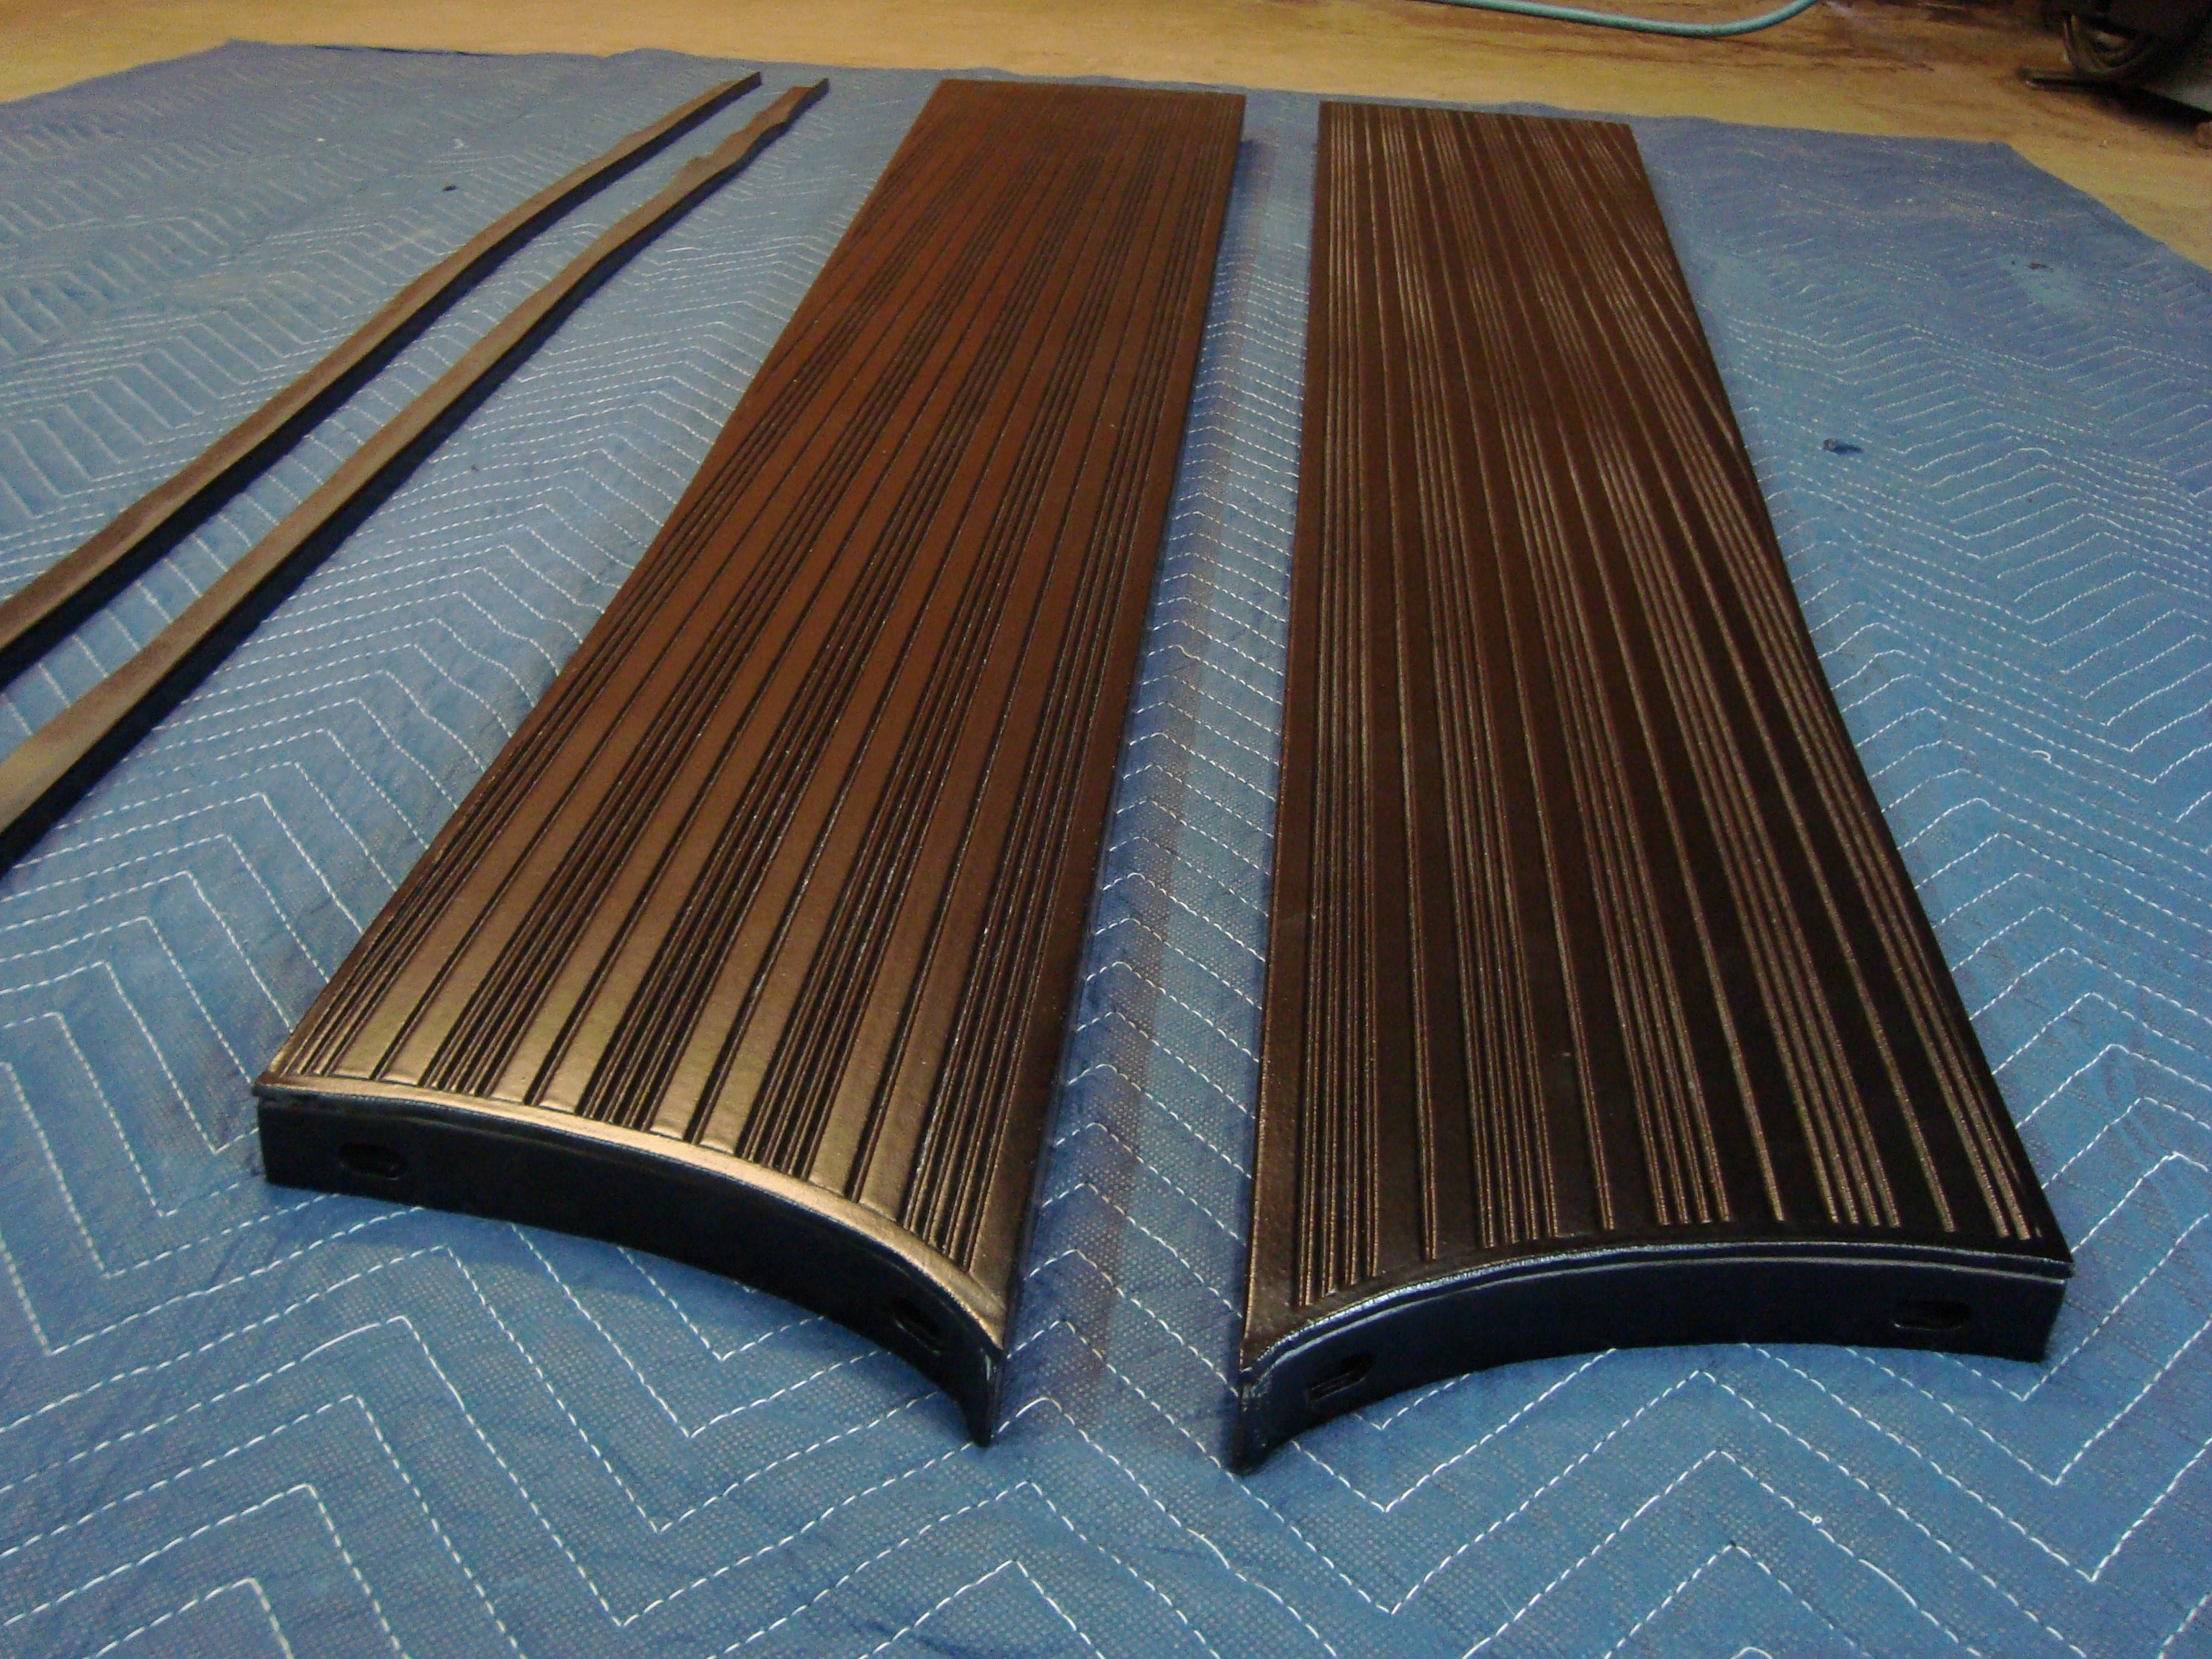
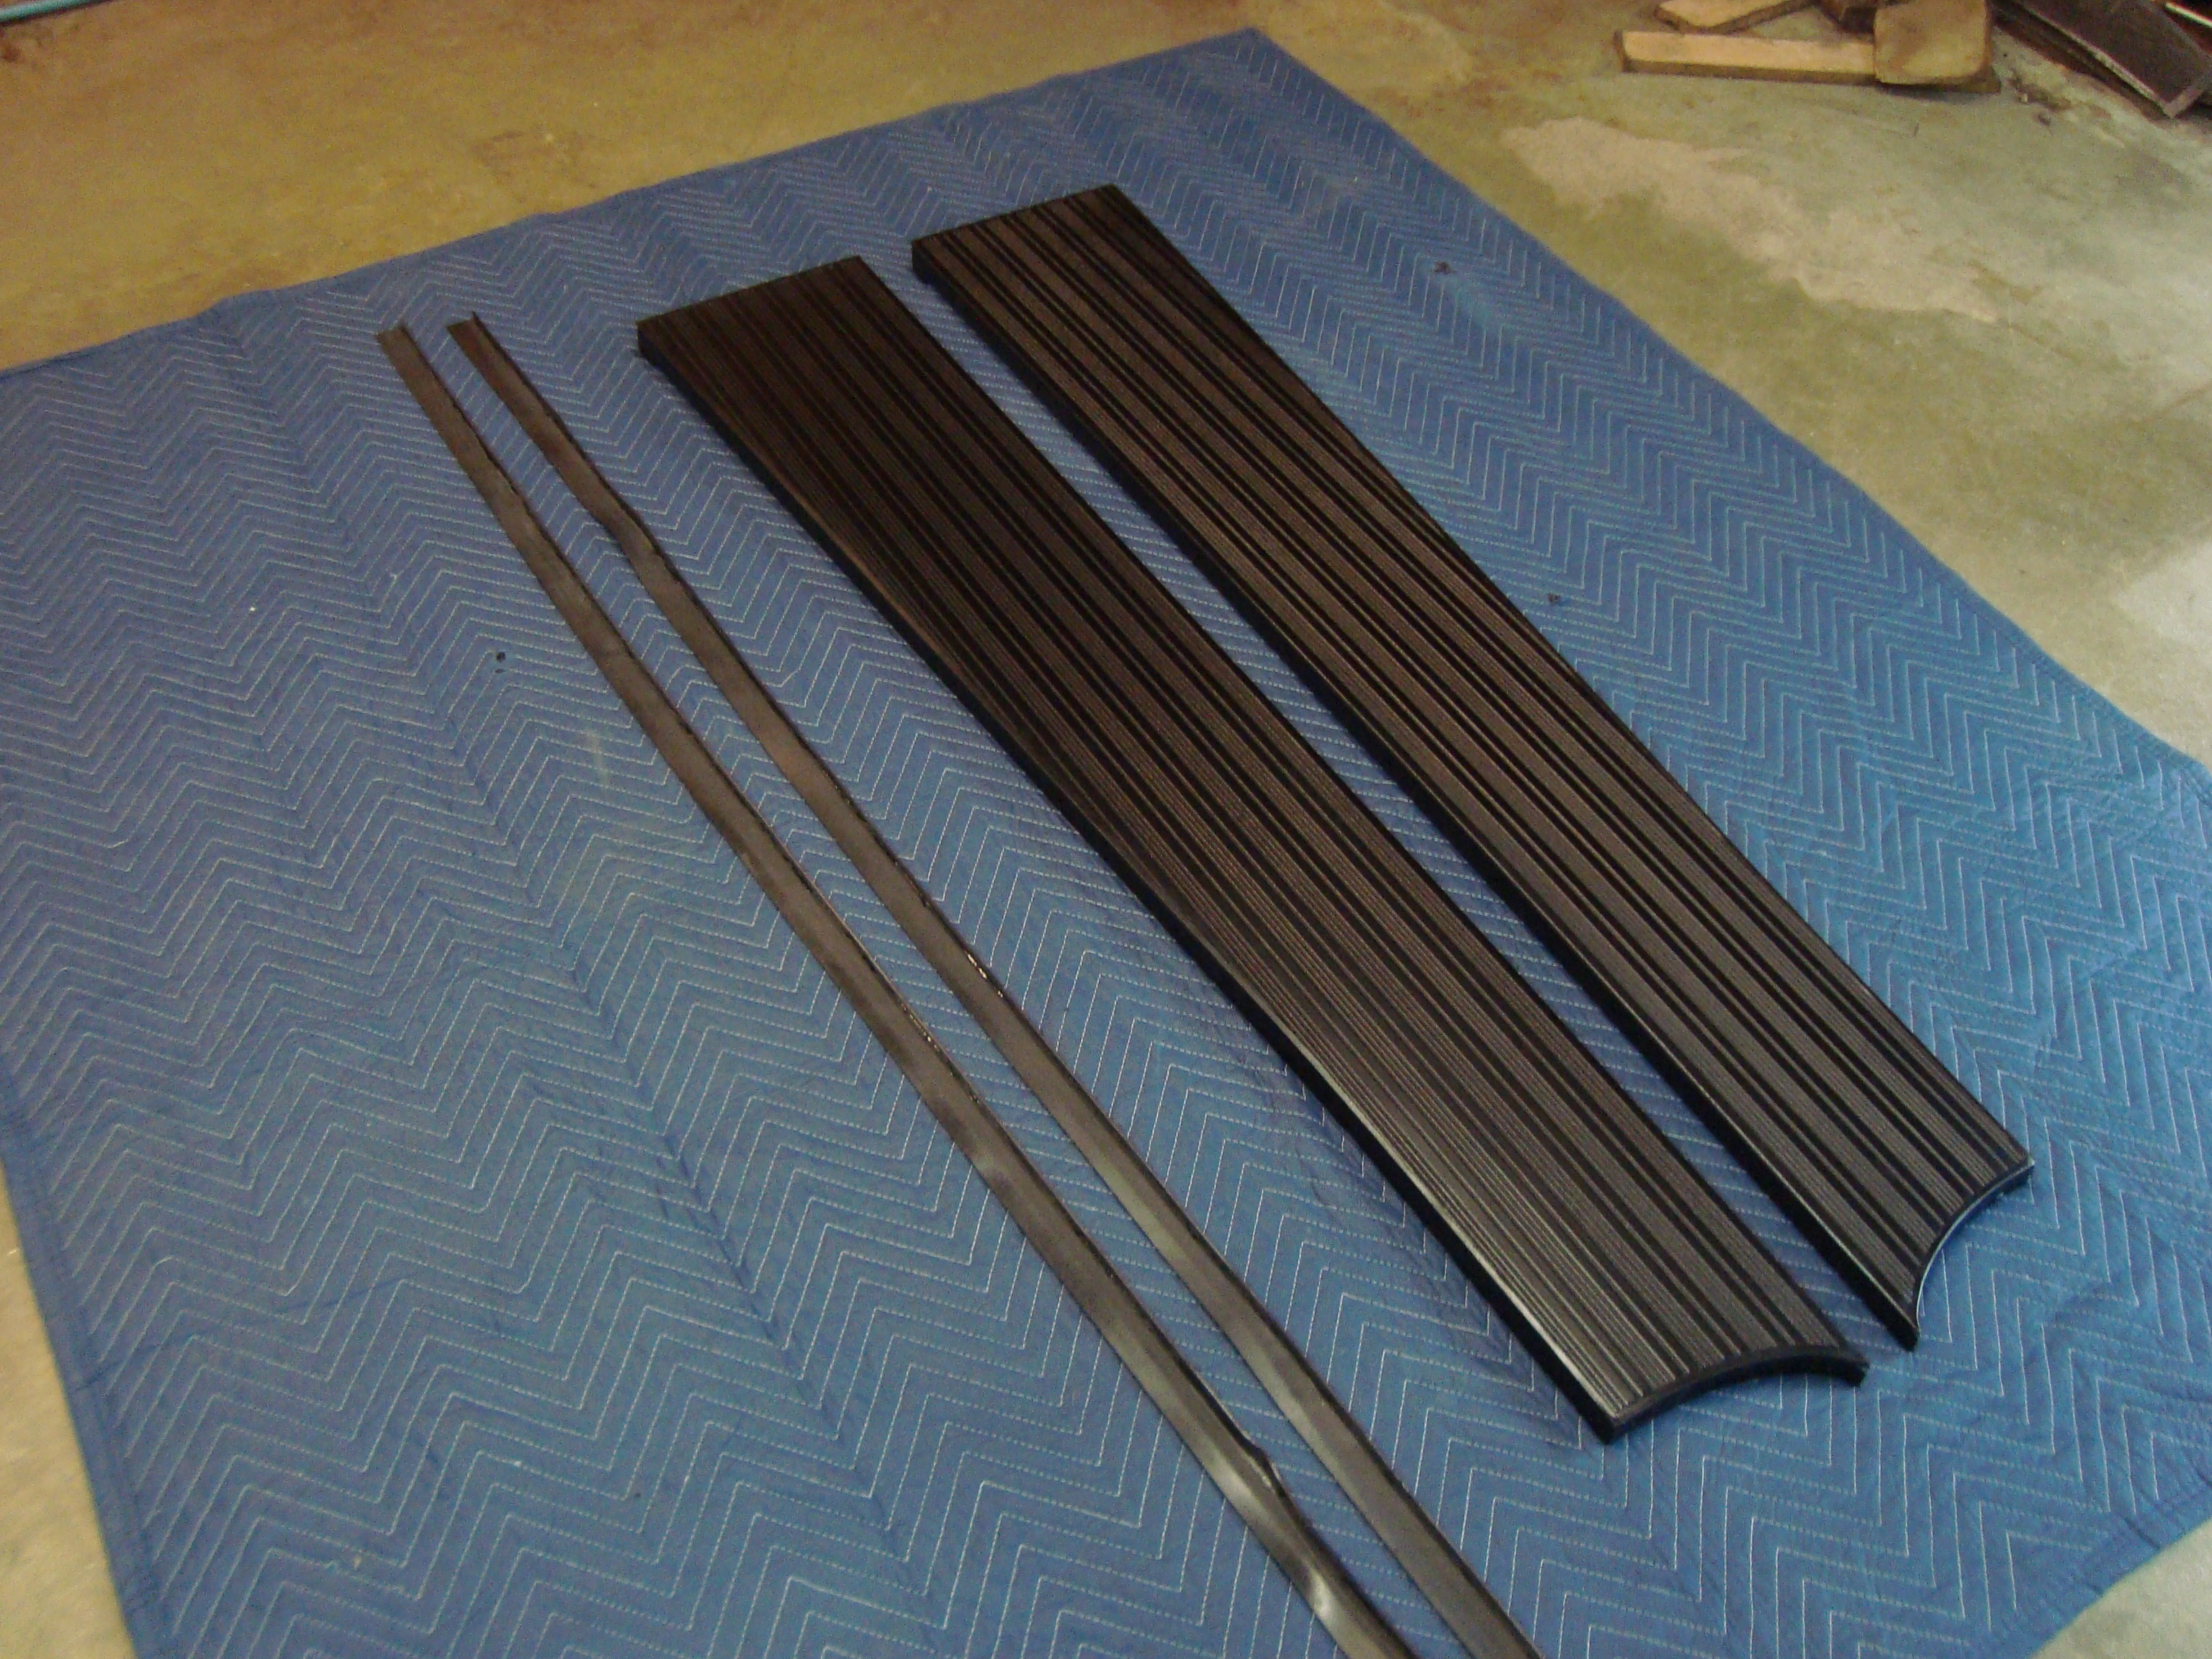
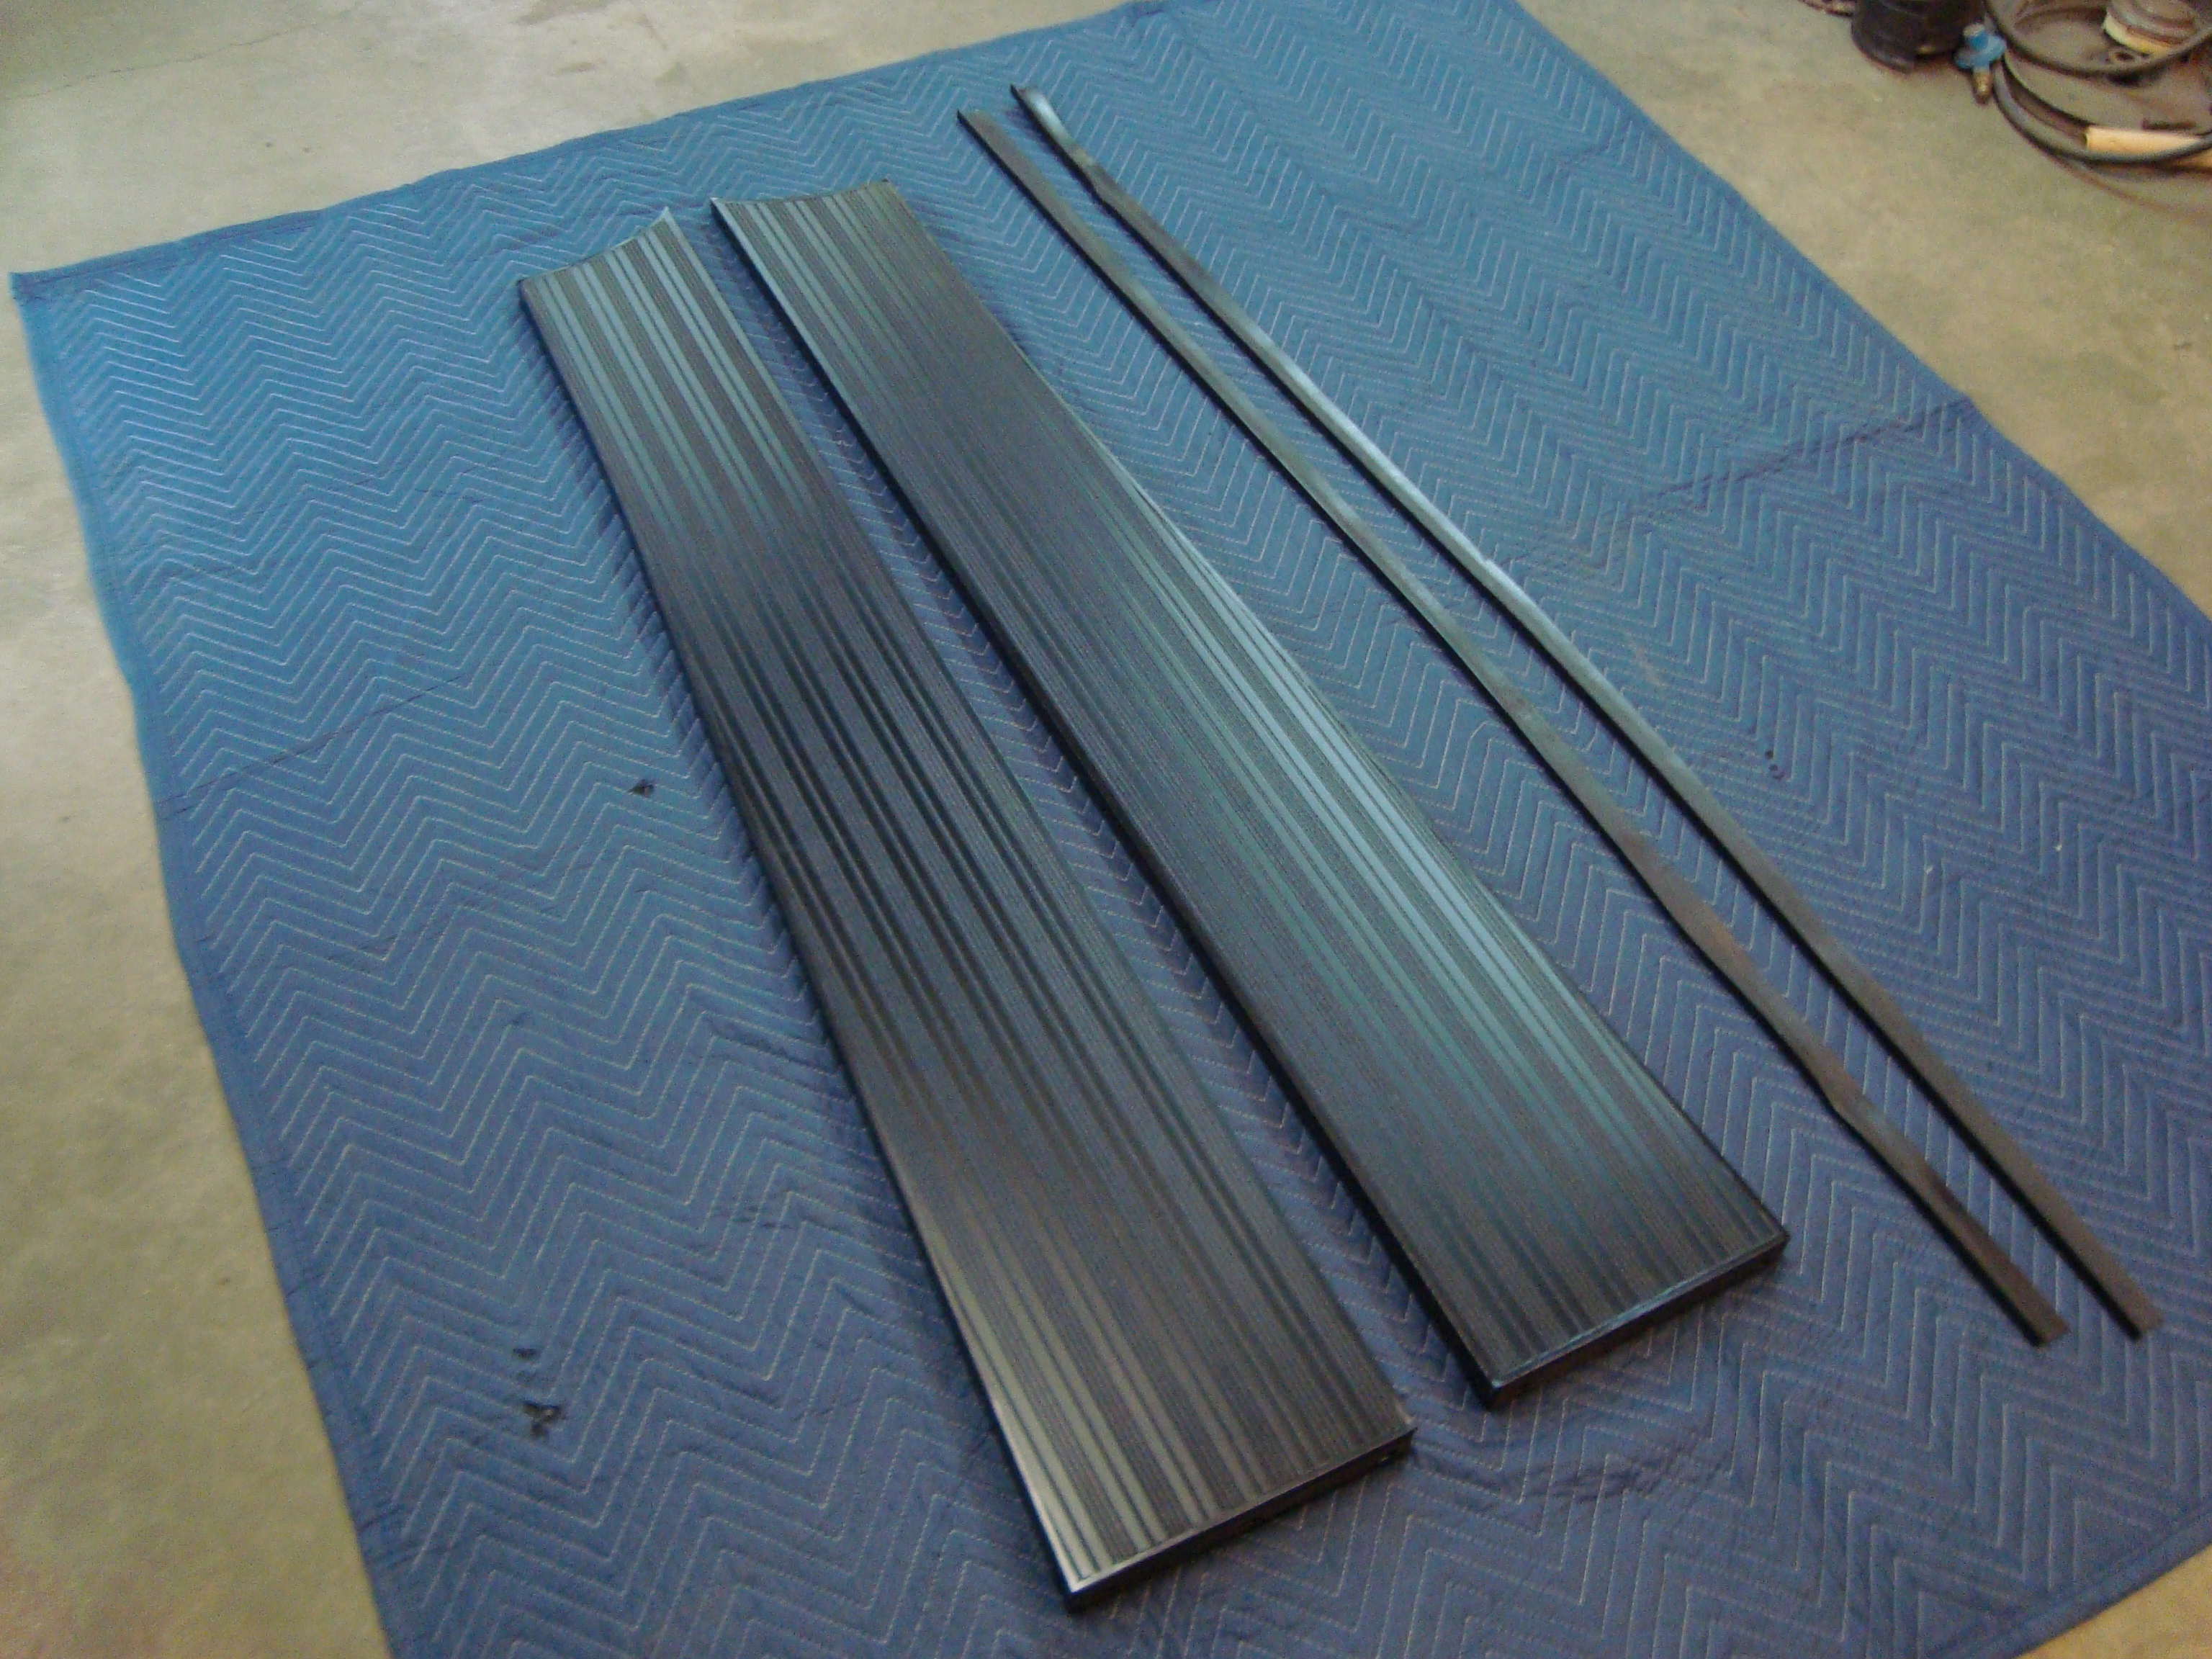
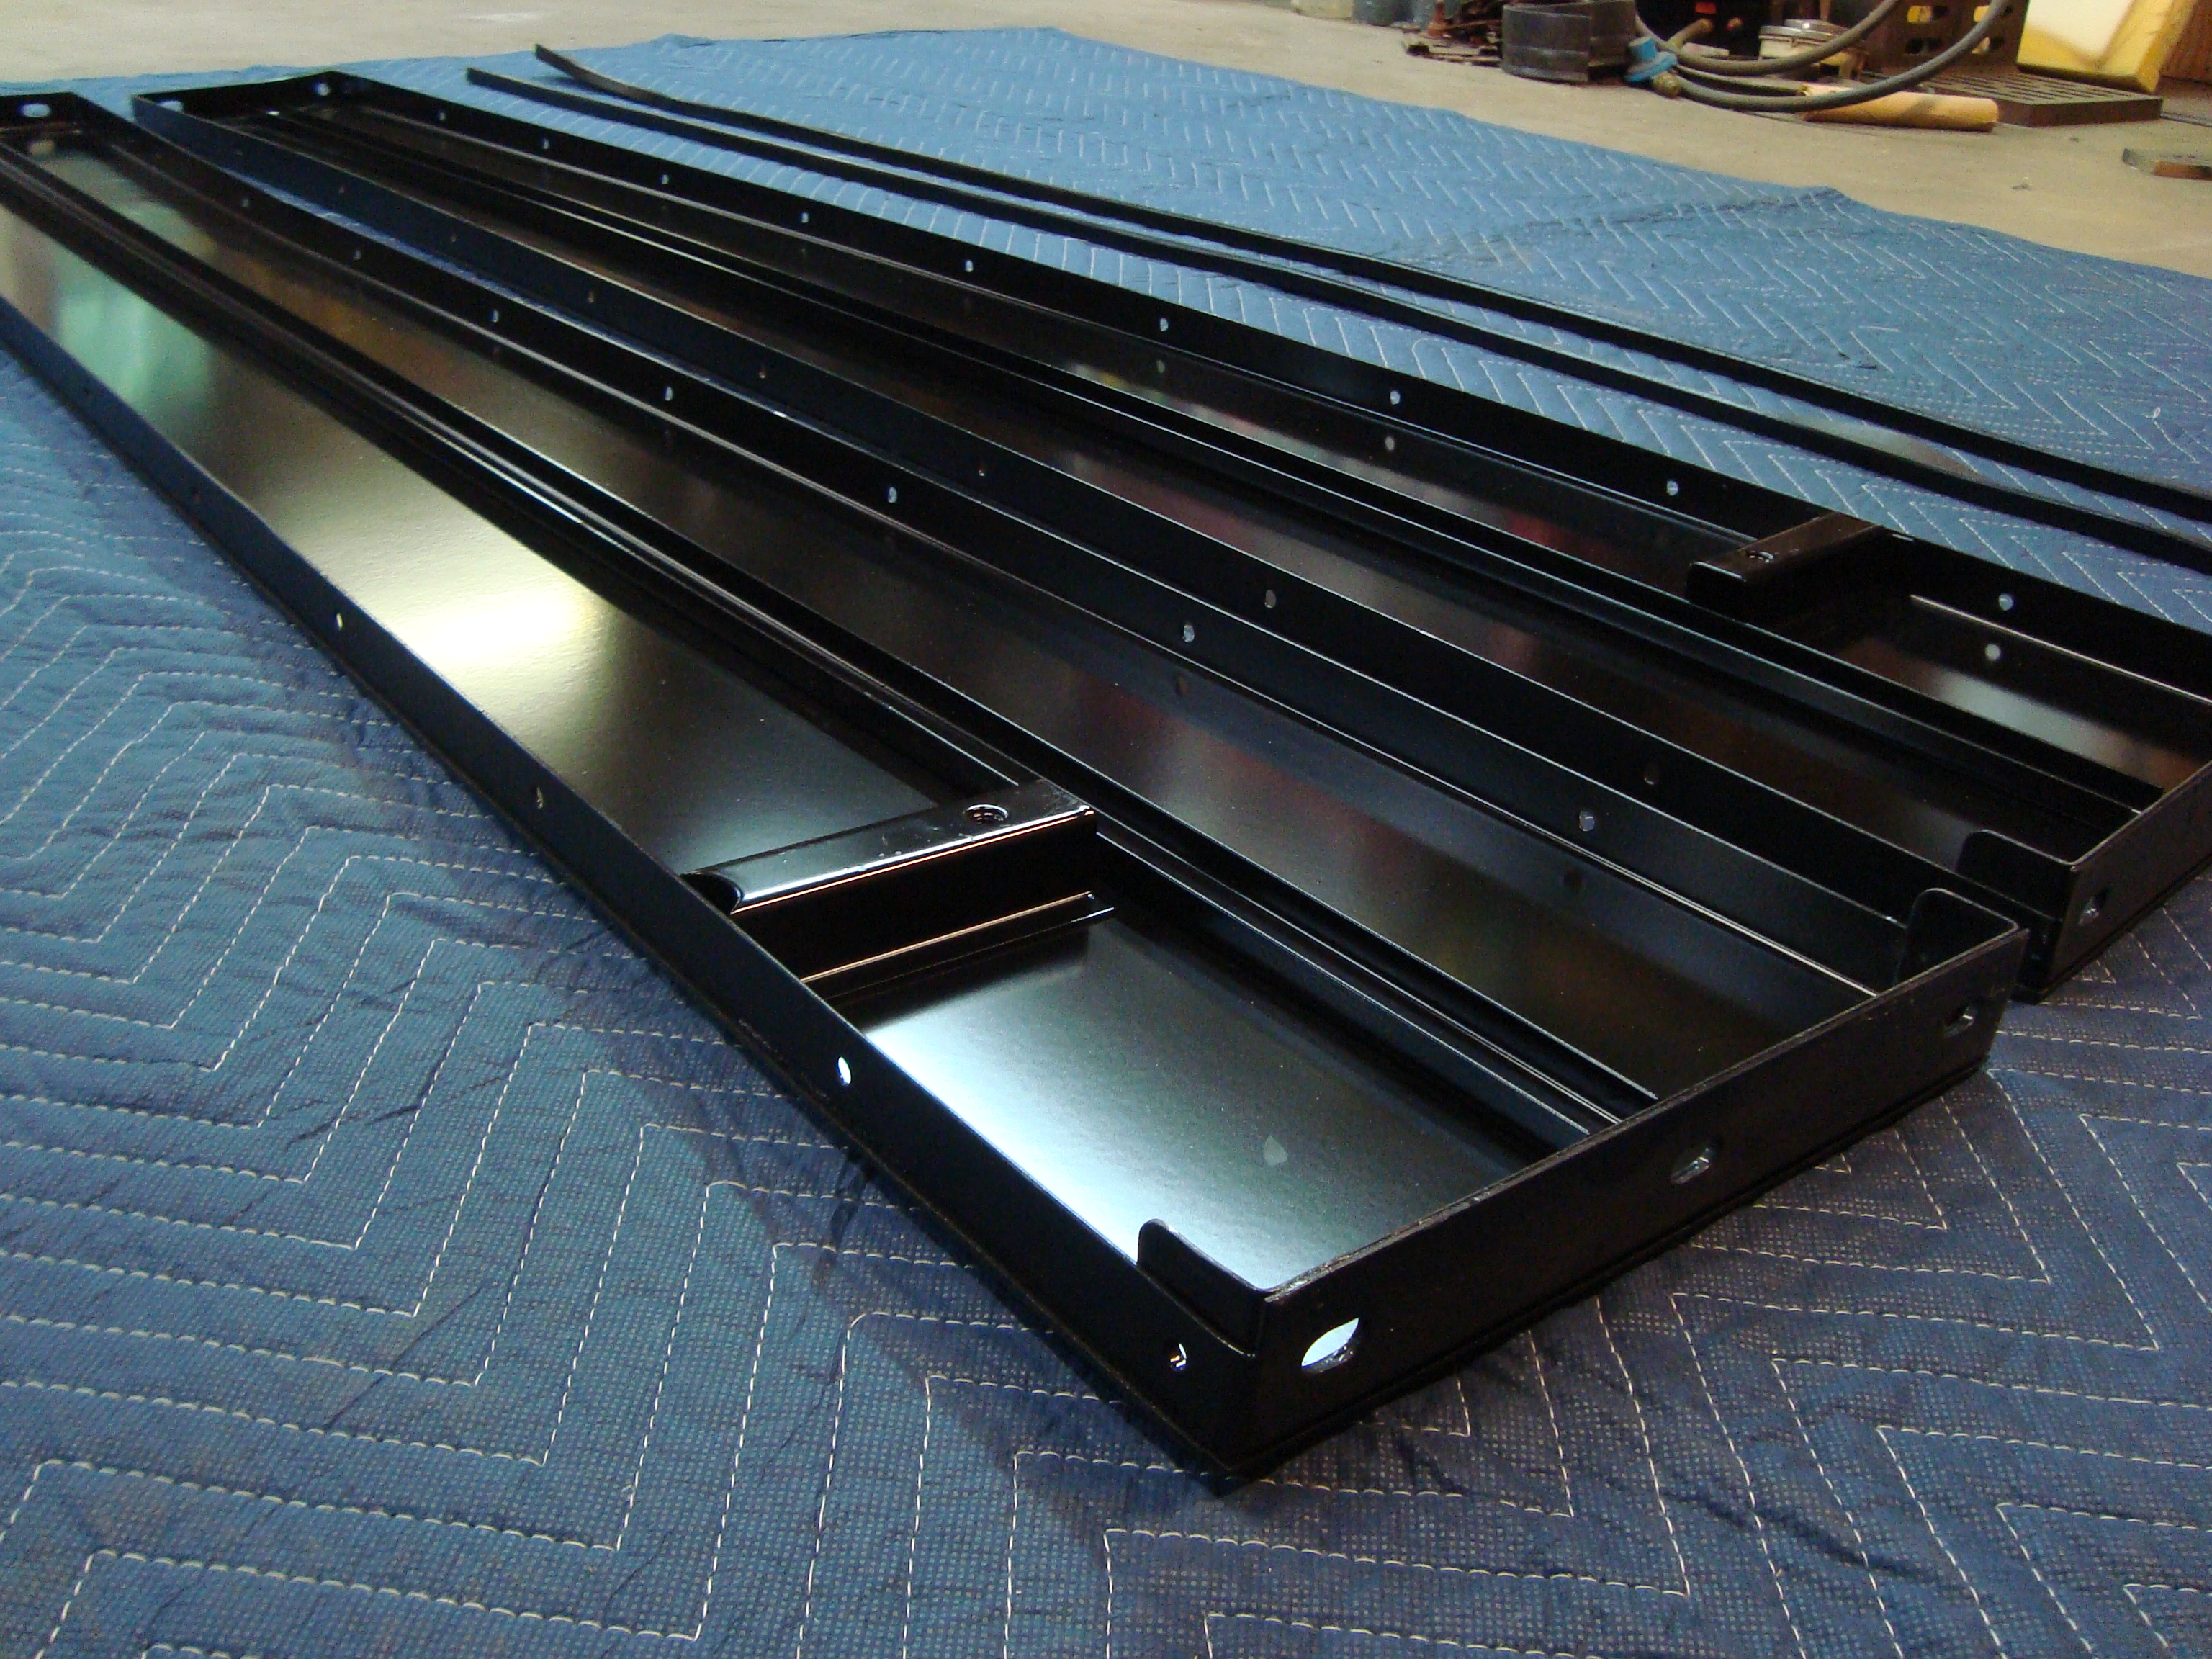
We are selling a new set of running boards for a long wheel base 1936 Hudson, if you are interested? Not sure if your car is a long wheel base?? My customer decided to restore a short wheel base car after these were already complete.
0 -
Great project. I would suggest dropping a label IN the ziplock as Shatpie on the outside can disappear over time. Also, try to do SOMETHING every day even on busy family and life days… do SOMETHING
Good luck!
regards, Tom
0 -
What price please?
0 -
Bent Metal, will these fit a 😀'46/47 Hudson Pick Up?
0 -
Those are beautiful running boards but my car is a 120”.
And I do try to do something nearly every day. Clean bolts, oil stuck bolts, any small thing as long as it’s progress.
Jeremiah
0 -
Jeremiah Check your email please
0 -
April and May were slow Hudson months, only made a little progress. I removed the grill, air deflector, belt, fan, water pump, spark plugs, and wires. It’s surprising how much coolant that engine held! It’s just kept pouring out!
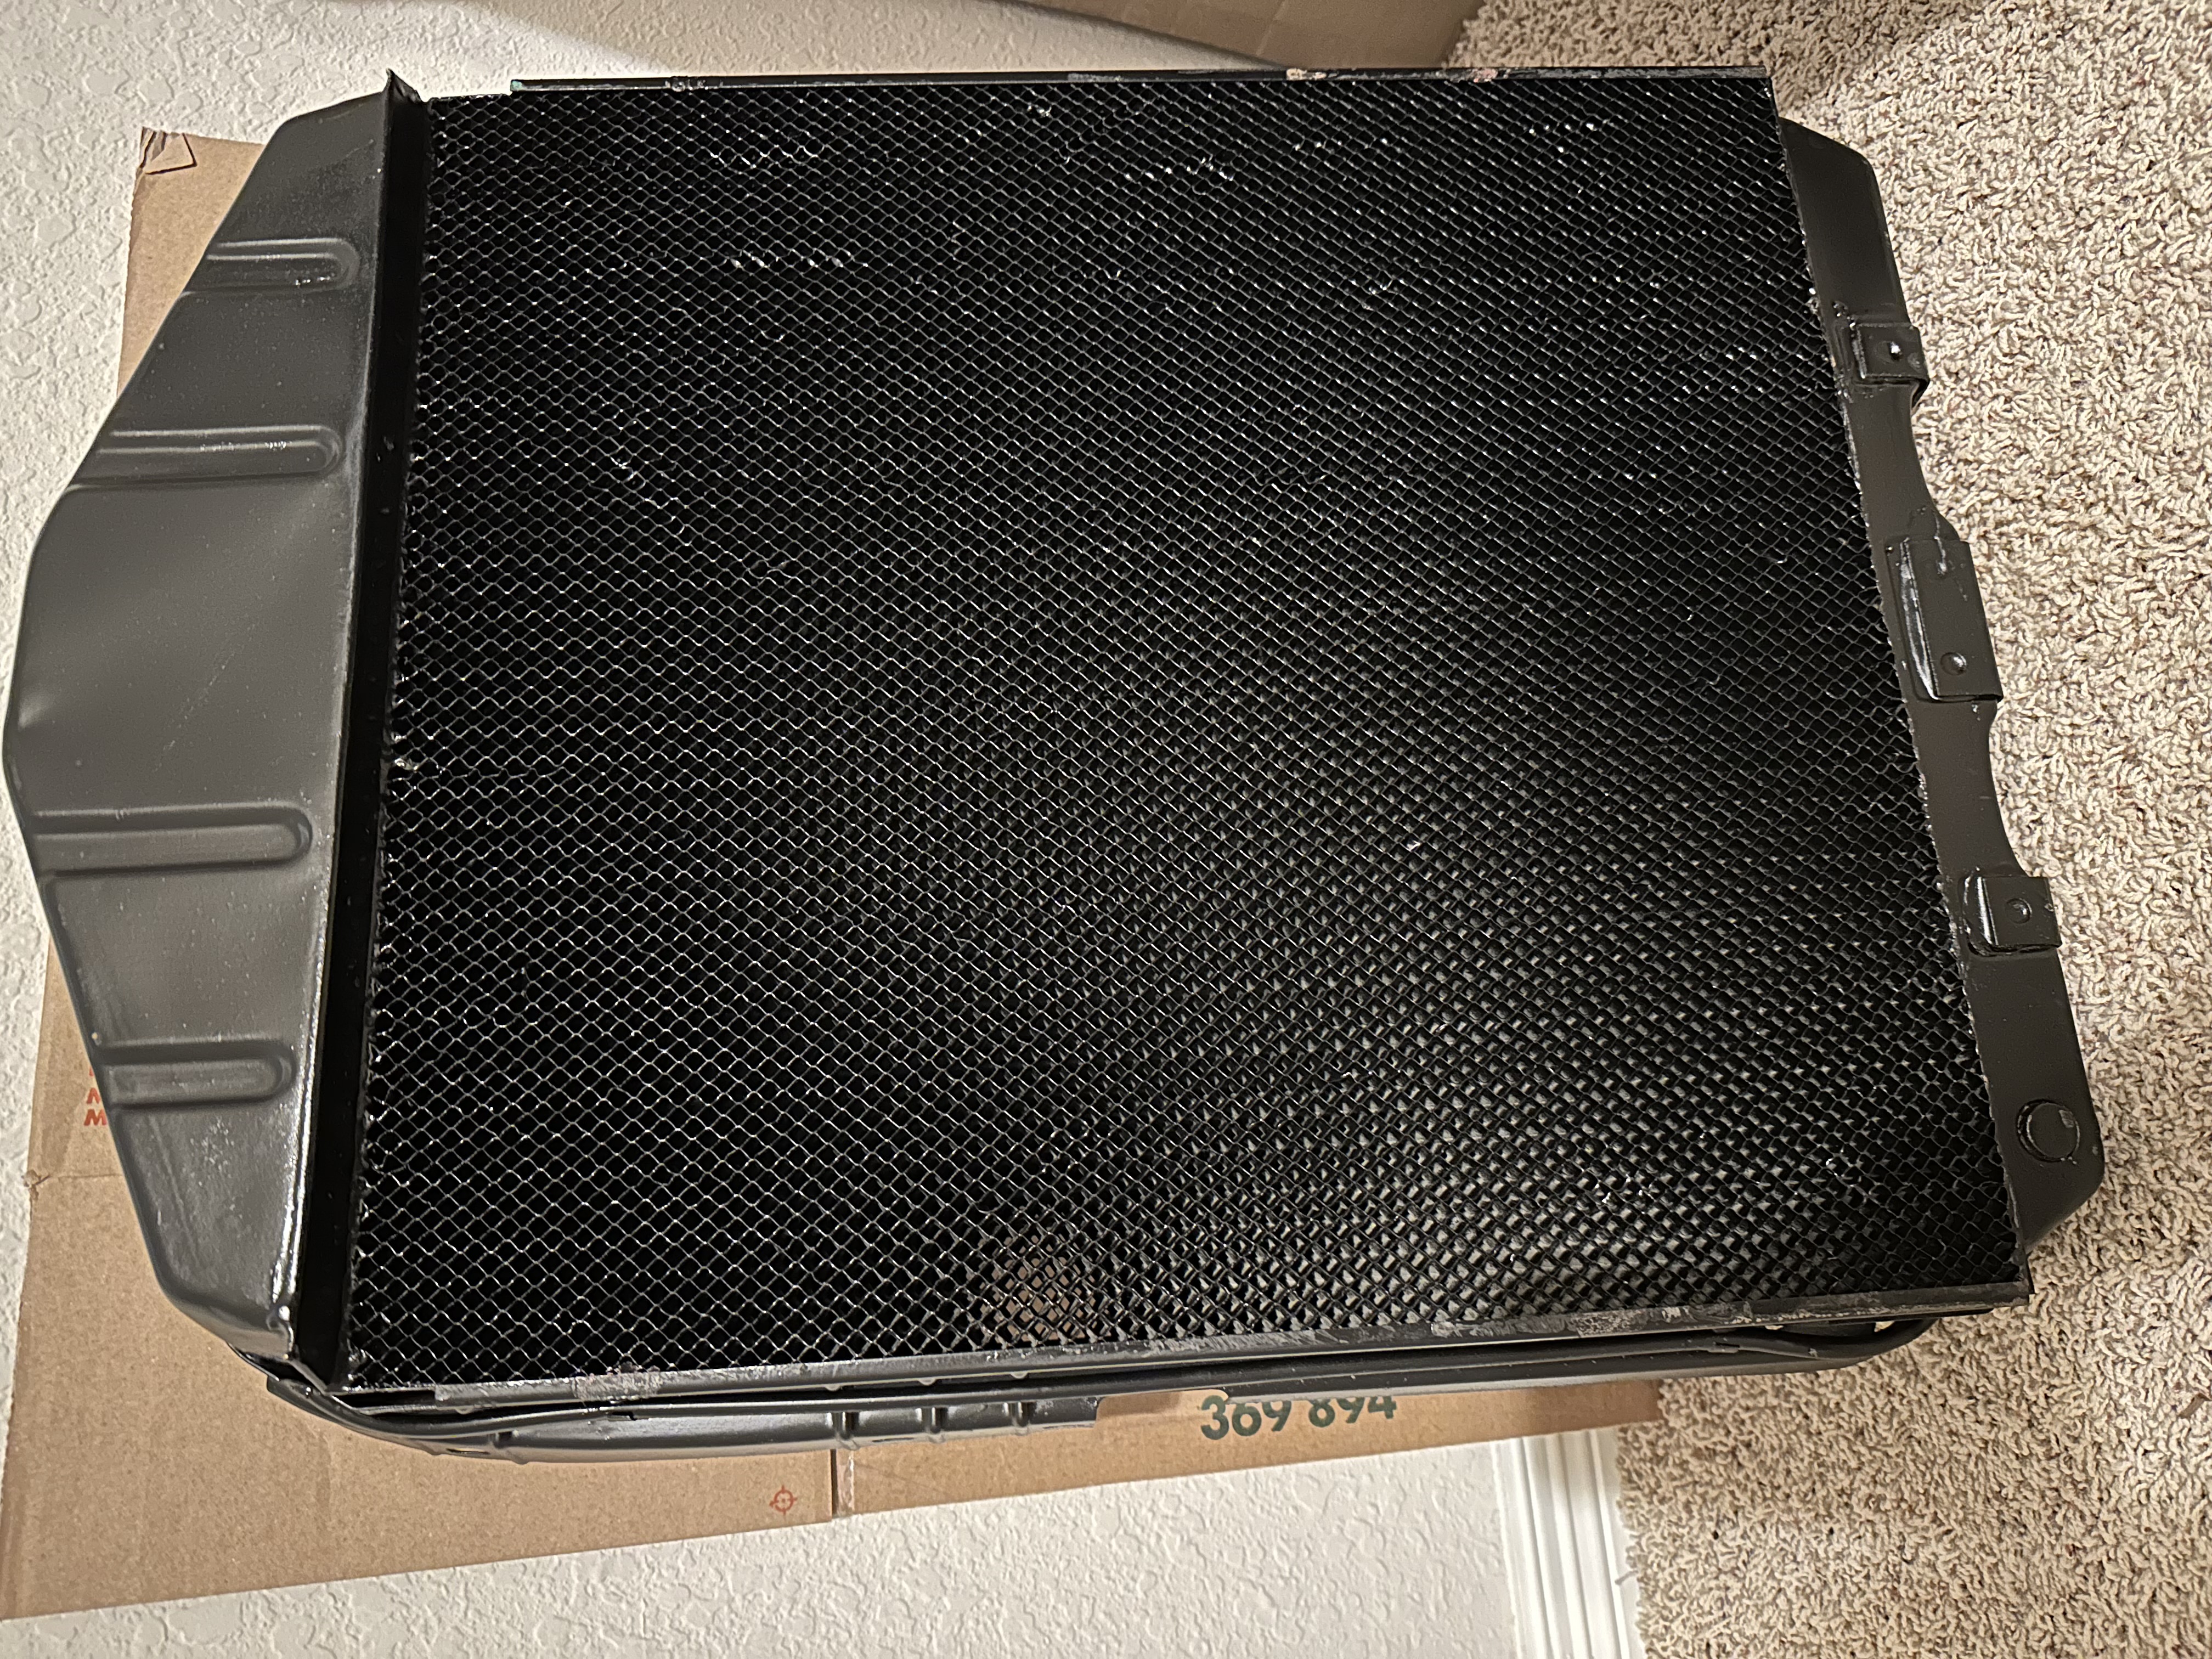
The radiator was in good shape. I took it to Don Hart radiator shop, northwest of Houston. They repaired a couple of small leaks in the upper and lower tanks, pressure tested it, and painted it. As long as I stay sick they said it should cool adequately. Took care of the heater block too, no leaks just a clean up.
Jeremiah
0
Categories
- 37K All Categories
- 115 Hudson 1916 - 1929
- 21 Upcoming Events
- 94 Essex Super 6
- 28.6K HUDSON
- 576 "How To" - Skills, mechanical and other wise
- 995 Street Rods
- 151 American Motors
- 180 The Flathead Forum
- 49 Manuals, etc,.
- 78 Hudson 8
- 44 FORUM - Instructions and Tips on using the forum
- 2.8K CLASSIFIEDS
- 609 Vehicles
- 2.2K Parts & Pieces
- 77 Literature & Memorabilia
- Hudson 1916 - 1929 Yahoo Groups Archived Photos
