New project 1941 BIG BOY
Comments
-
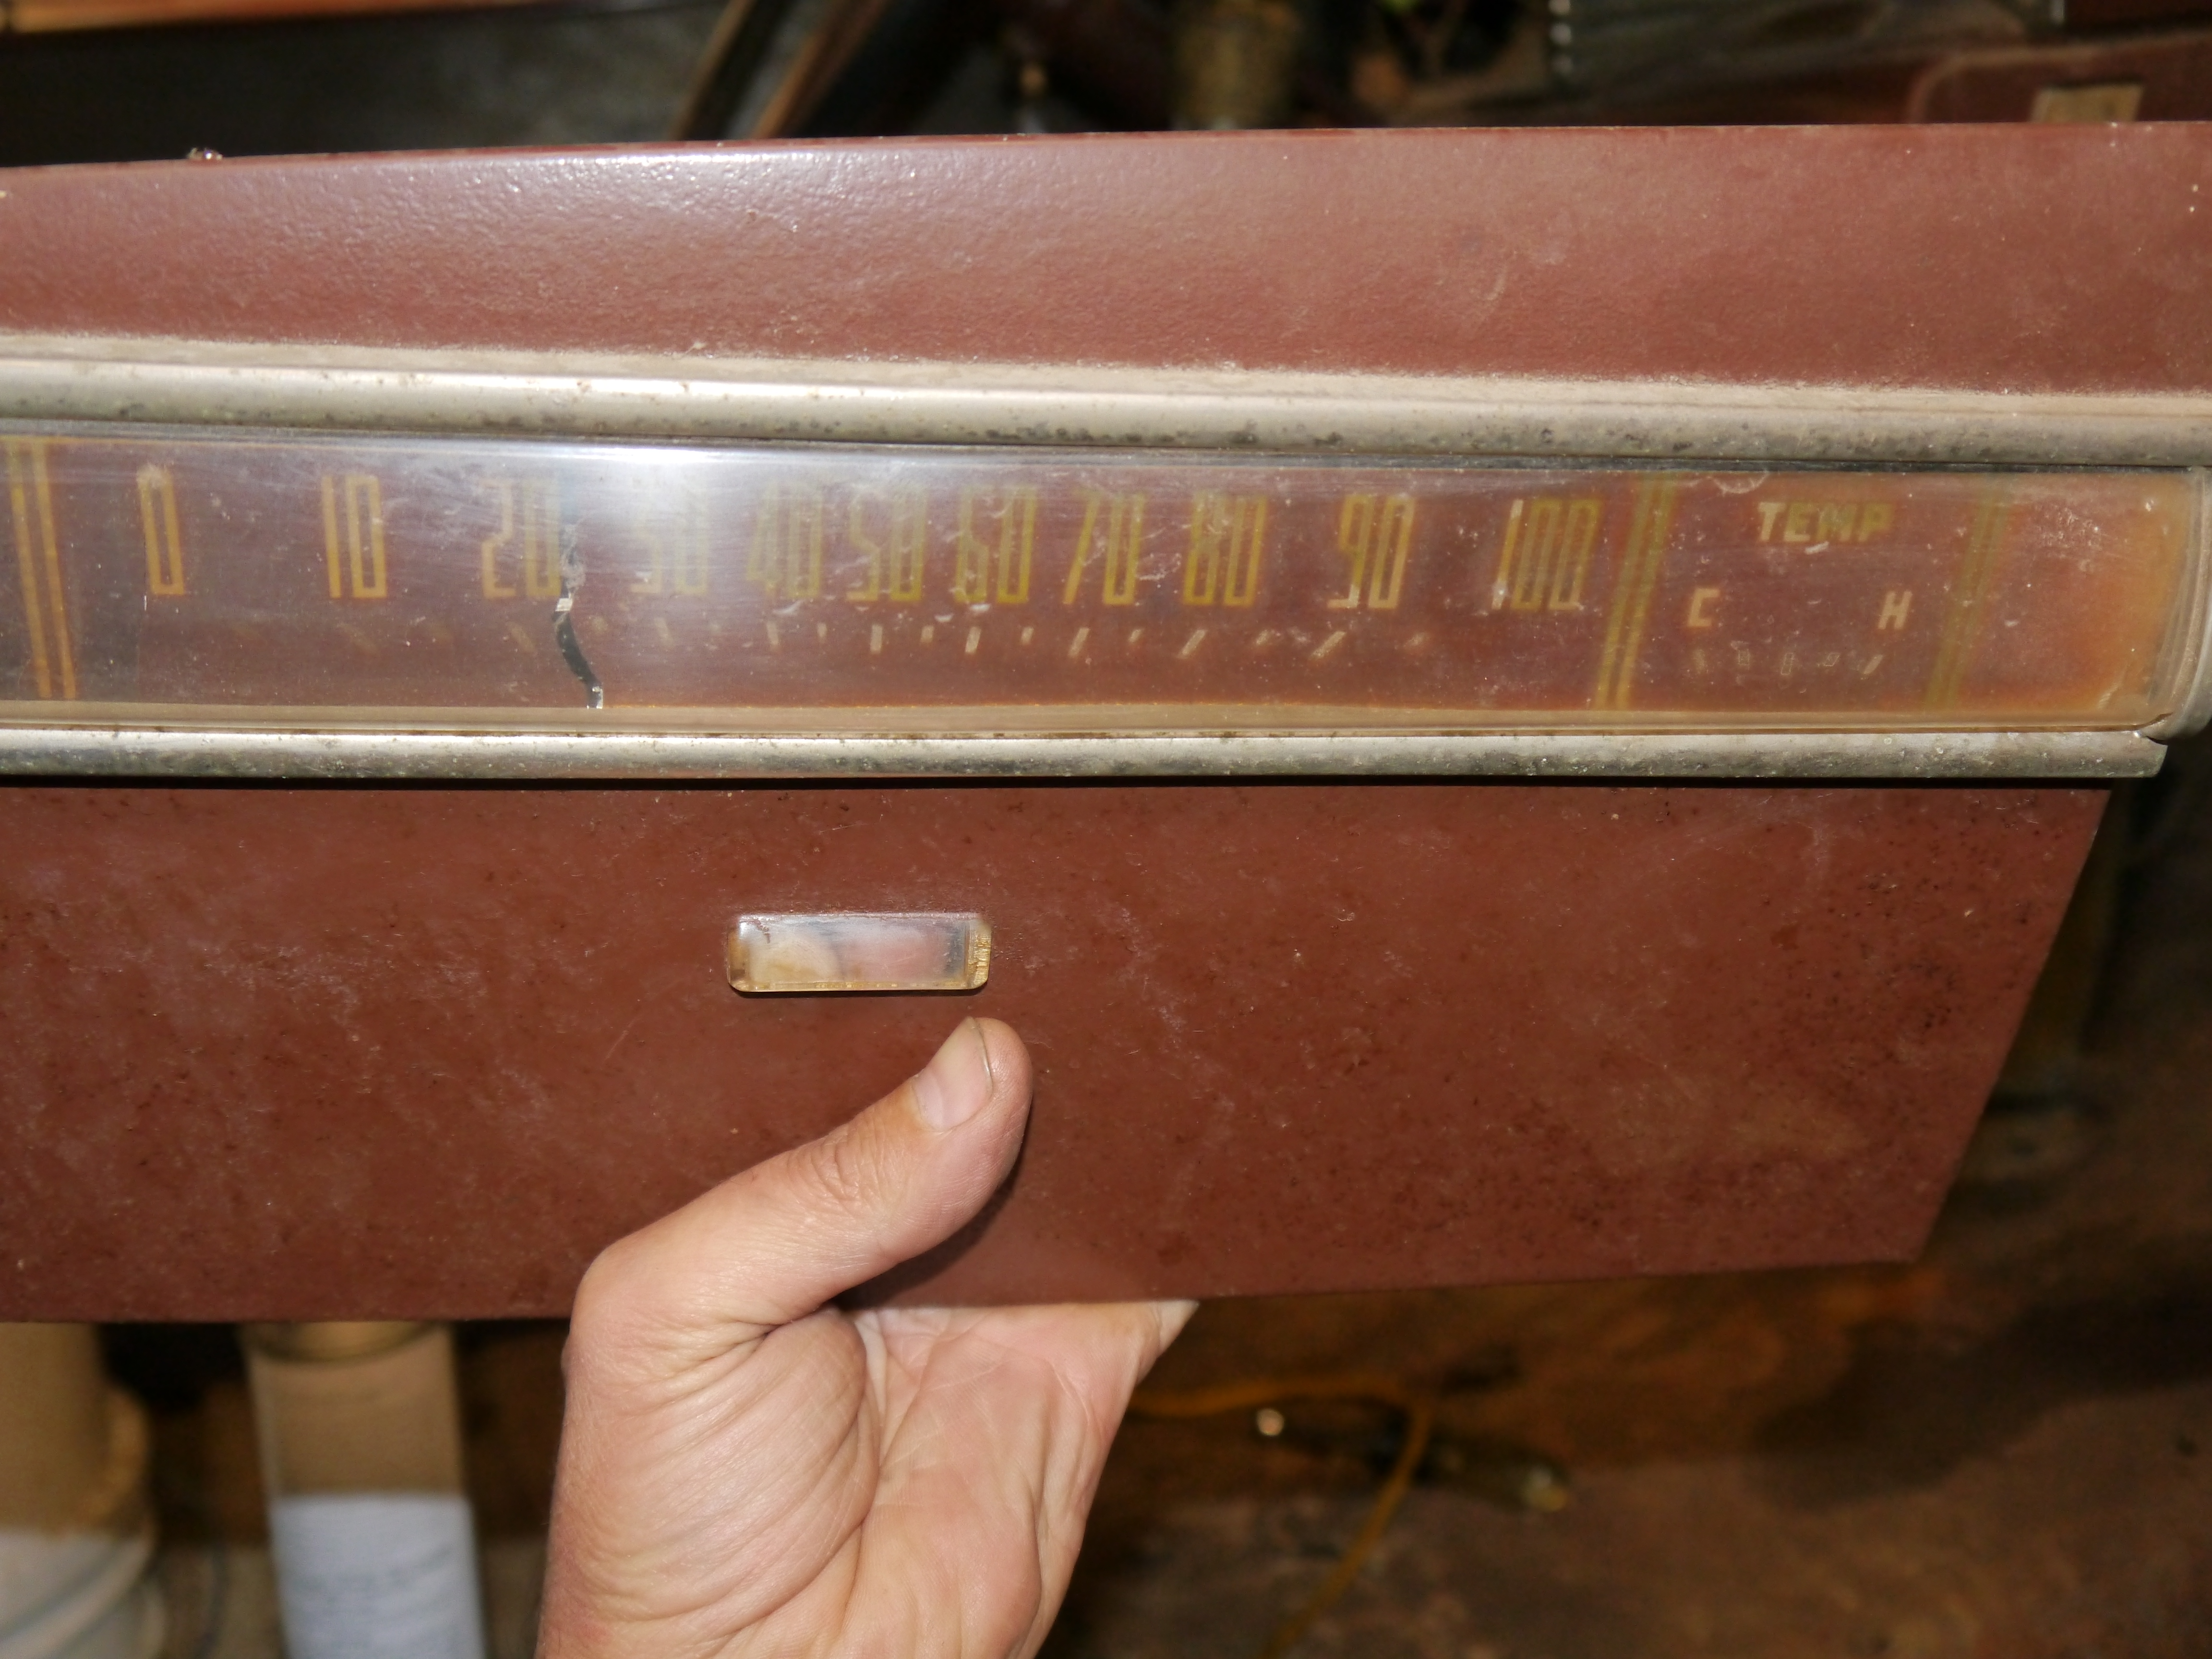
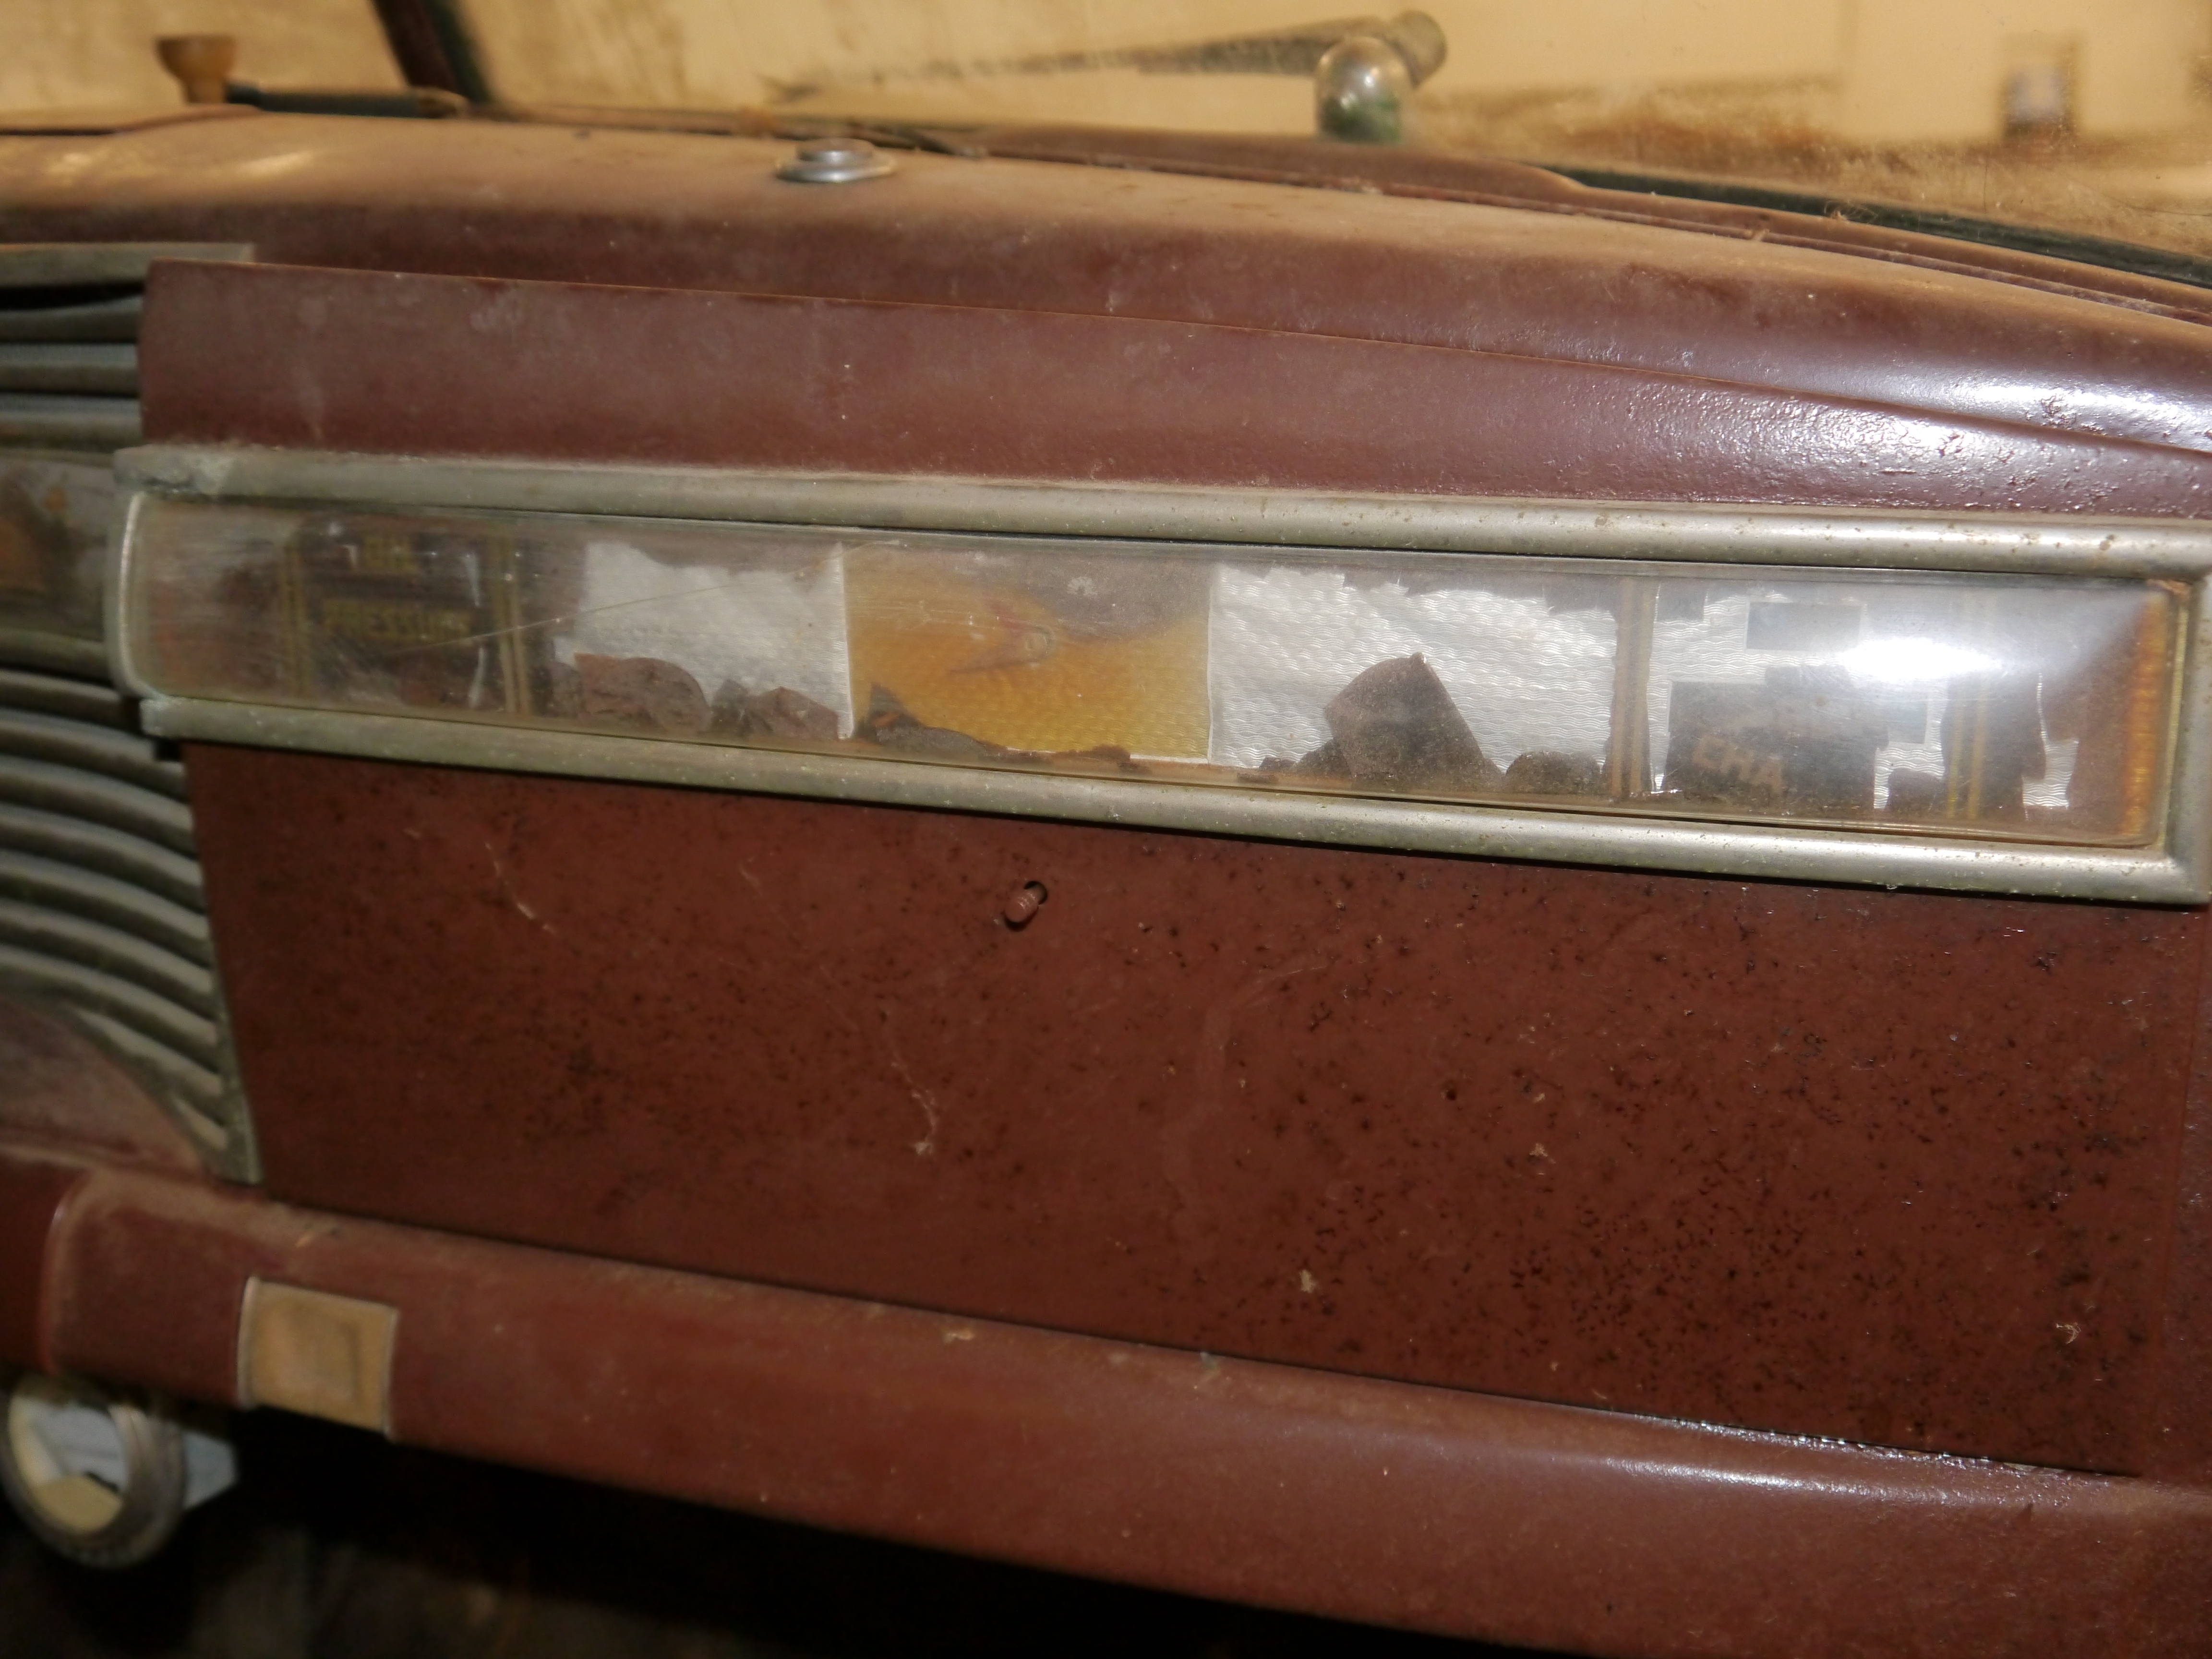
I think 12 Bolt Tom seems to be using what he has available, to get the truck back on the road. As I understand this, it's a project for a 13-year-old who (as are most 13-year-olds) is probably champing at the bit to get at least get this thing running. Wherever he can't find the original type parts fairly soon, Tom seems to want, at least, to make mods in a way that can be reversed, and when the "real thing" comes along later, he'll install it. A prime example is the instrument cluster, which is discolored and for which an acceptable replacement simply isn't currently at hand.
Many of us know the avenues that one must pursue, to find these parts. Tom and his son are new to Hudsons. I think Tom would be appreciative if we could offer suggestions as to where this stuff can be found. As to things like disc brakes, a goodly number of dyed in the wool Hudson guys have upgraded their cars with these, as well as with 12-volt electrical systems (unlike me, who is an old stick in the mud!). As to the engine....well....maybe we can find Tom a nice smooth running Hornet eventually!0 -
I made a Stainless Dash Panel with a Z28 Gauge Instrument Cluster in the center for my '47. Dont worry about resale value if your building with your Son to keep. If I worried about recouping my money I would never had built any because you practically never get your Labor back regardless modified or original, unless an AACA Show Winner ....
Since your adding Discs probably should install a power master Cyl too.(I almost hate to mention that a Mid 80's GM Tilt Wheel and Swing Power Brake pedal Assy practically bolts in. You do need to make a simple floor bracket then drill 5 small holes in the firewall, and connect the Shafts. The nice thing about GM Columns is most Wiring Fuse Kits will Plug right into that Column..... I tried to make my Restorations reversible as much as possible, even though I will never change back) Additionally, an 80's Chevy S10 Seat practically 'bolts in' too and can utilized the seat Belts & Harness for Safety0 -
TOM:
WHAT PART OF THE COUNTRY DO YOU RESIDE IN?....
I'M IN THE GENERAL AREA OF SEATTLE AND WAS PAST SECRETARY OF THE LOCAL CHAPTER OF THE HET CLUB...
I HAVE A GOOD NETWORK OF LOCAL PEOPLE IN THE CLUB AND FOR THE MOST PART CAN ASSIST YOU IN YOUR EFFORTS TO FIND PARTS FOR YOUR PROJECT
FEEL FREE TO CONTACT ME AT ANY TIME...
REGARDS TOM BARRETT
206 351-2649
TOMBAR46@MSN.COM0 -
In answer to ( Old hudsons and Rick). I figured people would get their undies in a knot, But that is OK. The world will still go around. This is a old truck that has been sitting for many years. I plan on leaving it in better shape than what I found it in. The barn was spared by a storm that tore mine down.
I do have more history on this truck. Bought new by Paul in Clutier Iowa from a Hudson dealer. Town is now 200 residents. Spent it's entire life within 1 .5 miles of town on a farm. Somehow racked up 35K miles. Got parked behind the garage for eternity. It was then pulled to town to the now closed dealer to be repaired by the service shop owner of the time. Maybe relation. It sat outside that shop for so long a tree grew thru the box. The second owner then bought it. He said the tree had to be cut down with a chainsaw. The sun had killed all the paint. He repainted it , tried to make the 212 run. He said it smoked bad and had no power. Repowered with what he had. 221 small block Ford. Drove for a short time and parked it in a barn to much later be rescued by my boy and I.
We have no plans for this truck to be a trailer queen. In fact , it will be driven to Colorado next summer for a car event. We will camp with it and drive it in summer weather, rain or shine. There is no better way to get people interested in this old stuff. You will benefit from people wanting one just like it.
Too many people buy cars/ trucks and then do not enjoy them, sink way too much in them and then are scared to drive them. Insure it and enjoy it.
We are building it with what we have. I am not poor but have put thought into what will payback and what won't. Besides, it is not for sale. We are building it safe and reliable. We are trying our darnest to not do something irreversible. With our new dash insert, we will leave the old wiring in place.
Tom in WA.
We need a good instrument cluster back piece (with #'s)
glove box gauges/ back piece
Heater
Like to find a sunvisor
Signed up to be a member of the HET club too.
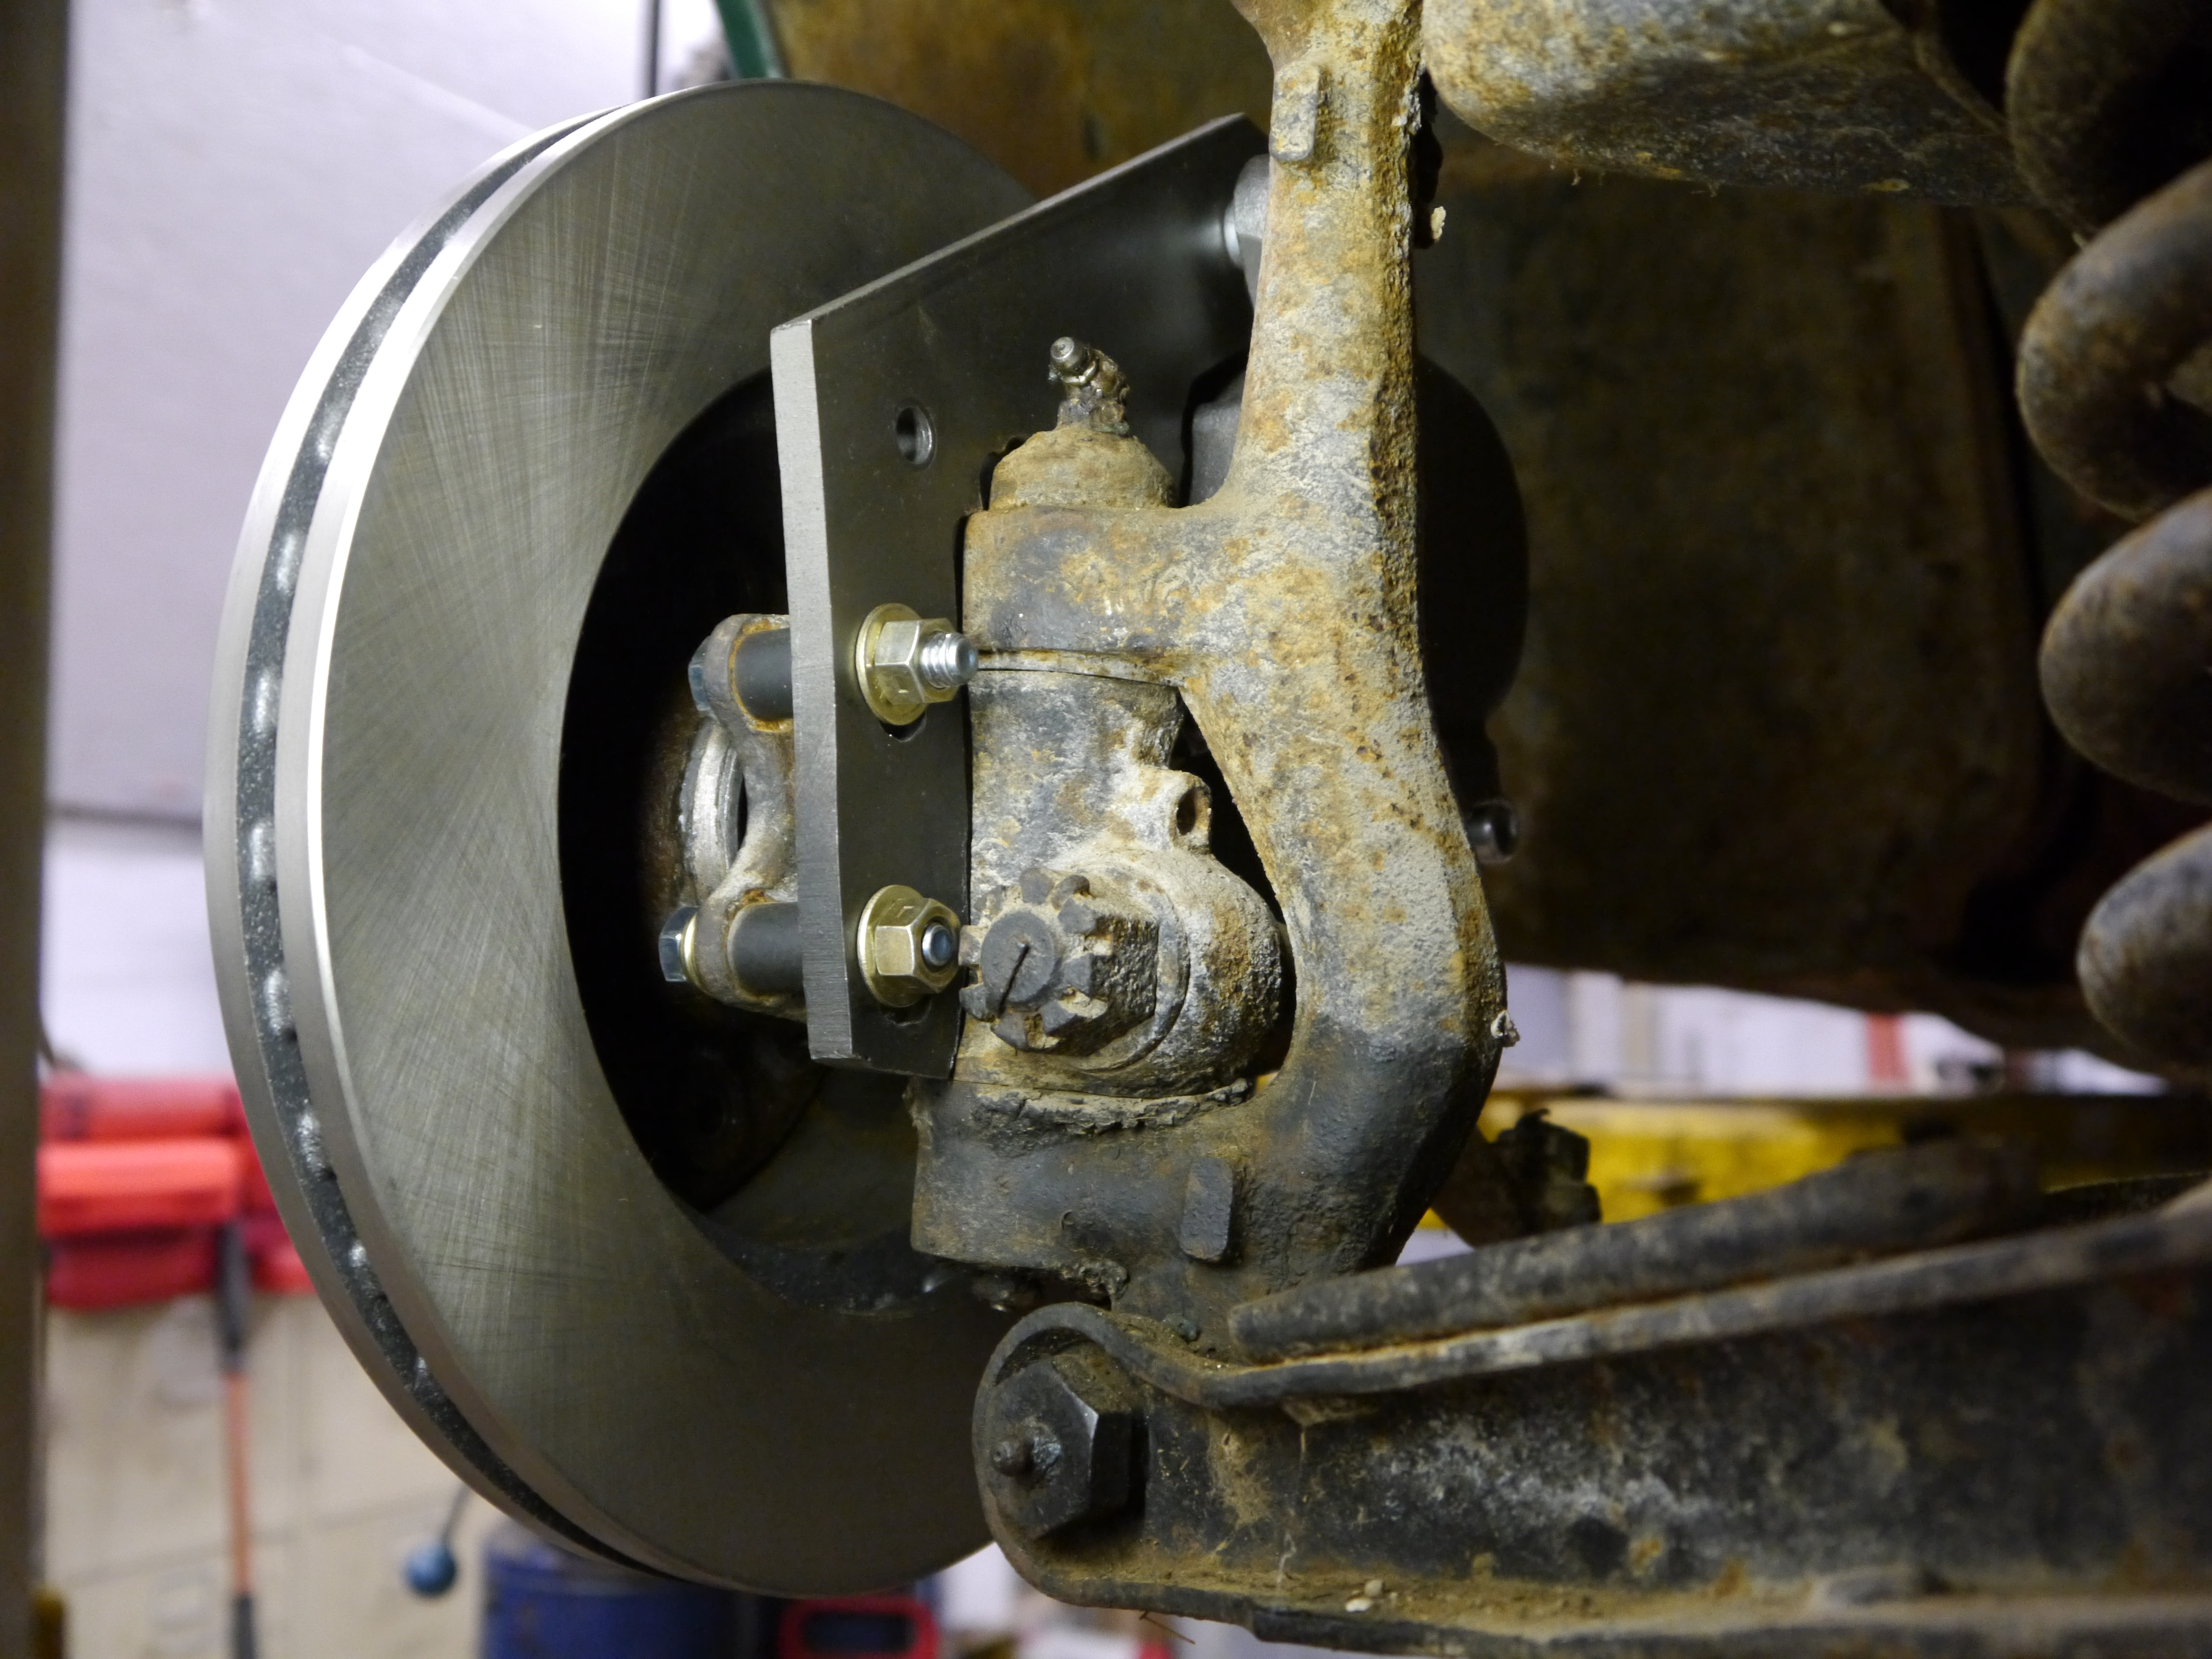
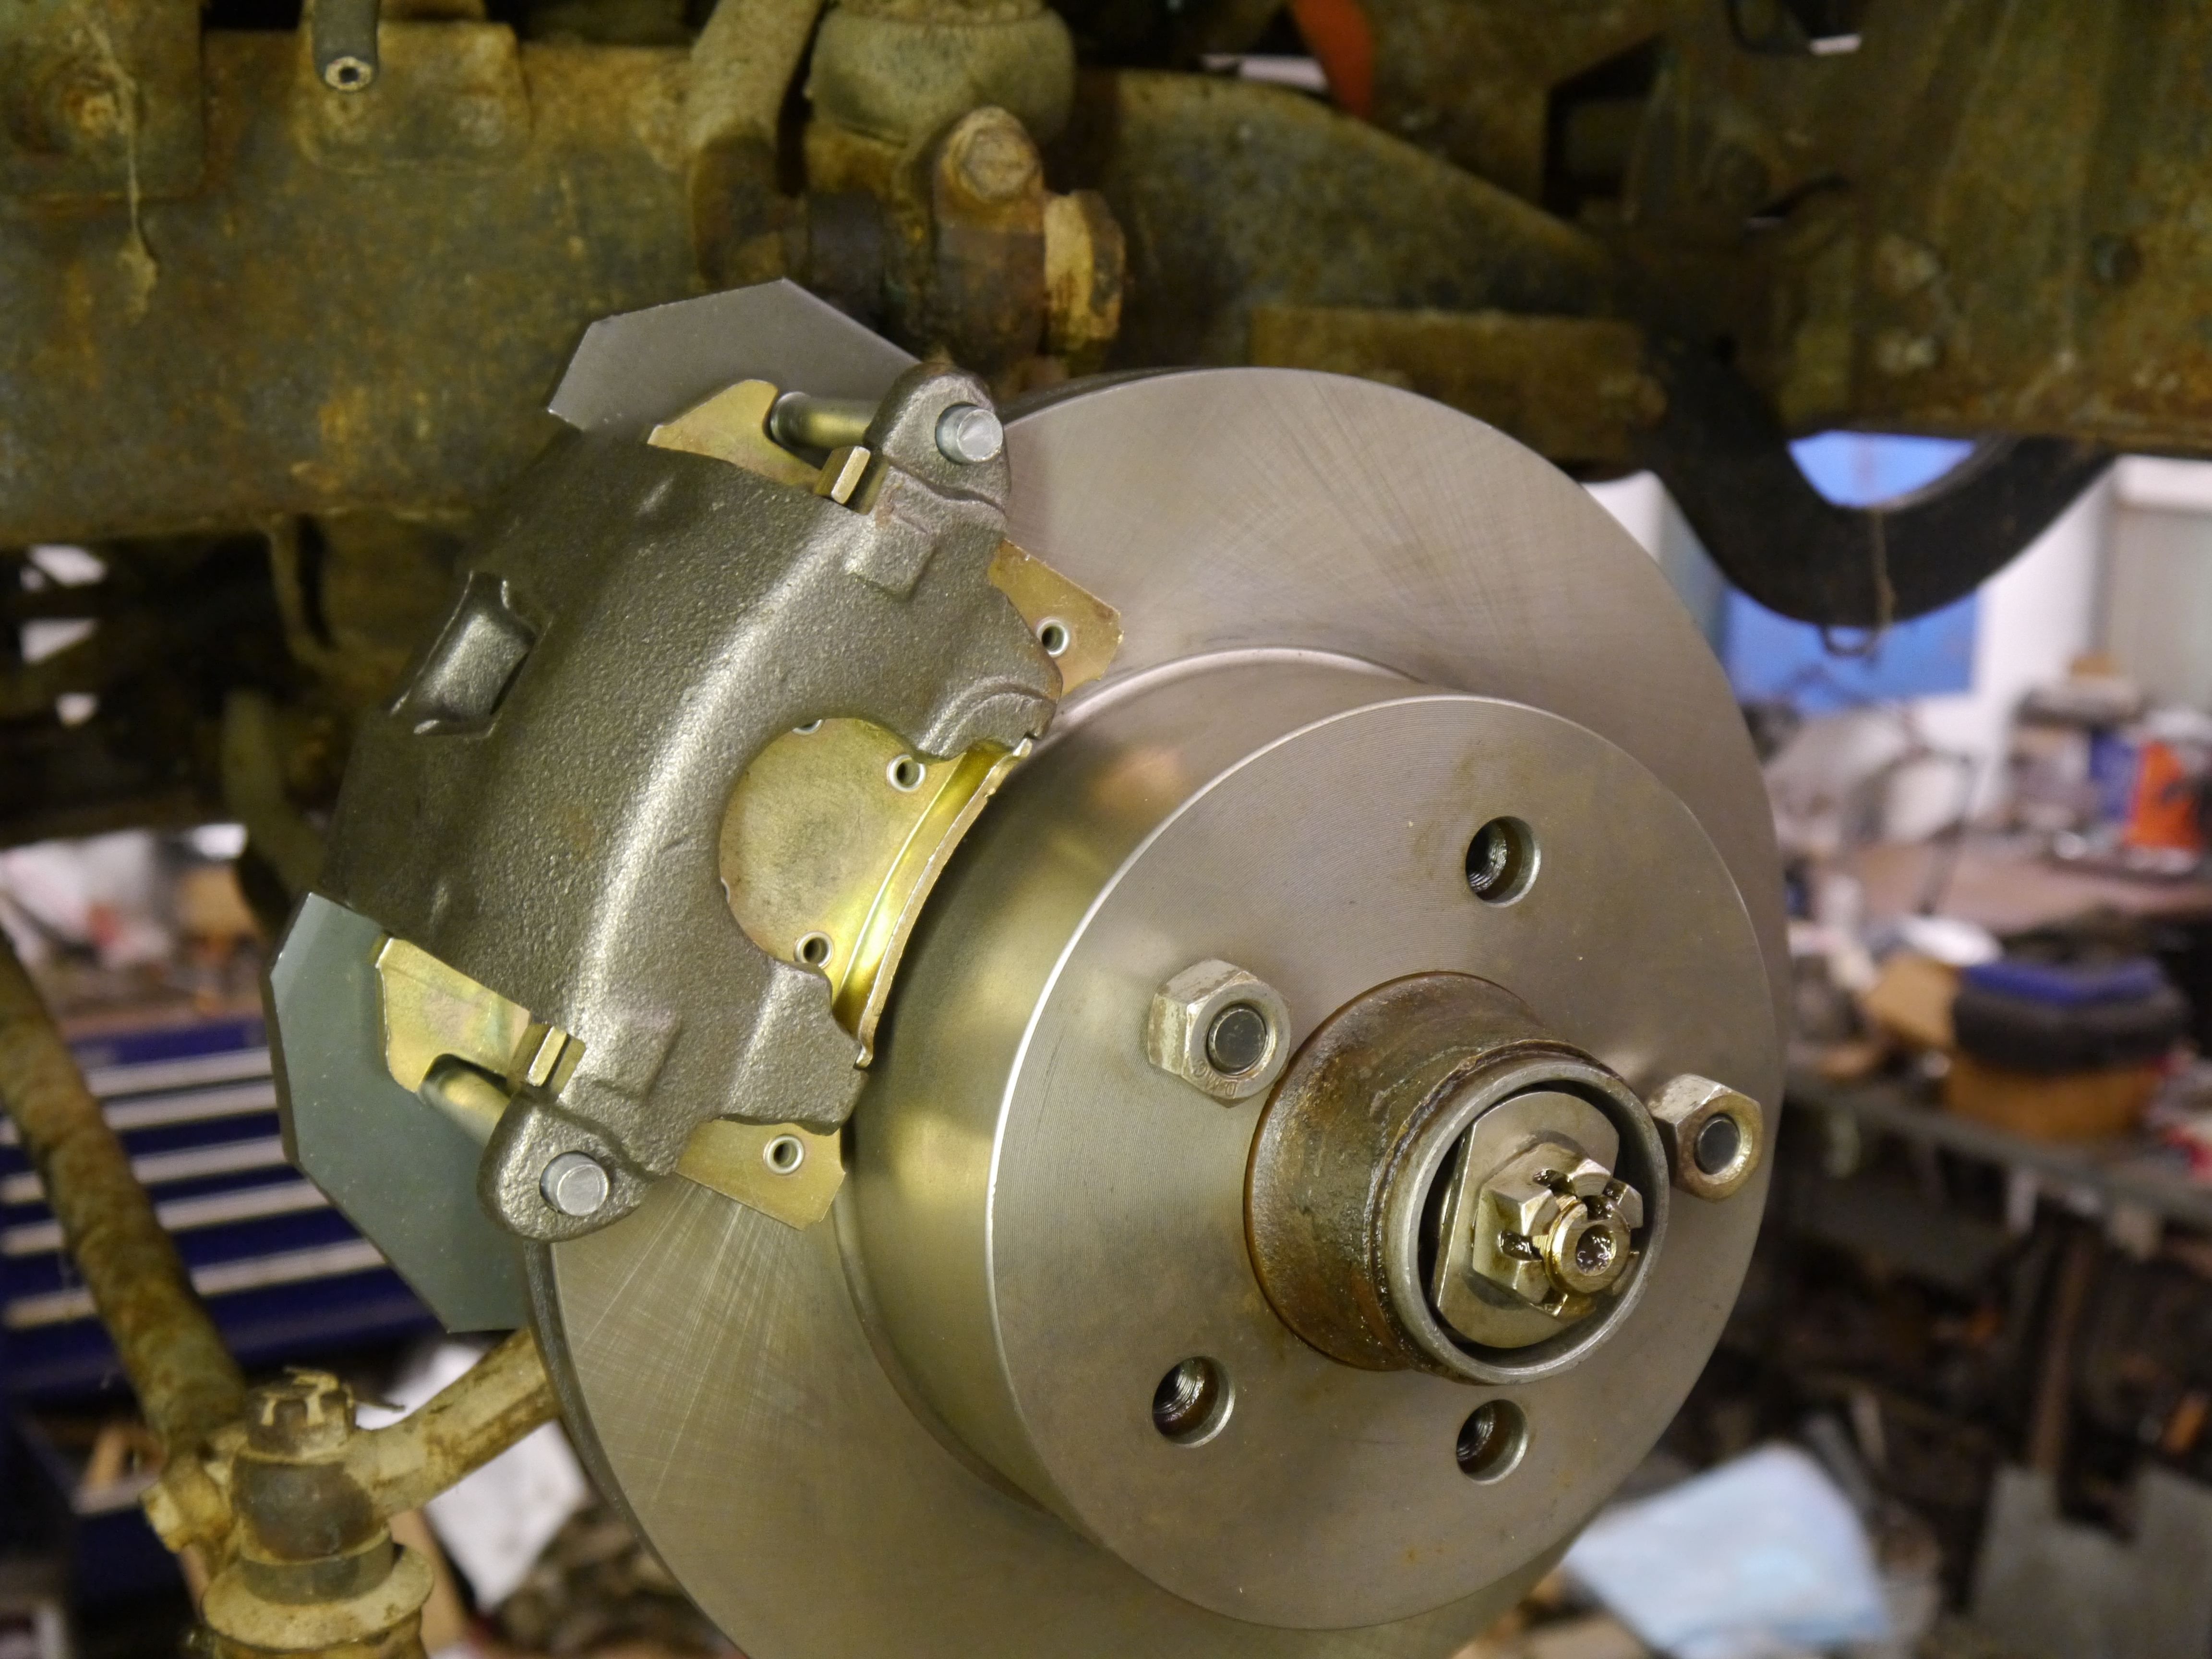
Here are pics of the brake process.
Pics of the sun cooked speedo and glove box/gauges
Pic of the 2 212's and trans that came with.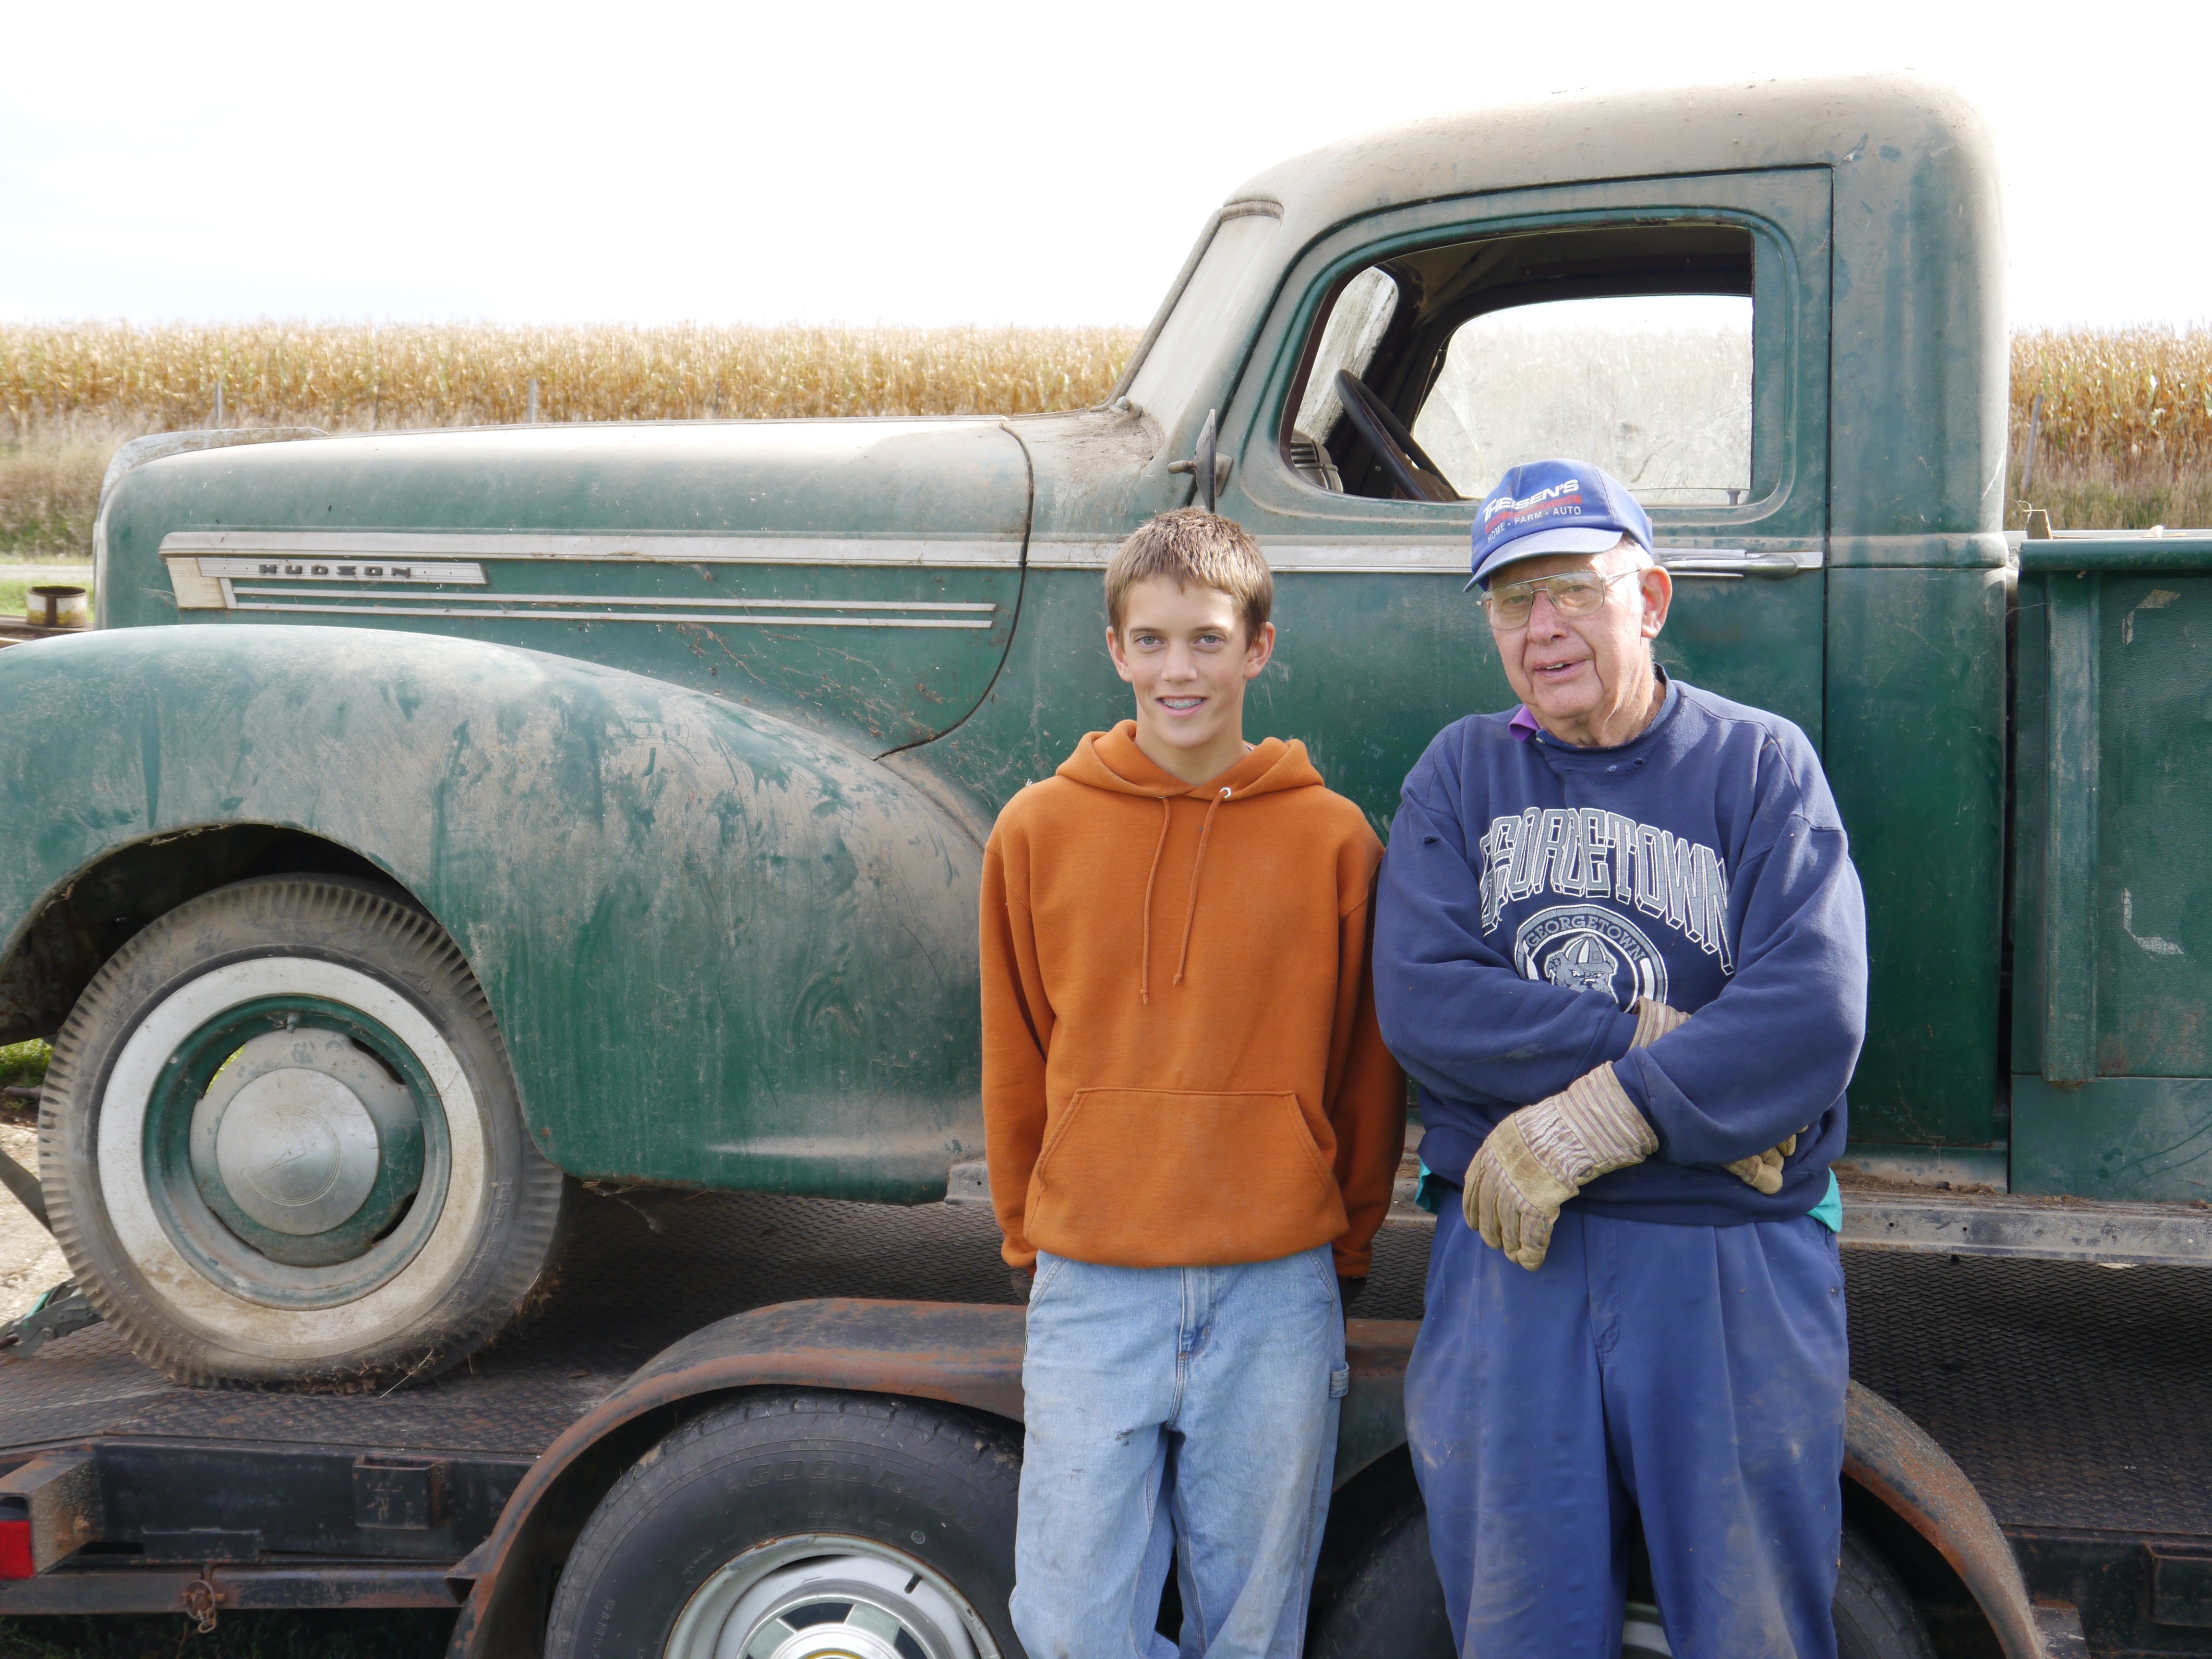
 2
2 -
Tom, when you get your first copy of the WTN, look in the classifieds and you'll find a lot of people selling miscellaneous used Hudson parts (as opposed to those with only NOS or reproduction parts). Make up a full list of what you need (with photos or illustrations where necessary) and e-mail everyone with that list. You may very well find most of your parts, in good used condition, at reasonable prices.0
-
The wiring under the dash is nice, so far. When we hookup stuff it will be with all new wiring. Just leave the old wiring as it is.
It will all be 12 volt.1 -
Always thought the '41's were the best looking of the Hudson pickups. Such a shame to see one get clobbered up0
-
Tom, you said "just leave the old wiring as it is". I assume you will be replacing any wiring whose insulation is disintegrating....right? You might also want to consider installing one of those battery kill switches, just in case. I always disconnect my battery whenever I park my Terraplane for any period of time. (Hate to see you lose that nice truck!) A fire extinguisher ain't a bad thing to carry along, too. (Forgive me if you already knew this. But since you may have worked only on newer cars in the past, I thought you might be unaware of the pitfalls of prehistoric wiring in these older cars.)
Regarding the 12-volt changeover, have you done this before. If not, some of our guys can probably fill you in on the various components which need to be changed (and those which don't).0 -
FYI
As mentioned DO Install a Kill Switch, regardless Antique or Modified restoration, However, to save opening the Hood everytime you park install the Kill Swith under a Fender, Running board, or Grille valance by simply running a Ground Cable from the Battery to the Switch then back to the Battery..... (Many Insurance Companies give a Discount for Kill Switch as a Theft deterent)...0 -
Thanks DocHubler, We appreciate your offer to try and find parts.
The boy is really digging working on this. He has helped me on projects in the past and knows they take time and patience. He is a member of 4H and I am sure will be in FFA when in high school. Good student too.
Last night we started the panels to have the "engine turned " look. Started fitting up a sway bar from a Chevelle. With some slight bending and a possible end shortening , it will fit fine to the factory front suspension.
The Chevy drive train will be done later this winter.
Ole Racer, I like your tip on the disconnect switch.
To clarify on the factory wiring. We won't use it. It will be left in place for future possible use. There is not that much anyway. We will simply install modern wiring to what we need.1 -
Tom,
I really like your Disc Brake Conversion and sure it will be copied going forward... At the rate you & your Son are going your Trk will be finished before Spring...More important though are the bonding memories he will cherish someday...
Keep in mind a different Rear with an Automatic Ratio....(Ford Rears have same bolt Pattern)...A good location to mount your new Fuse Box is above the dimmer switch below the E/Brake cable then run your rear wires in a loom up the the left front door post then inside above the door. There's a ledge up there the wires can rest on... Ive bought new Wire Kits on E bay pretty reasonable.
If need a headliner JC Whitney has them made to order that slide right onto your roof Bows. Rubber Seals are available from Wildrick Restorations in Indiana.
JC Whitney also has nice thick Insulation Rolls for firewall & floor. Ive also went to Lowes and bought the similar Shiny Insulation but its not as thick.... To adhere insulation I bought DAP Weldwood GEL Contact Cement. Its cheaper than 3M Spray Cans and holds terrific.0 -
Well,got a update for you guy's.
We got the front disc brake adaptors made. Ended with 1 plate with the correct holes and patterns cut into it. It uses 4 spacer to space the bracket toward middle of truck , for rotor clearance. Turned out nice. 11 inch front rotors on the original hubs. Pics later. It helps that I have a milling machine.
Also have the bracket made to adapt the Torino master cylinder to the factory M/C location. Even made 1 extra.
Tonight, we dropped the rear axle. Those rear shackles were stubborn! One of them broke a 1/2" Impact extension. It took heat, a 1000 ft lb impact and a sawzall (my favorite tool)for the one that broke it's nut off. Then extraction in pieces.
Now we need a pair of rear shackles. Where to get them. Can normal parts counter places supply them? If so, got a part #?
Also need the part # for the front hub seals.
Once the brakes are done, then we will start on the motor/ trans.
Also received a American Autowire kit. 20 circuits in a generic package setup. Plenty of wire to go everywhere and extra for later.
We got a aluminum panel started for the dash insert. We "engine turned the face in 3/4" swirls on the mill. That took awhile. Now have to mount the Jeep speedo and tach and make a edge surround.2 -
Tom,
Those Shackles come apart opposite what you think. Their some Hudson Shackles on E Bay right now.. Consider Looking on Ebay at regular Shackle Kits (cheaper) then machine a Bushing thru the frame rail... You dont really need a Grease fitting if heavy lube when assemble...0 -
Ordering them today at Orielly Auto parts. The new rear will be bolted in soon.1
-
We keep plugging away. Had one side of disc brakes fit, now the other side. Have the new dual master cylinder bolted up also with my adaptor. We heated a chevelle swaybar and rebent it to fit. The mount locations line up to the frame. The ends need cut shorted and welded back on. Then bolt to lower A frames.
Ordered new tierod seals, hub seals, rear leaf spring saddles for the Ford Explorer rear axle. Took 5 leafs out of spring stack. Can always put some back.
Started figuring out where is best to mount the disc brake rubber hose to frame. All the brake lines will be replaced. We also started mulling over how to mount a rear bumper on it. The frame does not go all the way to the rear. About 1 foot short.
Need to order the front shocks.
Need to take apart the steering box to clean out the 70 year old lube and replace the seals. Can you give any tips on how to remove it from the steering column?
The boy has not lost any interest and is eager to stay out in the shop later than his normal bedtime. He is tired though. This is great to teach him the use of all the tools and safe working habits. He is a good listener. I could do many things faster myself but it's worth taking the time.1 -
I am a club member.
The main reason for a rear bumper is protection.
There are no access for spare parts or parts cars that I know of near me.
Is the rear stabilizer a panhard bar? To keep the rear centered under the vehicle?0 -
My location. Dysart, Iowa
Our truck does have 1 die cast piece that is broken. Passenger side top piece, bolted to the hood. I call it the moustache.1 -
Try Mel Falk in Wilcox, Nebraska, he's in the new Hudson Essex Terraplane Club roster.
John0 -
Thanks for the leads!
Here is some pics of the progress.
Comparison of 8.8 rear 1993 Ford Explorer from a unit with a V6. 1" narrower and a offset driveshaft. Will weld new perches in the correct location.
Also pics of the disc brake bracket
Converted front hub to 1/2-20 lug bolts
Partially modified sway bar
1 -
FYI
Dont be concerned about offset axle tubes..Driveline will be smooth...Since Explorer's are all automatic. the ratio should be fine,,,,Dont over weld perches because could warp the housing..Consider installing 1" or 2" lowering blocks at this time to level rear slightly ..0 -
Got the rear mostly installed tonight. Easy job on a hoist and with a lifter for the rear. Perches were real cheap on ebay. 3" ones used on trailer axles , 11.00 delivered for the pair. Ground them out for the leaf spring angle and we were good. They are tacked in for now. Had to stretch the U bolts from 3" to 3.25 and still fit the stock shock mount. That worked good.
Soon, it will be back on it's tires and getting ready for the motor and trans.1 -
This website is hard to post on. I had a nice update typed in and it came back with "nothing in Body" or something like that.
Well the short story is, we are working on it again and hope to be driving it this month.
0 -
I'm sorry you encountered problems with the forum, Tom. (We inherited this thing....we didn't invent it, LOL!)
Anyway, here is a tip regarding that "nothing in Body" message: http://openforum.hetclub.org/discussion/165430/wysiwyg-issue-body-is-required-#Item_1
A little late for you now, but maybe might help next time you get that message. And, any time you have a question about how to do anything on the forum, just consult the FORUM--INSTRUCTIONS & TIPS category at right.
0 -
Tom, if I understand correctly that you have lowered the rear about 3" you might want to recheck rear shock compressed length, it can't hurt to check. Just unbolt bottom shock, push up, measure distance between shock and shock mount. Measurement should be greater than measurement between axle housing and rubber bumper.
When I bought my Hornet the rear was bottoming out on bumps. Turned out the rear shocks were bottoming out with still 1 1/2" space between axle housing and rubber bumper. I installed shorter shocks to solve problem.
Lee O'Dell0 -
Thanks guy's.
We are really making progress with a FULL head of steam. The old Ford 220 V8 was pulled and we installed a 250 Chevy inline 6 with a 700R4.
Getting the driveshaft made from a aluminum unit out of a 89 Ford van
Alum radiator ordered to mount in front of cross bracing
Need to order front shocks, which ones to use?
1 -
Sending the 16" rims out to have the centers remounted in wider rings/ hoops. We want to run the Hudson hubcaps.
Ordering up some DB radial wide white walls too.
1 -
What shocks to use on the front?
0 -
fyi
Gabriel # 82026, but Im not sure if this # is for the later Stepdown Hudson's, but will be close if your shock travel measure 7 3/4 - 12"..
Additionally. I have an Interchange Sheet from my friend Paul Schuster in Pittsburgh, who discovered '41 Front Shocks are the same as a '61 Corvette and the Rear are the same as a '58 Caddy....
0 -
always been 61 corvette front shocks and 1990 suburban 1500 2wd rear shocks as far as I have been using. got those shocks on my 41 pickup.0
-
"installed a 250 Chevy inline 6 with a 700R4"
What manifold are you running?
I did a dual 1bbl TBI setup for a guy with a 57 chevy with 261 700r4.
Worked out nice.
The ecm also controls the TCC lock up.
1
This discussion has been closed.
Categories
- 37K All Categories
- 116 Hudson 1916 - 1929
- 21 Upcoming Events
- 96 Essex Super 6
- 28.6K HUDSON
- 576 "How To" - Skills, mechanical and other wise
- 995 Street Rods
- 151 American Motors
- 181 The Flathead Forum
- 49 Manuals, etc,.
- 78 Hudson 8
- 44 FORUM - Instructions and Tips on using the forum
- 2.8K CLASSIFIEDS
- 609 Vehicles
- 2.2K Parts & Pieces
- 78 Literature & Memorabilia
- Hudson 1916 - 1929 Yahoo Groups Archived Photos


