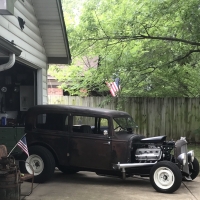
51 Hornet Project. With pictures.
Comments
-
-
-
Awesome! The color picture made me laugh. The first Hudson I restored was a 51 Hornet that I got when I was 15. I spent countless hours/years prepping it for paint. I finished about 12 years later and took it for the first drive.....it was really hot so I opened the vent. As soon as I got out of the car, I realized I never painted the screen. It was still blue, and the car was now red. Doh! Good job doing that first

0 -
ski4life65, that is a good story and funny. I got a good laugh out of it too.0
-
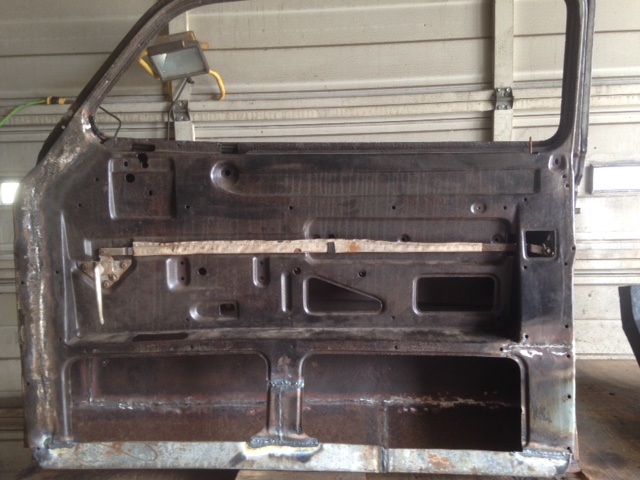
Finally got the passenger side door welded, also got the rear fender welded. Just plodding along slow and steady.
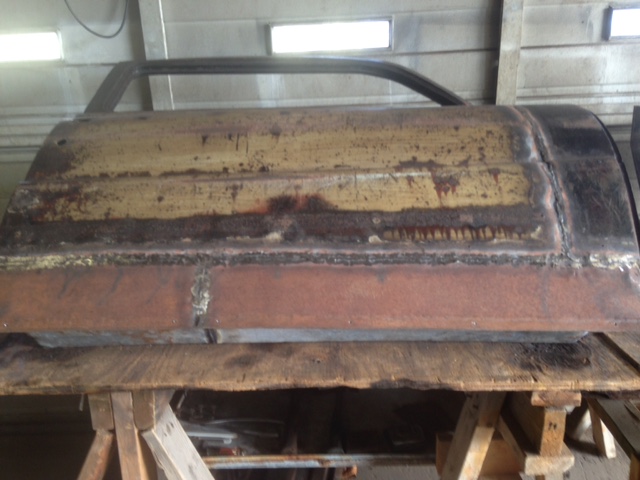
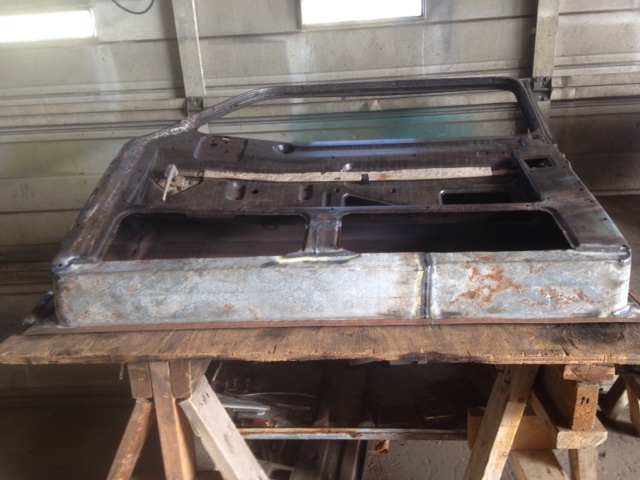
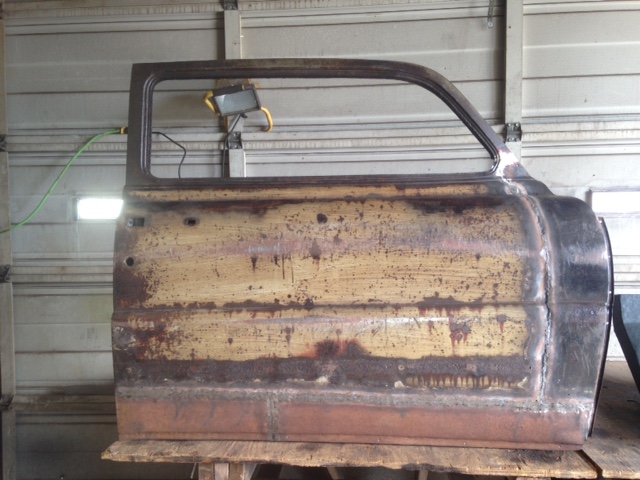
 0
0 -
Looking good! Slow but steady progress0
-
Good job, triman62! Keep it up.0
-
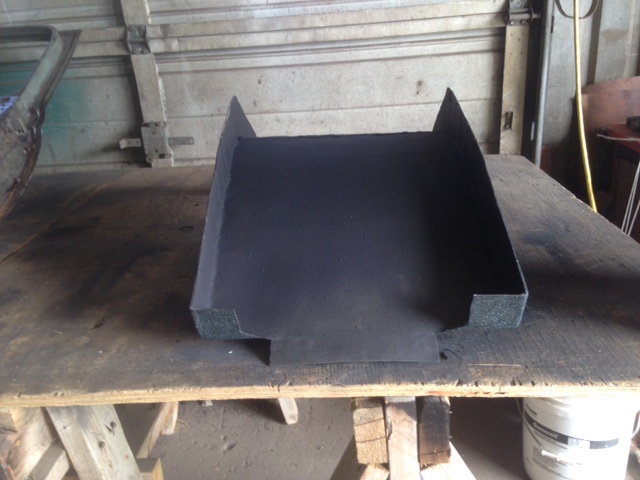
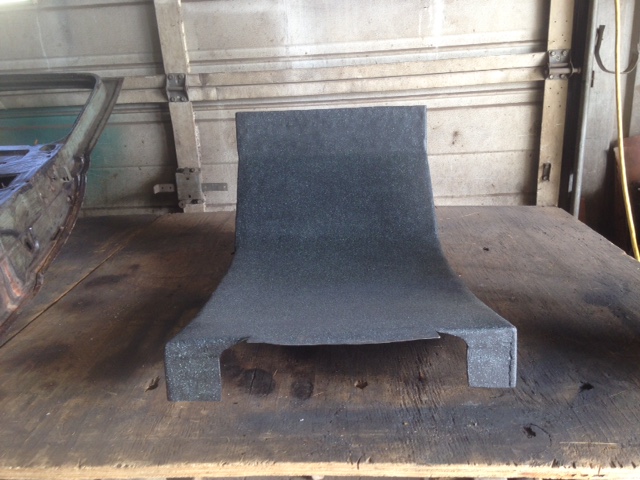
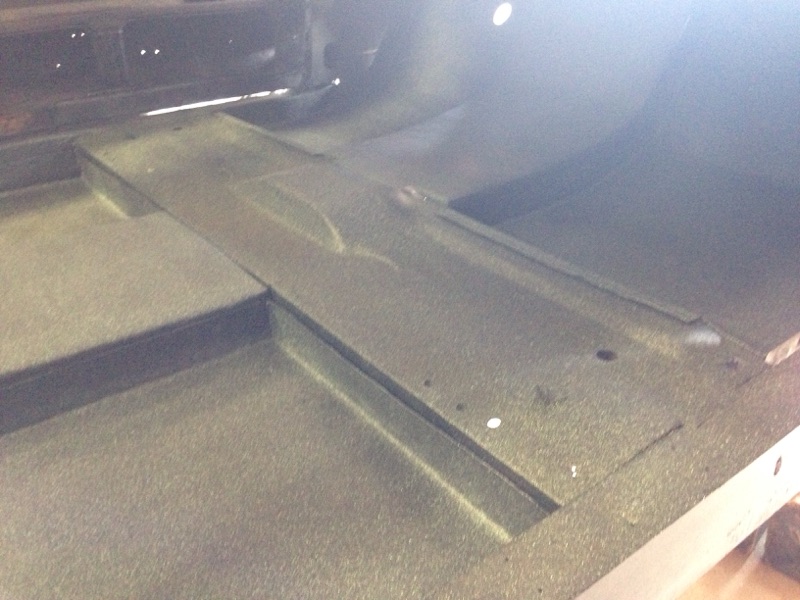
Where to start on a project like this. I started at the front frame rails and moved rearward from there. The welded passenger side door and fender will now allow me to weld in the B pillars. I will be Painting my way back as I go. We had some unusually warm temperatures here for this time of year. I was able to do a little work painting on the floor pans. Undercoating on the outside, and spatter paint on the inside.
 0
0 -
-
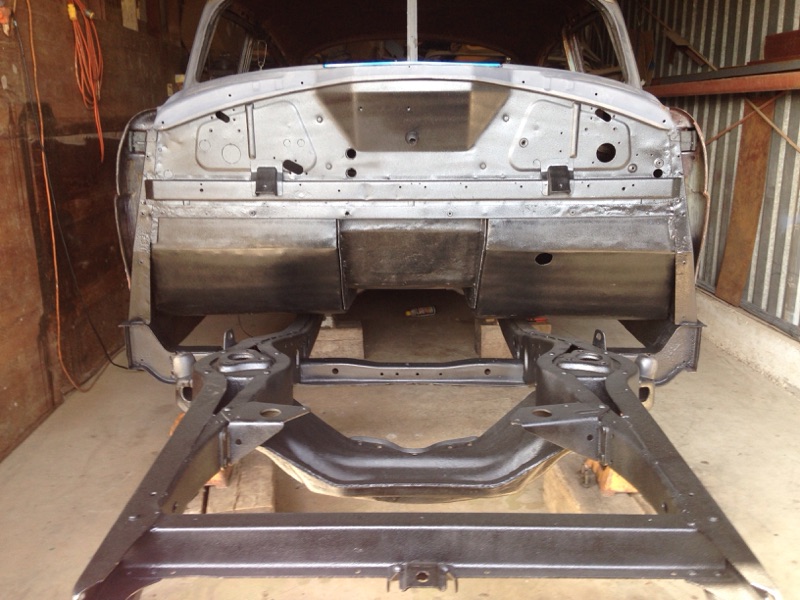
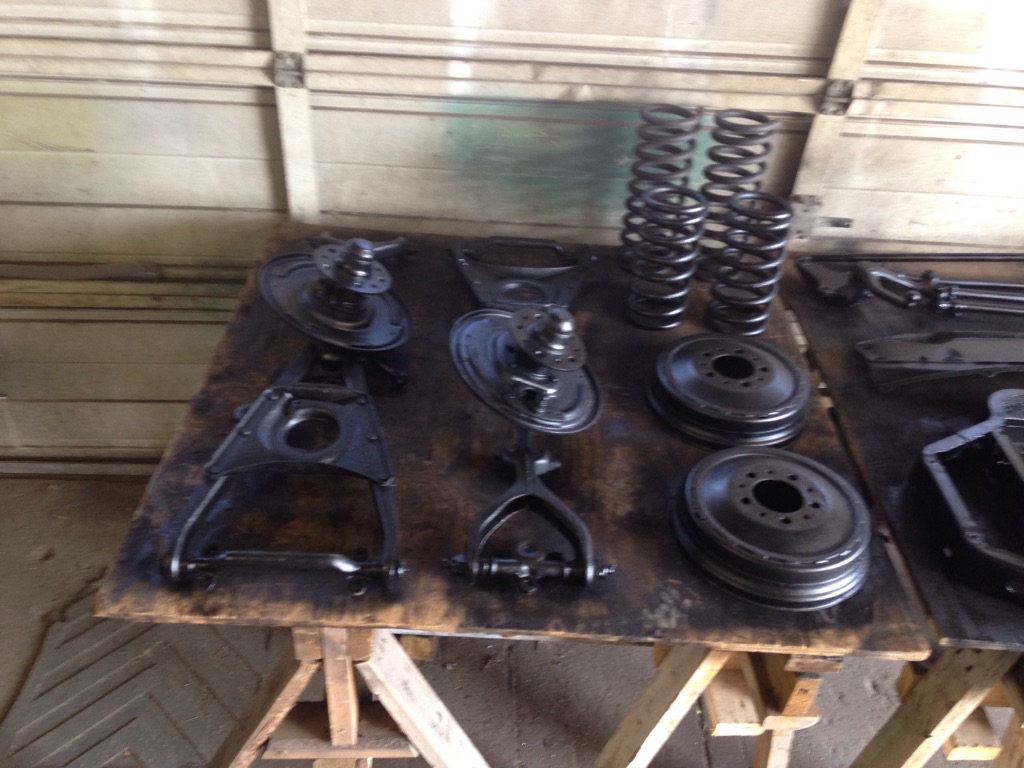
Working my way back on this project, sometimes requires starting over at the front. I left the front sub frame in undercoating but it weathered out to a mottled gray. I disassembled the suspension to repaint it. Looks a lot better with a top coat on it.
 0
0 -
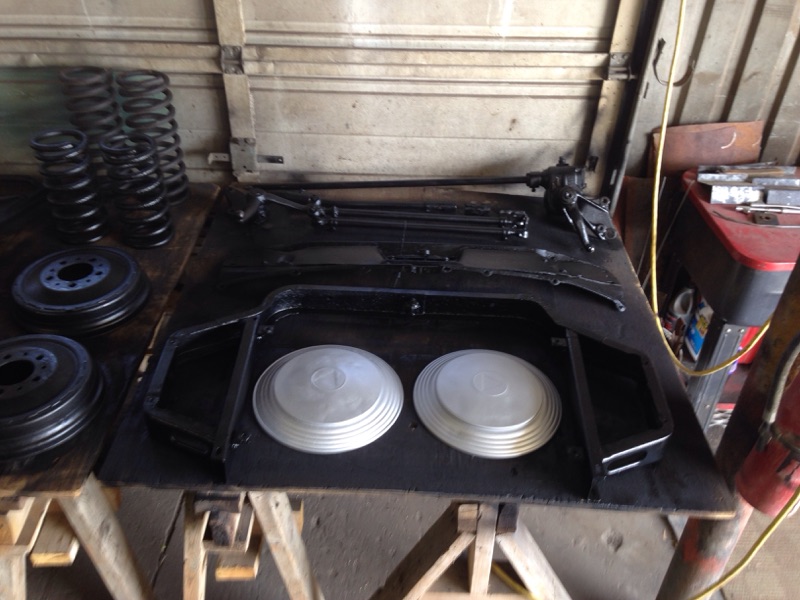
Catching up a few other details in the process. Progress seems to require about a month to complete a few goals, but it sure is fun getting there. It actually takes me that long to budget about 40 hours of work.
 0
0 -
I love the pictures!
Wish I had your talent...or at least the memory required to put it all back together...:)
I'm enjoying watching your progress, please keep the pictures and explanations coming
Rob
0 -
Triman,
I really think you are doing a tremendous Job saving that Hudson from its grave...Ive pulled a few Hudson's out of the sunken earth then stripped the drive train, glass, and Stainless, then let it go as most of us would do... My hats off to your talent & tenacity with your task.... Dont be concerned about slow progress since your pictures rshow your rebuilding practically everything, which takes time...
0 -
Thanks for all the kind words of encouragement, they really help me to stay with the project. All comments, questions, suggestions, are always welcome. I am determined to drive it someday to some cruise nights and car shows. I have been fortunate to have many builders, mechanics, and mentors to teach me over the years.0
-
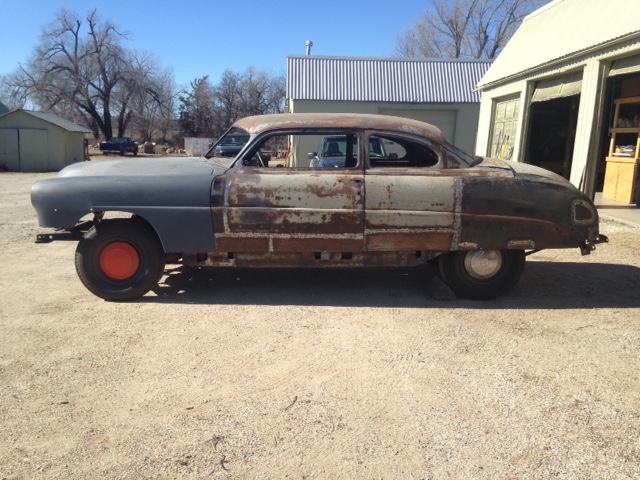
Before and after pictures of car and lowering efforts.
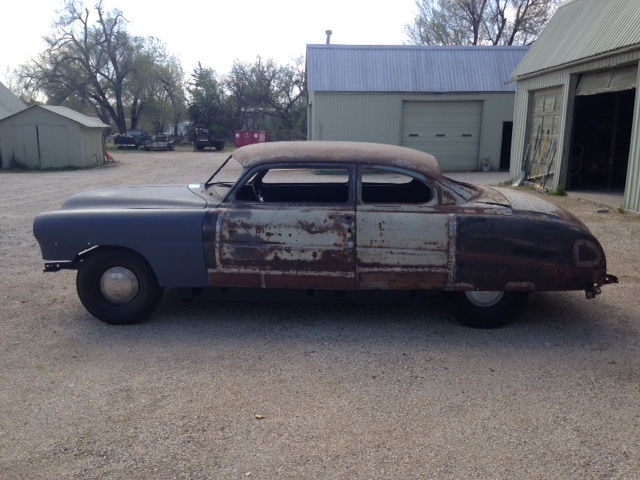
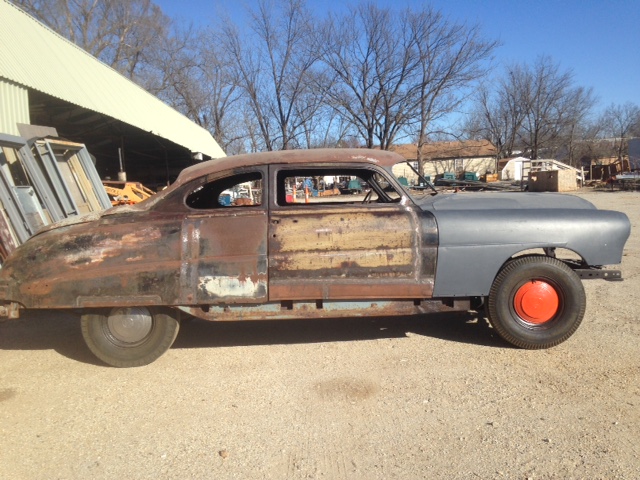
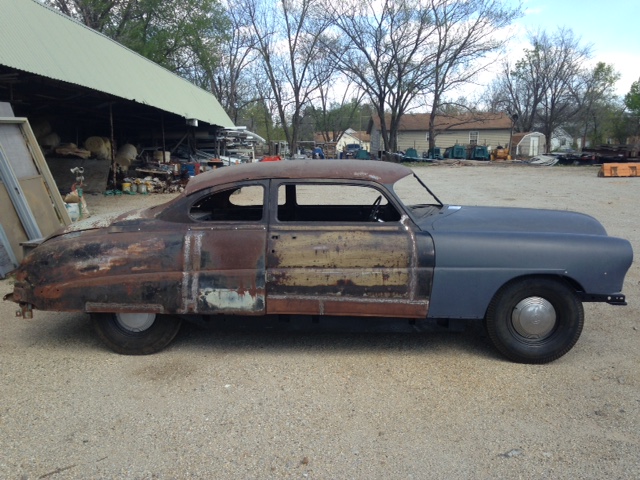 0
0 -
Isn't it premature to lower the front without the engine in place?
It looks better lowered!
Rob
0 -
Yes, that could come back to haunt me when I put the engine in. The springs pushed through the rusted lower control arms and sat in the dirt for years. They were deeply pitted on the last two coils, so I cut them off for a trial fit. They made assembly a lot easier and took the pressure off the upper control arm rubber bumper. I can go back to the stock springs later if I need to.0
-
Been meaning to reply to this but can't on my samsung galaxy tablet for some reason. Now on the PC.
Triman62, what a job your doing, really good work from what I can see. Just shows how it can be done if you really want to. Probably not economically justifiable but who cares! I have one in the works that will need much of the same treatment.
0 -
Kdancy, Thanks for comment, I should probably admit that the pictures make the work I am doing look a lot better than it actually is, I am having a lot of fun working on the Hornet, and one day soon a lot of fun driving it. Good luck with your upcoming project.0
-
I double what Ken said. Great work and will pay off when you get to drive it down the road. I've been busting my knuckles on a Hornet project all winter with engine suspension out etc. Is a slow manual process at best but the results are worth it in my opinion. Sometimes you have to step away from it for a few days do some research and then hit it again. Happy motoring. Doug
0 -
I really appreciate all the comments, they help to keep me going. All comments, questions, and suggestions are always welcome.0
-
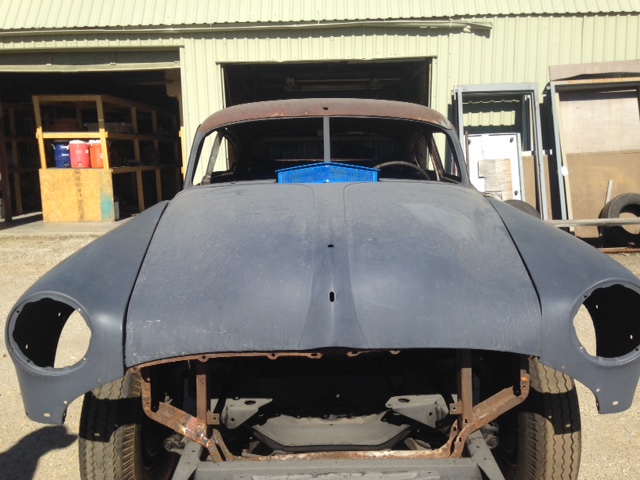
Doors and fenders are ready to put back on, so I thought I would paint the jams first. It was rewarding to see a little more color going on the project.
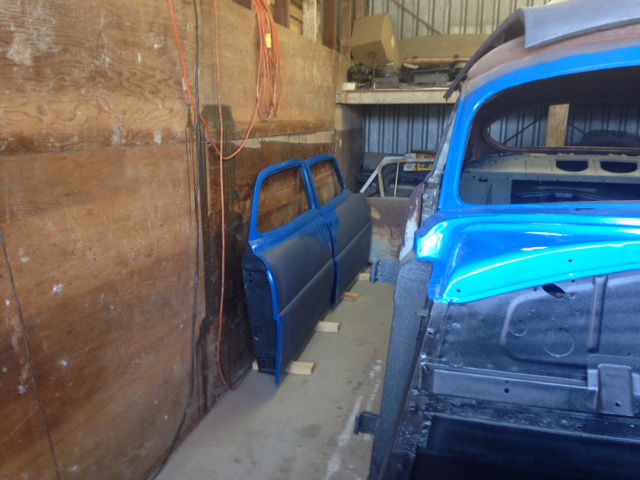
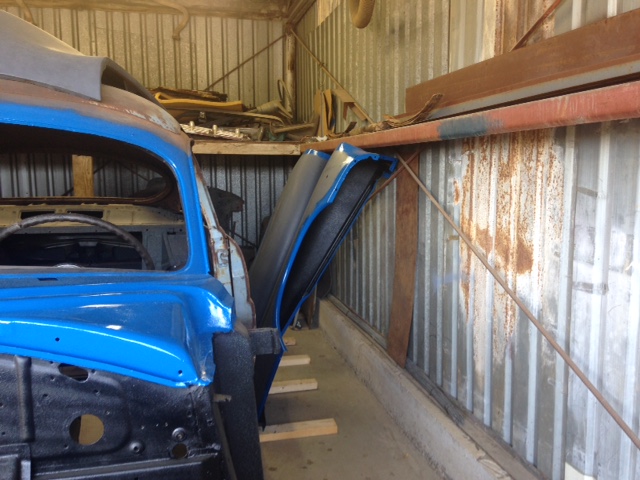
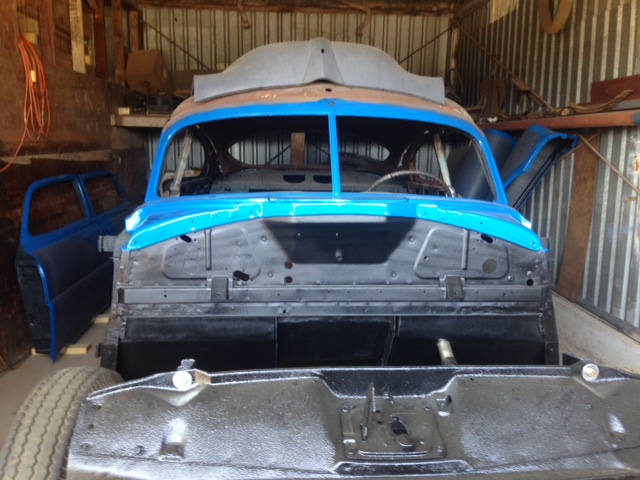 0
0 -
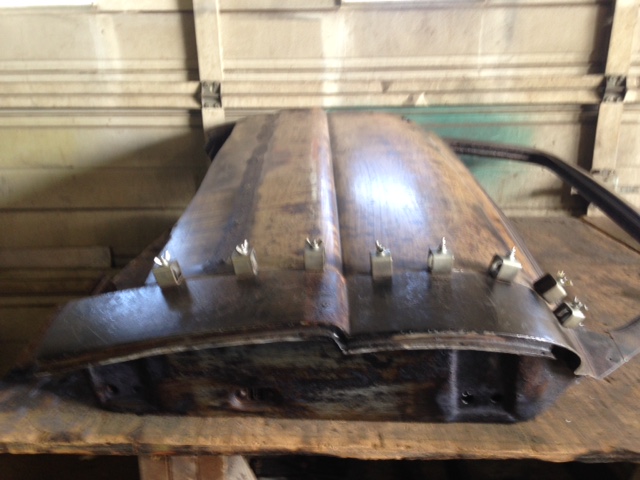
Working on the hood again. I am really motivated to paint the jams on it and put the front clip back together. Got some more parts ready for paint, and finishing the hood inner structure.
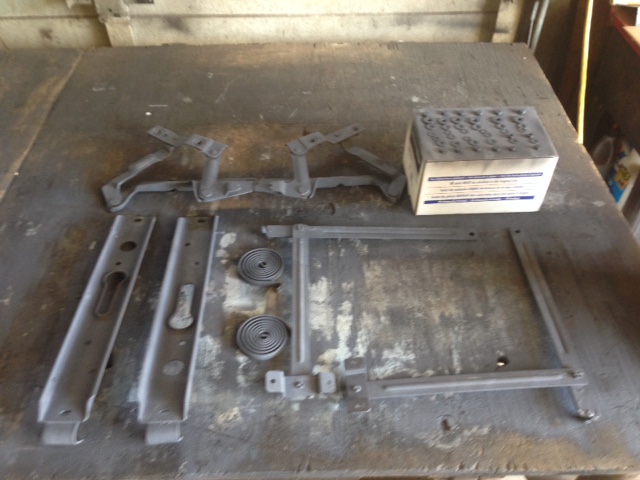
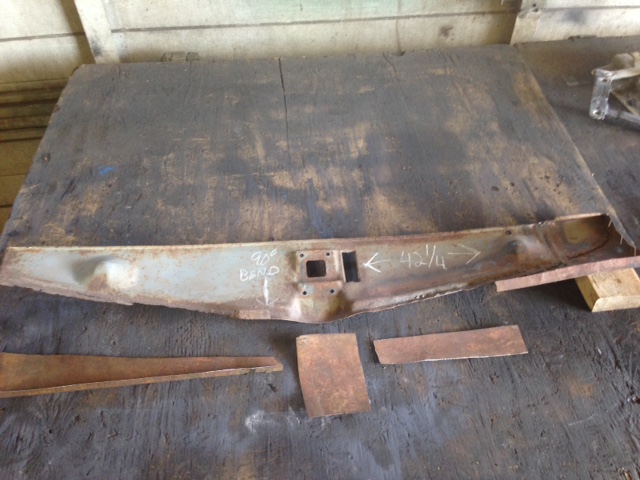 0
0 -
Moving right along!0
-
Looking good and , of course, better each time we see it.Great effort0
-
Put a little more color on today. I will be starting on the B pillars in the morning.
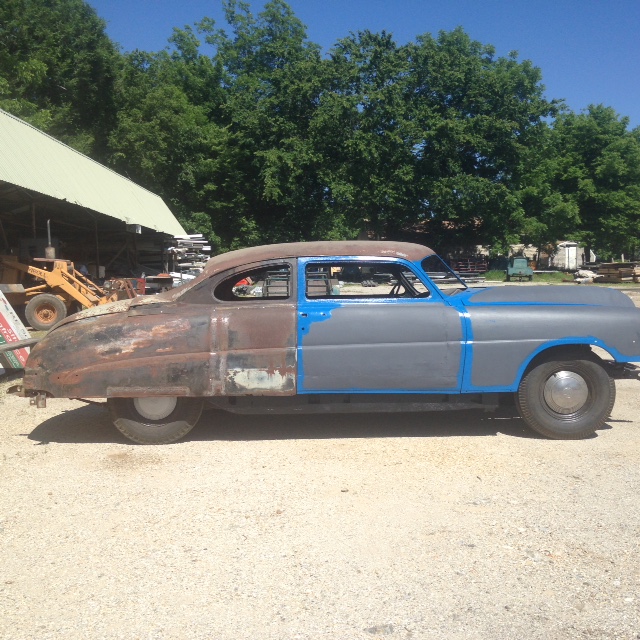
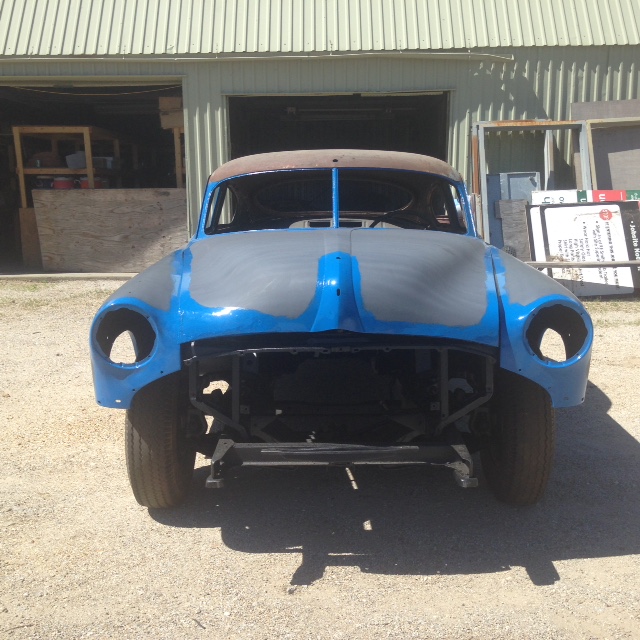
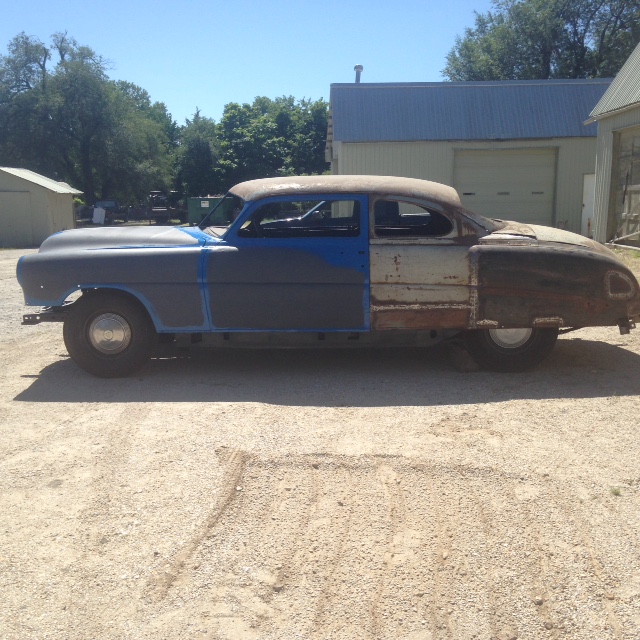 0
0 -
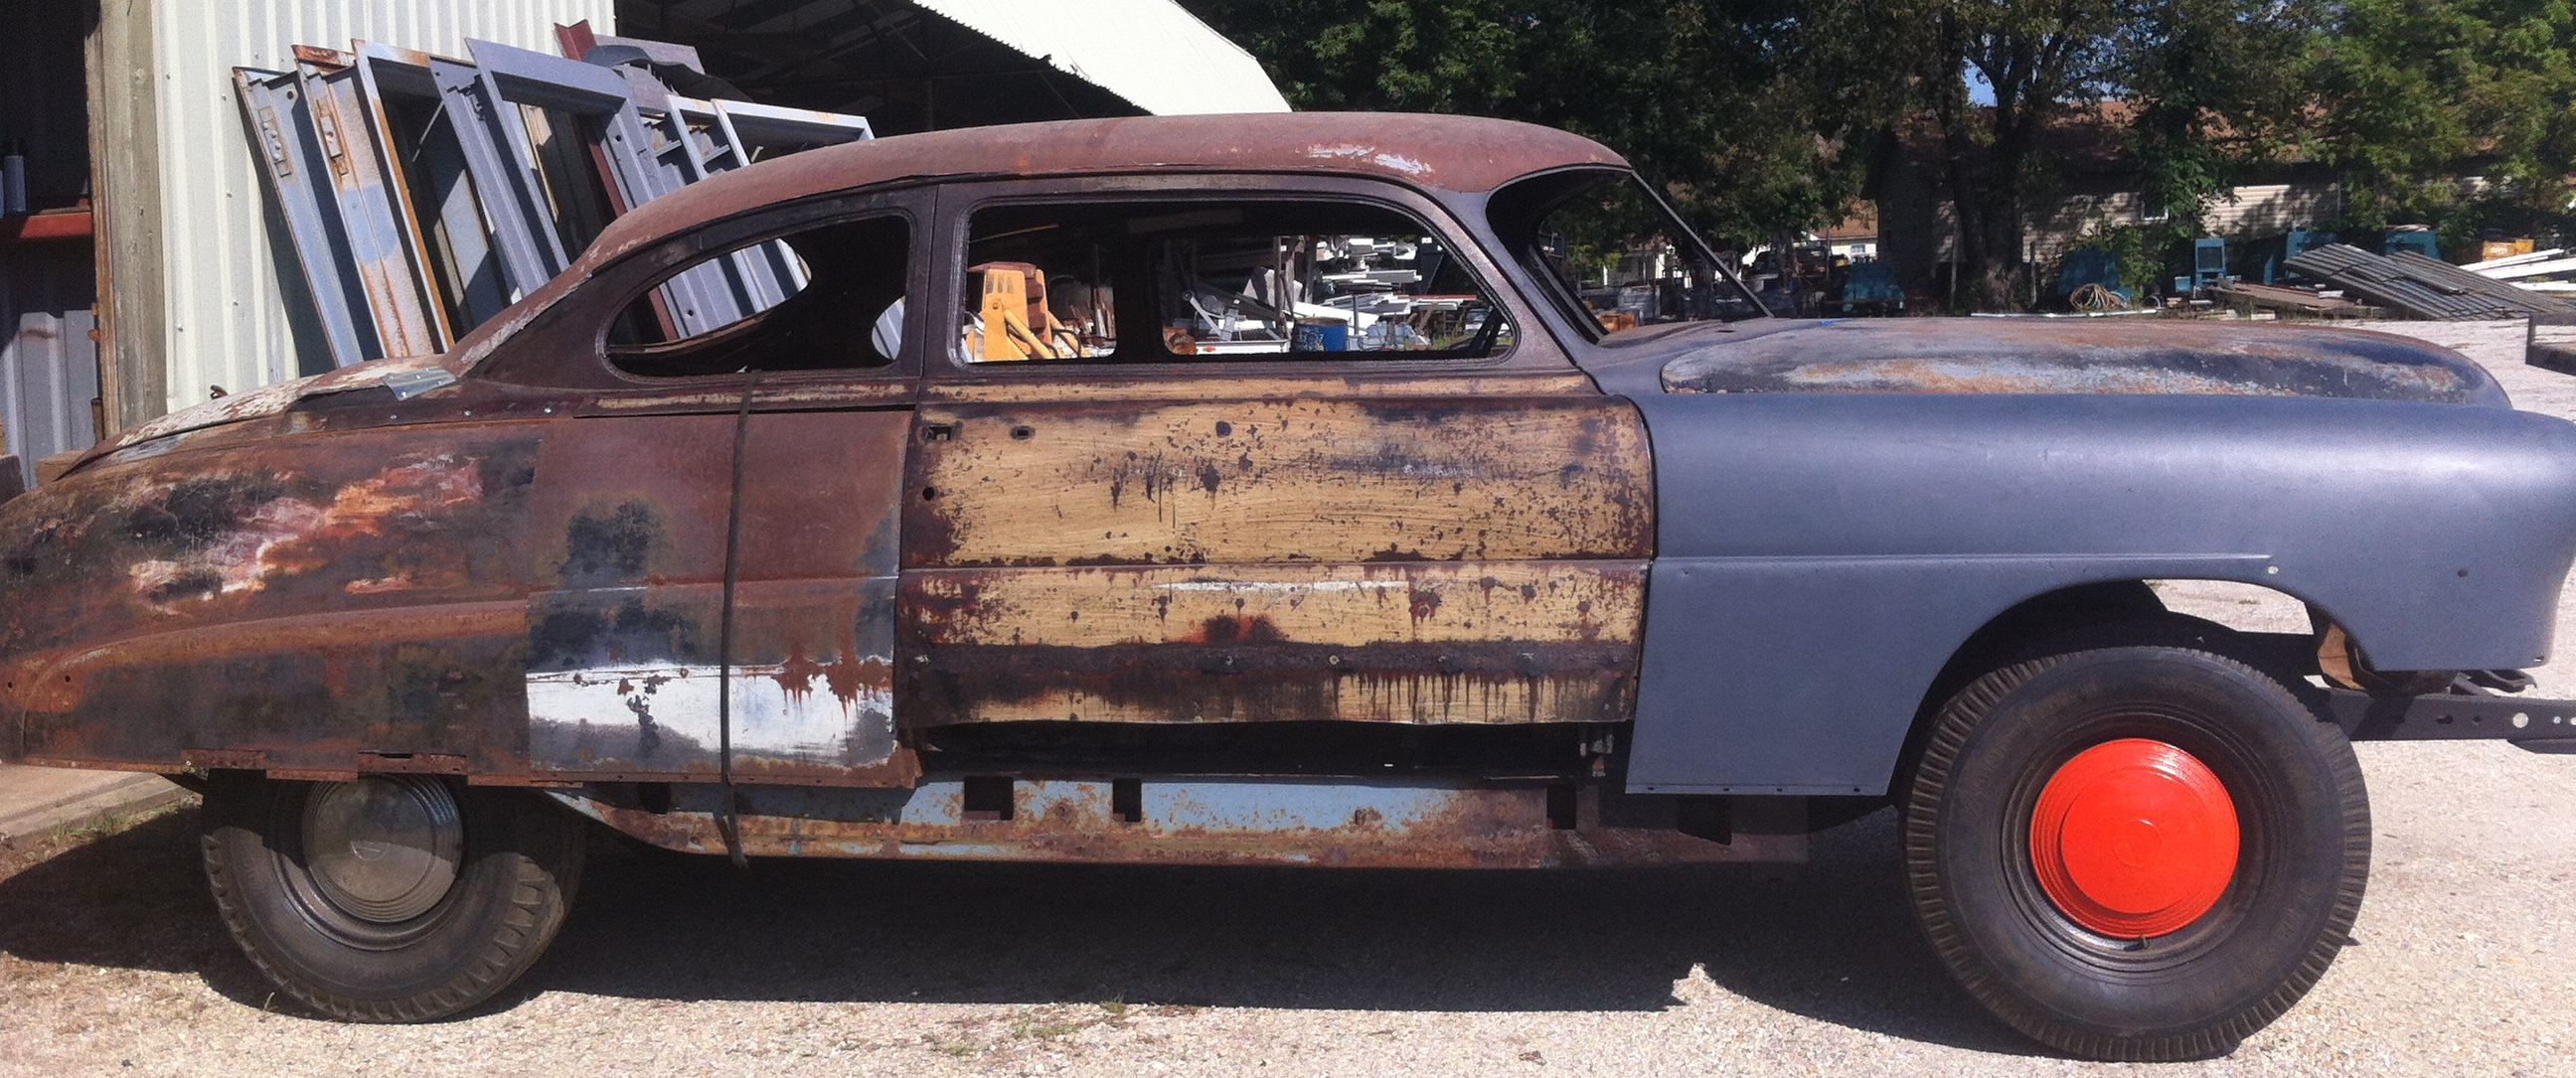
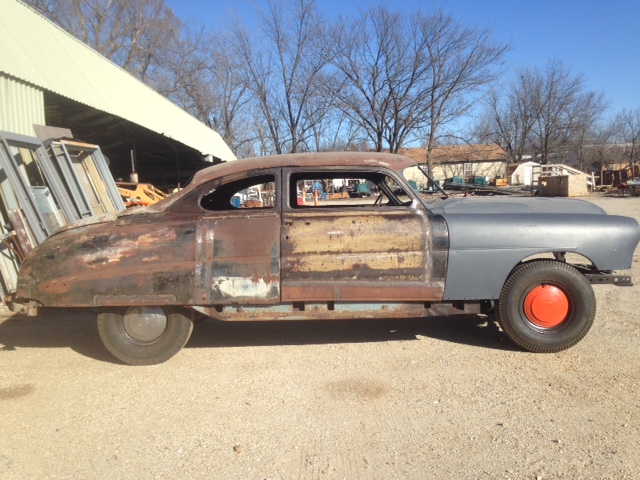
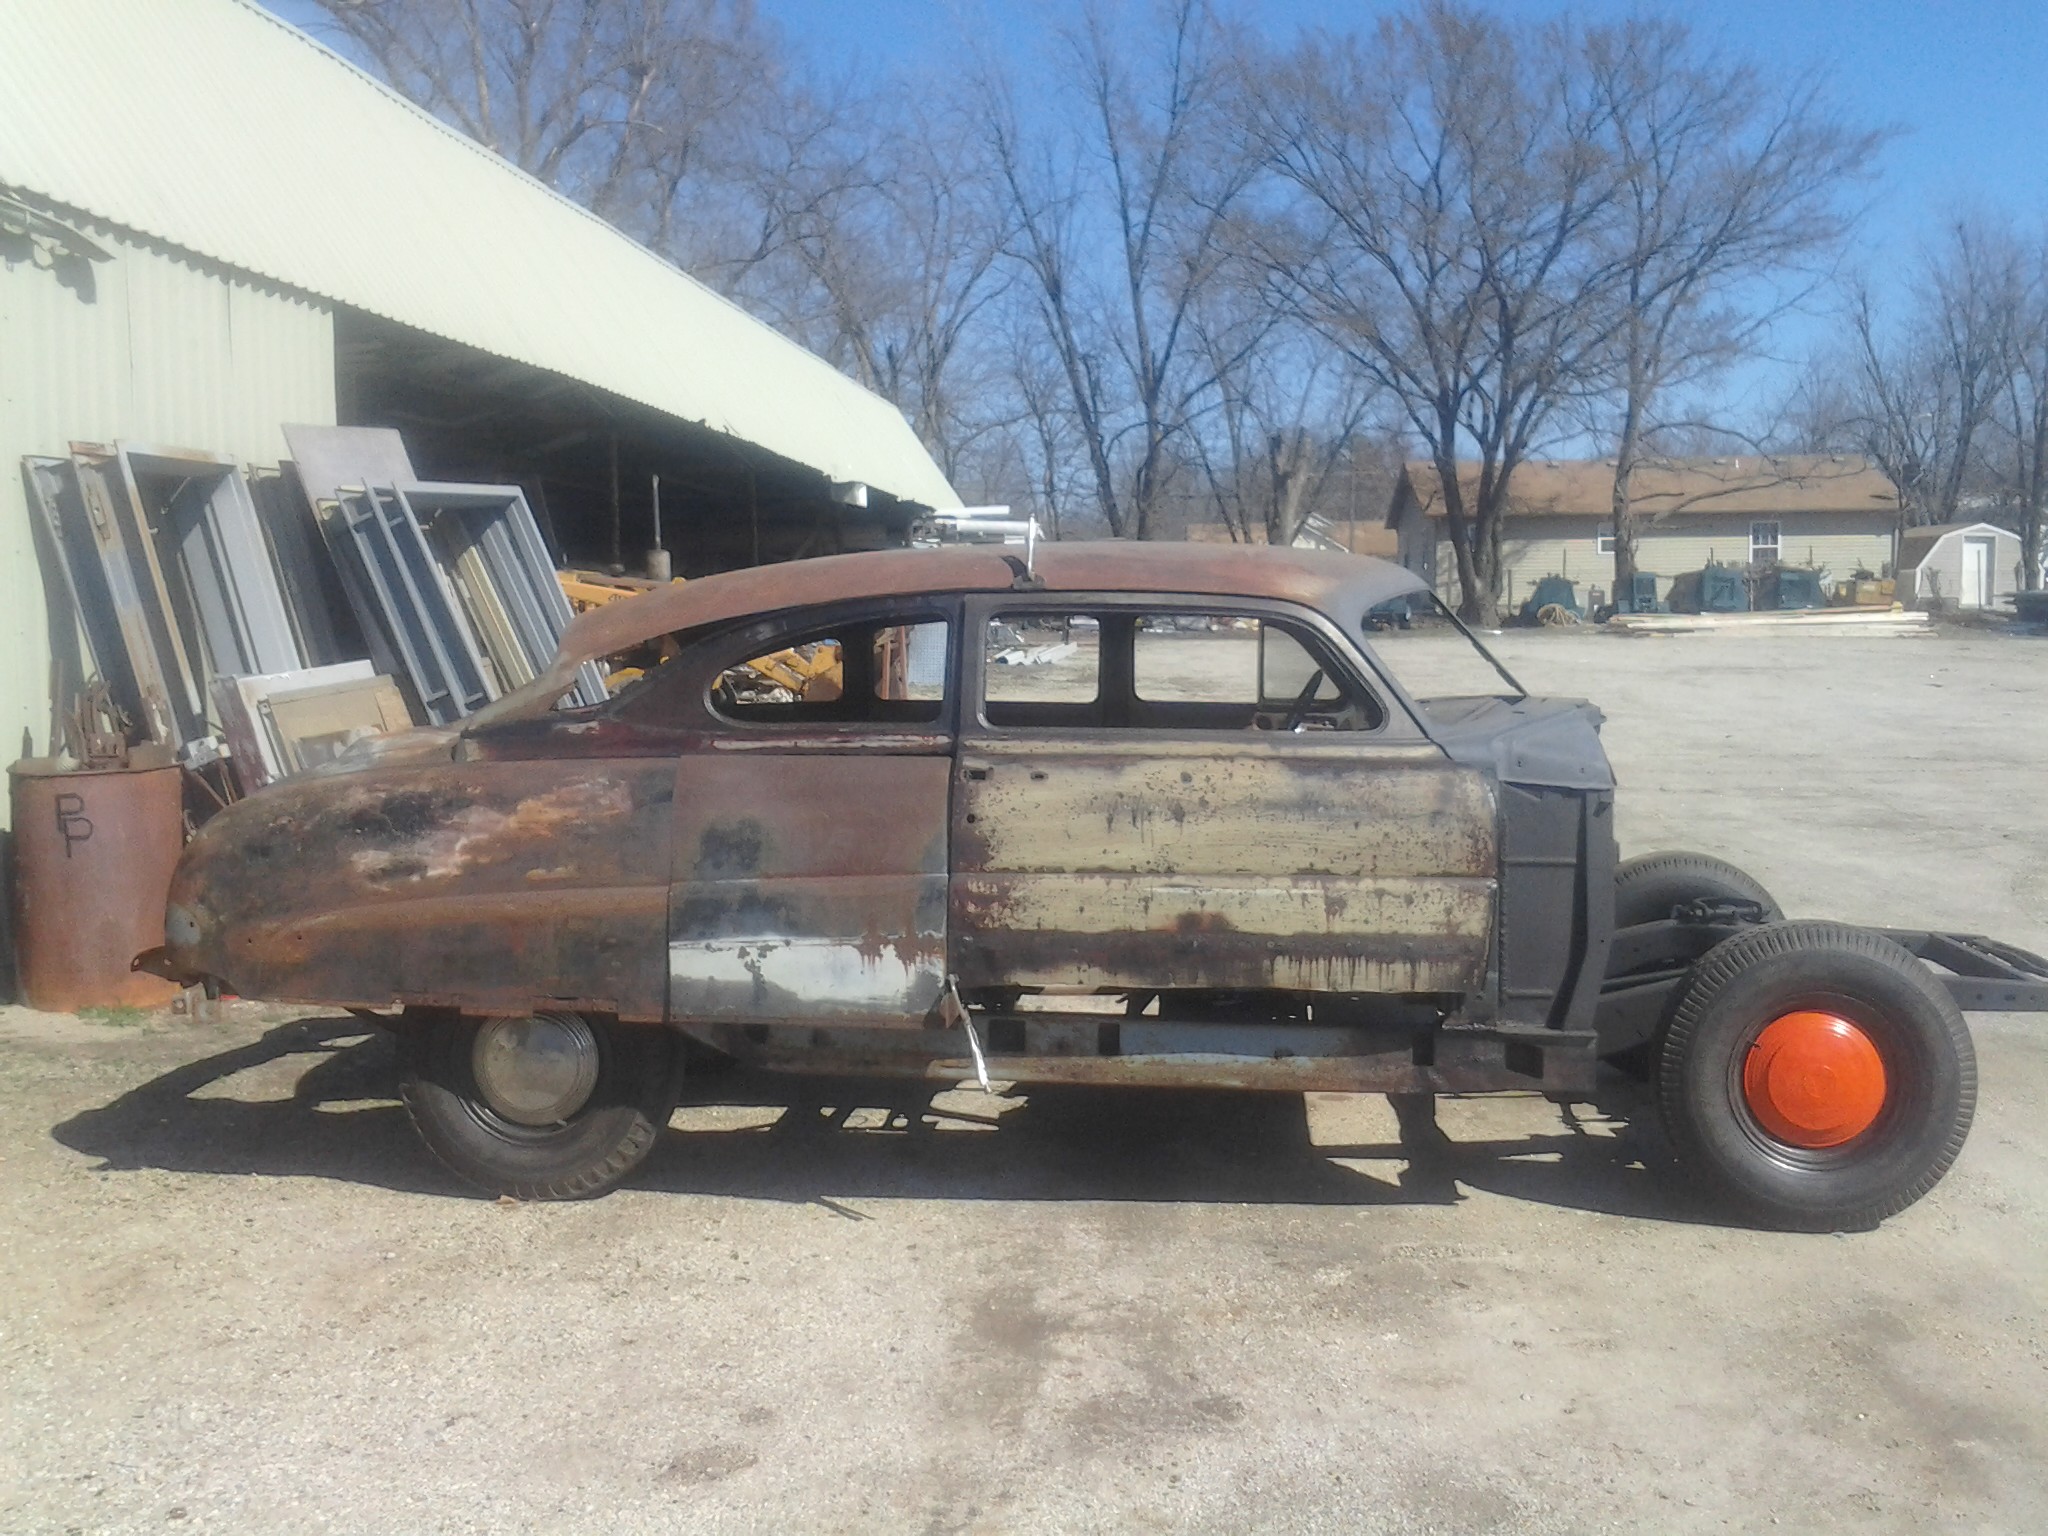
Found some pictures from earlier in the build. Is it a sedan or a coupe?
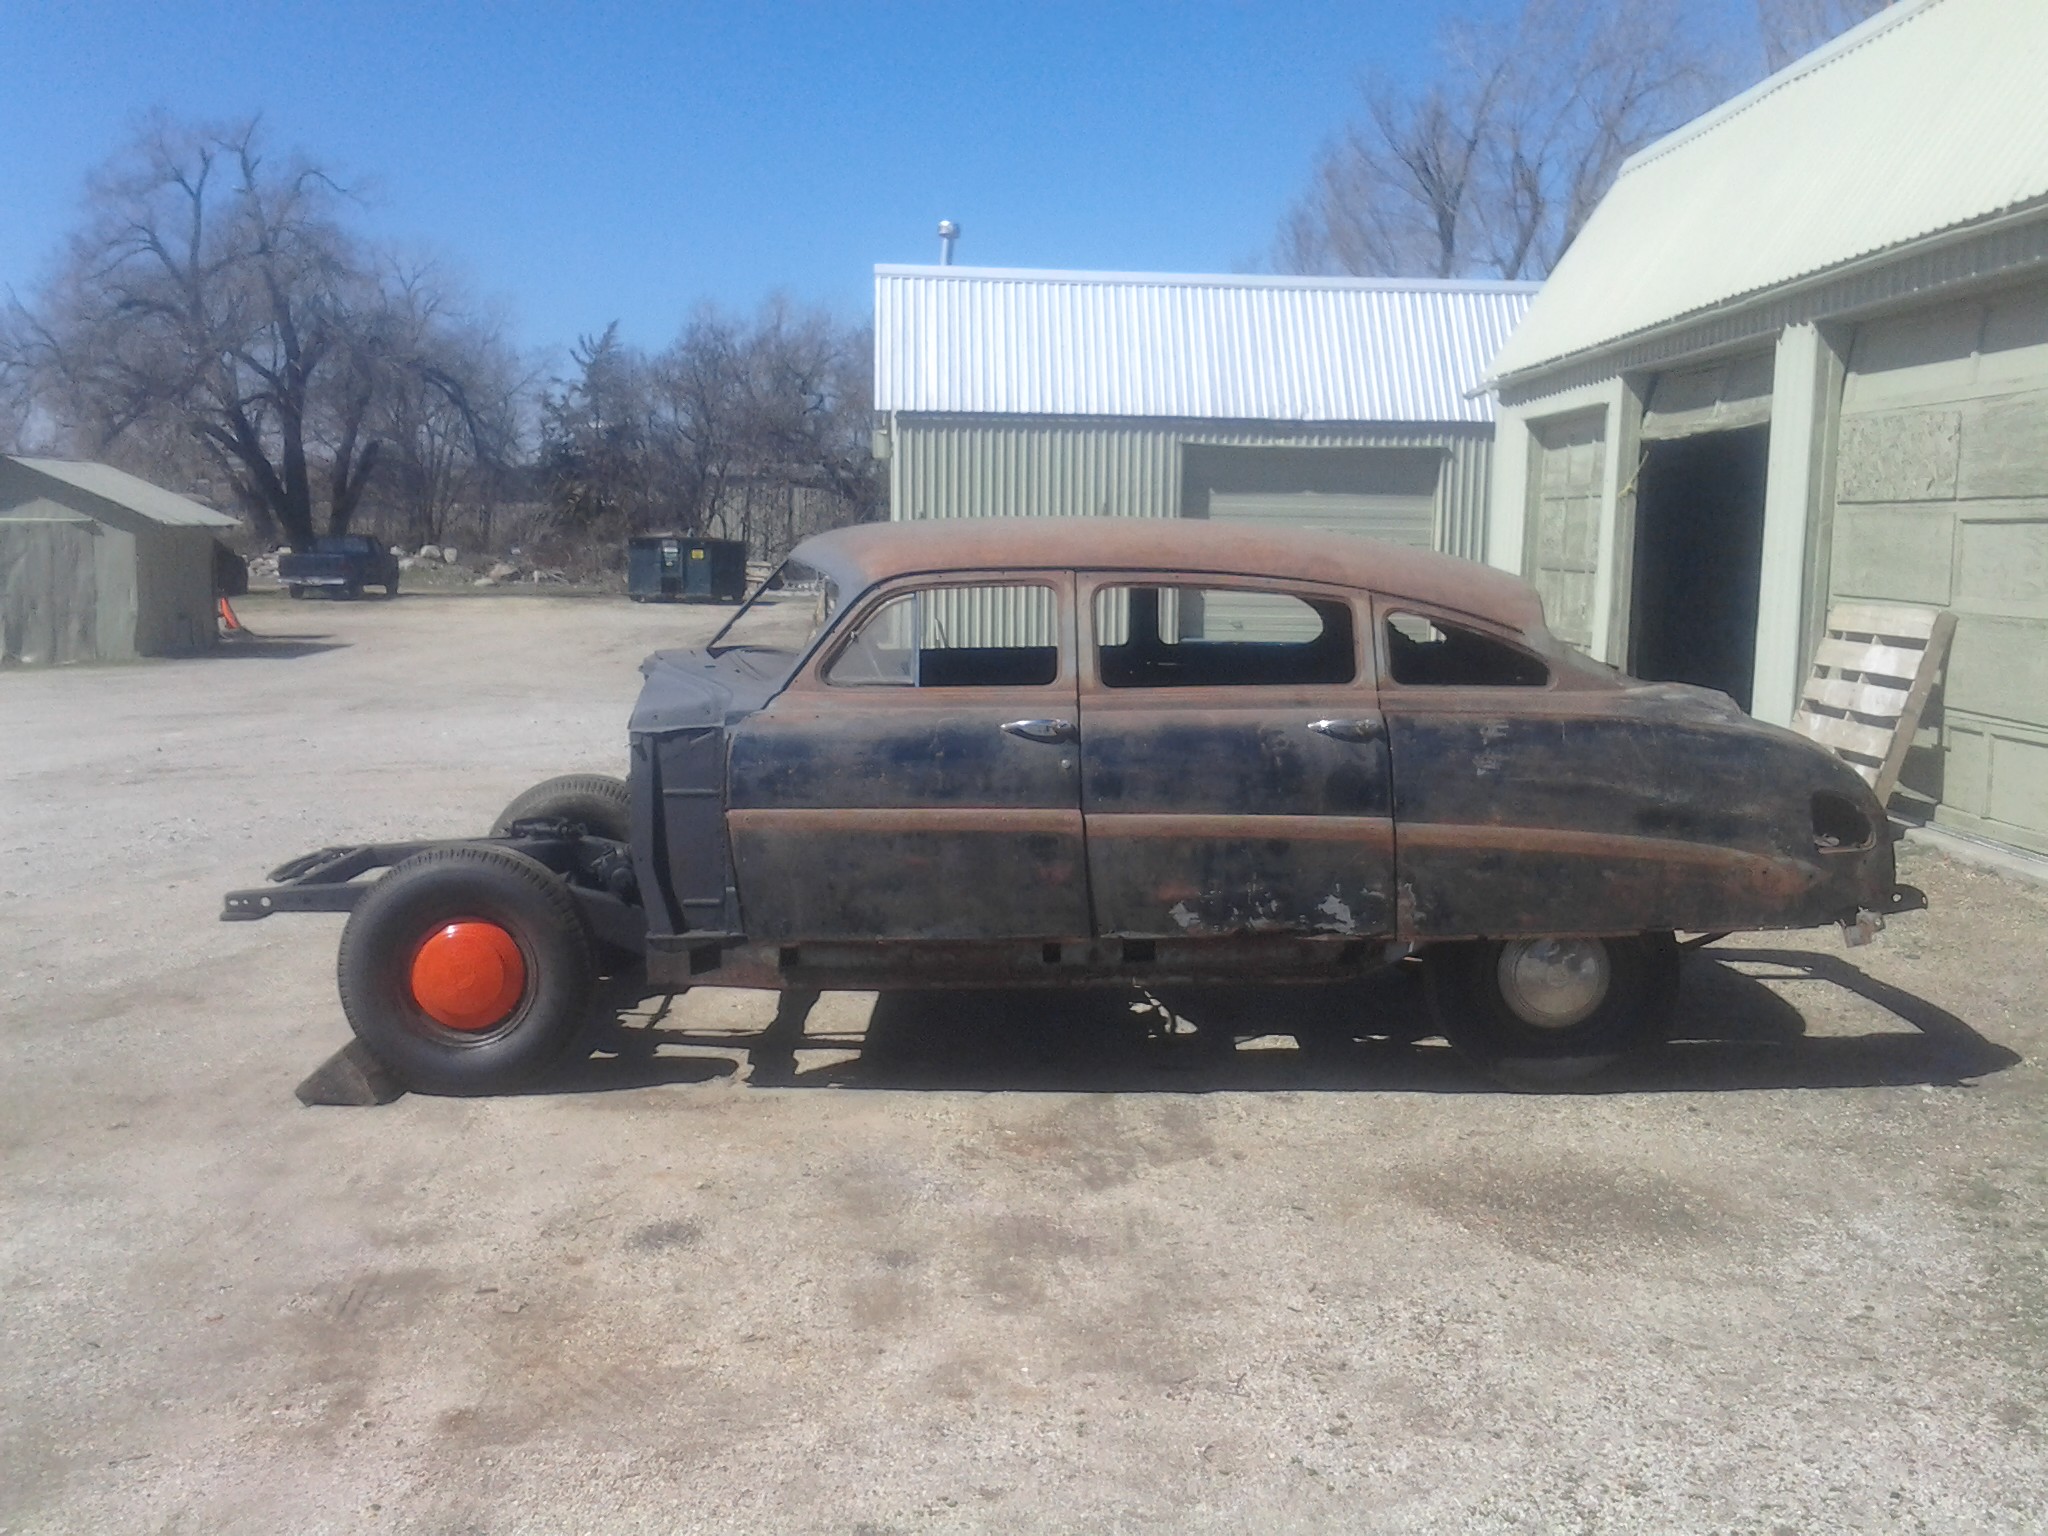
 0
0 -
I always wondered if anyone had made 3 door Hudson! A two door on one side and a four door on the other. A coupe wouldn't work due to the roof line but it sure would raise some eyebrows at a cruise! Hmm...0
-
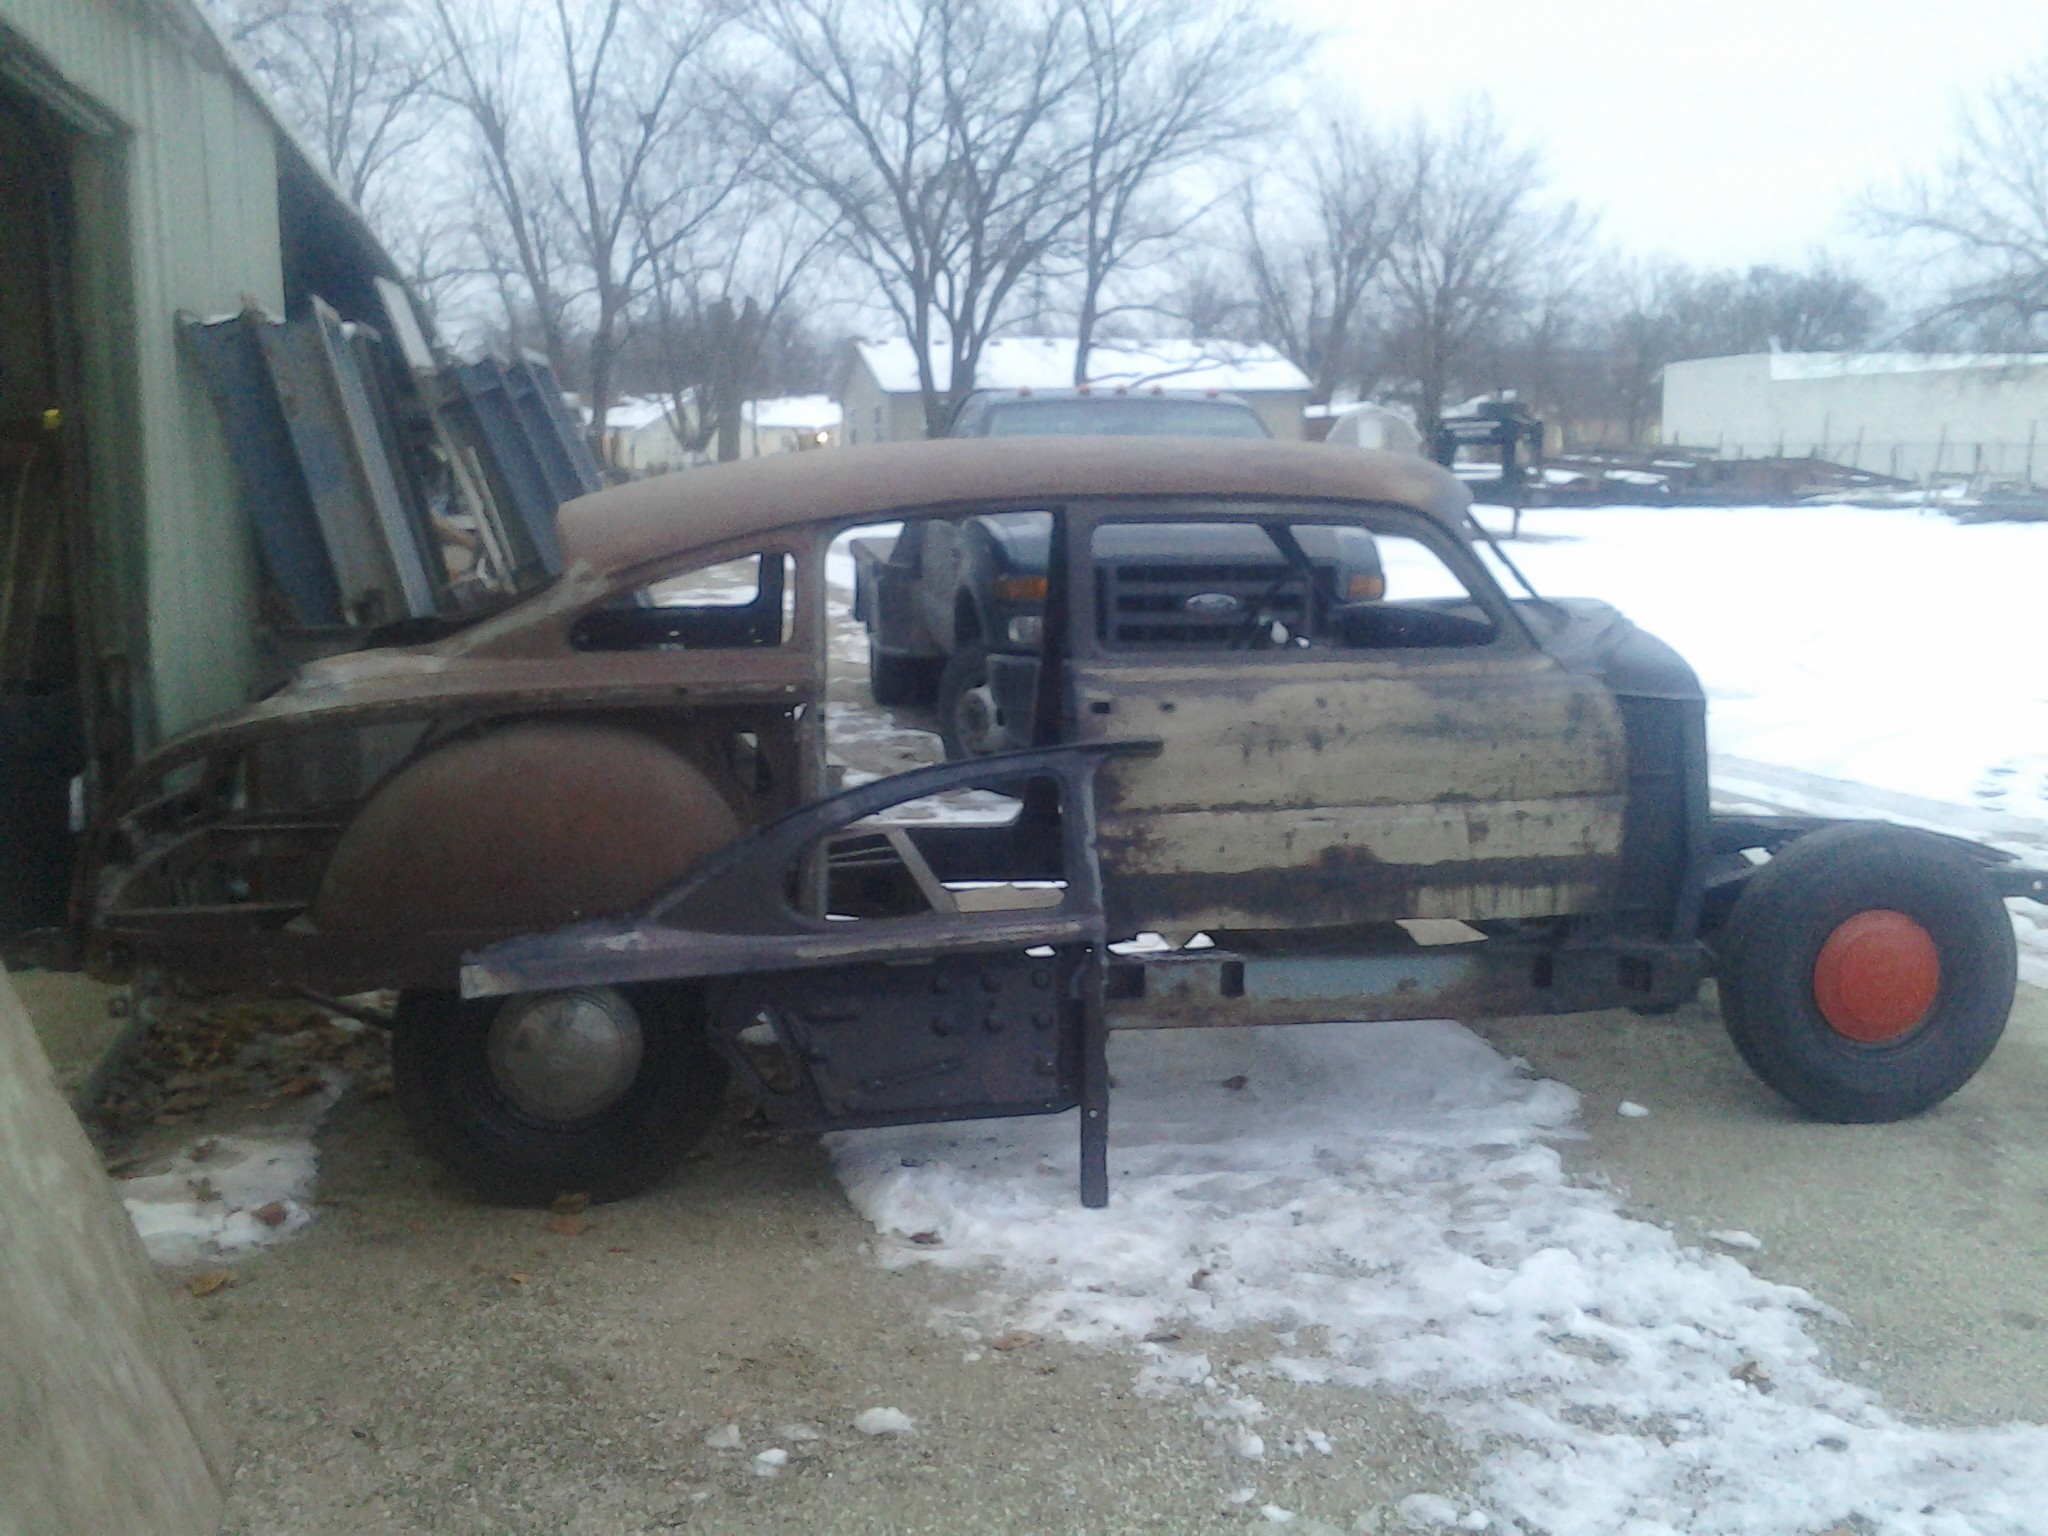
Just about ready to paint and install B pillars for the last time. Here is a picture of the first time I could call the project a 2 door. The bay is too narrow to open the coupe door far enough to get to the hinges, so I rolled it out and then took this picture.
 0
0 -
Your doing good. Looks like something I'd start with.0
This discussion has been closed.
Categories
- 37K All Categories
- 117 Hudson 1916 - 1929
- 21 Upcoming Events
- 96 Essex Super 6
- 28.6K HUDSON
- 576 "How To" - Skills, mechanical and other wise
- 995 Street Rods
- 151 American Motors
- 181 The Flathead Forum
- 49 Manuals, etc,.
- 78 Hudson 8
- 44 FORUM - Instructions and Tips on using the forum
- 2.8K CLASSIFIEDS
- 609 Vehicles
- 2.2K Parts & Pieces
- 78 Literature & Memorabilia
- Hudson 1916 - 1929 Yahoo Groups Archived Photos

