Roof Decking Repair and Water Pump, other solutions
Comments
-
I think $900 is reasonable with you doing some disassembly and prep. Does the rest of the car really need a paint job latter? Car projects take time with work, family and life.0
-
Last year I had a suburban repainted at Maaco. The cost was $2300. If your friend paints cars well and he is willing to repair your car’s paint the price quoted is reasonable. Ken Cates0
-
He refuses to discuss until he got to see it, he said normally he much rather look at the vehicle in the sun on a good day, as it was in my garage with lights. Ima ask to see some of his work this weekend.Honestly the rest of the car looks really decent considering the age of it. No rust or anything like that, but I’m not looking for show car perfection quality right now, as my kids are young, I’m learning and I’m sure scratches will be made at some point lol. Right now I’d say it looks really good at 50 ft, except for the roof of course. I don’t think I’ve posted good pictures of it yet I think I’ll do that tomorrow when I get home if the weather is decent. I’m in love with the car, it’s by far my favorite I have owned. Once I get roof squared away and make sure water pump is good, I’ll most likely install the rubber mat replacement I have for front floor board, and just enjoy it like that and drive it way too much for a long time😊👨👩👦👦0
-
Busy busy week at work so not much progress being made. However I ordered some of this “Quick-Glo” after seeing it on Jays Garage, and it being a company in my home state of Louisiana I just had to support it. Man it works…and you just use no pressure just a rubbing motion. I haven’t used it on anything but ash tray and gas cap. I’ll post pics. This is the original formula they also have finer and finer formulas.Also, the new chrome gas cap from wildrick was smaller than my original one :'(0
-
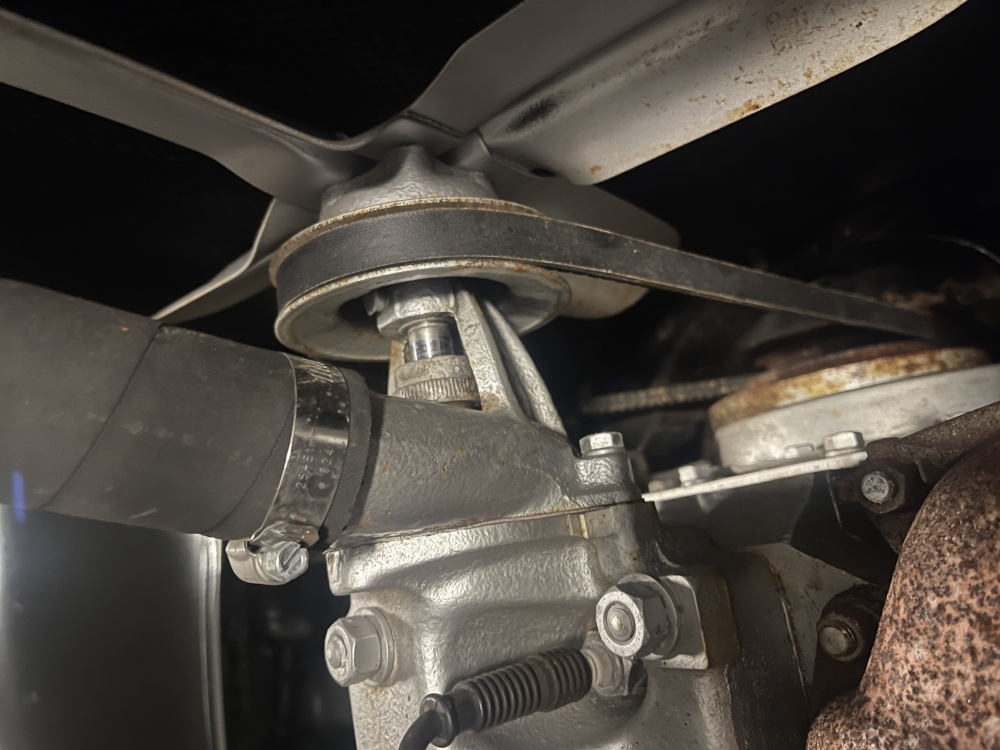
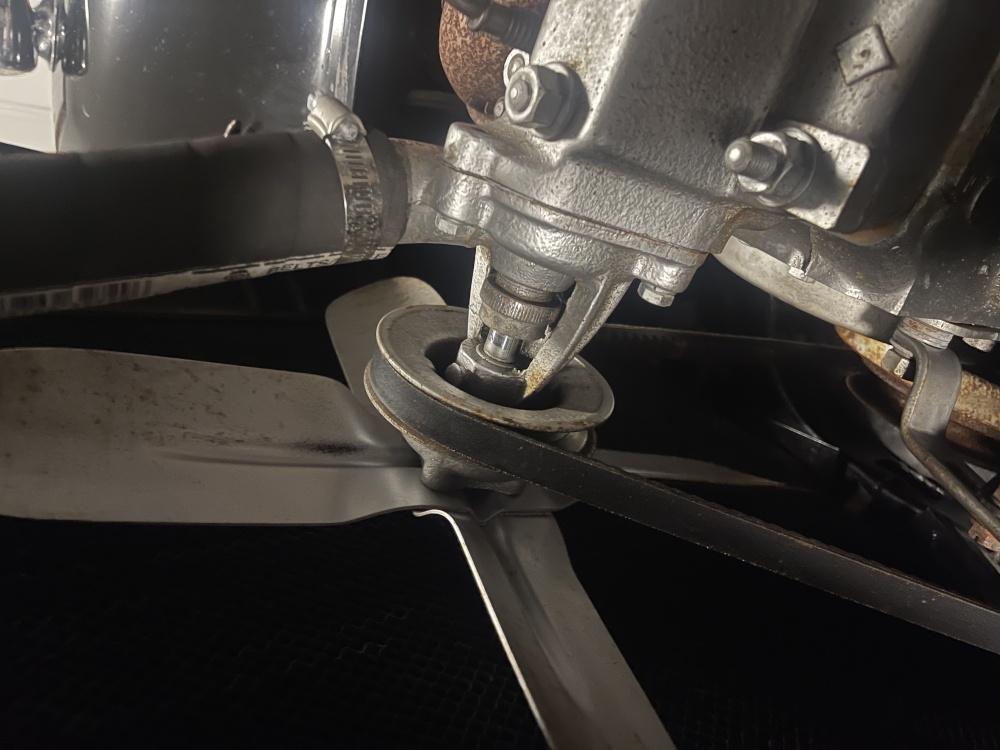
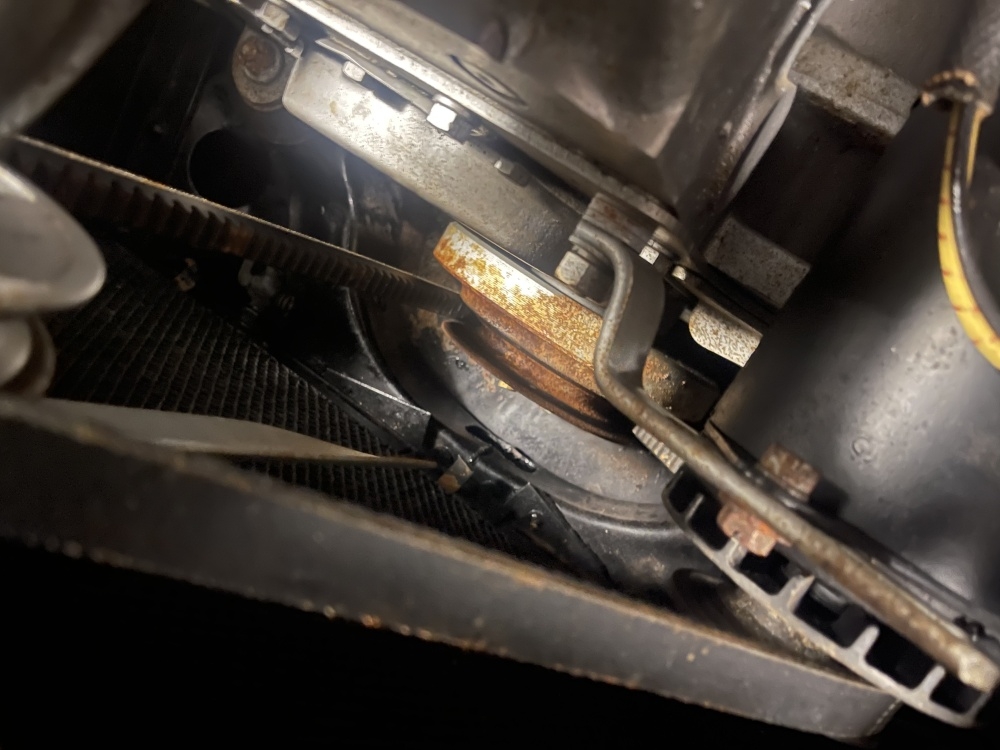
Pictures of my water pump. I’ve contacted Jeremy Burris just in case. I got a whole ROLL of packing today lol have plenty to trial and error my way to completion changing the packing. This is with me backing the nut off a bit before taking pic. You can see the pretty silver has turned rusty 🥺. I would think there would be residue on the front of the block but there isn’t. Odd.
 0
0 -
Hahaha I’m sure it’s cause I haven’t driven it much!Old Fogey UK said:I wish I could keep my motor looking that clean ! 😩😩😩0 -
Any advice on removing vent windows? My mom has the glass business and wants to cut me two new windows as it bothers her for some reason they’re foggy at the bottom lol I see I can probably remove panel with screws along side, and as I remove screws I’ll place them in evaporust to get the surface rust off everything before reinstallation. Want to also lube everything well inside once off. I figure I’ll need to removed handles inside then screws for panel…but didn’t know if there was a trick to get glass out. I’d like to make my way around and lube all the window mechanisms.Getting ahead of myself and I’m currently 3 projects In and trying to do another! 😂
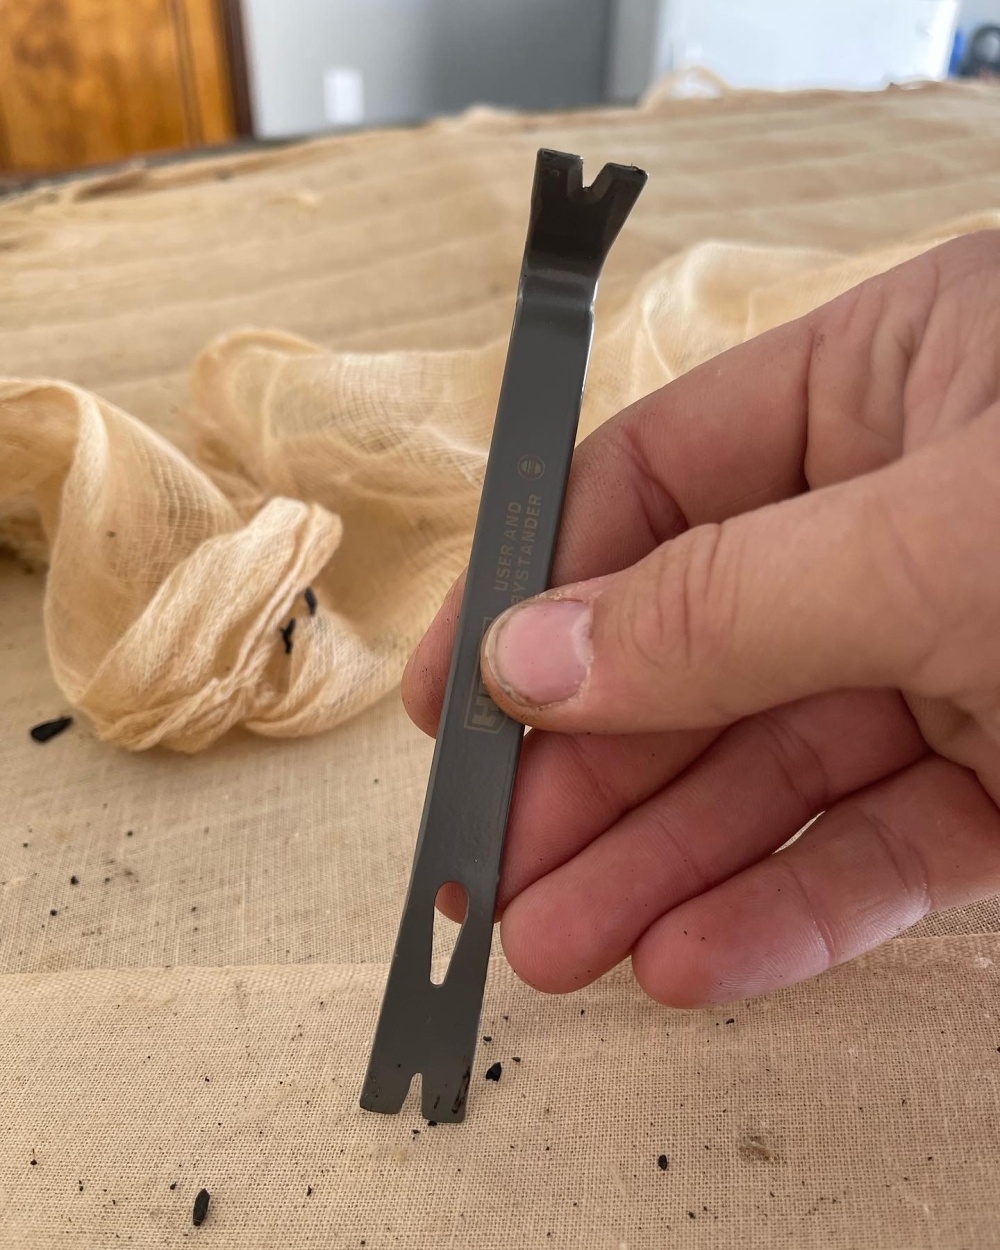
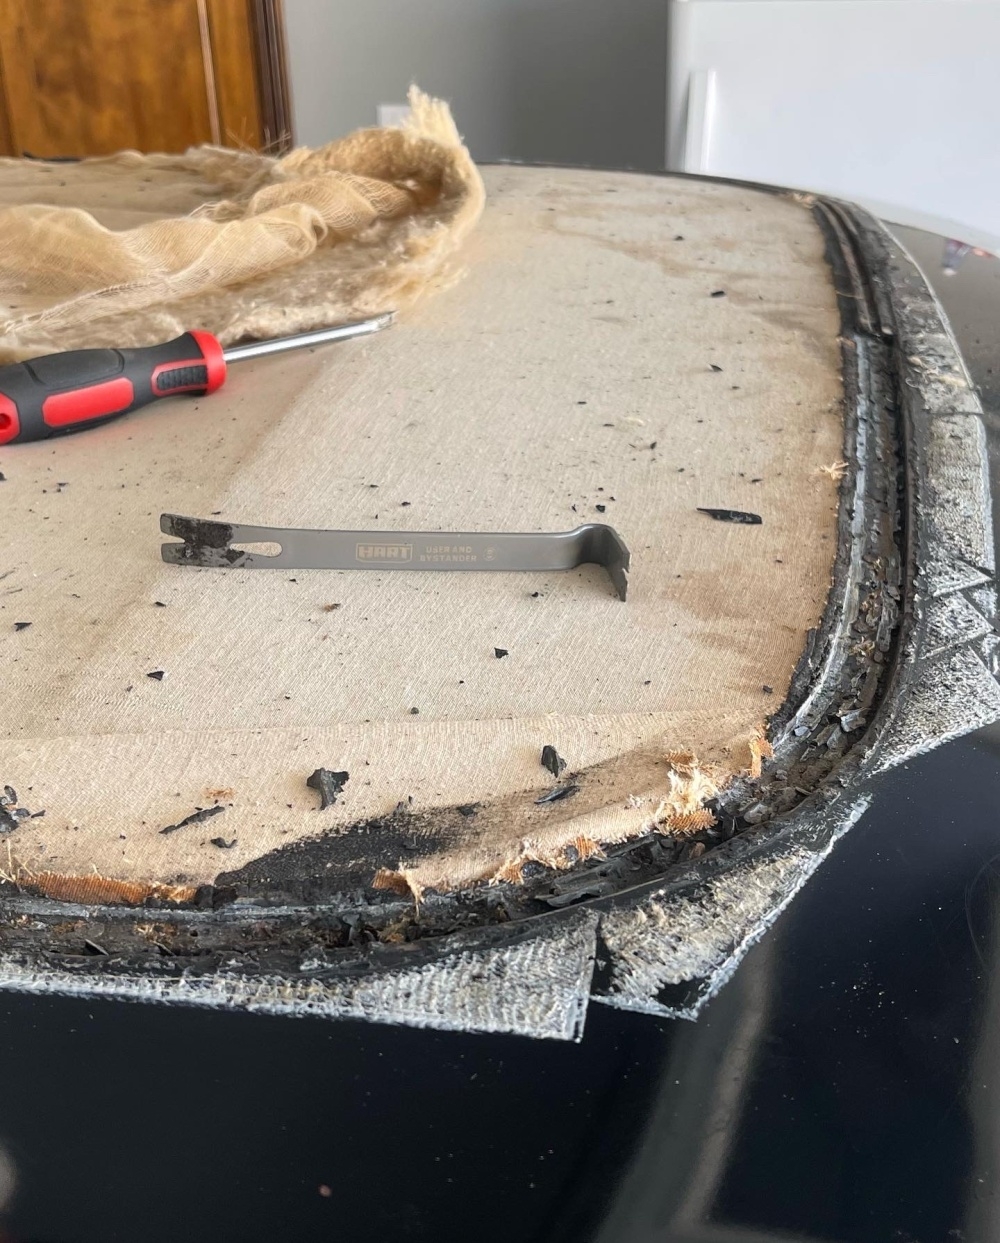
I made some mods to a tool from Walmart today to remove tacks. Should make it go a lot faster0 -
Oops double post0
-
Hopefully you were able to get another set. At the bottom of the vent glass on mine the old laminated glass has become “foggy” and while it doesn’t bother me right now as I have other things I’d like to do I don’t wanna turn down help! At that point tho I need to go ahead and replacement the vent glass seals. Jesus that rubber is incredible expensive onlineOld Fogey UK said:I have a set of vent glass but no brackets or clamps - because a friend who borrowed them to make a pattern lost them.0 -
You’re talking about the windows? He’s coming tomorrow to help finish roof and he’s gonna show me how to pull vent glass and he’ll cut it. I’ll try to take plenty of pics and video!Old Fogey UK said:I'd appreciate some pics and dimensions of the brackets and clamps please and I might have a go at making some as next Winter's project.0 -
I made a YouTube video of the water pump…if anyone is interested and maybe they can see if the drip is excessive or not. Tomorrow big day as I’ll finally get the roof off and install new one (I hope). Got some help from family friend supposed to come by tomorrow! I’ll take plenty of pics and videos for those interested.0
-
Oh gotcha lol I’m not familiar with those, although I’ve seen some accessory (or for lack of a better word aftermarket) vent window extensions from the 30s on eBay looks like that hold onto the window.Old Fogey UK said:
I'm talking about the hardwear that holds accessory external wind wings onto the the car door not vent panes that wind down into the doors. I think we may be talking at cross purposes.Guardian1fox2 said:
You’re talking about the windows? He’s coming tomorrow to help finish roof and he’s gonna show me how to pull vent glass and he’ll cut it. I’ll try to take plenty of pics and video!Old Fogey UK said:I'd appreciate some pics and dimensions of the brackets and clamps please and I might have a go at making some as next Winter's project.0 -
I’ll see what I can find out for you!Old Fogey UK said:Correct.
I've got a pair of glass wind wings and no attachment hardware, so they're useless !0 -
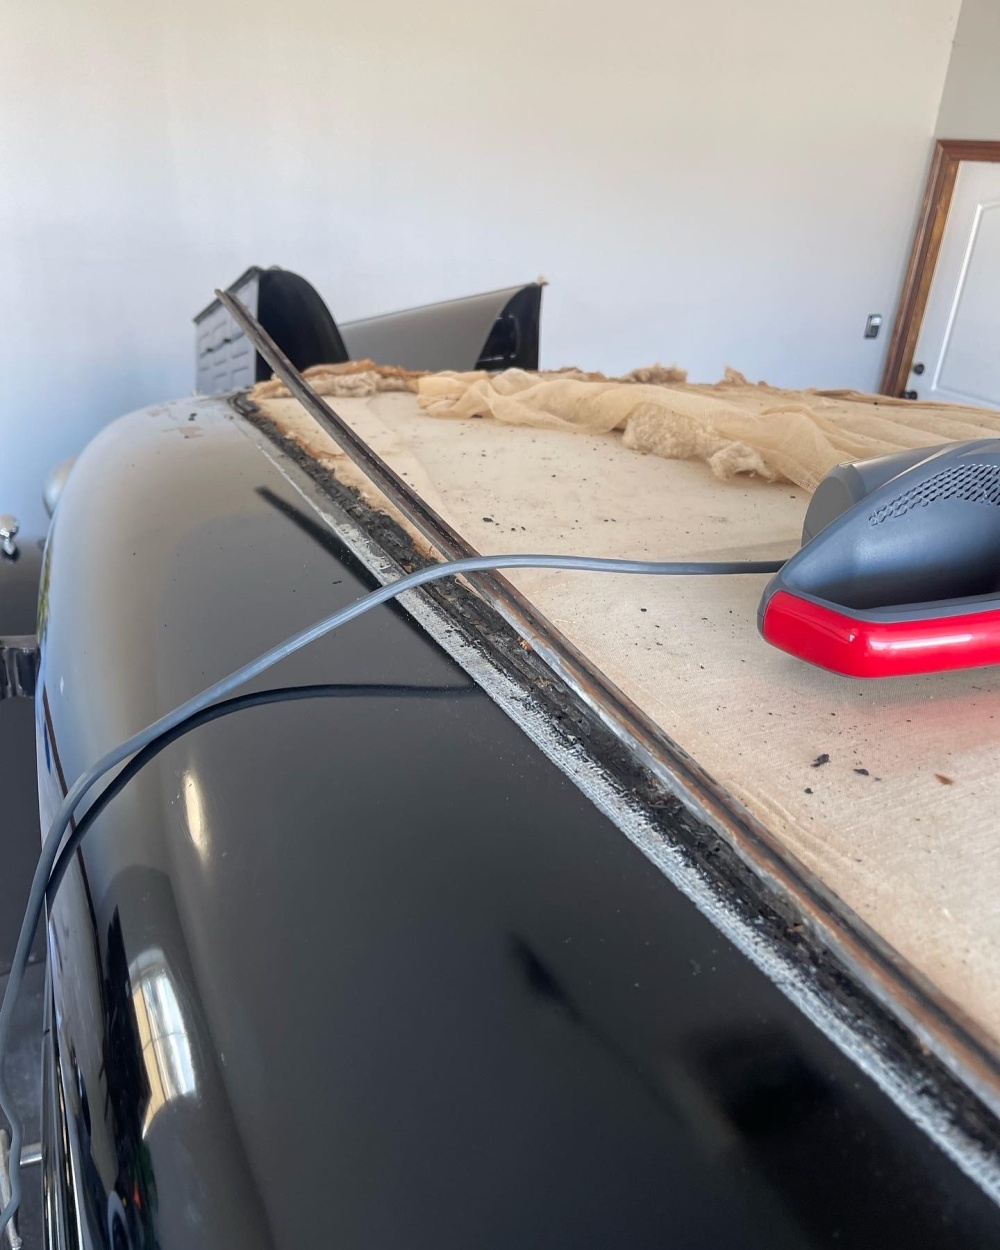
Okay, more progress made on the roof! Also shown is the tack lifting tool I modified from Walmart.


 0
0 -
@32huson I know you wanted updates. I have a YouTube channel I kind of “redirected” to cover the car restoration and my “journey (lol)” learning all the trick of the trade. This link is for the playlist as I update on progress and how I’m doing it: https://youtube.com/playlist?list=PLBDHZNd1tDm37UznOWMlCXgwiY3y12IQiGenerically titled so that way someone else googling how to do this it will pop up easier as I know a lot of information is same across cars.0
-
The little tacks are just common upholstery tacks. You don't need stainless tacks. First of all, these have lasted for 70 years with minor rusting. The car will now be used lightly and probably not in bad weather. Those tacks have to be able to bend over a little when seated. Stainless steel would be much more brittle and likely break off the tip rather than bend over and bite tight.0
-
You know I saw that when removing them, a lot of the tacks were curled at the end. So I purchased normal tacks. What is underneath this next portion? I see the tacks here have larger heads, is there another strip?MikeSheridan said:The little tacks are just common upholstery tacks. You don't need stainless tacks. First of all, these have lasted for 70 years with minor rusting. The car will now be used lightly and probably not in bad weather. Those tacks have to be able to bend over a little when seated. Stainless steel would be much more brittle and likely break off the tip rather than bend over and bite tight.I brought it to an upholstery shop today, and he said it’s been many many years since he’s done one, but said since I have the materials, $600 he’ll do it and it’ll take him 2 days. He asked for all the documentation I have on how it’s done properly…made me kind of nervous. There’s just no one locally with the experience to do these. I went ahead and got on his schedule for March 7th. However until then I may continue to make progress to see how it goes. Not sure which way to go.I am happy to report I drove it for the first time round trip to town, 35 min one way. When I got there I put my trusty cup under the pump, but nothing seemed to have come out overflow and just a little bit went into cup from pump. It sat about an hour while I waited. Just drove back home and garaged it. Put the drip pan under and the cup under pump to see if anything leaks after a few hours.I do wish there was an rpm gauge in these cars…I can’t help but think in 3rd going 45mph it just sounds so high lol0 -
I would prefer to use copper tacks.0
-
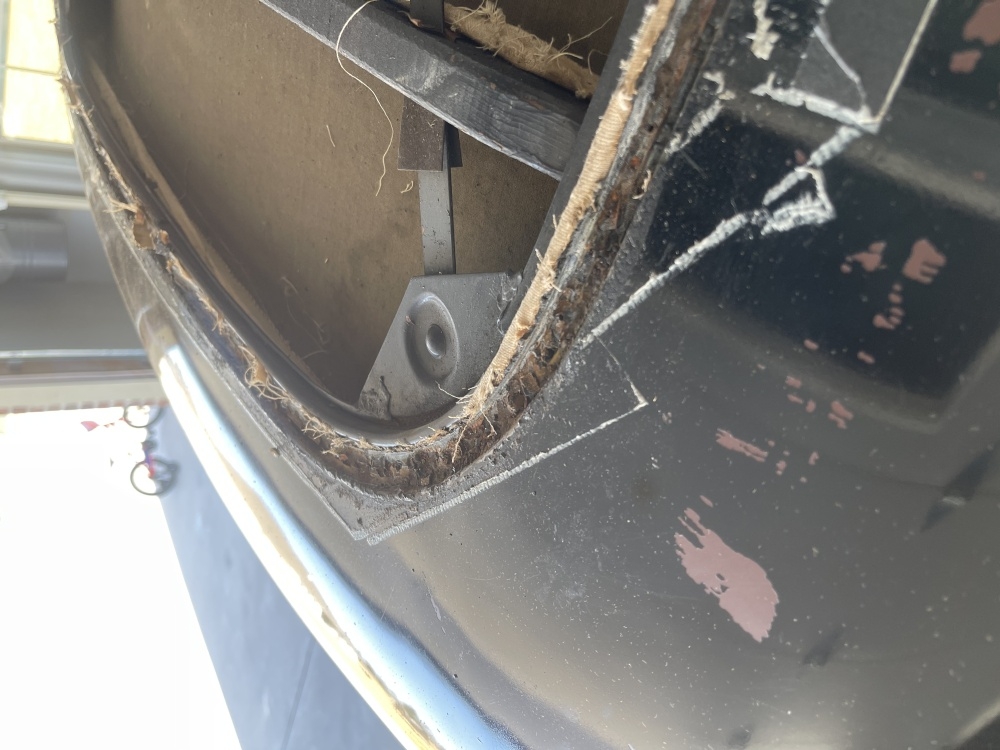
So my friend finally came by and he removed the vent glass and cut new ones. However the seals from metro molded are about a week out as they are on production schedule.Since he has done A LOT of classic cars and antiques over the years, he said I should be using a sealant that’s kind of “runny” and uses a can/pump/gun to apply. I had no clue what he was talking about but since he uses it sometimes he went ahead and ordered some and when it comes in we’ll tackle the roof. I’ll have it ready by then. The pump attaches to the can of sealant itself, and he said it will “self level” in the groove and fill all the spaces and will not have any air bubbles like silicone can produce. Hey by all means he seems to know what he’s talking about; he said he has no doubt we can do it ourselves and if we start and unsure I can always bring it to upholstery shop and let him try. Lol so we’ll see how it goes.I did get a portion of the cloth off and the bows are in PERFECT shape. Wood is even painted black! Very cool. I’ll post pics. Interesting that there are metal cross members I’m guessing to increase stability.0
-
I am sure you can do the job your self.
0 -
About to have about 6-7 days off, sealant will be here Tuesday, hoping to finish roof! Seals for vent windows about a week or more out0
-
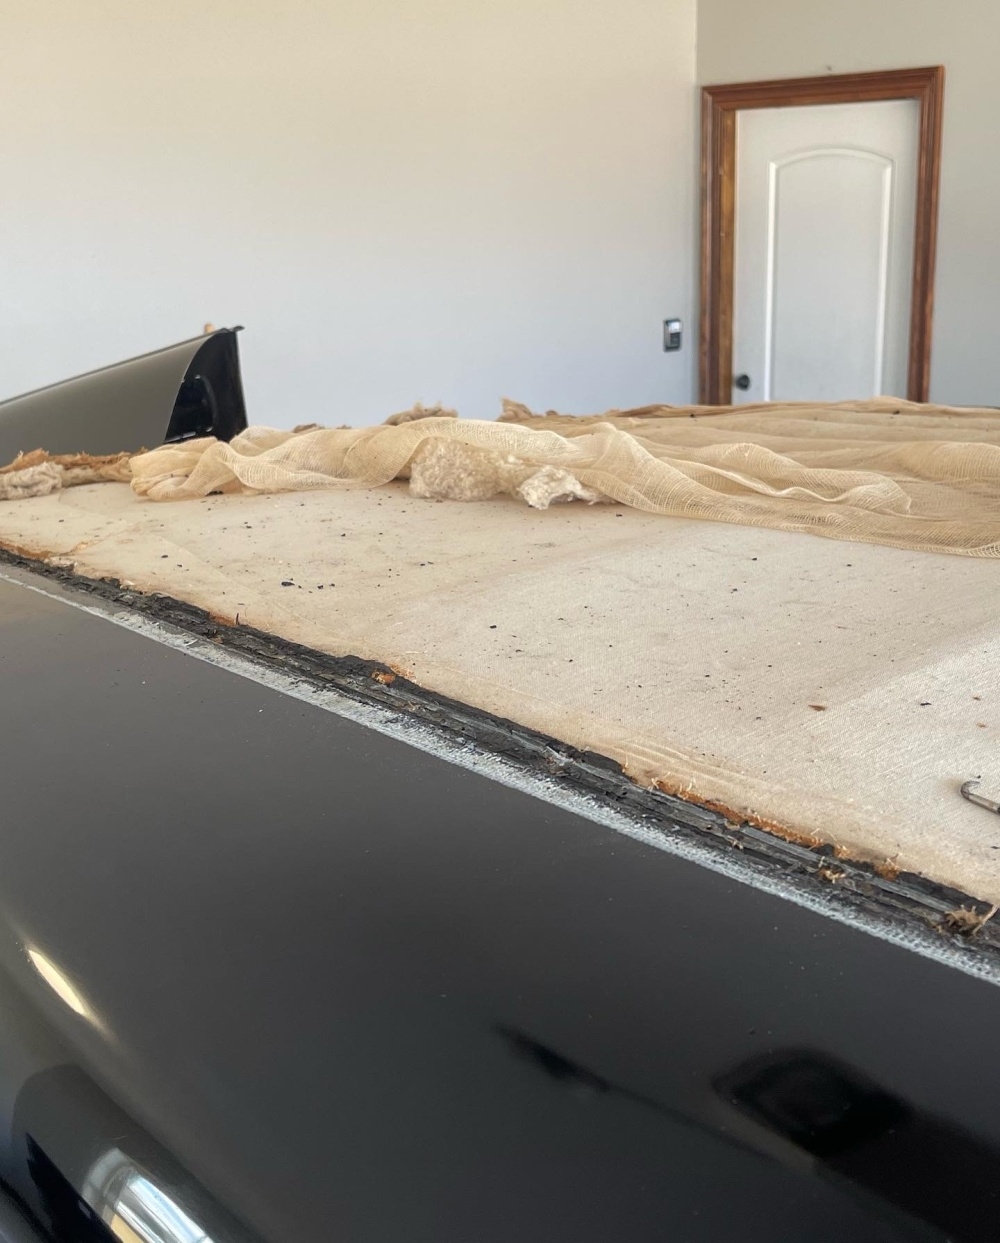
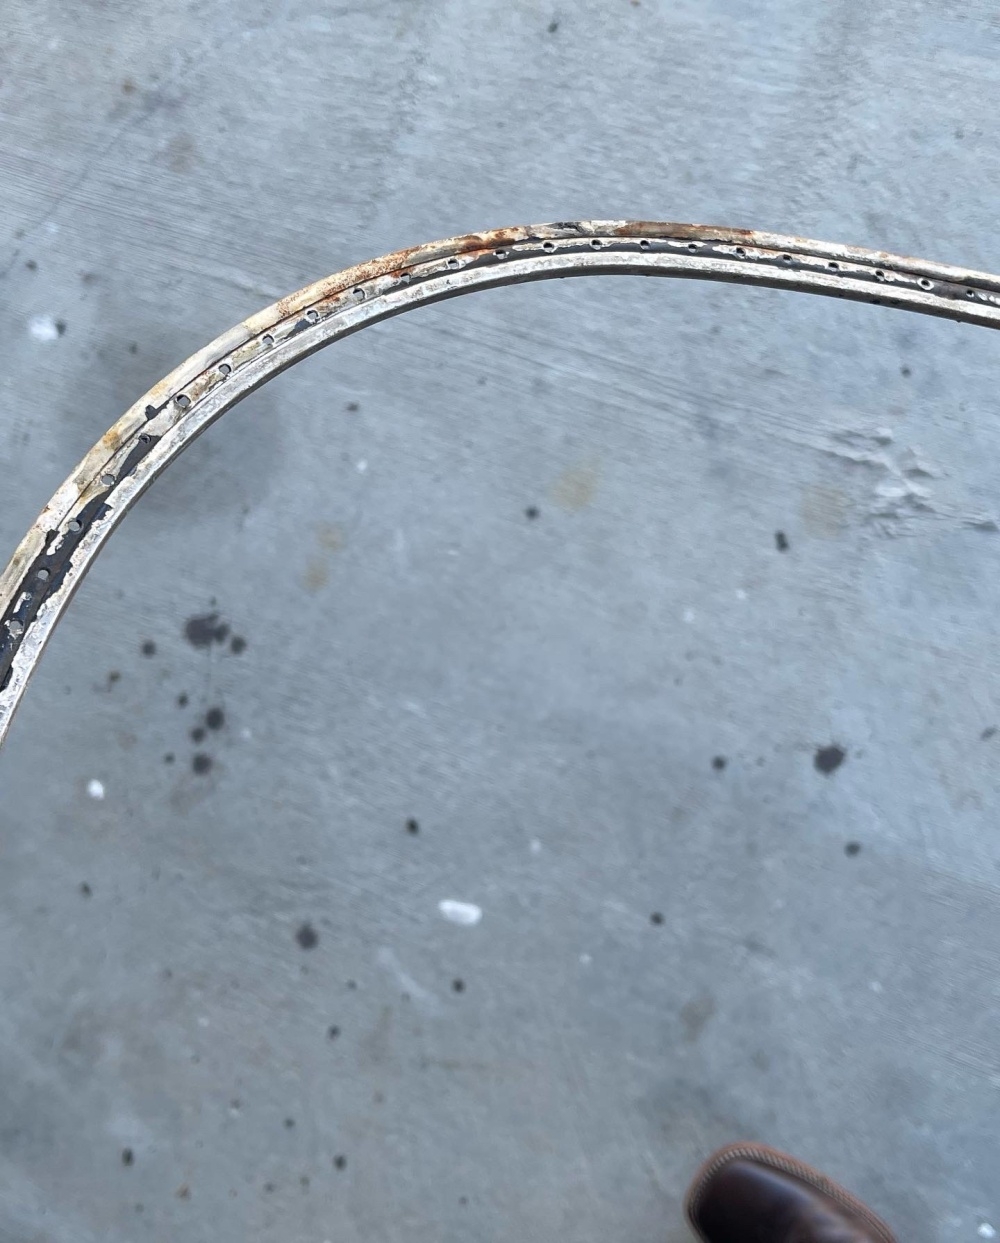
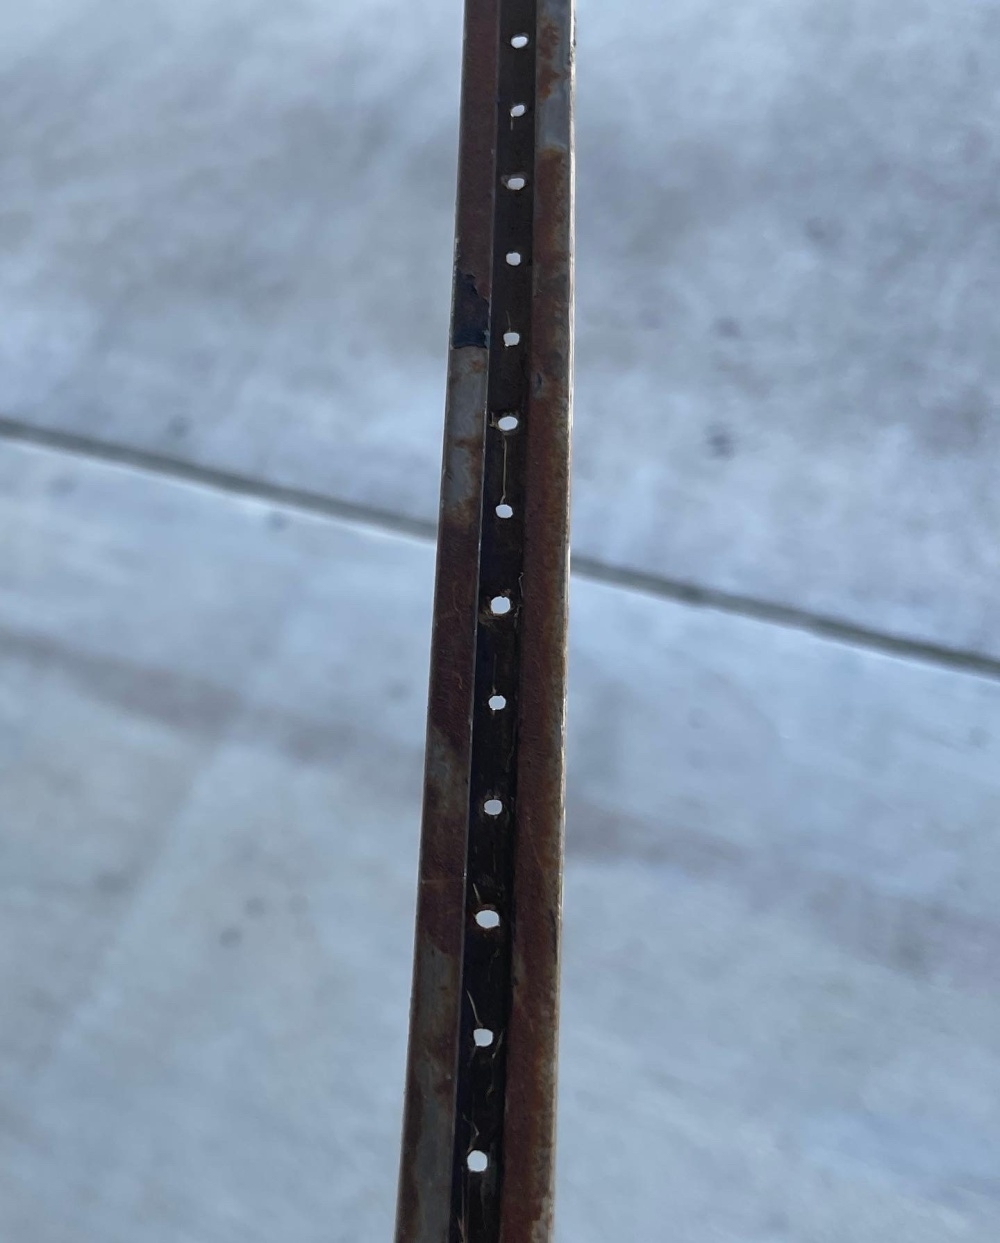
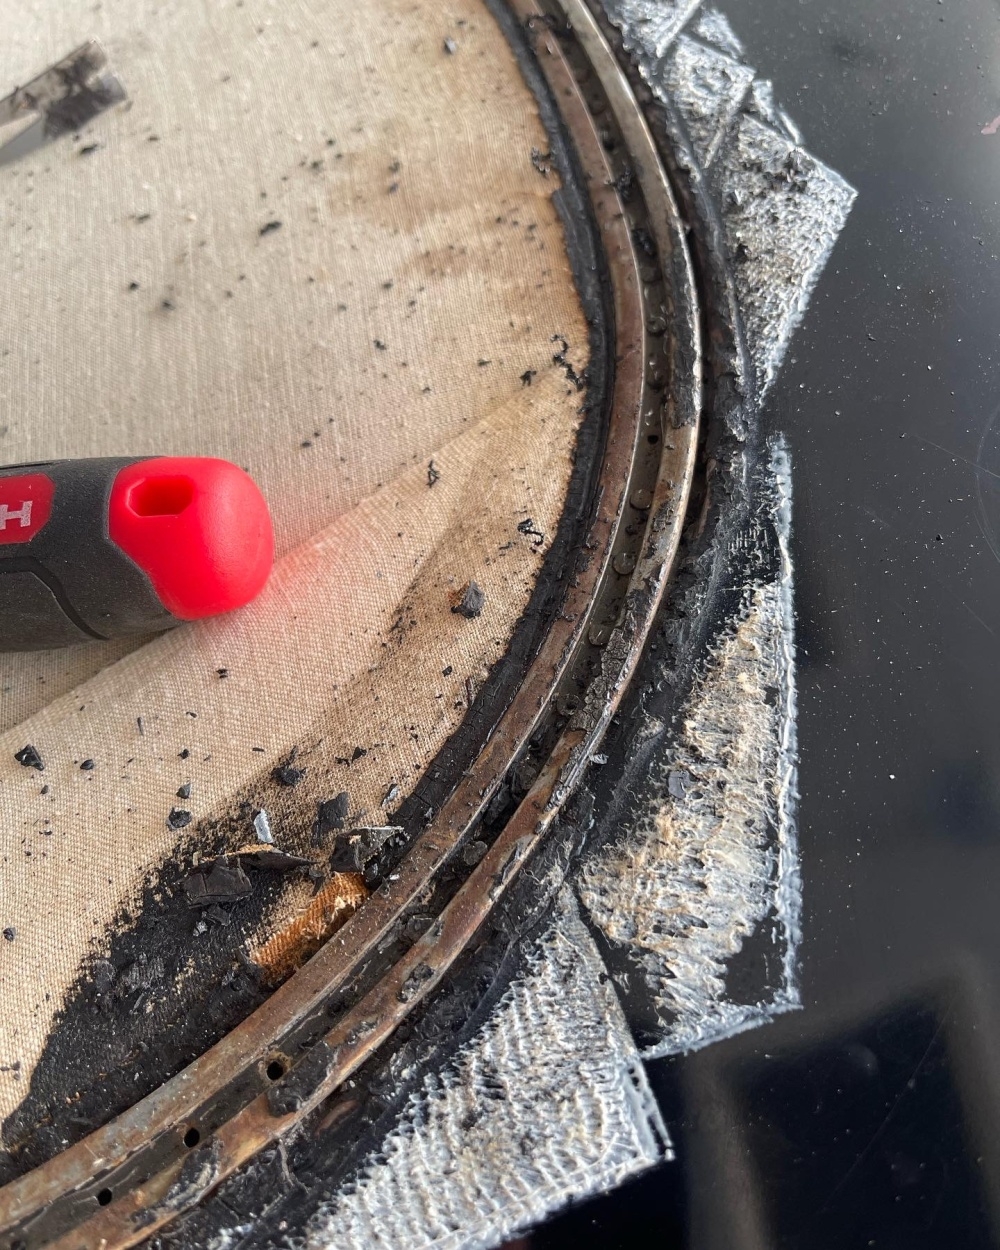
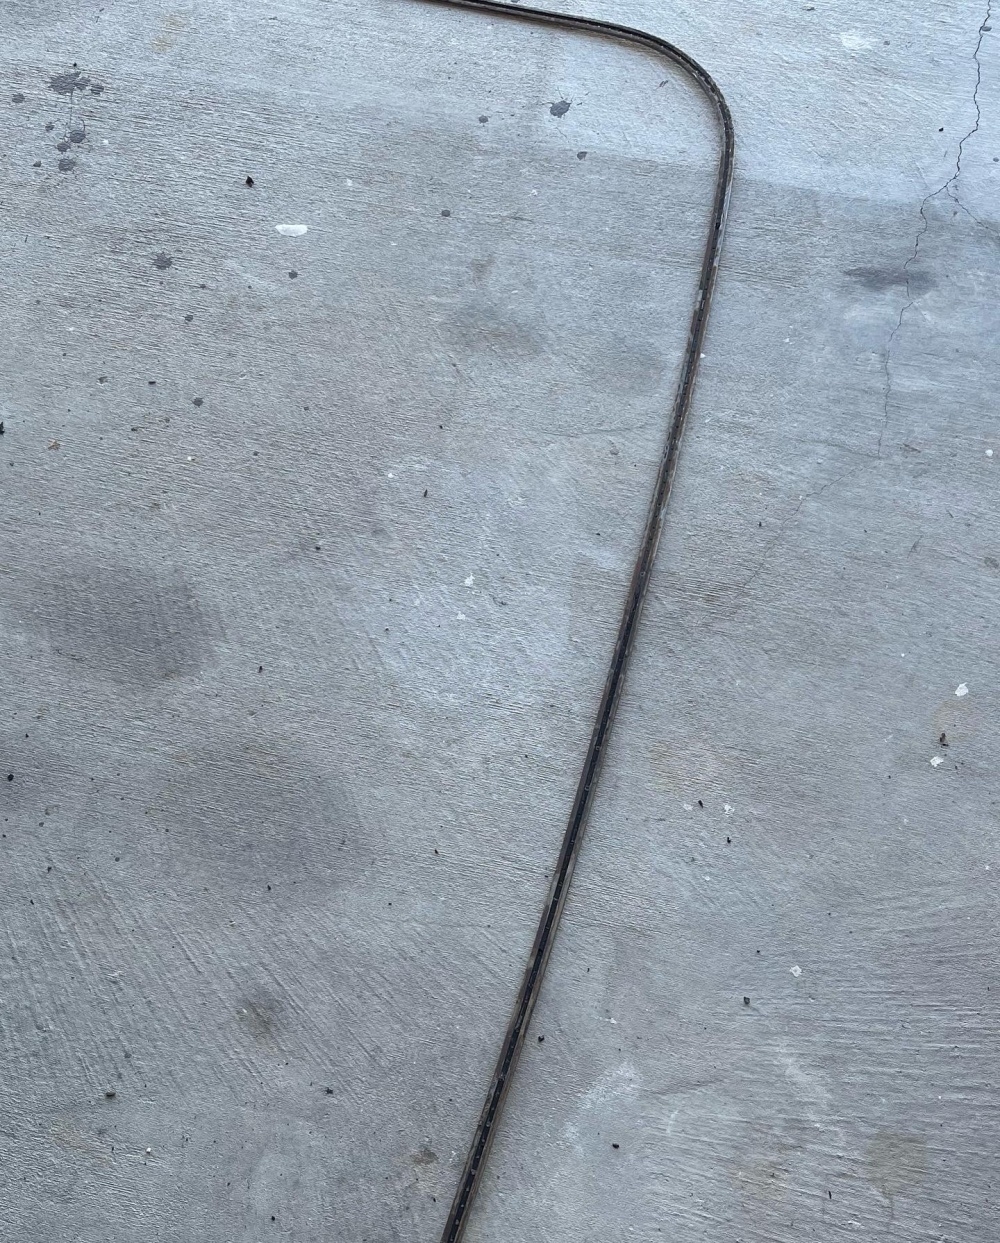
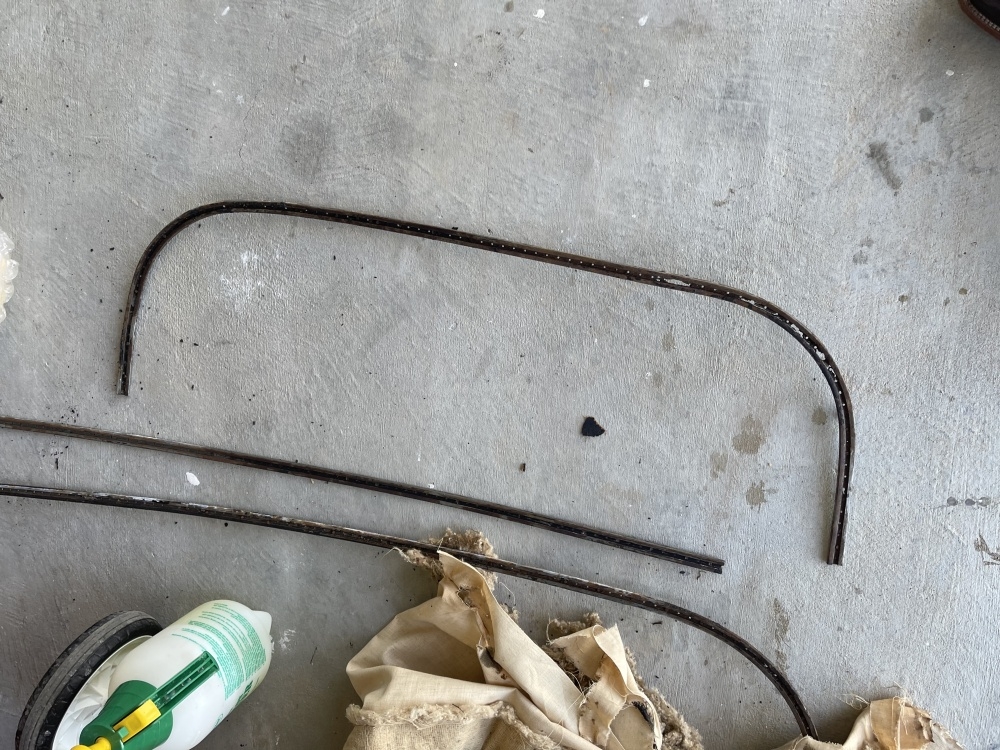
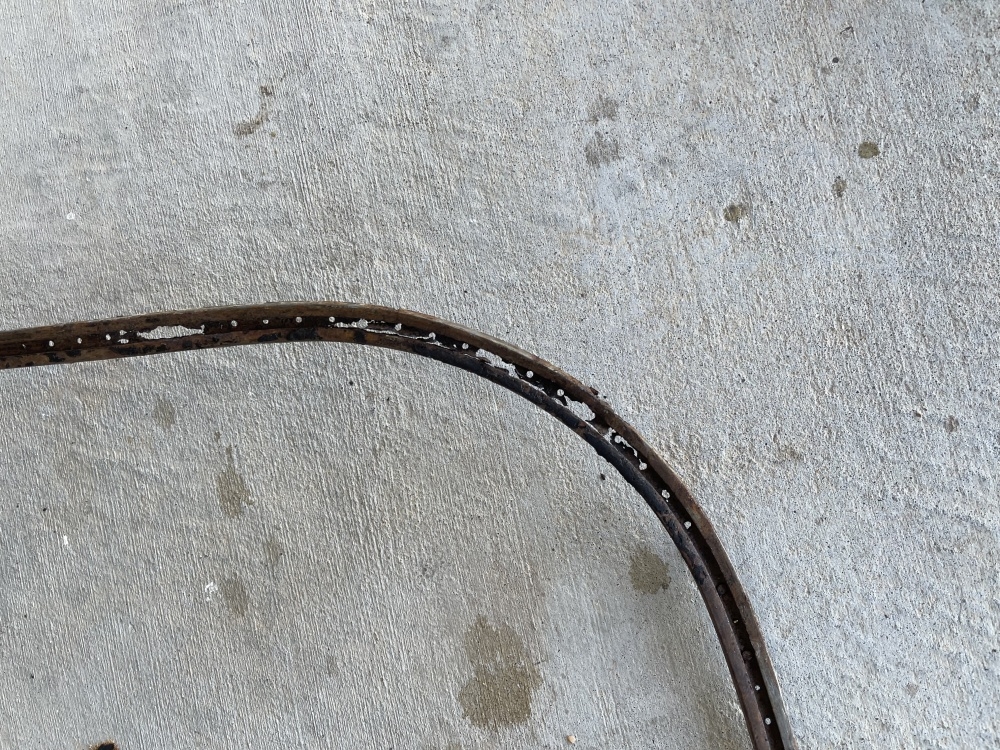
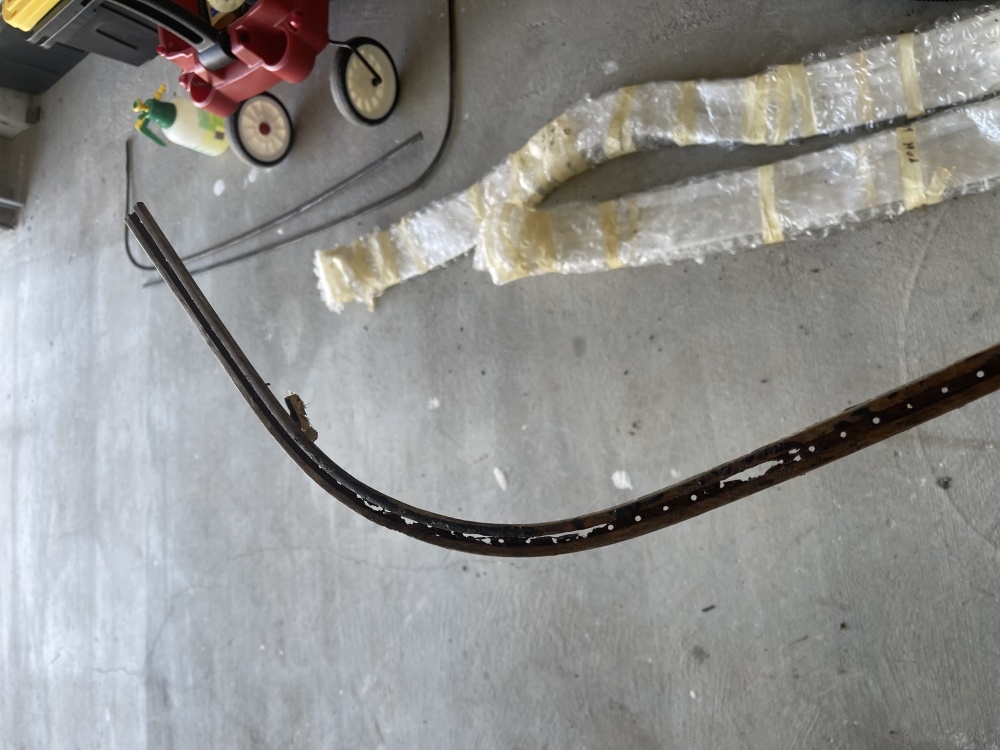
Okay I’ve now got a problem. The front section of trim rail for the roof is completely rotted. I haven’t finished getting it out yet, however it doesn’t look good and I’ll need a new trim rail for the front. Does anyone have one or know where I can get a replacement? Really unfortunate. Im gonna finish getting it off see if there’s any other damage0
-
Picture of the trim rail ?0
-
"Bent Metal"on this forum would be able to duplicate this, I'm sure, but he would need the old one as a sample.0
-
Okay, sorry I had to finish up. I’m almost ready for install! Here are some pics! Other rails are in good shape and shall clean up with evaporust very nicely.Front piece is lost cause, and will not hold and I’ll need replacement. Also, stupid rats at some point ate the antenna wire, and chewed on the dome wire. However, it’s still in great shape they must have not stayed there long. I’ll fix this before I install roof. Ima do some research with my local HAM club I’m in to see about best wire to use to redo this antenna and splice into up there. Low on my priority list tho lol.Pics:
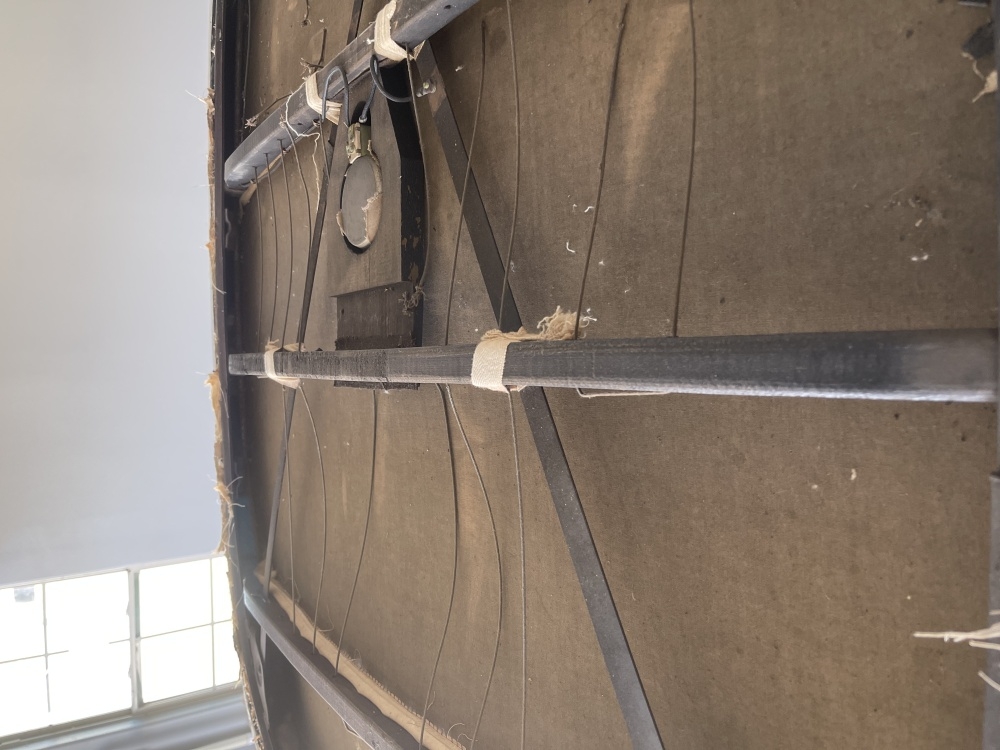

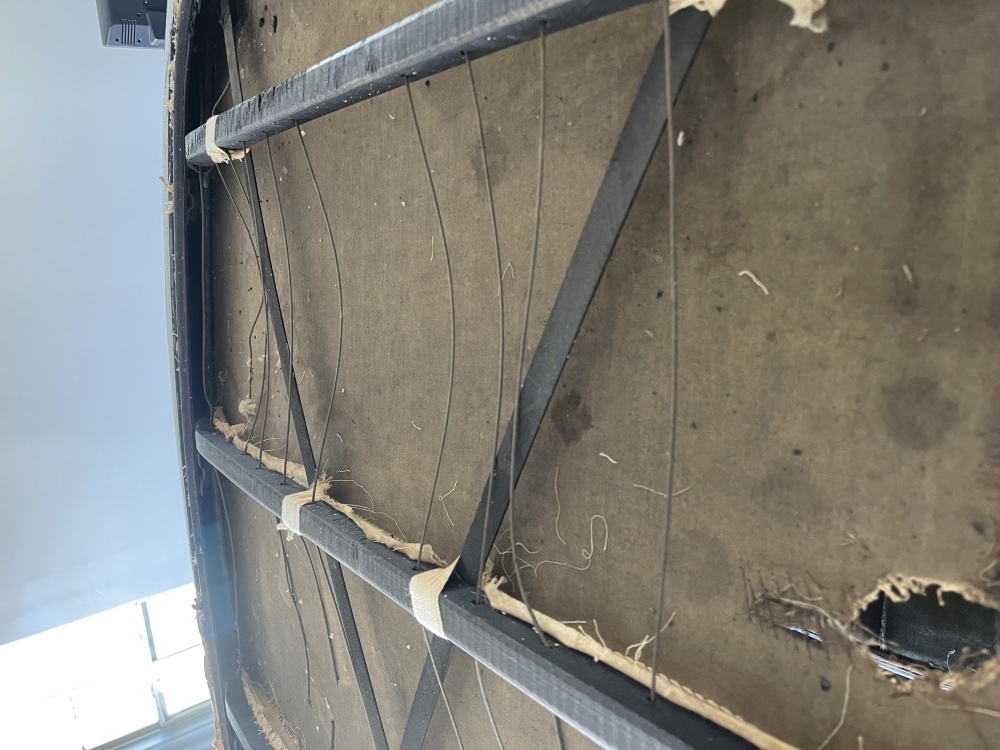

 0
0 -
Actually, I think you could probably get away with using the one you have. It looks like enough holes are still these to secure everything. As previously stated, Bent Metal on this forum could make you a new one. I wouldn't know what his backlog of work is.0
-
I’ll reach out to them and see. There’s an iron worker business around the corner from my house that does all sorts of custom work I’ll bring to him and see if he can make one as well doesn’t hurt. Idk if I can cause corners are pretty important. You can see the corners are FULL of racks versus the long runs are 2 inches apart. 🥺 I’ll also post a WTB ad on here as well just in case someone has one!0
-
For your antenna wire, just use 16ga stranded copper. I get cloth covered wire from Brillmans here in Virginia but modern plastic coated will work just fine. Just make sure the rubber insulation grommets are good
btw. I’m a ham too0 -
Hey that’s awesome! I’m looking to get my general this year as I finally have a pretty good setup! I got a Titan DX antenna I gotta finish putting together then it’ll be online! KA5FOX is my sign. Maybe we’ll get a qso one day!Toddh said:For your antenna wire, just use 16ga stranded copper. I get cloth covered wire from Brillmans here in Virginia but modern plastic coated will work just fine. Just make sure the rubber insulation grommets are good
btw. I’m a ham too
never spliced cloth wire but I’m guessing it’s the same.0 -
Splicing stranded wire is the same whether cloth covered or not. Use rubber tubing or shrink tubing to cover the splice
I have my technician license only. I do more listening to SW on one of the several boat anchors I have. Most are old National receivers.0


Categories
- 37K All Categories
- 119 Hudson 1916 - 1929
- 21 Upcoming Events
- 100 Essex Super 6
- 28.7K HUDSON
- 595 "How To" - Skills, mechanical and other wise
- 995 Street Rods
- 151 American Motors
- 185 The Flathead Forum
- 49 Manuals, etc,.
- 79 Hudson 8
- 45 FORUM - Instructions and Tips on using the forum
- 2.9K CLASSIFIEDS
- 612 Vehicles
- 2.2K Parts & Pieces
- 78 Literature & Memorabilia
- Hudson 1916 - 1929 Yahoo Groups Archived Photos